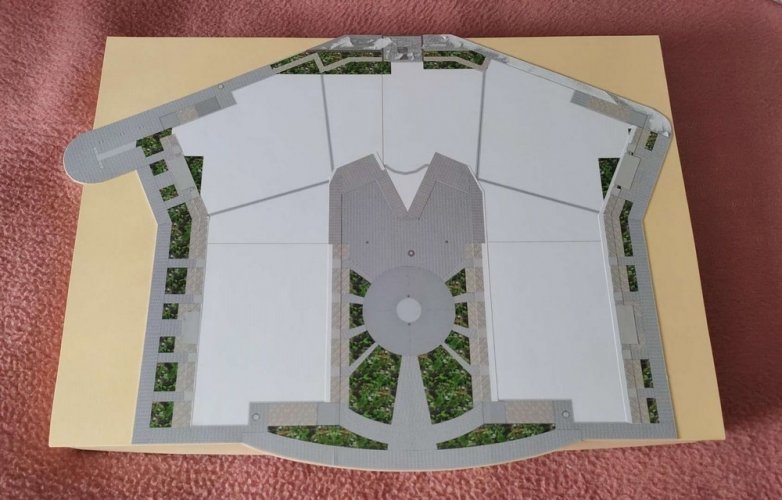
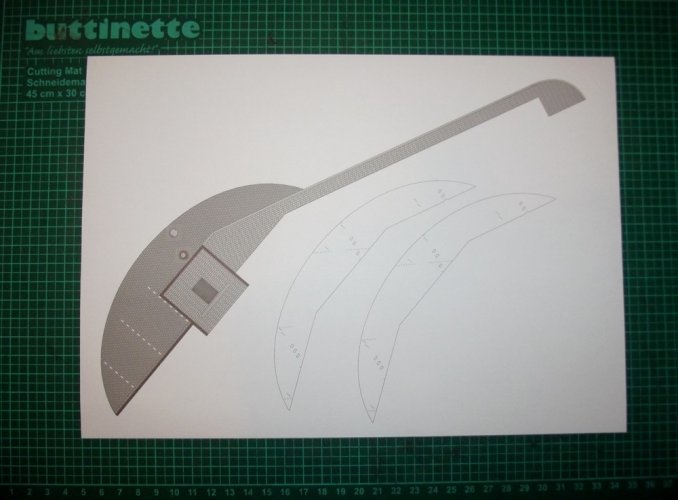
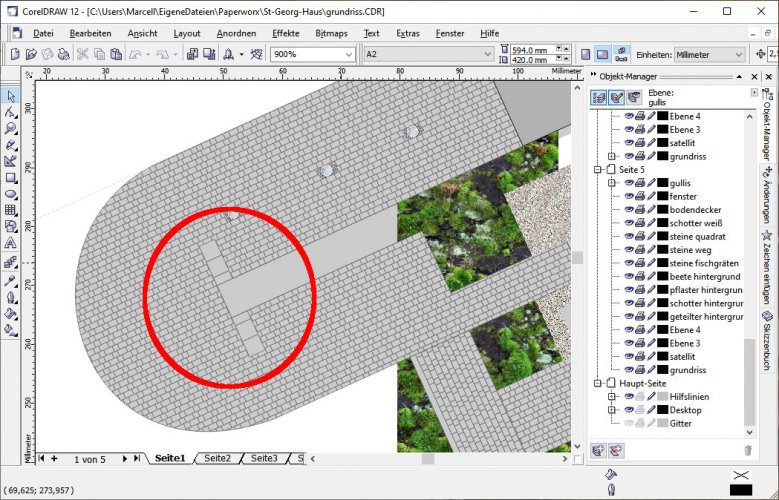
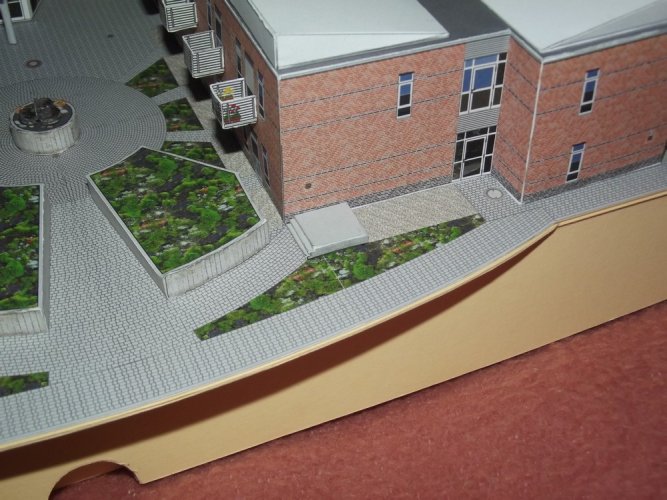
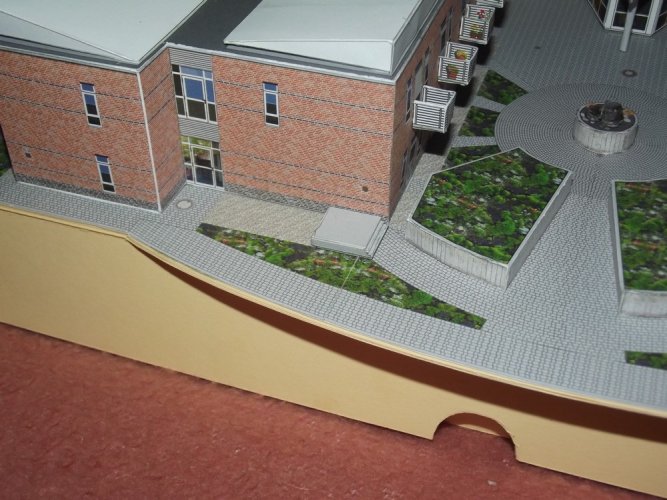
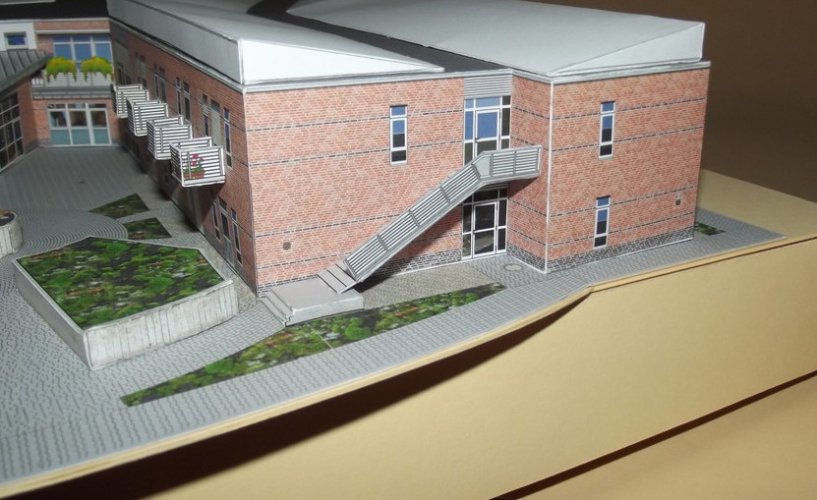
A quick explanation how the stones were made to follow the curves. When I found out that all lines met in the center of the yard which is the center of the fountain I created a series of circles using the interactive contour tool:
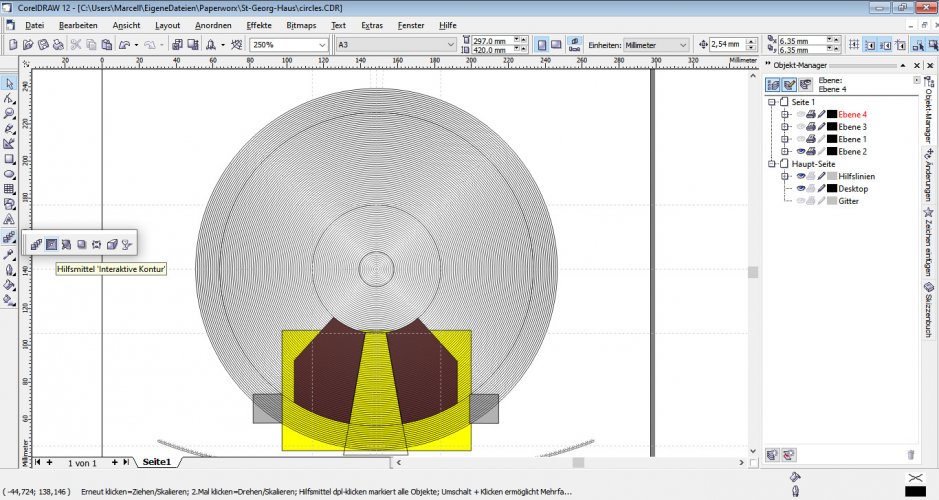
The number of circles matched the number of rows I counted in reality.
Then I marked the areas which had to be textured (yellow rectangle). This was put on a new layer. Editability of both circle and rectangle layers was toggled off. A new layer was created and filled with a series of stones (green). Using the curvature of the circles each stone was rotated slightly to follow the curvature. Since the bend of the curve was equal on each circle I grouped the series of stones, doubled it and moved and rotated it into place as seen.
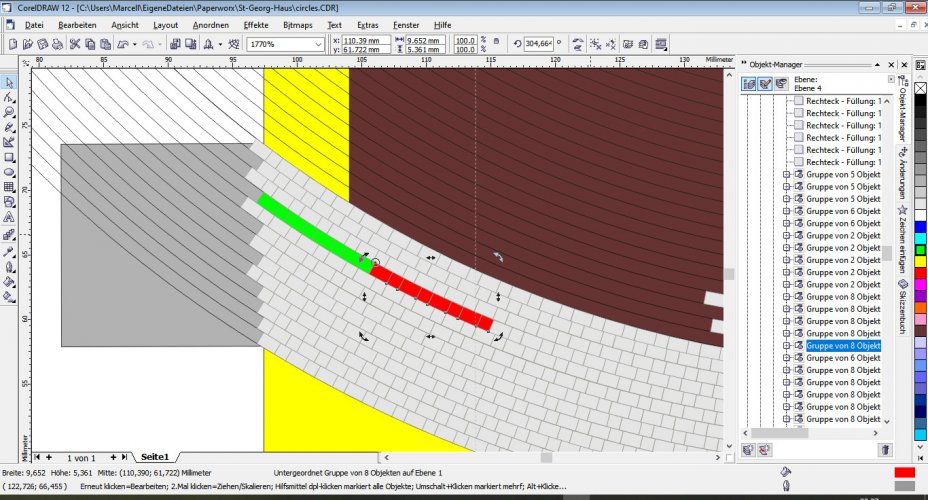
Red and green stone series were grouped, multiplied and arranged like the red series before.
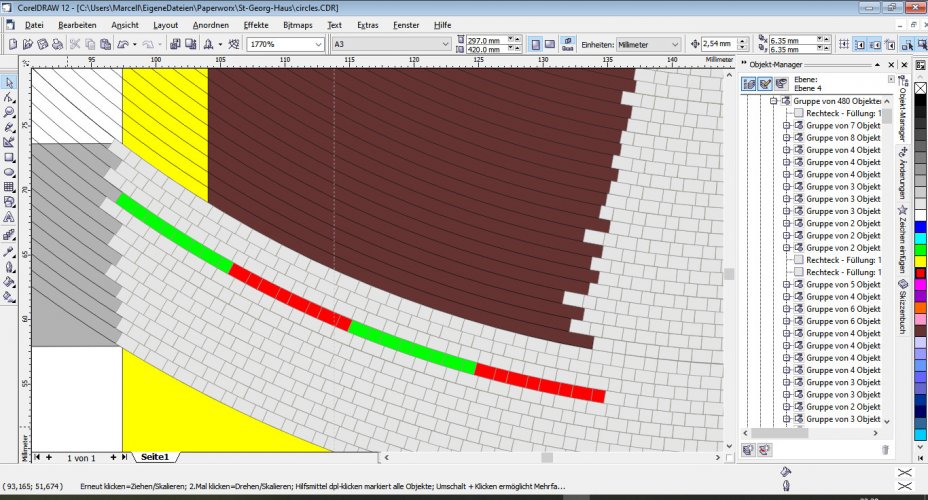
This was done over and over again till the whole circle was filled. With each multiplication the series of stones got longer and the circle was filled very quickly. Then I proceeded with the next circle and the next row of stones.
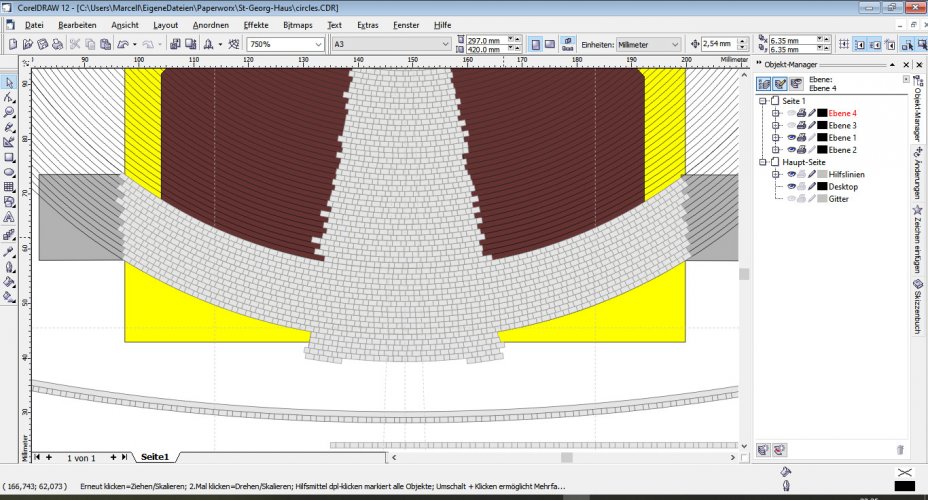
The cobblestones in the center circle were created a bit differently.
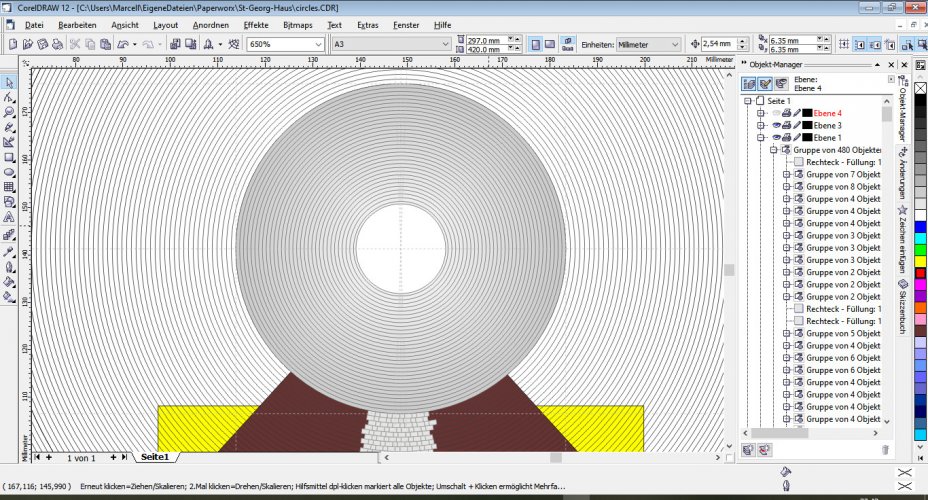
I created a square which was as big as the distance between two neighbouring circles. Then I drew two guide lines from the left and the right side of the square toward the center of the circle.
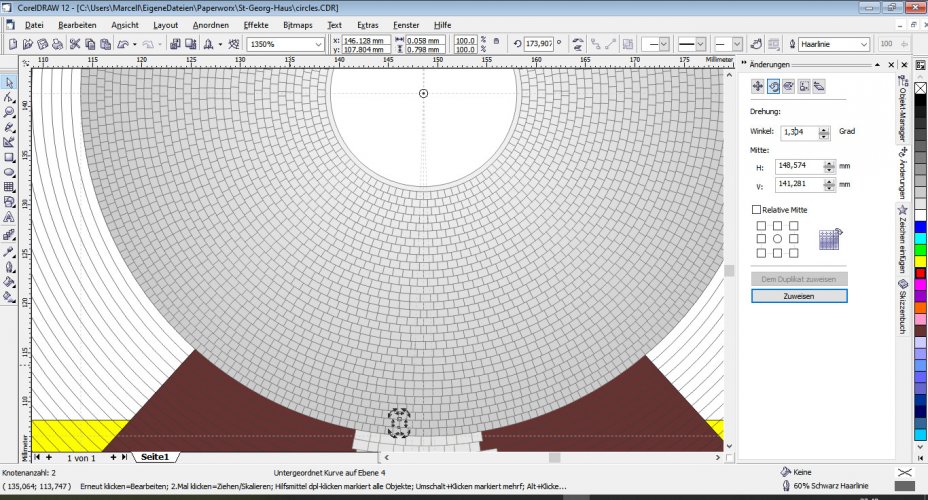
I determined the angle, wrote down the number, drew a line on one of the sides of the square, moved the rotation center of the line toward the center of the circle and used the rotate duplicate function to create a series of lines which went all around 1/4 of the circle. Then I moved up the square to the next circle and repeated the process.
After that I grouped the 1/4 circle lines, mirrored them, arranged them so that they filled 1/2 of a circle, grouped both, mirrored all lines again and arranged them to fill out the entire circles. The crossing points had to be slightly adapted to remove double lines or lines which were too close together.

The number of circles matched the number of rows I counted in reality.
Then I marked the areas which had to be textured (yellow rectangle). This was put on a new layer. Editability of both circle and rectangle layers was toggled off. A new layer was created and filled with a series of stones (green). Using the curvature of the circles each stone was rotated slightly to follow the curvature. Since the bend of the curve was equal on each circle I grouped the series of stones, doubled it and moved and rotated it into place as seen.

Red and green stone series were grouped, multiplied and arranged like the red series before.

This was done over and over again till the whole circle was filled. With each multiplication the series of stones got longer and the circle was filled very quickly. Then I proceeded with the next circle and the next row of stones.

The cobblestones in the center circle were created a bit differently.

I created a square which was as big as the distance between two neighbouring circles. Then I drew two guide lines from the left and the right side of the square toward the center of the circle.

I determined the angle, wrote down the number, drew a line on one of the sides of the square, moved the rotation center of the line toward the center of the circle and used the rotate duplicate function to create a series of lines which went all around 1/4 of the circle. Then I moved up the square to the next circle and repeated the process.
After that I grouped the 1/4 circle lines, mirrored them, arranged them so that they filled 1/2 of a circle, grouped both, mirrored all lines again and arranged them to fill out the entire circles. The crossing points had to be slightly adapted to remove double lines or lines which were too close together.
Last edited:


