space 1999 eagle mst by keith withers and marc robitaille
- Thread starter lyter1958
- Start date
You are using an out of date browser. It may not display this or other websites correctly.
You should upgrade or use an alternative browser.
You should upgrade or use an alternative browser.
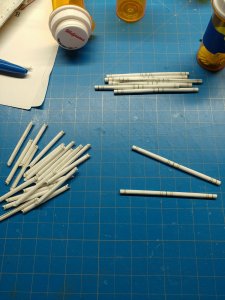
well.. more tubing. god, i havent rolled this much paper since the 70's..hahaha.. um any way.starting the work on the sub-frame assembles. 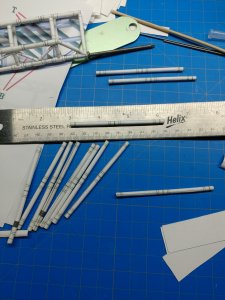
16 of these total. and a bear to keep tight to glue. there were 2 that a black stripe on them, so you have to be sure you don't mess up and put them side by side when gluing together.no that i would do something like that...um yea..i did.
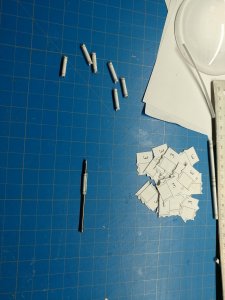
36 of the cross braces. a nail worked great to get it right size. you will end up with 4 of the sub-sub-frame pieces like this

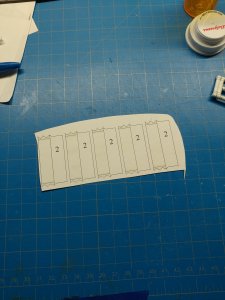
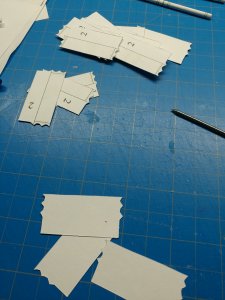
all of the edge lines will be on the inside of the model and not seen. unless you want to look the close that is. onto the other frames. you will have 8 of the long tubes left to make these. and 20 of cross members

a old pill bottle helps keep them together till time to use.. trust me, if you don't , parts get lost. a few rolled off and disappeared on me and i had to reprint a page to get more..and then i find them..

16 of these total. and a bear to keep tight to glue. there were 2 that a black stripe on them, so you have to be sure you don't mess up and put them side by side when gluing together.no that i would do something like that...um yea..i did.

36 of the cross braces. a nail worked great to get it right size. you will end up with 4 of the sub-sub-frame pieces like this

all of the edge lines will be on the inside of the model and not seen. unless you want to look the close that is. onto the other frames. you will have 8 of the long tubes left to make these. and 20 of cross members


a old pill bottle helps keep them together till time to use.. trust me, if you don't , parts get lost. a few rolled off and disappeared on me and i had to reprint a page to get more..and then i find them..
ready to glue
do the ends first and let dry.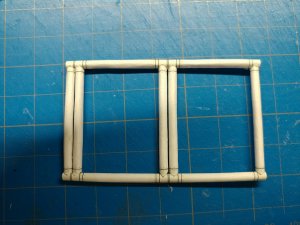 now easy to attach the other 3 into place
slow going for sure. but taking my time to make sure the rolls are tight and lines match. i see why a lot of people don't want to tackle this one yet. after 2 hours of "tubing" it gets old quick. fingers,eyes and back hurts sitting here. but thats some of the fun doing this.
it's gonna get more interesting from here and the empty bottles will really be needed...trust me.. till then

do the ends first and let dry.
 now easy to attach the other 3 into place
slow going for sure. but taking my time to make sure the rolls are tight and lines match. i see why a lot of people don't want to tackle this one yet. after 2 hours of "tubing" it gets old quick. fingers,eyes and back hurts sitting here. but thats some of the fun doing this.
it's gonna get more interesting from here and the empty bottles will really be needed...trust me.. till then
- Apr 5, 2013
- 13,876
- 10,215
- 228
The patience you show for building tubes that look like they were manufactured by a machine speaks much about you. Fantastic diligence. 
humm.. well, i have a lot of wire and stuff here..old computer parts and other things...oh god. just got me thinking ......Oh boy! That's some framework! I think I'll send you the big Viper to add all the wires and bits and pieces..!


well, with everything going on of late i want to get some more pictures up to show the progress of what was done so far.
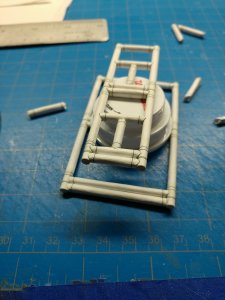
starting to put together the sub-frames. the bottle caps are "just tall enough to use..
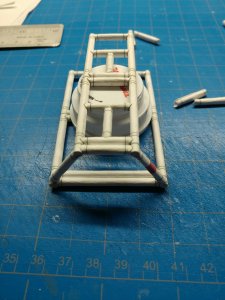
first 2 pipes in place. note that 1 has a red stripe on it. the other side will have one also "but" on the opposite side.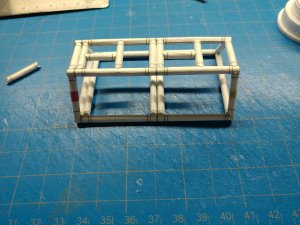
oh, forgot . also a yellow stripe also done the same way. next are the rest of the uprights .
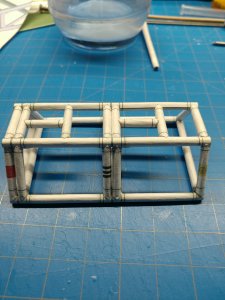
3 more to do. the rear sub-frame has black stripes at the rear.

starting to put together the sub-frames. the bottle caps are "just tall enough to use..

first 2 pipes in place. note that 1 has a red stripe on it. the other side will have one also "but" on the opposite side.

oh, forgot . also a yellow stripe also done the same way. next are the rest of the uprights .

3 more to do. the rear sub-frame has black stripes at the rear.
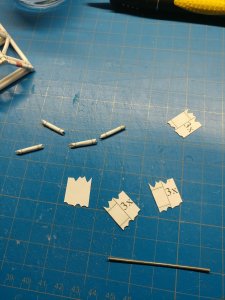
the smaller cross pieces.
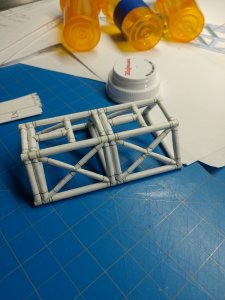
just 3 more to go..

both front sections done. rear are done the same. next...MORE tubes to roll..yeah!!!!...
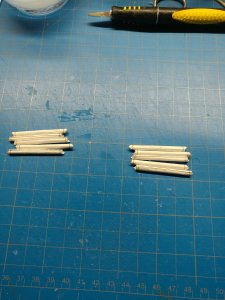
these are used to join the 2 sub-assemblies to make 1 large assembly..
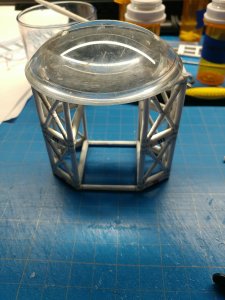
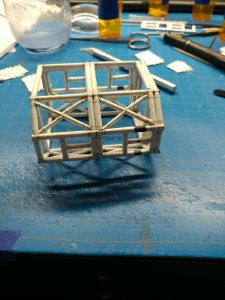
5 tubes per side. i did the ends first and then added the others after making sure it was square
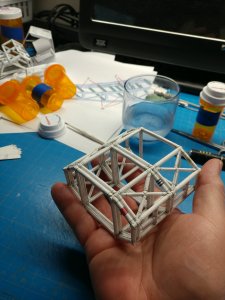
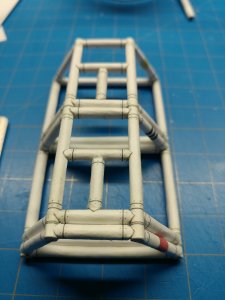
and here is the finished main front assembly. the rear is done the same way.
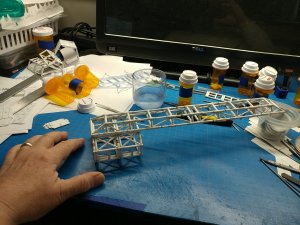
here i just set the backbone on it to see on how it looks.. i think its gonna be a "little " small, don't you?
a few other pics i forgot to upload..
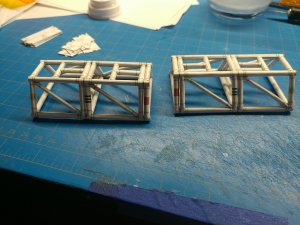
rear section done..
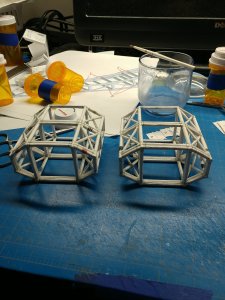
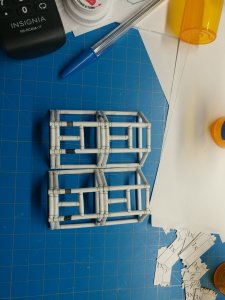
both sections
and last.. a treat..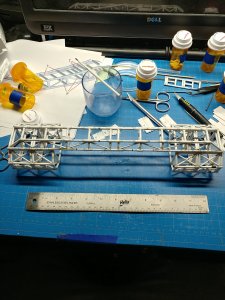
so it's just a little "small".. no head or engines... this WILL take a beating with the way i reinforced the backbone and how strong all the bracing on it. but no little kids will be playing with it. only big kids are allowed..

rear section done..

both sections
and last.. a treat..

so it's just a little "small".. no head or engines... this WILL take a beating with the way i reinforced the backbone and how strong all the bracing on it. but no little kids will be playing with it. only big kids are allowed..
oh, i wanted to put this little tip up for you. i'm sure others already do this but this is how i am rolling the pipes
first pic is the front side of the part and the 7 is the inside of the tube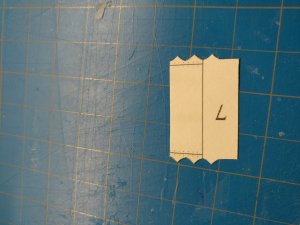
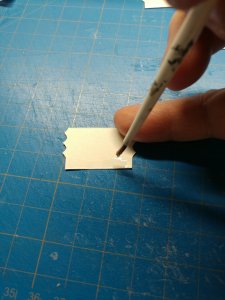
next, on the backside you wet it with some water and let it sit till the paper soaks it in
next, take what ever size rod you want to use ( one that gets the edges to come as close as possible) and start to roll it.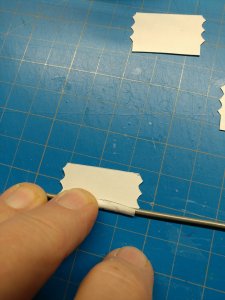
it does take a lot of trial and error to find the right size to roll with. this one is about 2.11 mm in size. other one i used was about 1.48 mm..
next is to roll almost to the edge of the paper..keeping tight pressure as you roll.
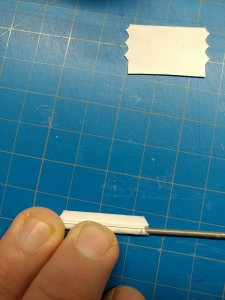
next, i spread glue all along the edge
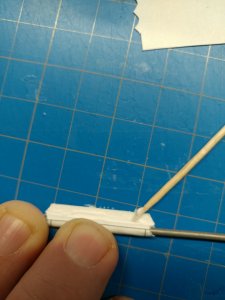
roll till you feel the "edge " of the paper under your fingers. you get the knack after a while feeling that you are right there, on the edge..
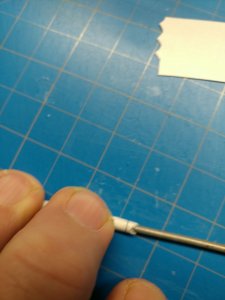
hold for a few seconds ...and then..
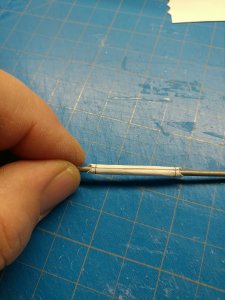
line to line..
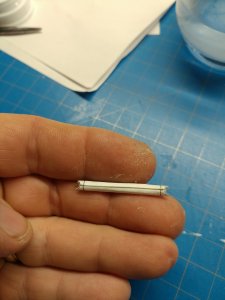
one finished tube. not all of them came out as nice as this one. but the more i roll the better "most" of them come out
i hope this helps others with rolling tubes. like i said, the hardest part is finding the right size thingie to roll the paper with. after that, have fun
first pic is the front side of the part and the 7 is the inside of the tube

next, on the backside you wet it with some water and let it sit till the paper soaks it in

next, take what ever size rod you want to use ( one that gets the edges to come as close as possible) and start to roll it.

it does take a lot of trial and error to find the right size to roll with. this one is about 2.11 mm in size. other one i used was about 1.48 mm..
next is to roll almost to the edge of the paper..keeping tight pressure as you roll.

next, i spread glue all along the edge

roll till you feel the "edge " of the paper under your fingers. you get the knack after a while feeling that you are right there, on the edge..

hold for a few seconds ...and then..

line to line..

one finished tube. not all of them came out as nice as this one. but the more i roll the better "most" of them come out
i hope this helps others with rolling tubes. like i said, the hardest part is finding the right size thingie to roll the paper with. after that, have fun


