space 1999 eagle mst by keith withers and marc robitaille

lyter1958

Esteemed Member
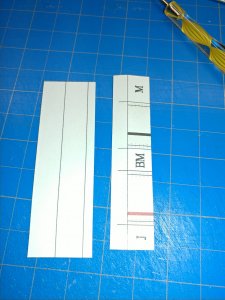
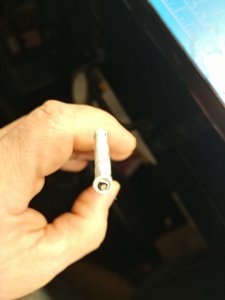
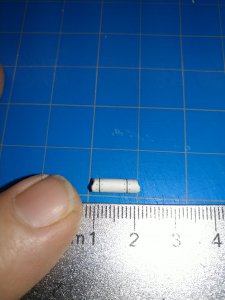
yup, the one with ALL the tubes.. i'm at it again. am i crazy?? yes.. but i enjoy it so much . so, all printed out on 11x17 67lb paper as always. i'm starting with the backbone first to get the drift on how rolling the tubes and putting it togther.20200101_103729.jpgfirst tube .. i trimmed off some of the extra paper so that i could get it to roll tight
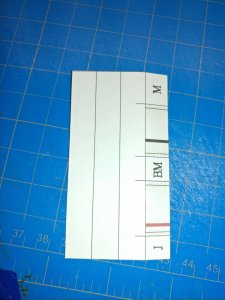
20200102_142427.jpgbefore
20200102_142507.jpgafter
it helped to wet the paper to make rolling easier. using different size wood and metal rods to get it so the ends would meet
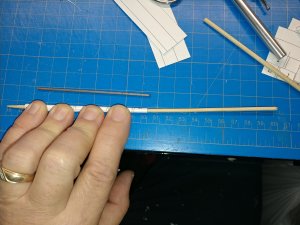
20200104_114627.jpgquite a chore i'll tell you. but the best thing is. there are NO triangles to cut. haha.( a plug at the tower )..
 

lyter1958

Esteemed Member
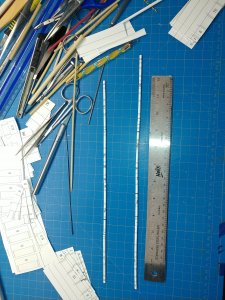
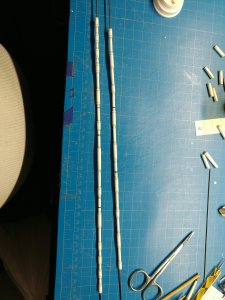
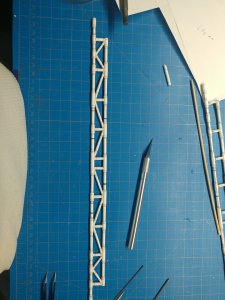
here are 2 of the 4 main "beams" of the back bone20200104_121429.jpg
they are marked on how they are to be joined end to end.notice the longer one has some colored rings. that comes to be important later.
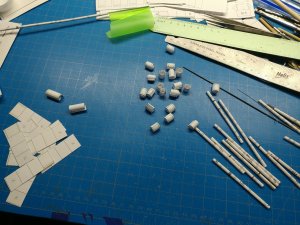
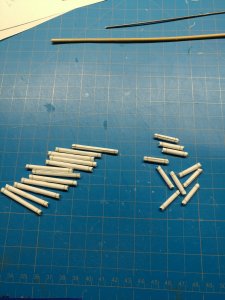
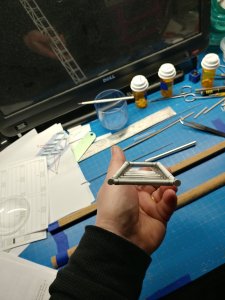
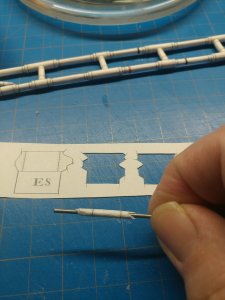
here i'm starting to preroll the connecting tubes .20200105_120937.jpg
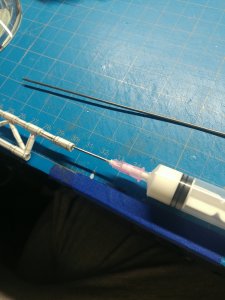
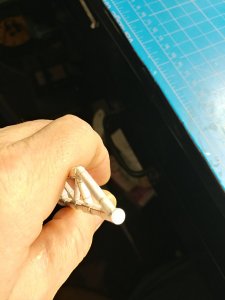
i found old marker flags that have a thin metal rod.. perfect for helping to assemble the parts togther
20200105_152136.jpg
you MUST follow the directions ( yes , i goofed a few ) not glue all the connection joints!! i did glue 2 to them but got the cut off before they dried .
here is 1 side with all connectors on20200110_000659.jpg
so you have a total of 2 short uppers and 2 long lowers.
 

lyter1958

Esteemed Member
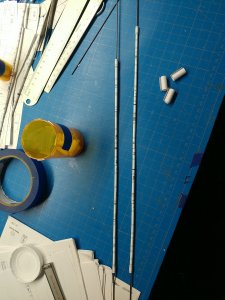
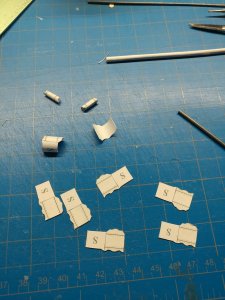
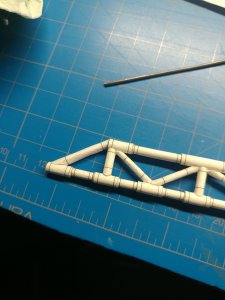
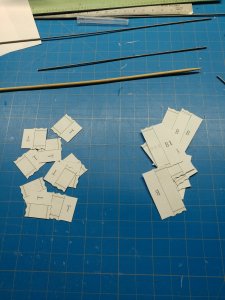
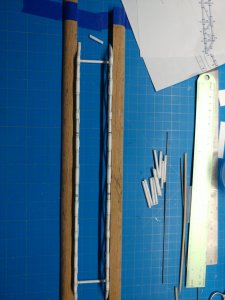
now some more fun stuff. attaching the beams together.. i cut out and rolled the connectors ..10 per side. 20200111_201422.jpg
the thin metal worked great for getting them tight to the marks. the directions say to use a tooth pick but its just a little too big. the rod is smaller but after you roll it tight and then release pressure a little you can get the lines to come together.20200111_224338.jpg
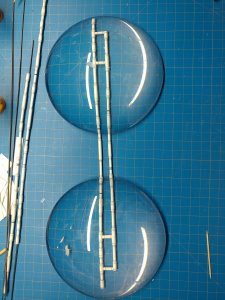
here i attached only 2 at either end and used these "weights" to hold them flat..
20200112_123336.jpg
lastly all the connectors in place and dried. old ruler shows on how "small" its gonna be. and this is only the back bone. other side is done the same way BUT ( remember the colored lines) , you want to make sure they are opposite of the other side so they match. next will be the cross bracing, which looks to be really fun on fitting into place. yes , MORE tubes to roll.. oh why do i keep doing this to myself??? i guess it's fun?? hahaha.. anyhow , thanks for looking and i'll keep building.
 

zathros

*****SENIOR ADMINISTRATOR*****
Staff member
Administrator
Moderator
OMG!! All those tubes. I have to be honest, I'd cheat and scale it up to waterever straws are!! Looking really excellent!! :)
 

Rhaven Blaack

!!!THE MAN BEHIND THE CURTAIN!!!
Staff member
Administrator
Moderator
I have thought about making this model many times. The only thing that has stopped me, are these tubes. I have thought about using bamboo skewers instead of rolling out the tubes.

I have to say that you are of to a great start! I will be following this thread closely! I wish you the very best of luck!
 

lyter1958

Esteemed Member
I have thought about making this model many times. The only thing that has stopped me, are these tubes. I have thought about using bamboo skewers instead of rolling out the tubes.

I have to say that you are of to a great start! I will be following this thread closely! I wish you the very best of luck!
but thats the "fun" part...rolling all them tubes:sticktongue::rolllaughing:. will not be as bad as all them triangles i did..
 

lyter1958

Esteemed Member
a little more done.20200112_202654.jpg
cutting and rolling the inner tubing..20200112_203152.jpg
10 pieces and at different lengths, plus 2 end pieces
20200114_204256.jpg
but then i had a idea....20200114_204637.jpg
to give the rails some more strength, i cut those metal rods to size.
20200114_210003(1).jpg
and the i put glue inside each end , inserted rod and let dry. the backbone is going to have a lot of load to it and i want it to hold up to being handled..( not like I'M goning to be playing with it)..
 

Revell-Fan

Co-Administrator
Staff member
Administrator
Moderator
:hammerhead::hammerhead::hammerhead::hammerhead::hammerhead:

Those tubes alone would drive me crazy! My hats off to you, lyter! thumbsupthumbsupthumbsup

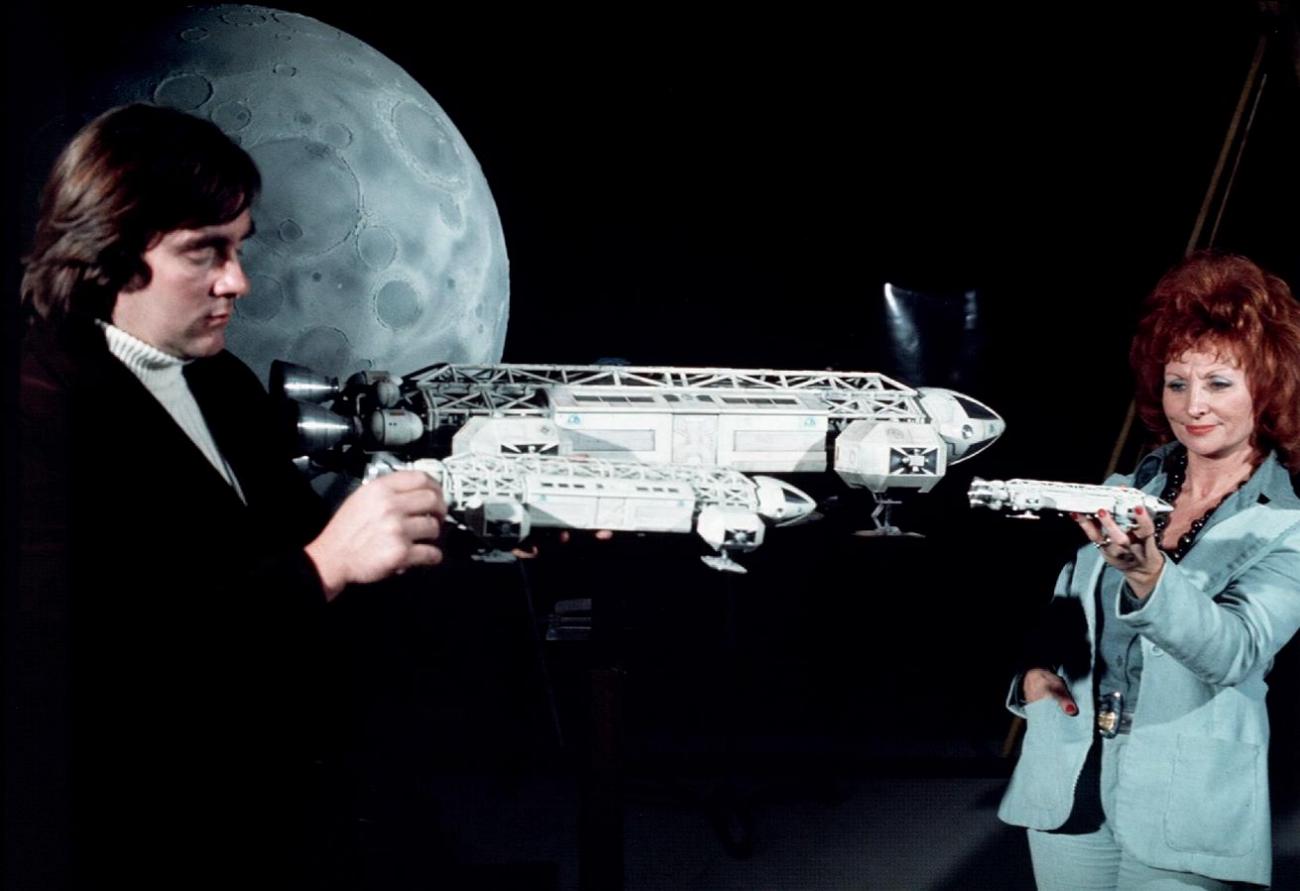
Brian Johnson is the one to blame for this torture:

isfxmbj31.jpg


He built it in the first place. Then he went on to make the tubes on the Y-Wings and the Nostromo..!

:D:D:D
 

lyter1958

Esteemed Member
:hammerhead::hammerhead::hammerhead::hammerhead::hammerhead:

Those tubes alone would drive me crazy! My hats off to you, lyter! thumbsupthumbsupthumbsup

Brian Johnson is the one to blame for this torture:

isfxmbj31.jpg


He built it in the first place. Then he went on to make the tubes on the Y-Wings and the Nostromo..!

:D:D:D
im sorry.. but the way she is holding that eagle and looking at it......it's like.... hahahahaha...sorry...evil thoughts.....
 

lyter1958

Esteemed Member
glue dry, now on to more tubes...here the end brace in place.20200115_215253.jpg
i did not like the ends open and you could see the rod inside.. 20200116_204503_HDR.jpg
so.. grabbed one of my " professional leather tools" ( and i am in NO way a professional ) and cut some end caps..20200116_204746_HDR.jpg
much better.. now, on to all the top and bottom cross braces. 10 small top and 12 larger bottoms
20200116_210854.jpg
i found out..by some great people here.. that wetting the paper a little makes it easier to start rolling the tubes. 20200116_210924.jpg
all rolled and ready to glue into place
20200116_214439.jpg
 

lyter1958

Esteemed Member
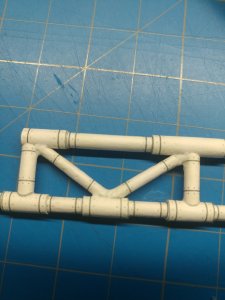
the plans call for using book edges to make a straight edge for this part. i started looking around my room and spied 2 pieces of 1/4 round laying on the floor..( no, i don't know why or where i used them before..) taped 1 down, put 1 rib along it, using 2 of the bottom tubes at the ends found where to tape the other piece at.20200116_220128.jpg
the real fun part of this was trying to get the correct angle of both sides. starting at one end and using one of the smaller tubes, just angle in till it holds it in place and glue. then do the same for the second upper tube, the gluing 2 lower tubes. you Have to let them dry in place first or mishaps happen. trust me, they will happen. also it helps to "place a large and small tube...not glued.. at the other end to keep every thing in line.once dried you can work your way down the spine gluing a bottom then the upper tubes, checking as you go along that it's square..mine came out tweaked a little. some slight twisting..and i mean slight.. got it straight. add a little extra glue to the joints and its done..20200118_100858_HDR.jpg
damn, i scares me self at times..
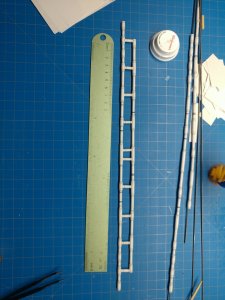
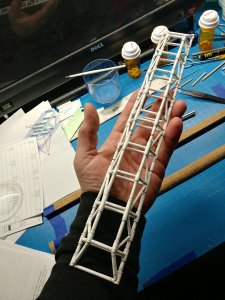
here is the finished back bone and its just a "little" big
20200118_100852_HDR.jpg
14 1/2 inches long and almost 2 inches wide.. kind of gives you a idea on how "small" its gonna be.
now onto the sub frame sections. 2 of them to be built. around 80(?) tubes for them, i think..didn't count..BUT, if anyone wants a tube count. i might do it..hahaha.
thanks for looking.
 
Top