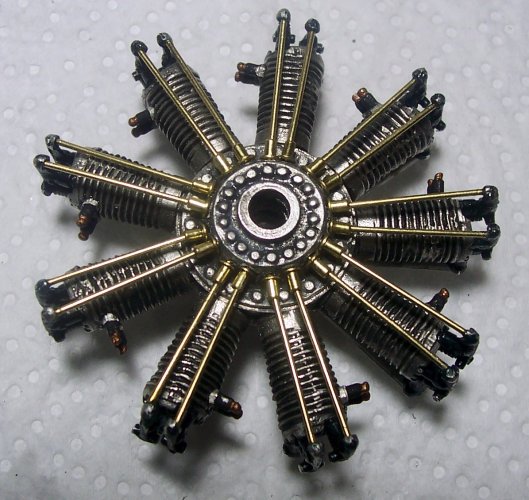
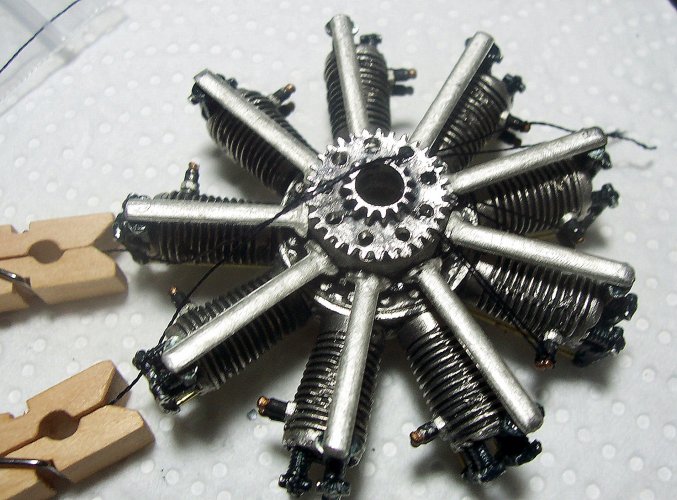
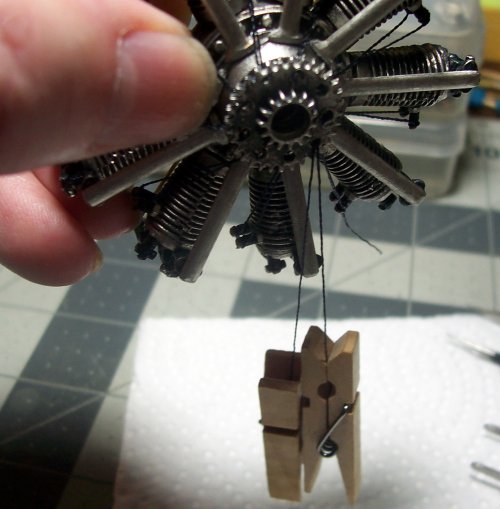
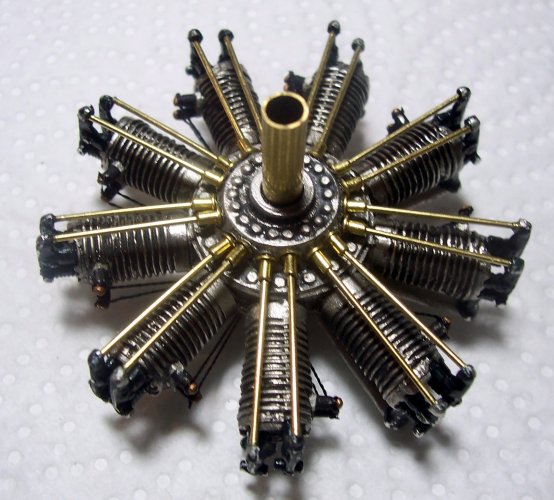
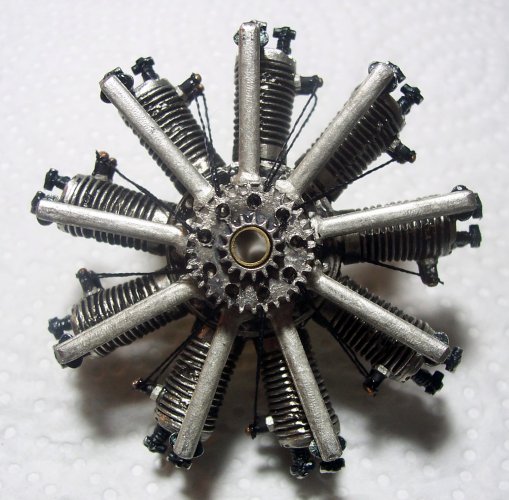
Okay, here we go with the continuation of the engine build.
There are 9 cylinders for the
Clerget 9B rotary engine. The Britannia castings are generally okay but do have flashing that has to be removed. I use a #11 X-Acto knife, brass brushes on the Dremel, and needle files. The castings are pretty soft of the same material, white metal that is used for the small game characters. I wanted to get a more used look for my engine so I applied a flat black acrylic to the cylinders, and removed the paint from the edges. It gave a nice over-heated look to the parts.
The Clerget engine used a total loss oil system for lubrication, meaning that oil would be blown out of the exhaust system with no catch tank to collect it. The pilot would get doused with a healthy amount of Castor oil which caused bathroom issues working as a strong laxative on their bodies. Its interesting that castor oil was found to be the only oil that wouldn't break down when mixed with the aircraft fuel so worked well to keep the engine lubricated. There was a pump that kept spraying a fixed amount of oil into the engine on a time interval. I find it also interesting that when we used to race model internal combustion (IC) boats, we used 5% upto about 25% nitromethane mixed with castor oil, and it was the same total loss system with oil getting blown out all over the place. You would finish up having to clean the boat with dish soap and warm water to get rid of it. I never tried drinking the oil thank God!

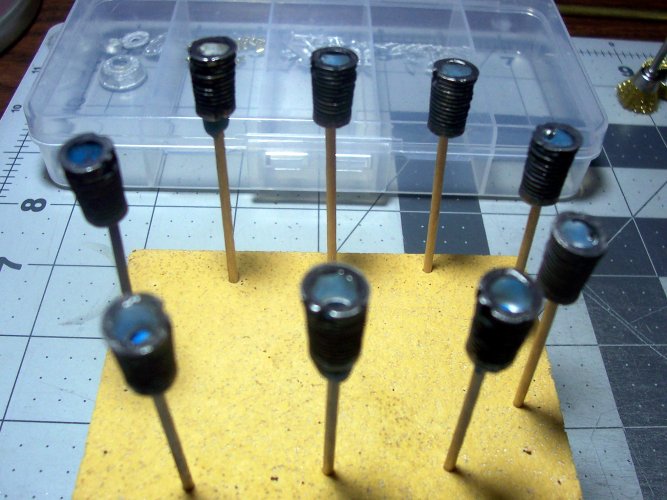
The engine construction was done using 5 minute epoxy resin, and CA glues. The epoxy was used where there would need to be some time to align the parts, and there were some places that the CA was awesome to use like the valves and spark plug wires. I bought some of the cheap plastic cups from Walmart for mixing the epoxy. They work really well.
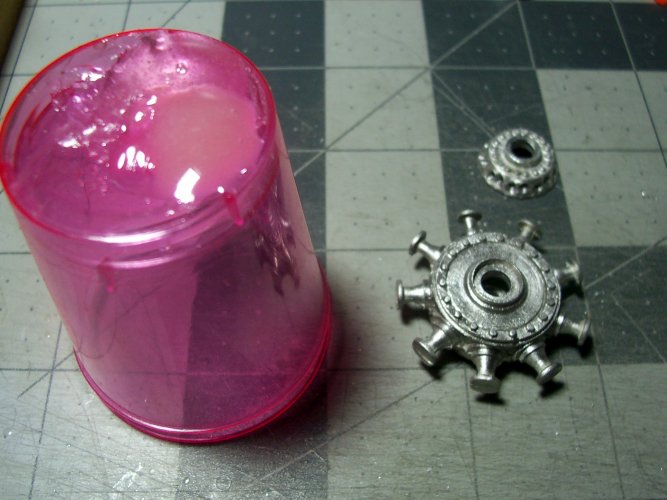
It was recommended that you temporarily install the crankshaft to ensure the correct fit of the bell housings on each side.
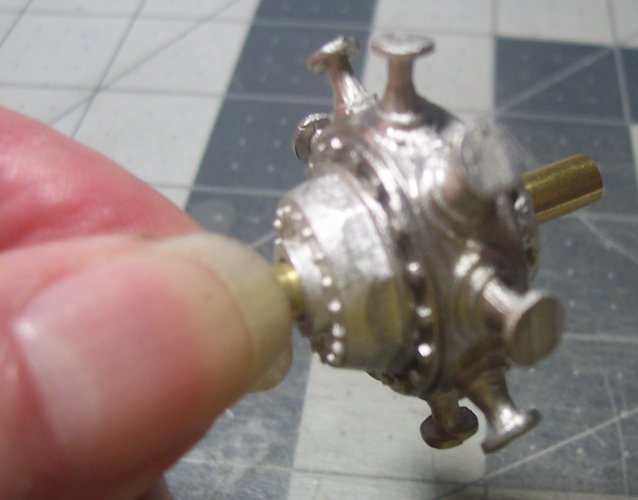
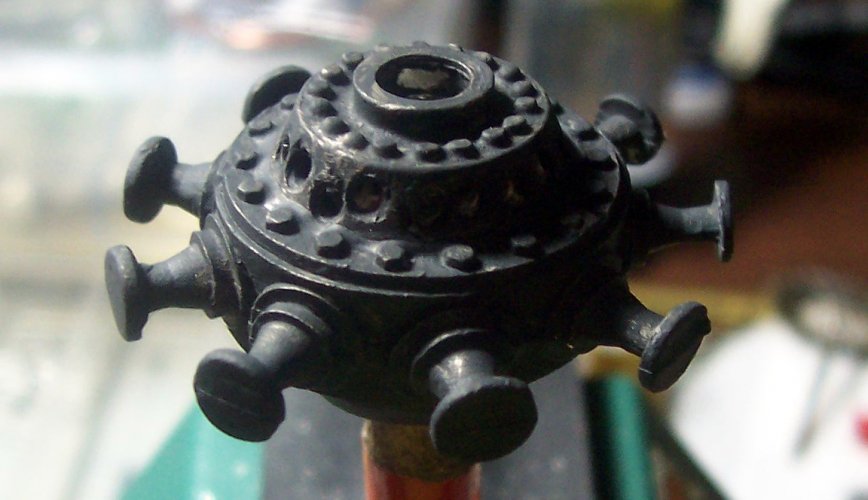
Strange how similar this piece looks to the UFO from the series of the same name

I painted the crankcase with metallic gray paint and then ground off the edges with the brass wire brush and a nail file. You can also see the indentations for the valve lifters that have been drilled and burred out for the Tappet seats. You have to go easy on this because the metal material is very soft and malleable, and its easy to overdo it. If you don't drill these out the Tappet's will not seat properly and it will not look good. I started with a 1/16" drill all the way through, and then an angled burr and finally a rounded burr to take off the swarf build-ups.
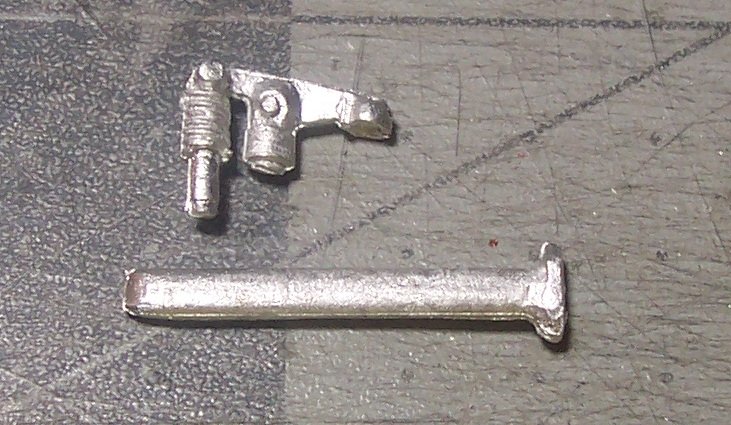
This is one of the exhaust valves in the upper part of the shot and the lower is an induction box. Note that they are very much zoomed in and are very small in reality.
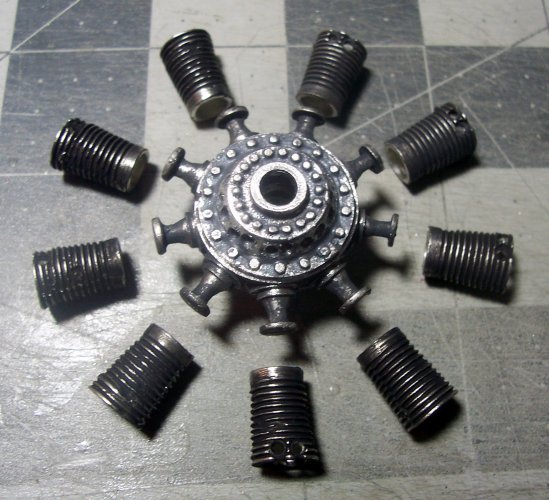
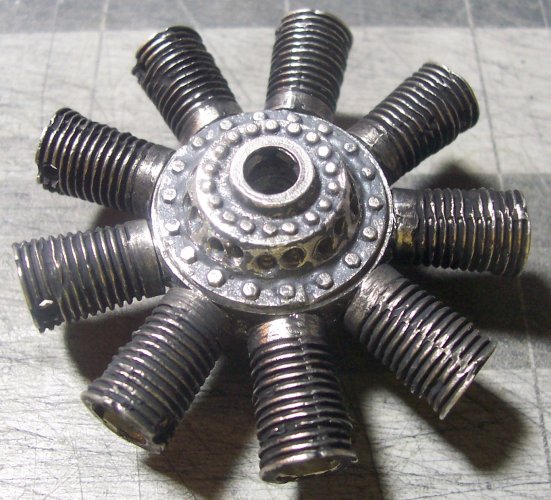
The nodules on the outer rim are the pistons. I glued the cylinders to the crankcase with epoxy which allowed me time to slide parts to get the best fit. You could use CA I guess? I made 9 batches of epoxy.
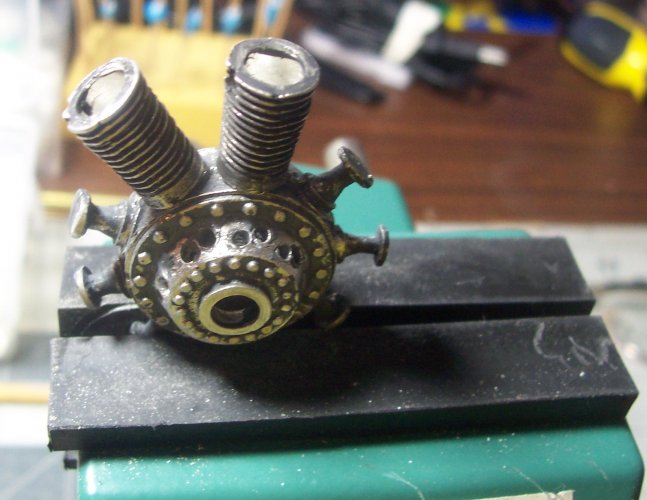
I used my universal vice to hold the crankcase vertical while I glued on each of the cylinders. Note that they are a bit of a sloppy fit.
While the glue was curing, I decided to start cutting out some of the ribs as there are very many of them.
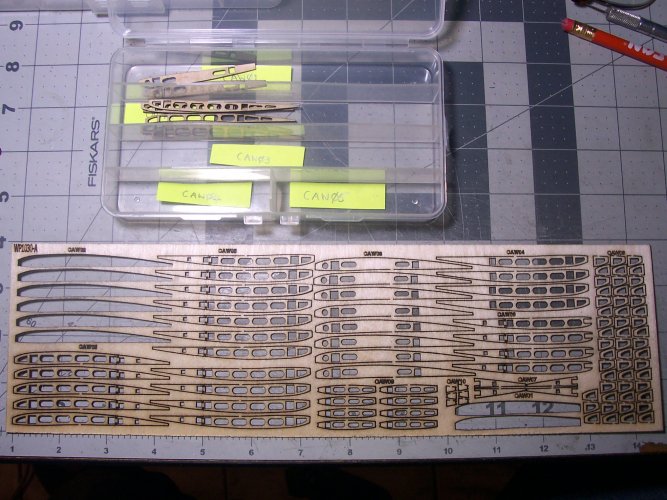
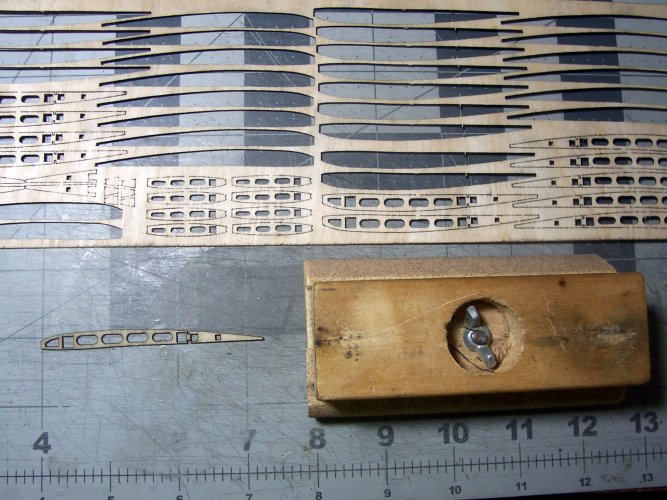
This is nice and thin plywood, but you do have to be careful that you keep it flat to avoid warping. Each rib does need sanding with #200 to get rid of any char from the laser cutting. I bought a small case to organize all the parts for the model.
All the cylinders glued into place.
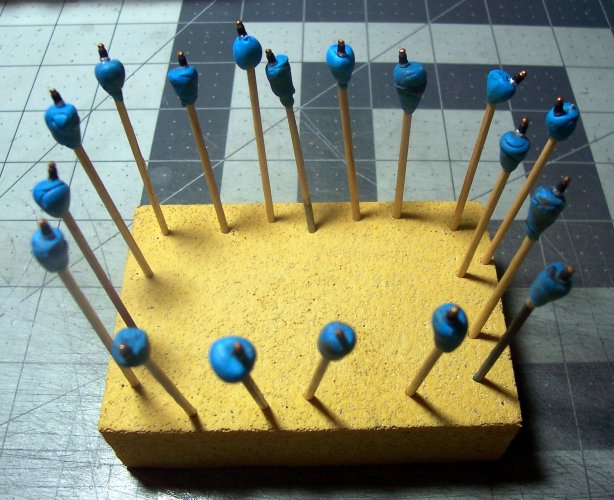
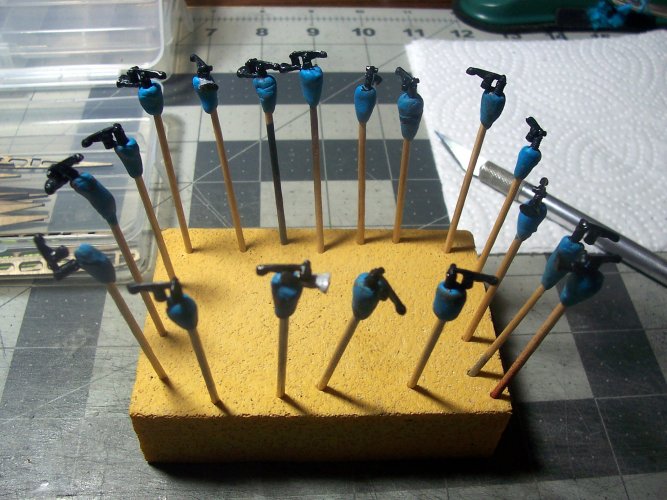
These are the 18 spark plugs, 2 per cylinder. Not really sure why there needed to be 2 per other than a backup I guess? Not sure? The insulators are actually black unlike the good old trusty NGKs that are white porcelain. I left the base of the plug natural, the insulator black and the top electrode is brass.
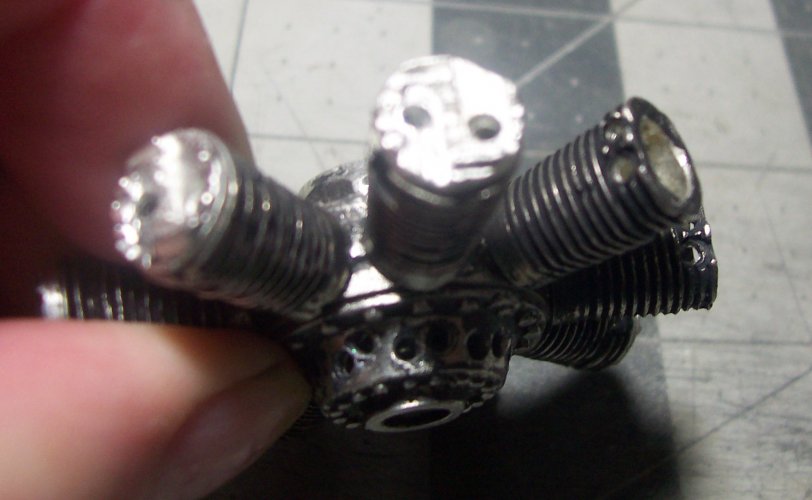
Fitting of the cylinder heads. Make sure to drill out the holes for the valves as I found them too tight. Also the spark plug holes get blocked with epoxy and CA glue.
All the valves for intake and exhaust. I painted these gun metal but I would probably have not painted them at all finding that the paint is chipped off and the CA glue will not stick properly to the paint.
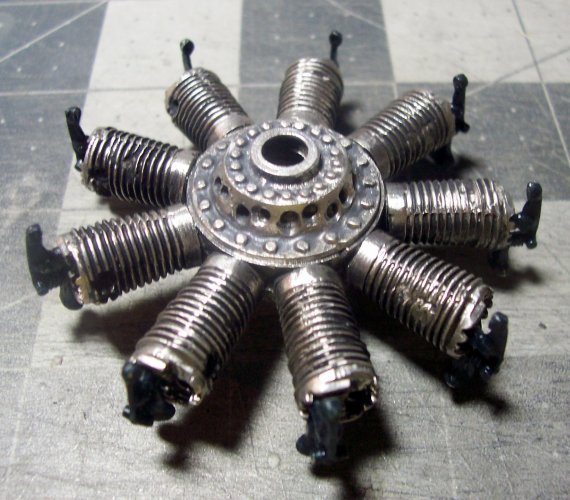
Inlet valves fitted. CA worked great for fitting the valves.
The induction boxes have to be modified for a good fit. I had to trim each one for length and smooth it with a file. I saw on one picture I found on the Internet that the induction boxes look to be made of copper, but I decided to leave them natural color. I used CA glue for these just tacking them in place from the valve end to start with.
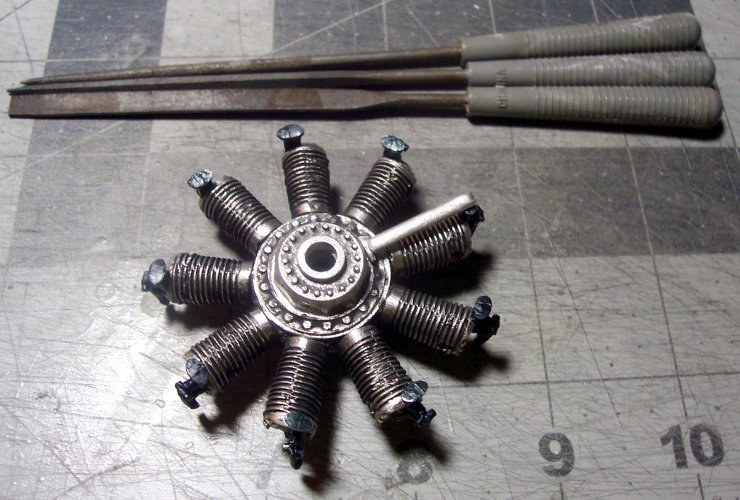
A view so far of the engine with induction boxes fitted.
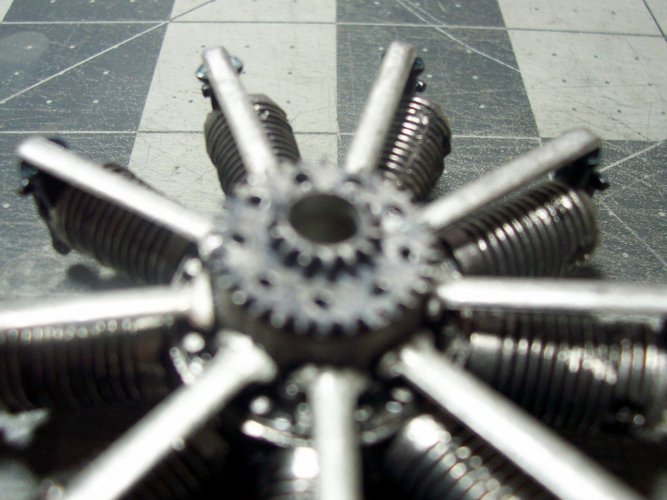
Now glue the exhaust valves in place. Make sure the paint has fully cured. CA glue works great for these.
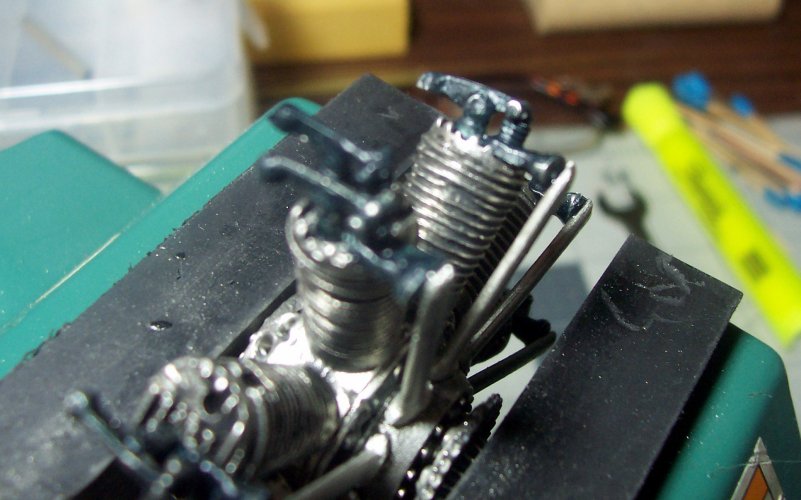
All of the valves in place.
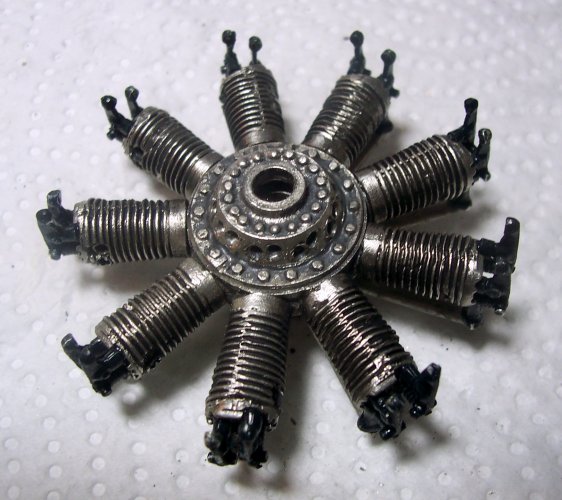
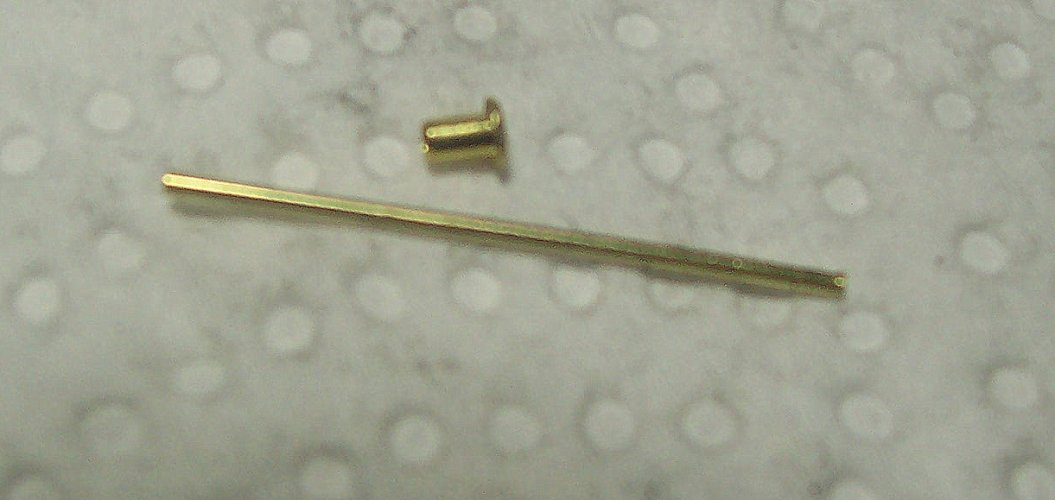
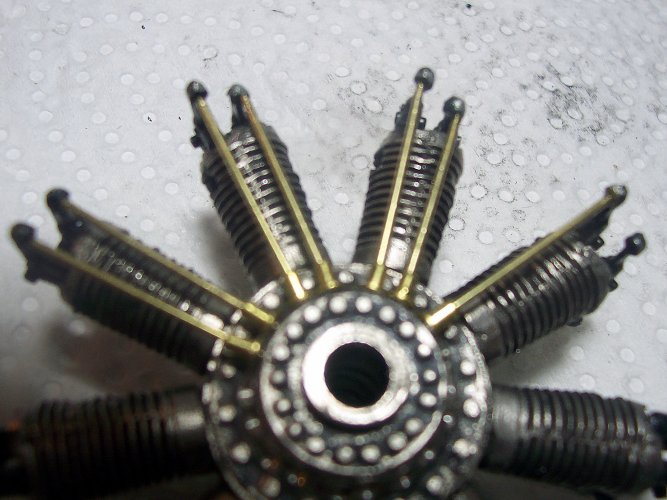
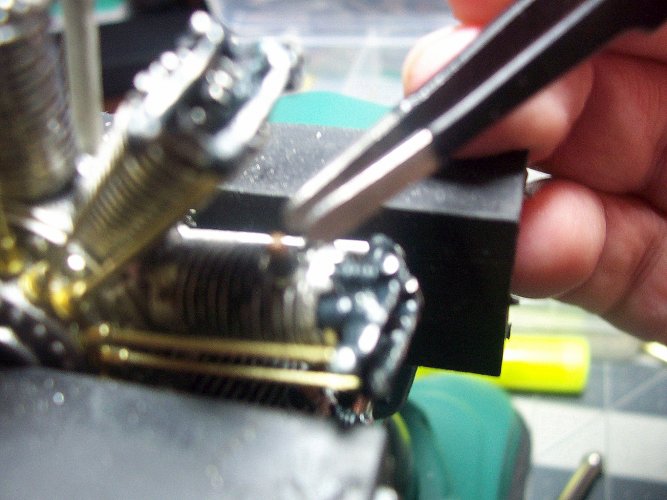
Time to cut and install the valve lifters. I had to tweak the burrs for the tappets with the Dremel. There are 18 lifters in total and the same number of tappets. This is pretty hard trying to get the tappets nicely installed in the holes that were modified earlier. This is the number 1 tough job so far. It would be hard to use anything other than CA glue for these. You first must feed the lifter through the hole in the tappet and then in to the crankcase for the corresponding cylinder. Next align the top of the lifter with the valve seat and use a tiny dab of CA with a long thin nozzle. Then align the base of the lifter with the tappet in the body of the crankcase. Not an easy task.
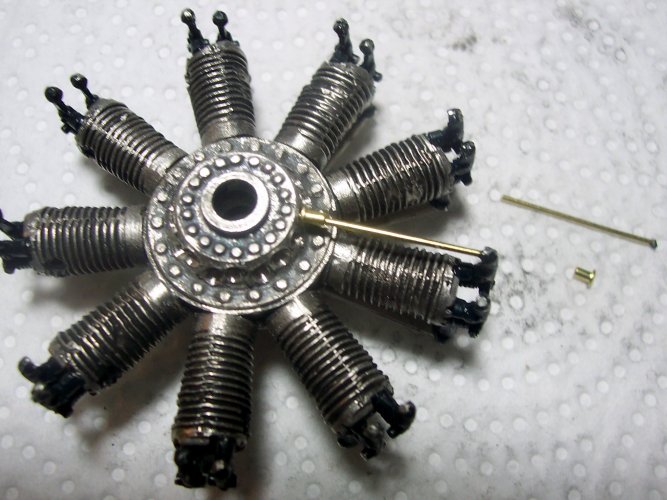
A close up of the lifter and tappet. The lifters are cut from 2, 12" X 1/32" brass rod.
