Hi everybody 
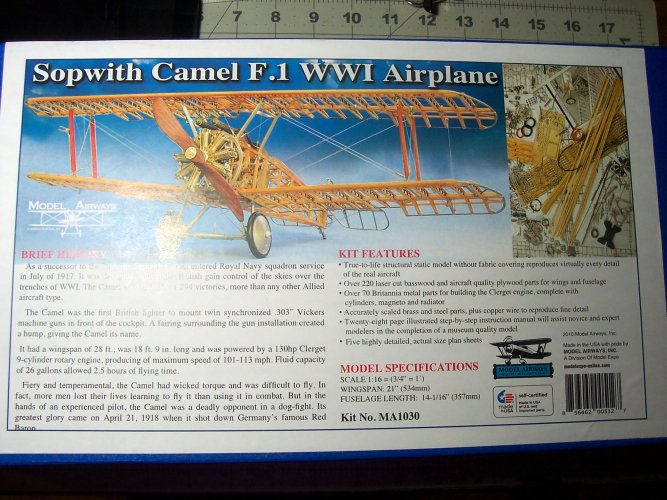
I have decided to have a go at building something a little different. It's the Model Airways Sopwith Camel F.1 I chose this model because it looks like it will be challenging. It's made from wood and metal, which will be different from what I am used to which is paper and card. I have always been fascinated by the old WWI biplanes and I guess the Camel is pretty famous to say the least. The instructions state that the model is like holding the real thing in your hand, and has pretty much the same materials and construction as the full size airplane.
Its a static model and is meant for display only, so no wing covering is required. It will likely need a glass case to keep it safe after it is complete.
MODEL SPECIFICATIONS
Scale 1:16 = (3/4" = 1")
Wingspan - 21"
Fuselage - 14-1/16"
NOTE: If you need to buy the tools and additional items to finish the kit, it will be a substantial amount of cash.
Tools Required:
X-Acto knife or equivalent with # 11 blade(s)
T-Pins
Mapping Pins
5 minute Epoxy
CA Glue
Building board
Razor saw
Glue Looper
Universal Vise
Dremel Drill Tool
1/16" twist drill bit
3/16" twist drill bit
small angled bur
Round Burr
Brass Brushes for Dremel
Small hand brush with brass bristles
Wire cutters
Miniature clothes pins
Cocktail sticks
Blue putty
Multiple pairs of tweezers (needle nose, round nose and so on)
Brass paint
Gunmetal paint
Flat black paint
Silver gray paint
Copper paint
Turpentine Substitute
#200 Grade Silicon Carbide Sandpaper
Windex (or similar)
(I will add to this list(s) as I get going with the model)
Stage 1 - Engine
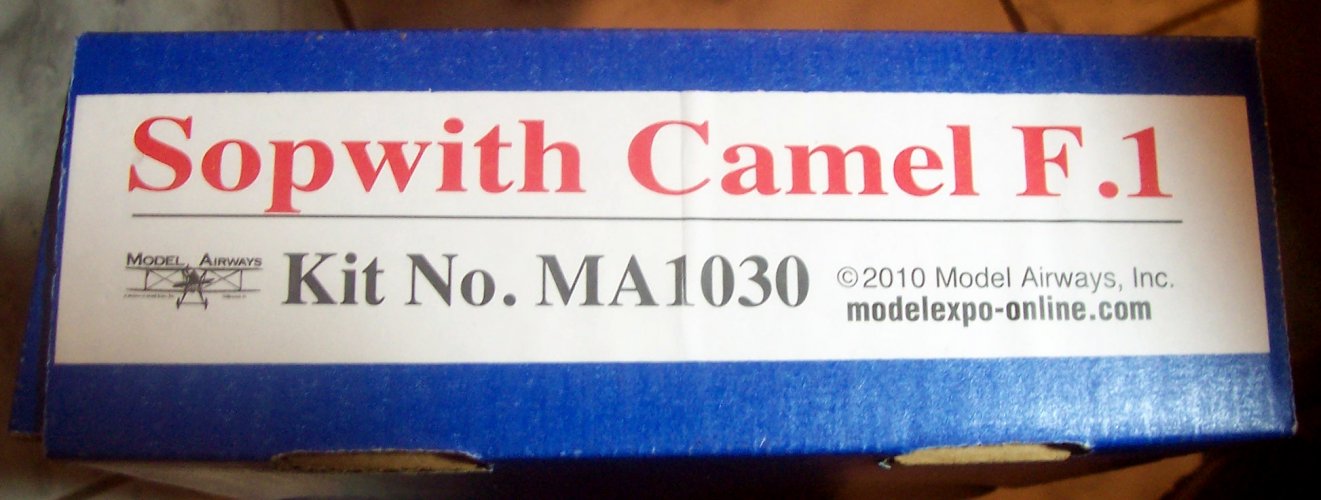
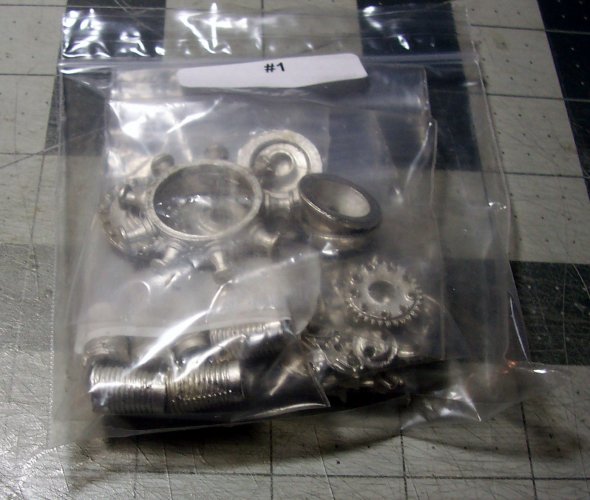
The Britannia castings of which there are many, are sorted into small plastic bags in the kit.
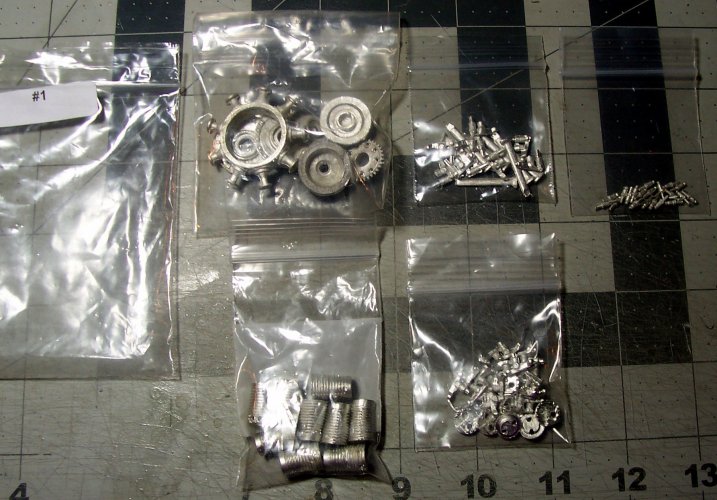
Here's a view of some of the engine components.
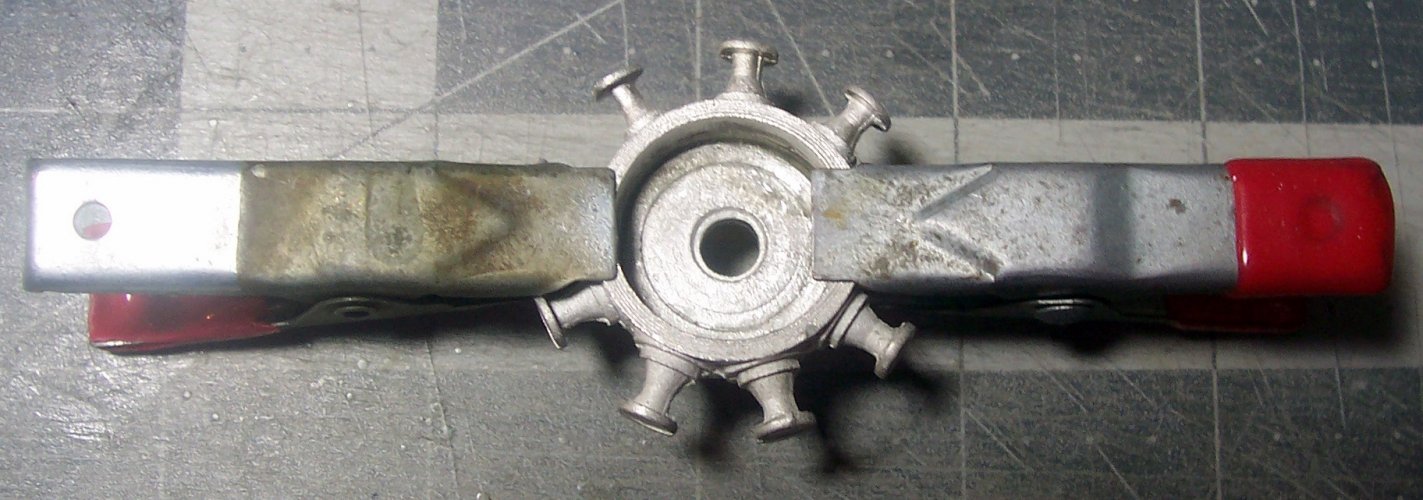
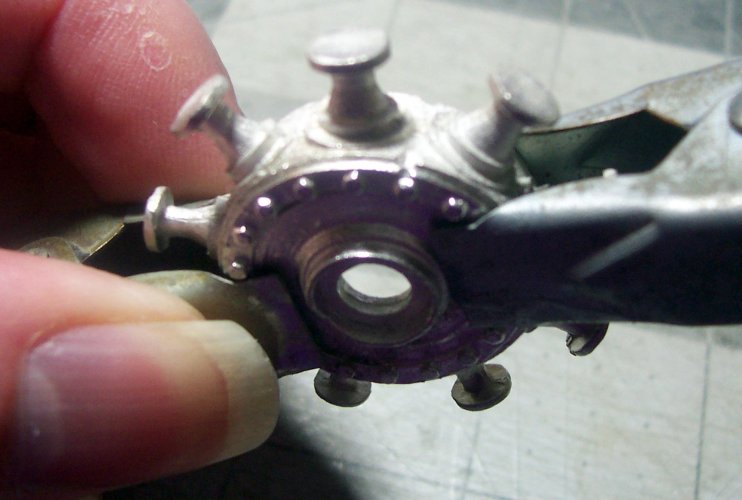
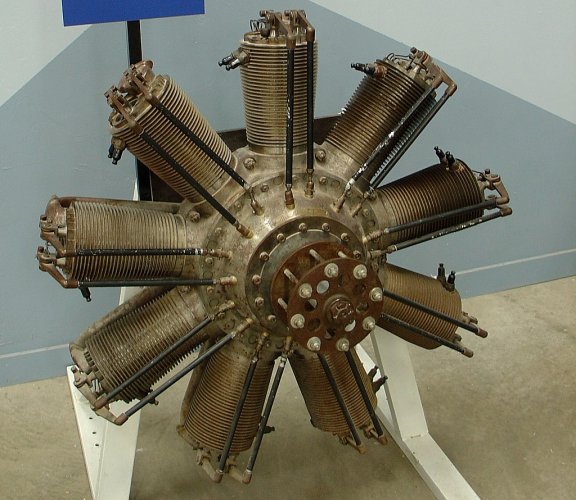
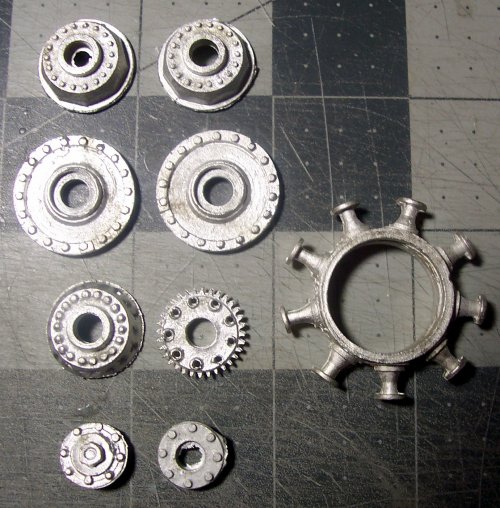
This is the engine's crankcase with pistons, igniter ring, and end plates. It was powered by a Clerget engine amongst others. The propellor was fixed to the engine's driven crankshaft meaning that the engine spun around with the propellor Yep, there was some pretty crazy stuff back then that was going on. This is how rotary engines worked, which I found VERY interesting.
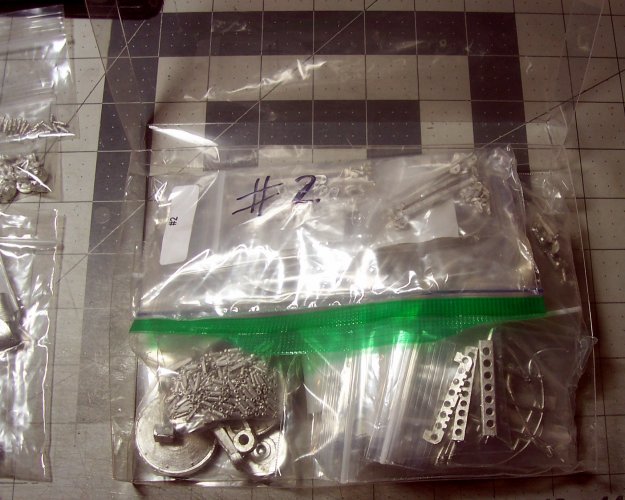
The clear box with all the castings is quite heavy. The total weight of the kit is 5LB thereabouts.
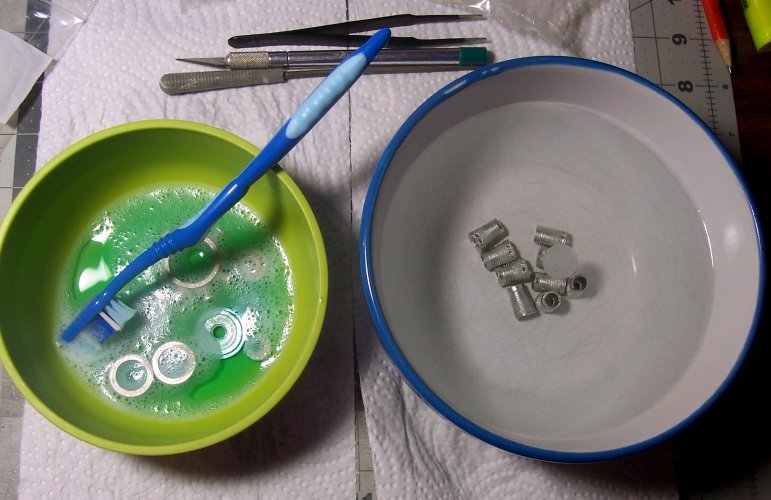
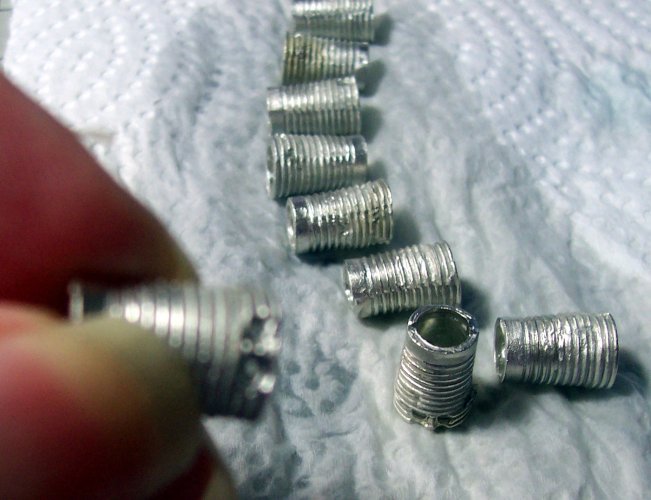
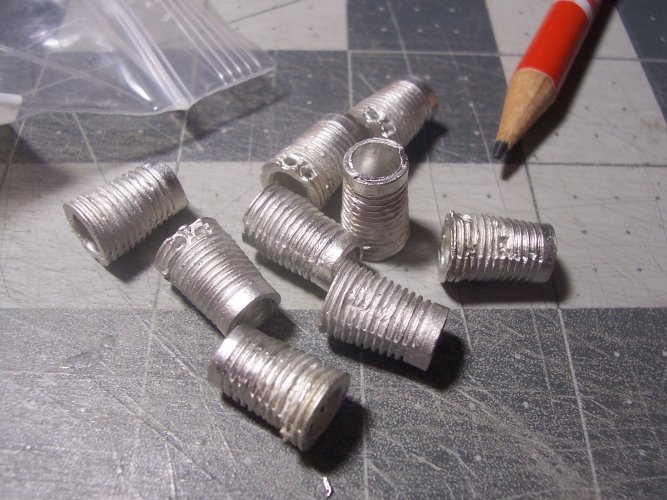
These are the 9 cylinders. The castings are pretty rough, and need a lot of cleanup with my #11 knife, brass brushes with the Dremel, diamond needle-files, nail files, and so on. The engine is comprised of over 130 parts.
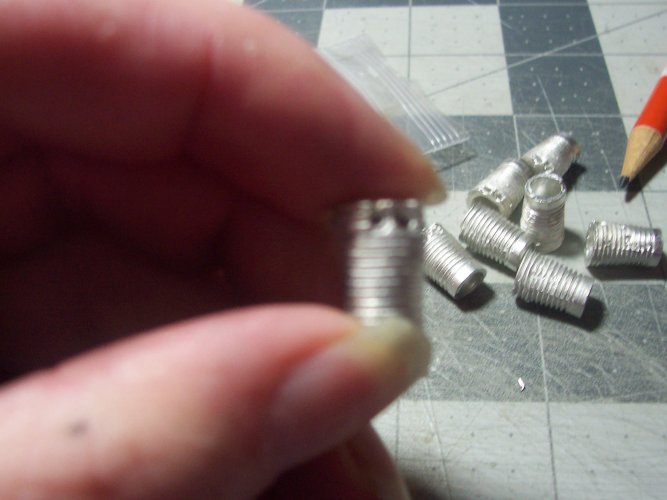
These are the spark plug holes. There are 2 per cylinder. All the holes in the casings need to be checked and drilled out if required. All the holes on the left side need to be re-drilled to allow the fit of the spark plugs.
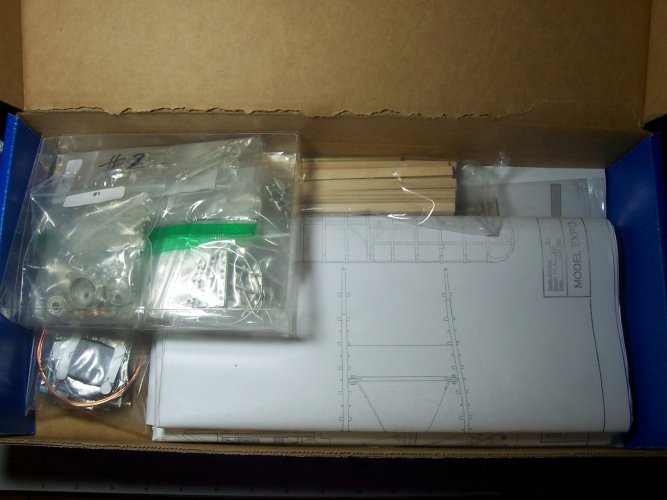
This is how the box is presented upon first opening. There are 5 plans in total which are super-nice. The wooden parts are made from Basswood, and are as thin as paper/card in some instances.
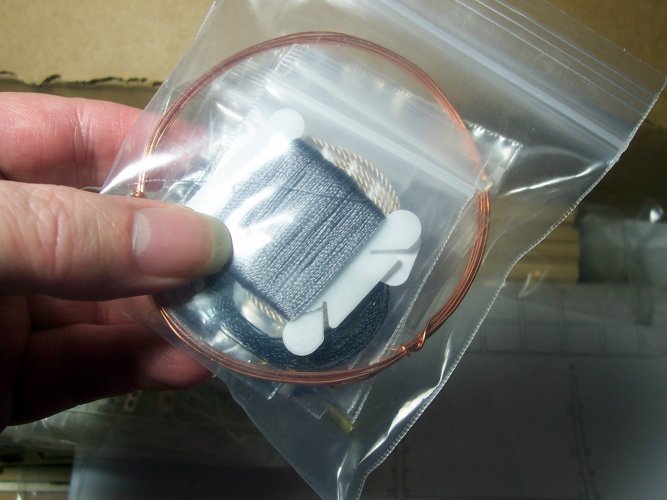
It's a lot of fun going through and checking of all the parts of the kit. This is a general bag of stuff. There is quite a lot of rigging involved and threading the control wires.
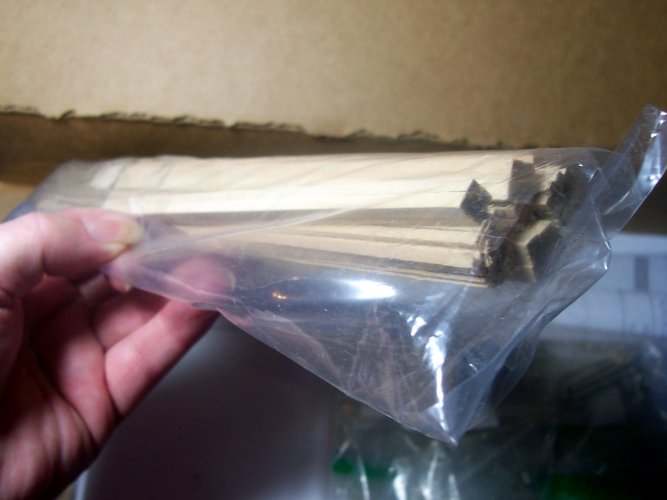
Here's the basswood strips. They are quite thin at 1/16" X 1/16" and 1/32" on the smaller side.
The Crankshaft was the first thing on the list. It's cut from a 12" piece of 3/16" brass tube. I used a cutoff wheel in the Dremel for the job.

I have decided to have a go at building something a little different. It's the Model Airways Sopwith Camel F.1 I chose this model because it looks like it will be challenging. It's made from wood and metal, which will be different from what I am used to which is paper and card. I have always been fascinated by the old WWI biplanes and I guess the Camel is pretty famous to say the least. The instructions state that the model is like holding the real thing in your hand, and has pretty much the same materials and construction as the full size airplane.

Its a static model and is meant for display only, so no wing covering is required. It will likely need a glass case to keep it safe after it is complete.
MODEL SPECIFICATIONS
Scale 1:16 = (3/4" = 1")
Wingspan - 21"
Fuselage - 14-1/16"
NOTE: If you need to buy the tools and additional items to finish the kit, it will be a substantial amount of cash.
Tools Required:
X-Acto knife or equivalent with # 11 blade(s)
T-Pins
Mapping Pins
5 minute Epoxy
CA Glue
Building board
Razor saw
Glue Looper
Universal Vise
Dremel Drill Tool
1/16" twist drill bit
3/16" twist drill bit
small angled bur
Round Burr
Brass Brushes for Dremel
Small hand brush with brass bristles
Wire cutters
Miniature clothes pins
Cocktail sticks
Blue putty
Multiple pairs of tweezers (needle nose, round nose and so on)
Brass paint
Gunmetal paint
Flat black paint
Silver gray paint
Copper paint
Turpentine Substitute
#200 Grade Silicon Carbide Sandpaper
Windex (or similar)
(I will add to this list(s) as I get going with the model)
Stage 1 - Engine


The Britannia castings of which there are many, are sorted into small plastic bags in the kit.

Here's a view of some of the engine components.

This is the engine's crankcase with pistons, igniter ring, and end plates. It was powered by a Clerget engine amongst others. The propellor was fixed to the engine's driven crankshaft meaning that the engine spun around with the propellor

The clear box with all the castings is quite heavy. The total weight of the kit is 5LB thereabouts.

These are the 9 cylinders. The castings are pretty rough, and need a lot of cleanup with my #11 knife, brass brushes with the Dremel, diamond needle-files, nail files, and so on. The engine is comprised of over 130 parts.

These are the spark plug holes. There are 2 per cylinder. All the holes in the casings need to be checked and drilled out if required. All the holes on the left side need to be re-drilled to allow the fit of the spark plugs.

This is how the box is presented upon first opening. There are 5 plans in total which are super-nice. The wooden parts are made from Basswood, and are as thin as paper/card in some instances.

It's a lot of fun going through and checking of all the parts of the kit. This is a general bag of stuff. There is quite a lot of rigging involved and threading the control wires.

Here's the basswood strips. They are quite thin at 1/16" X 1/16" and 1/32" on the smaller side.

The Crankshaft was the first thing on the list. It's cut from a 12" piece of 3/16" brass tube. I used a cutoff wheel in the Dremel for the job.

Last edited:


