So next comes my fourth model. I really don't know how long I will keep counting. I also don't know how long I'll keep up this pace of posting builds, but it is probably because until now they were "simple" models and I get to know the methods and learning skills. I will probably turn to longer and more complex builds some day and just post when I encounter major problems.
There is that one big detailed model of the millennium falcon, template also in the zealot resources I think. and next year I want to build a nice xwing as birthday present for a friend.
But first a will do that small blue lando falcon from the solo movie (which I did not saw until now). Here I want to try out some greebling and testing out things like plastic for windows and hopefully a varnish in the end.
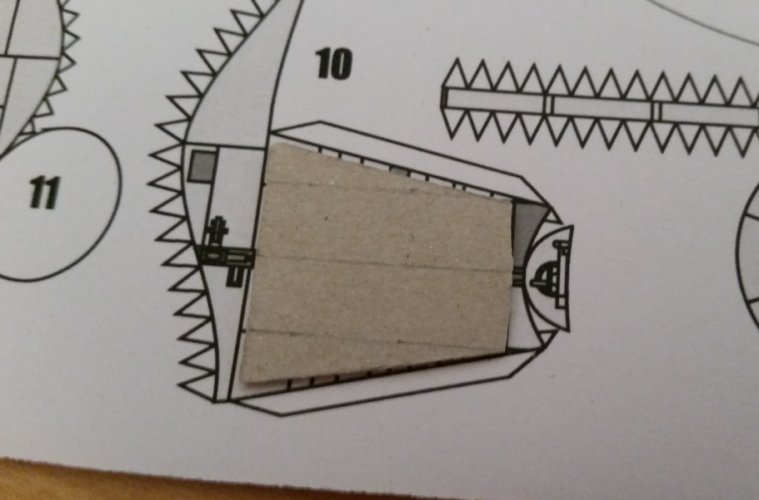
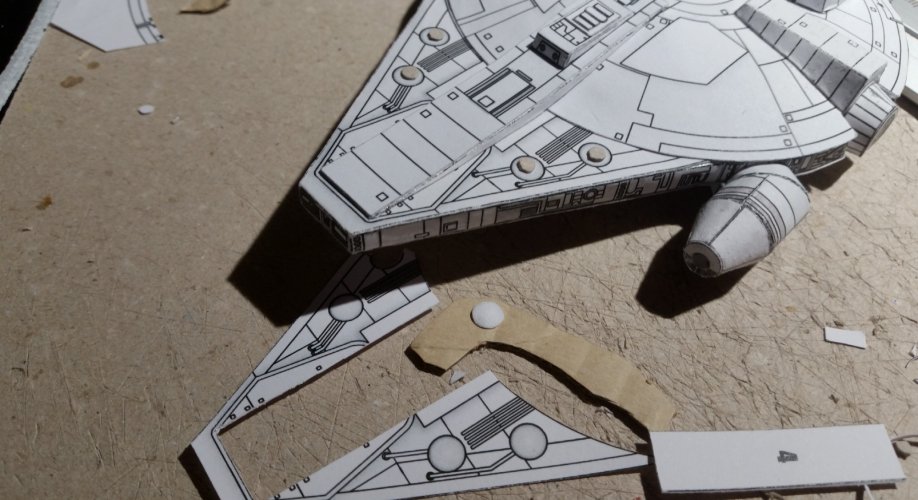
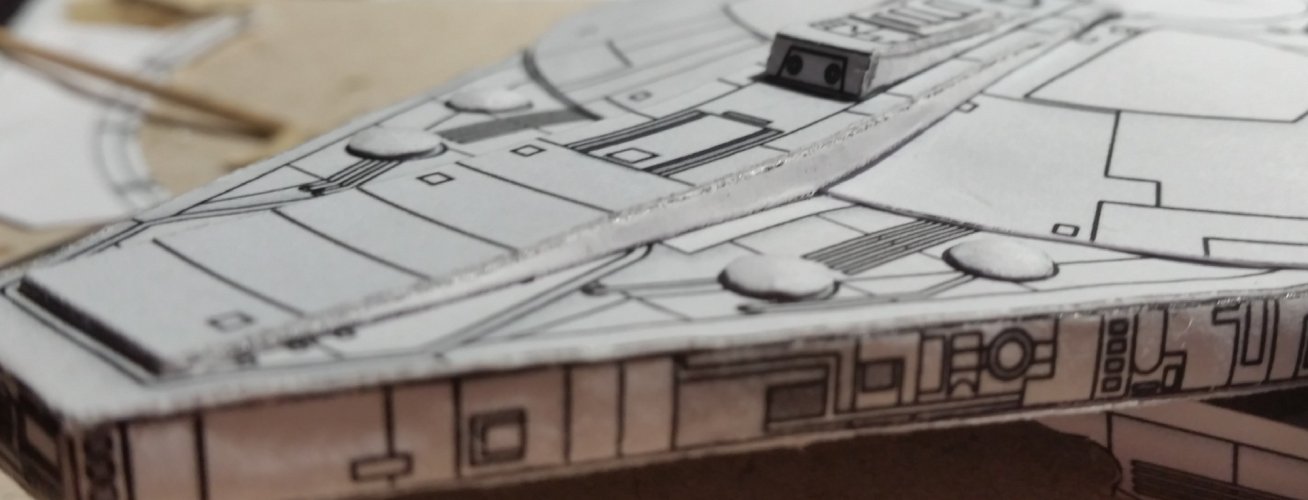
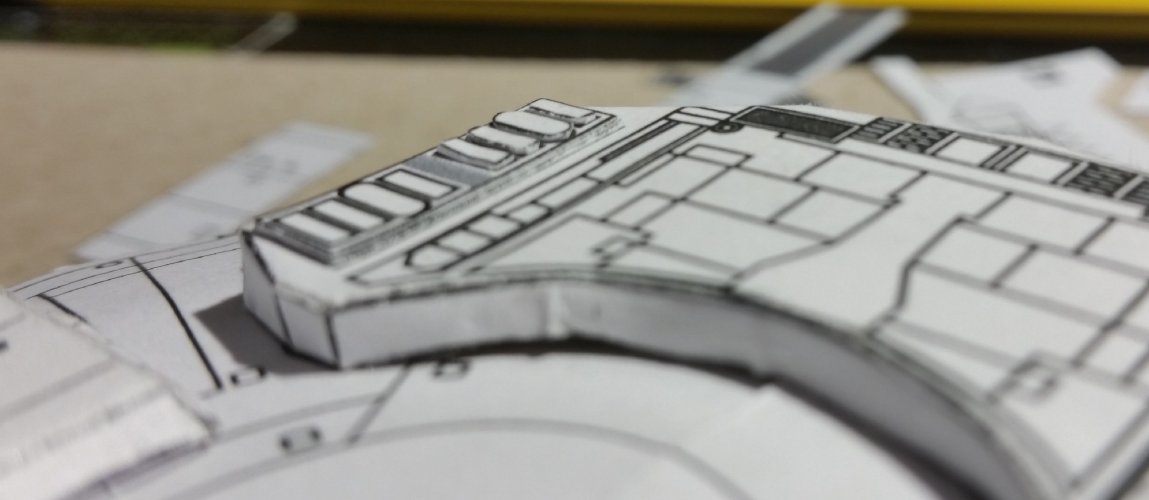
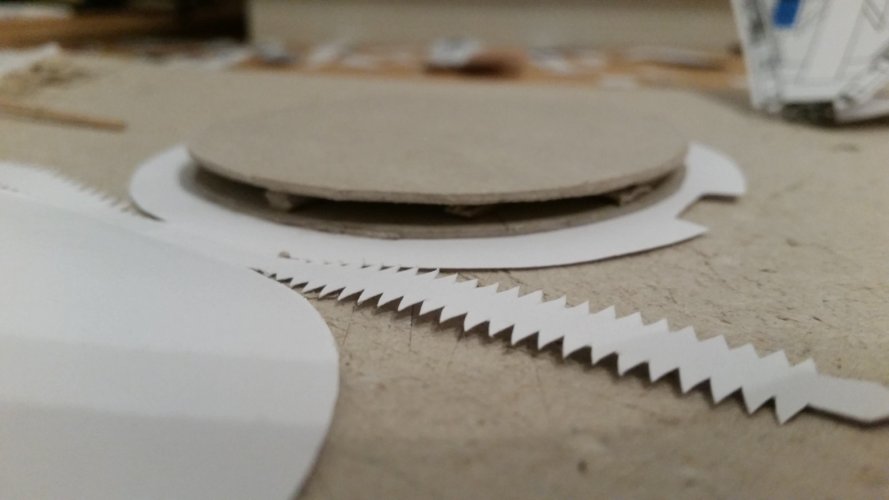
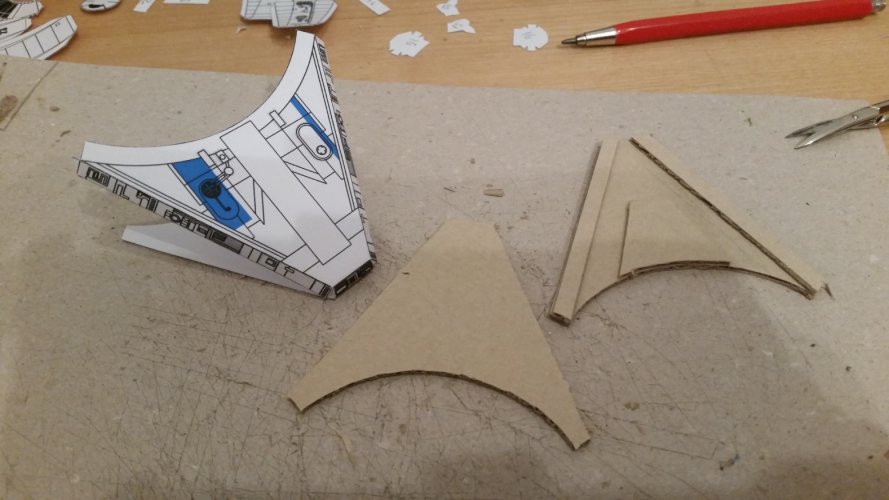
I started out with stabilizing cardboard sheets for the saucer part and the bow. Just improvised and guessing how to put them. trusting my heart and little bit reasoning:
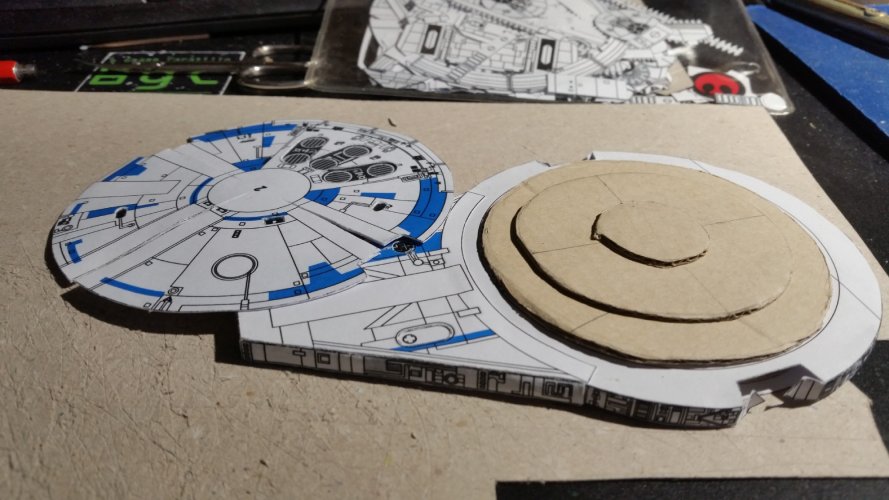
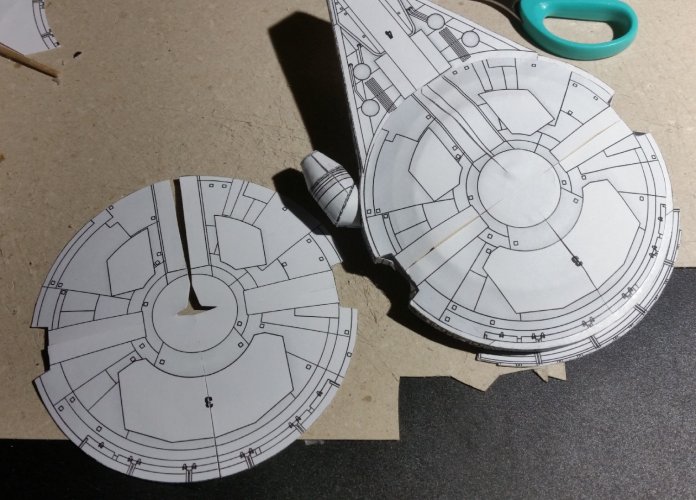
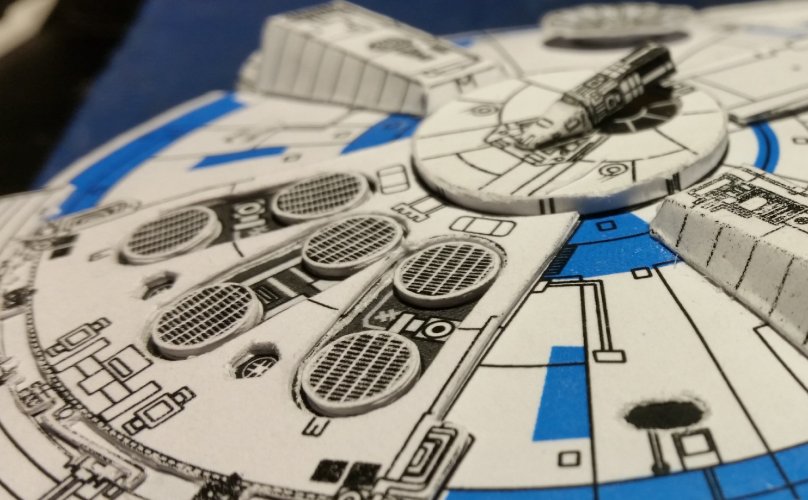
I then added a second top saucer part where I cut out the places of the six black radiators. Did not take picture but will be seen later. It is the same what @starbuck did here: https://www.zealot.com/threads/millenium-falcon-version-of-the-movie-solo-building-thread.180808/
Btw. this build thread in general helped me much. Thank you @starbuck for your detailed and very good thread!
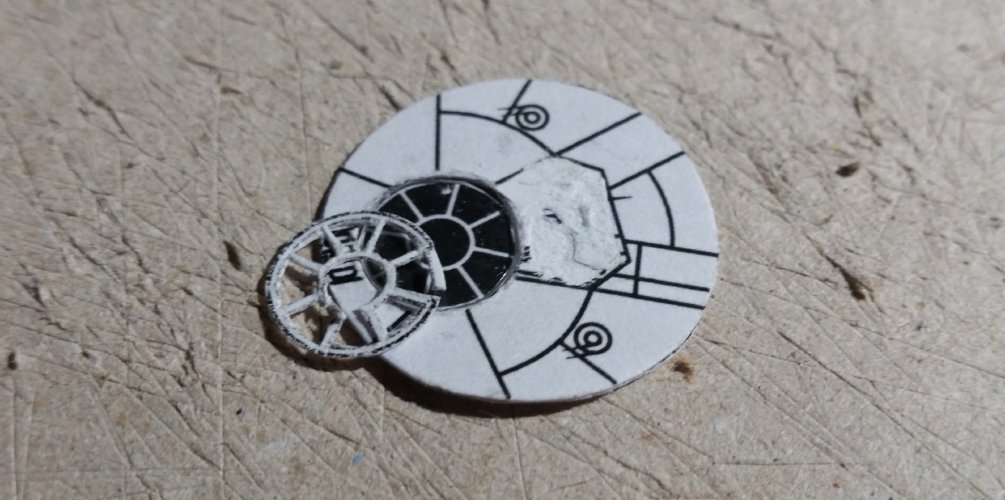
Next the upper turret. Here I wanted to use a small plastic lens, cut out from some stiff packaging, as a glass window.
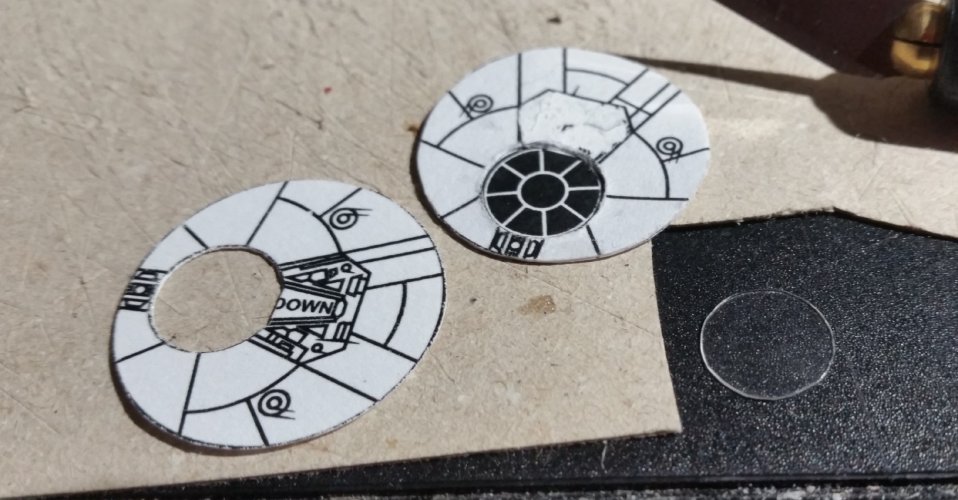
Then I was thinking, why not cut out the white frame of it from another print, to glue it on top for a really nice 3d greeble look. But the cut out piece was to ragged and destroyed to use. Perhabs later I will try to paint the frame with not thinned white acrylic paint to achieve that effect.
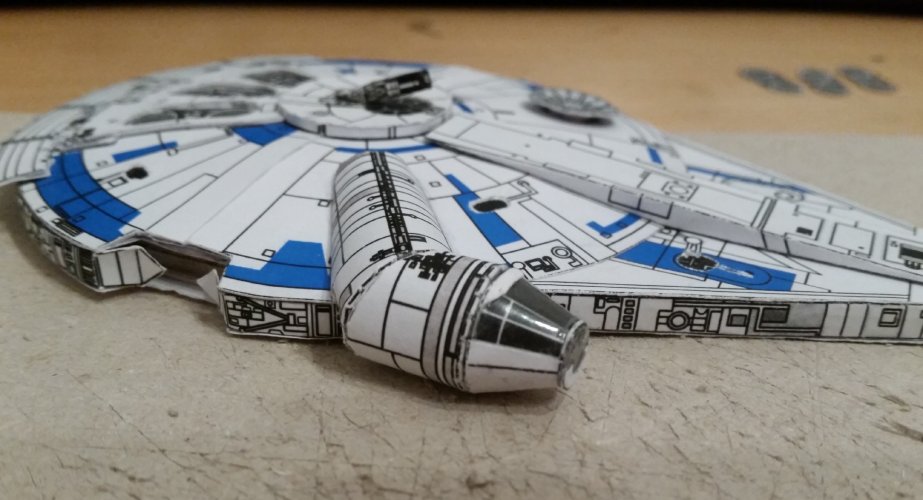
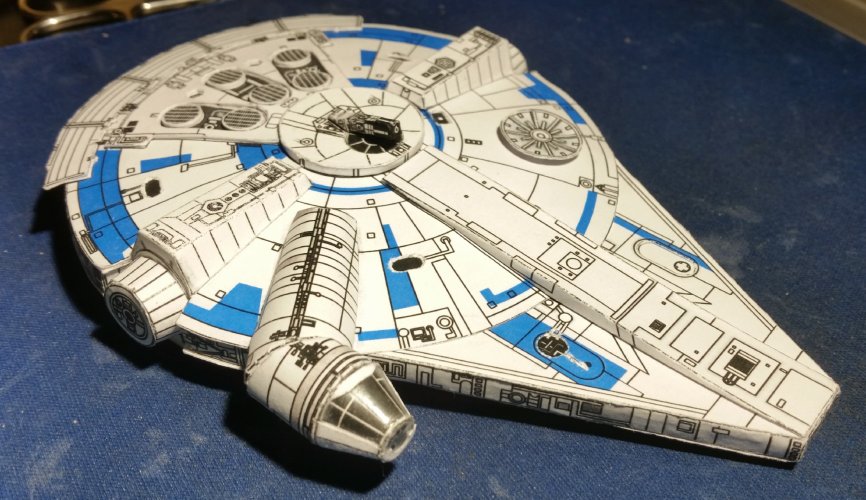
And that leads to the foto which I posted a few days ago in the discussion thread of that model resource. That reflection on the window really shines
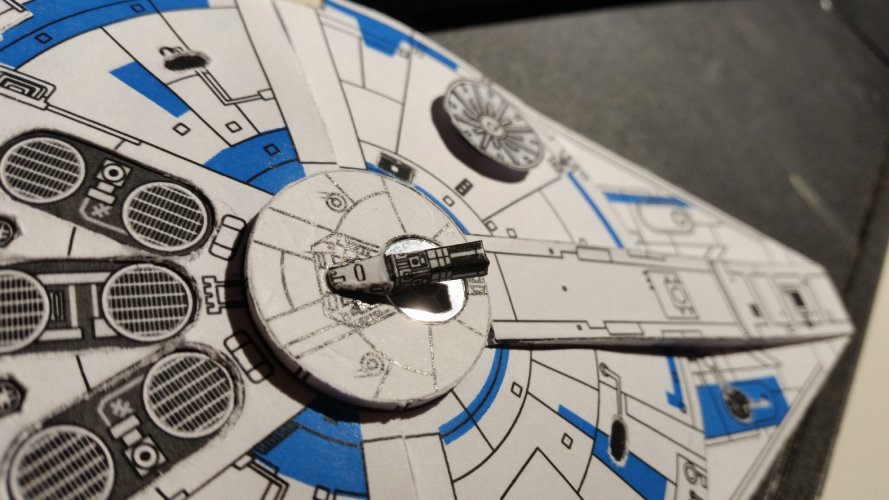
With all the cardboard in it, that thing turned out quite stable with much structural integrity. And it is very fun to build.
Since then I already went on with the model. Will post soon
There is that one big detailed model of the millennium falcon, template also in the zealot resources I think. and next year I want to build a nice xwing as birthday present for a friend.
But first a will do that small blue lando falcon from the solo movie (which I did not saw until now). Here I want to try out some greebling and testing out things like plastic for windows and hopefully a varnish in the end.
I started out with stabilizing cardboard sheets for the saucer part and the bow. Just improvised and guessing how to put them. trusting my heart and little bit reasoning:


I then added a second top saucer part where I cut out the places of the six black radiators. Did not take picture but will be seen later. It is the same what @starbuck did here: https://www.zealot.com/threads/millenium-falcon-version-of-the-movie-solo-building-thread.180808/
Btw. this build thread in general helped me much. Thank you @starbuck for your detailed and very good thread!
Next the upper turret. Here I wanted to use a small plastic lens, cut out from some stiff packaging, as a glass window.

Then I was thinking, why not cut out the white frame of it from another print, to glue it on top for a really nice 3d greeble look. But the cut out piece was to ragged and destroyed to use. Perhabs later I will try to paint the frame with not thinned white acrylic paint to achieve that effect.

And that leads to the foto which I posted a few days ago in the discussion thread of that model resource. That reflection on the window really shines

With all the cardboard in it, that thing turned out quite stable with much structural integrity. And it is very fun to build.
Since then I already went on with the model. Will post soon


