Samurai Armour
- Thread starter Rhaven Blaack
- Start date
You are using an out of date browser. It may not display this or other websites correctly.
You should upgrade or use an alternative browser.
You should upgrade or use an alternative browser.
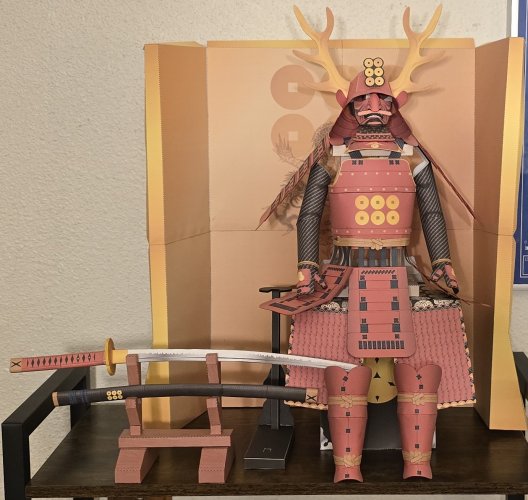
This looks great, I realy like the sword. And all looks 3c. You have done a great job in this model.
Moving on to the second one.
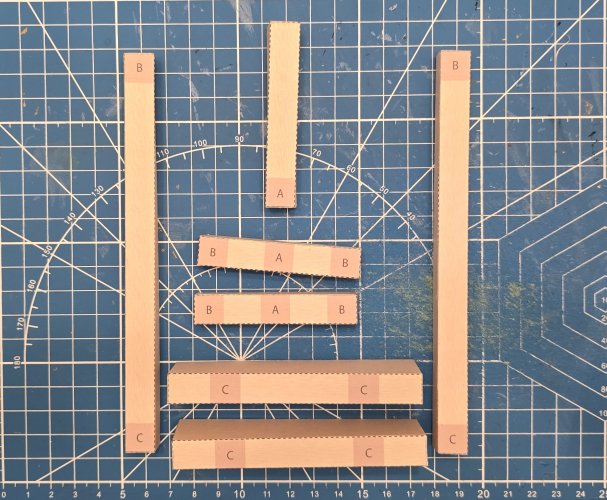
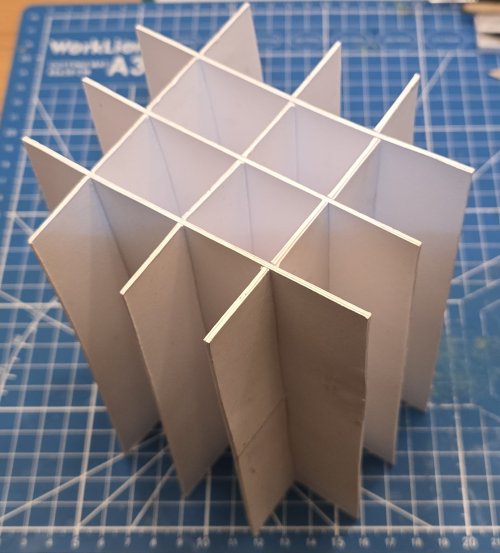
As first one, I had to make internal formers for the base.
The base is assembled.
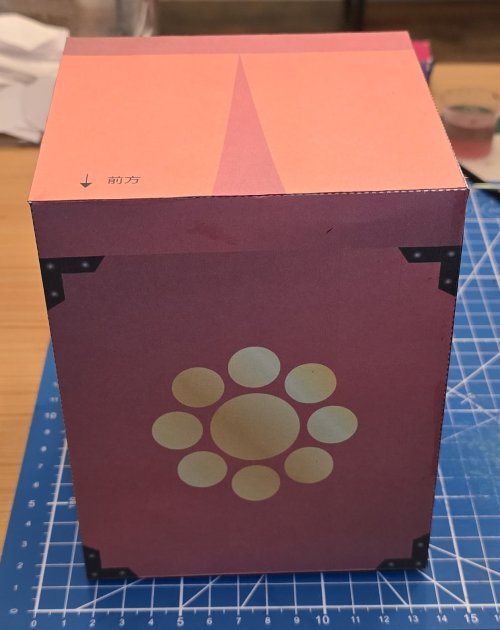
The internal formers are inserted and the bottom plate is attached in place.

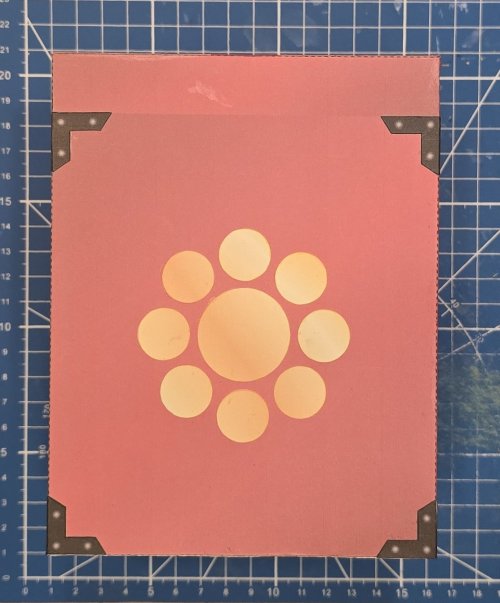
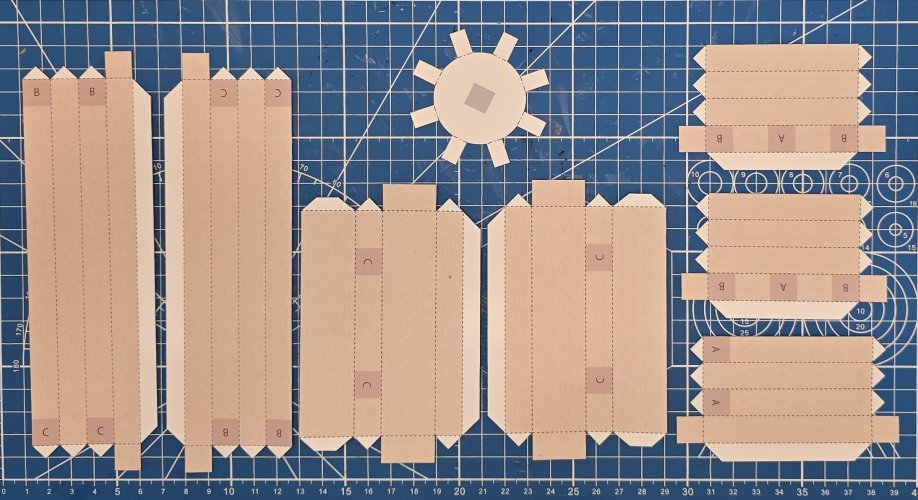
These are the parts for the for the front of the base.
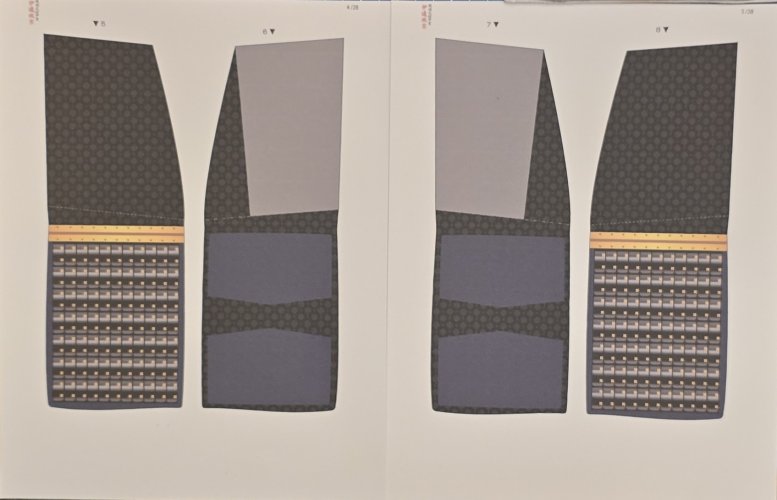
The parts are assembled.
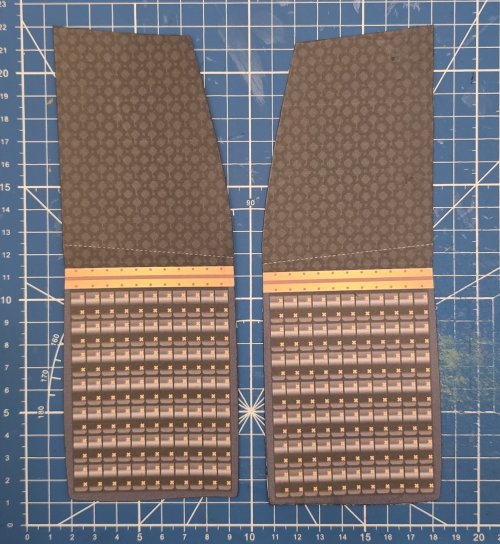
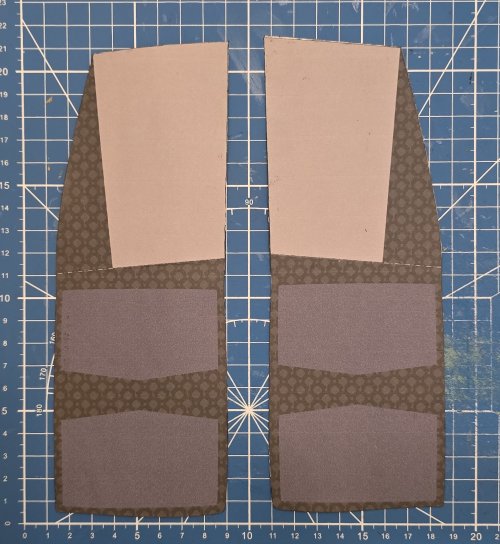
The parts are attached to the base.
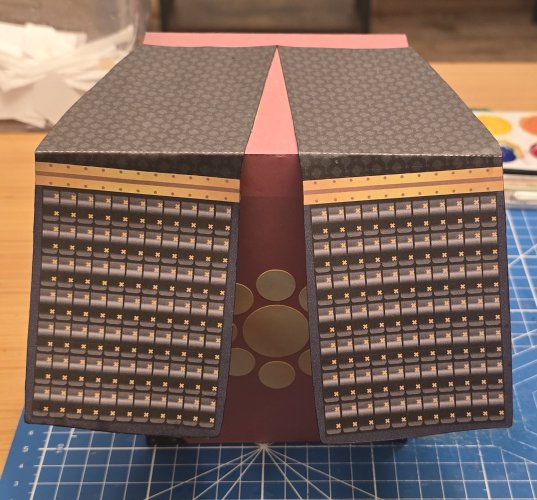

As first one, I had to make internal formers for the base.

The base is assembled.

The internal formers are inserted and the bottom plate is attached in place.


These are the parts for the for the front of the base.

The parts are assembled.


The parts are attached to the base.

Just one small critique, the shoulder/upper arm guards should be curved to match the flow of the arms.I assembled the backdrop panels and reinforced them with foam-board.
View attachment 222454
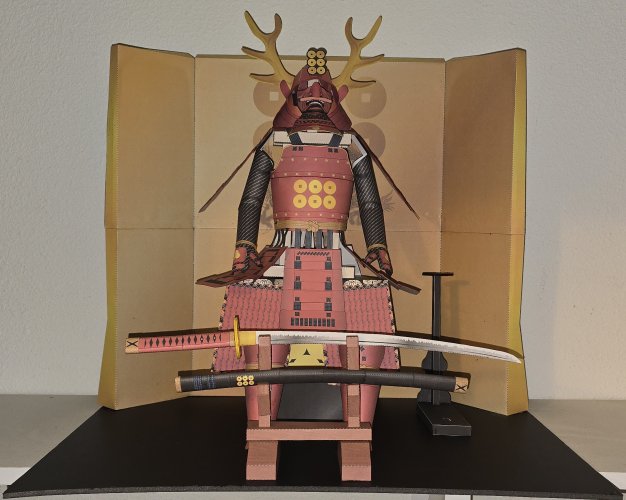
I attached the backdrop panels to a foam-board "floor" to finish the whole thing off.
View attachment 222455
I hope that you have enjoyed this build.
Next up will be the black samurai armour. Yes, I will be posting that build in this thread as well.
But still a Great build.
Too right you are. I think before I send it off to my grandson, I will (GENTLY) bend them downward.Just one small critique, the shoulder/upper arm guards should be curved to match the flow of the arms.
But still a Great build.
The first one has turned out very nicely, looking forward to seeing the other one as well
Moving on to the torso armour.
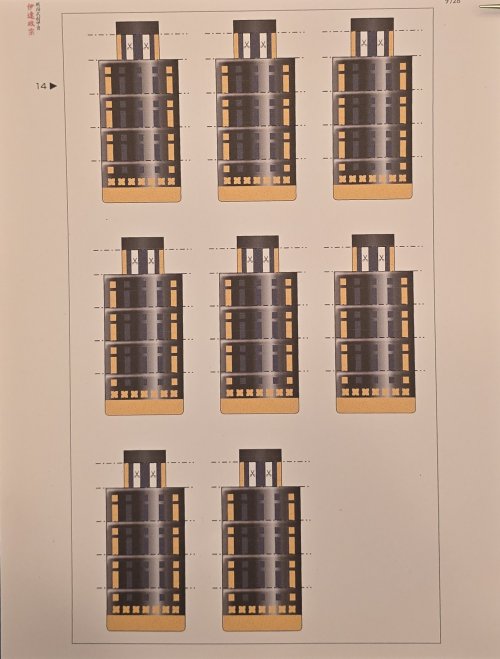
These are the parts for the lower panels.
As you can see, the lower panes are flat (they are not even layered out like the previous set was). I had to print this page four (4) times in order to obtain the "layered" effect that it needs in order to look proper.
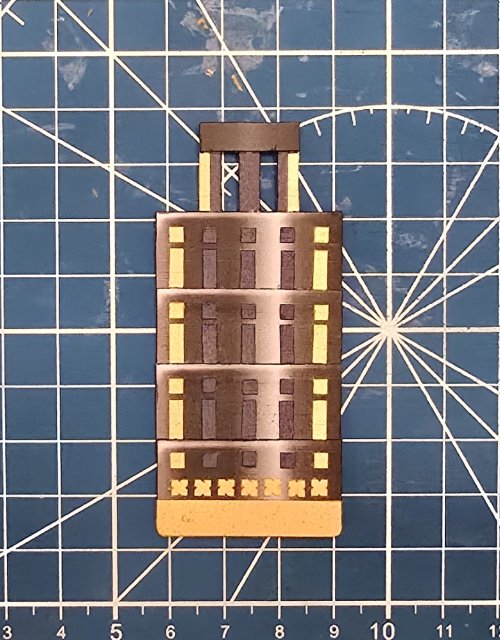
The lower panel is assembled.
All eight (8) panels are assembled.

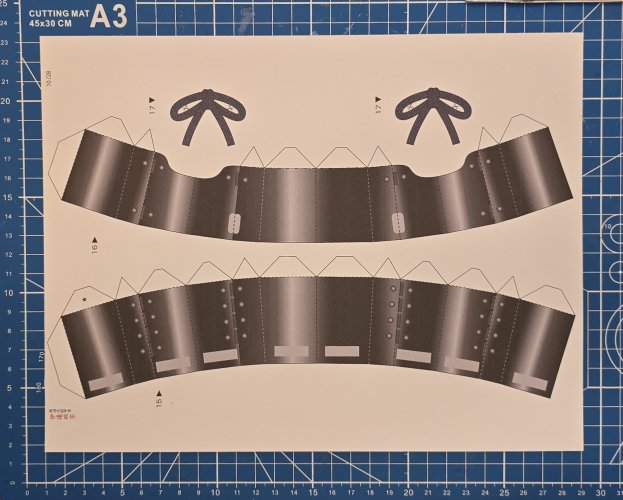
Here are the part for the midsection of the torso armour.
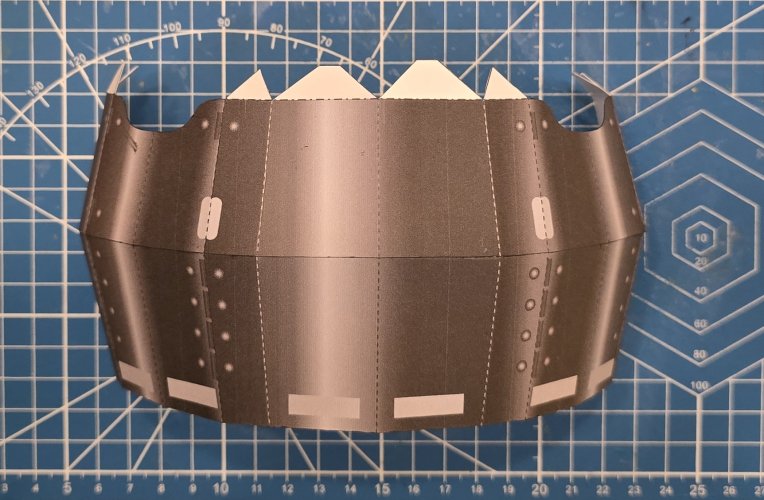
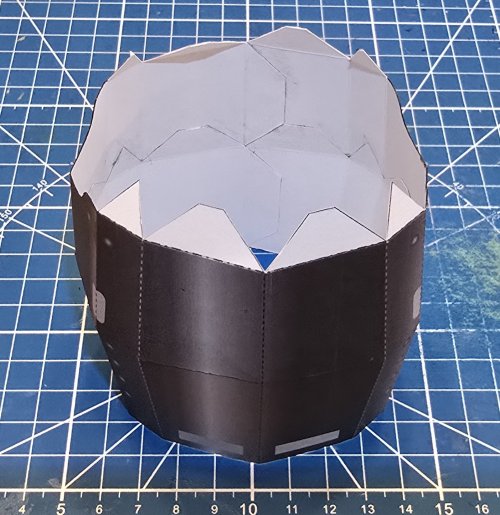
THe midsection of the torso armour is assembled.
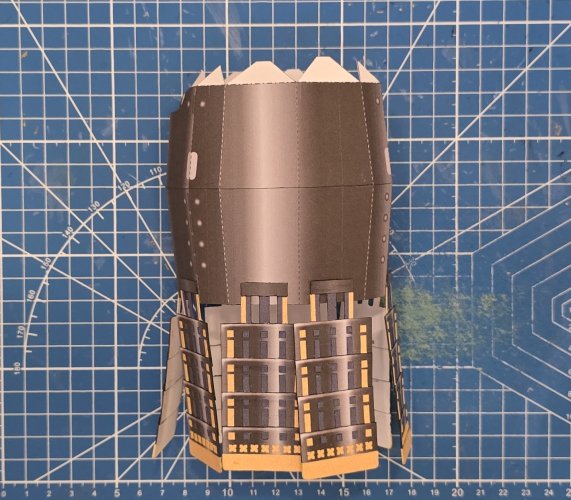
I attached the lower panels to the midsection of the torso armour.
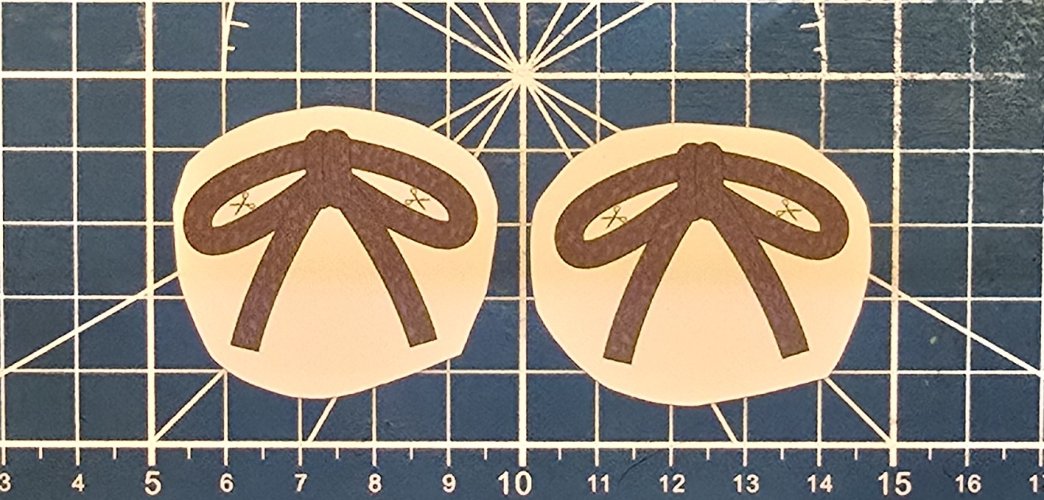
Here are the parts for the side bows.
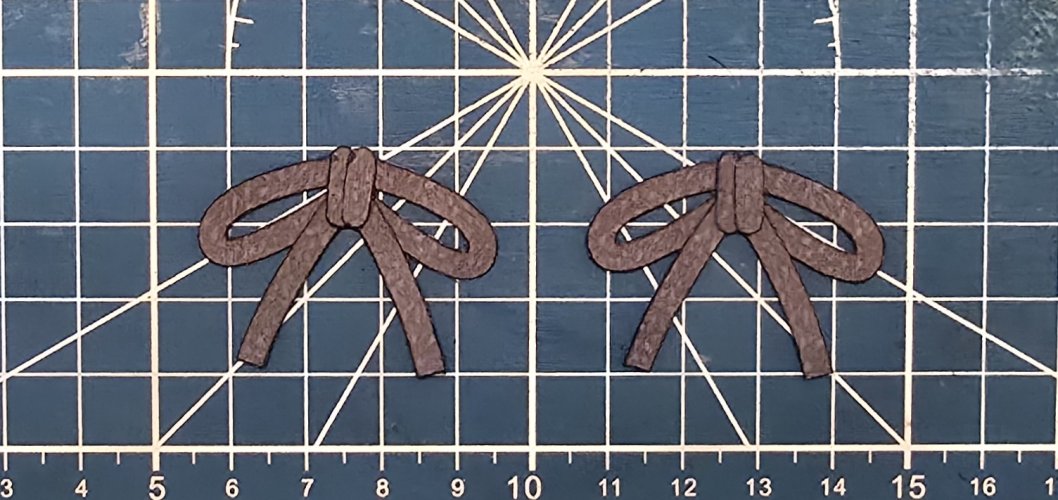
I printed the parts out four (4) times to get the layered effect that I wanted to make it look like the bows were "tied".
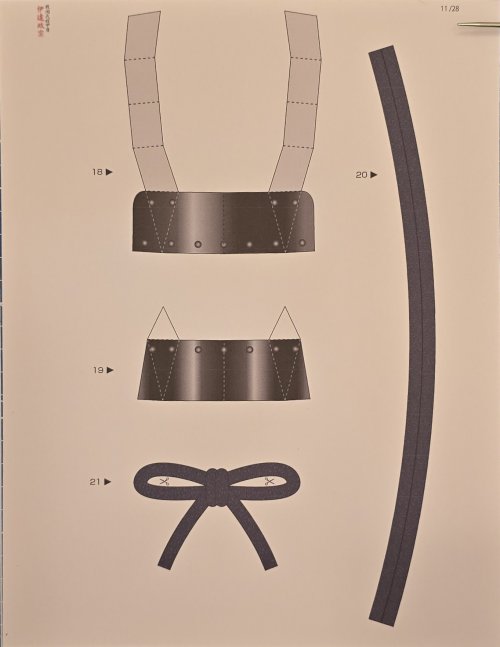
Here are the parts for the upper part of the torso armour and the cord for around the waist.
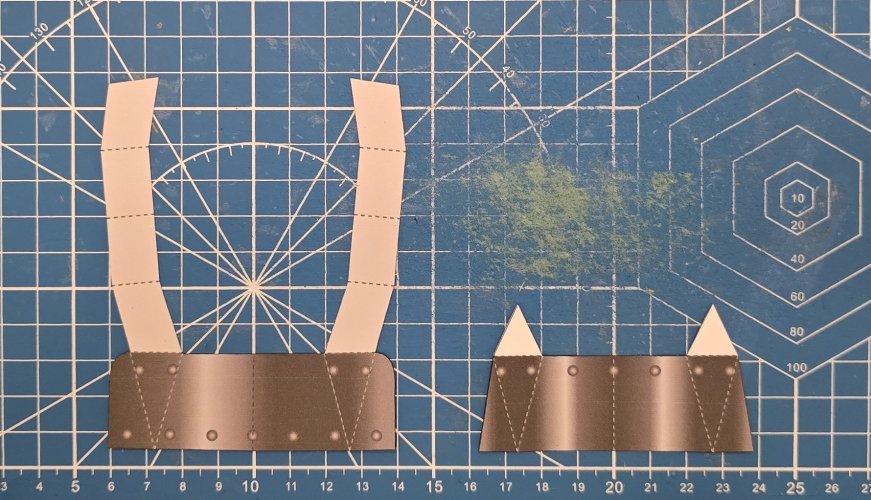
Starting with the upper part of the torso armour.
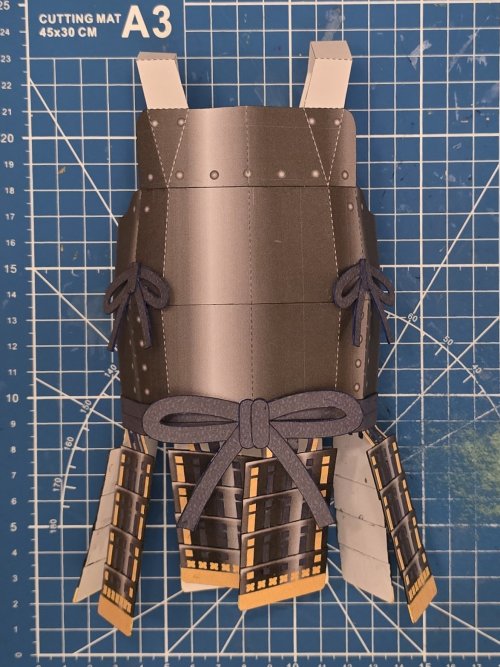
I attached the upper part t the midsection. I also attached the side bows,a nd the cord around the waist.

The bow for the cord around the waist is attached in place.
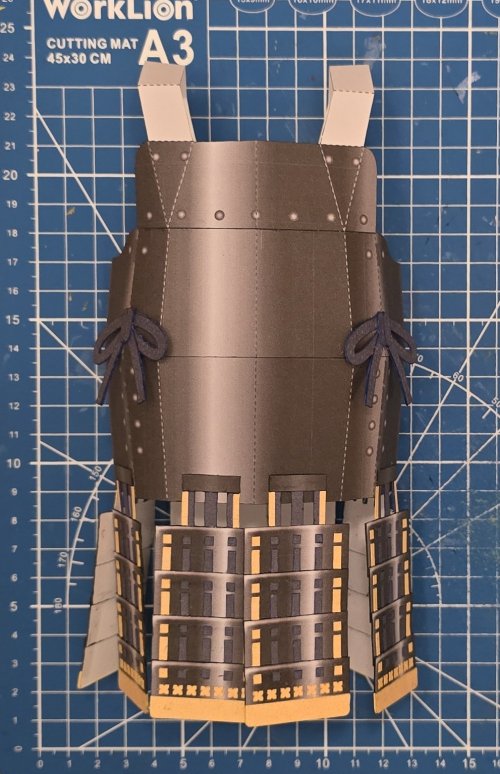
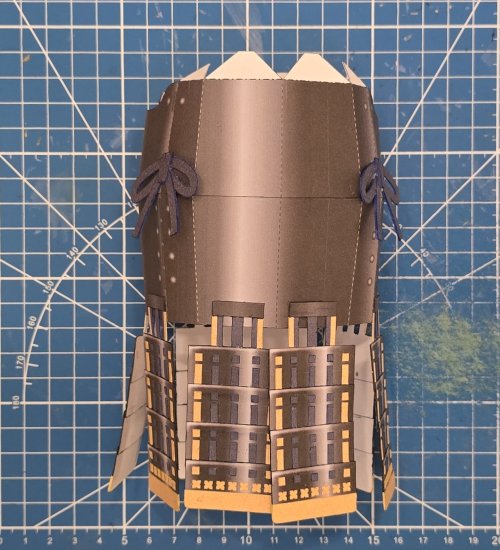
The torso armour is fully assembled.
These are the parts for the lower panels.
As you can see, the lower panes are flat (they are not even layered out like the previous set was). I had to print this page four (4) times in order to obtain the "layered" effect that it needs in order to look proper.

The lower panel is assembled.

All eight (8) panels are assembled.

Here are the part for the midsection of the torso armour.

THe midsection of the torso armour is assembled.


I attached the lower panels to the midsection of the torso armour.

Here are the parts for the side bows.

I printed the parts out four (4) times to get the layered effect that I wanted to make it look like the bows were "tied".

Here are the parts for the upper part of the torso armour and the cord for around the waist.

Starting with the upper part of the torso armour.

I attached the upper part t the midsection. I also attached the side bows,a nd the cord around the waist.

The bow for the cord around the waist is attached in place.
The torso armour is fully assembled.

Attachments
Looking great RB!
You are living up to your reputation of being a master detailer!!
You are living up to your reputation of being a master detailer!!
Thank you sir, for the kind words and encouragement.Looking great RB!
You are living up to your reputation of being a master detailer!!
I have never liked the look of "flat/printed" details, when it comes to models.
Moving on to the sleeves & gauntlets.
Here are the parts for the sleeves & gauntlets.
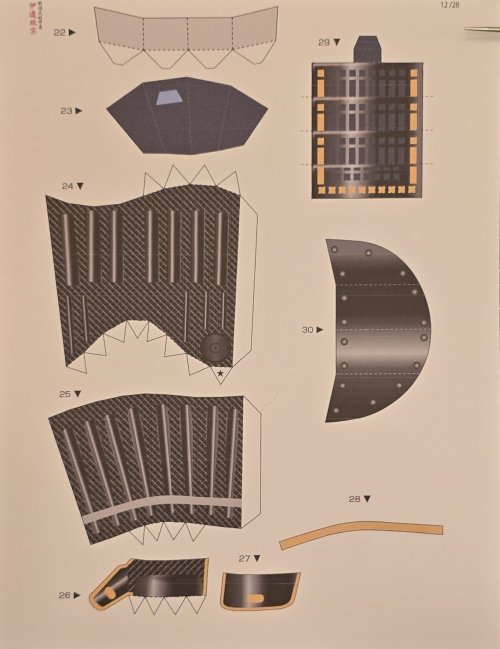
The sleeve & gauntlet are assembled.
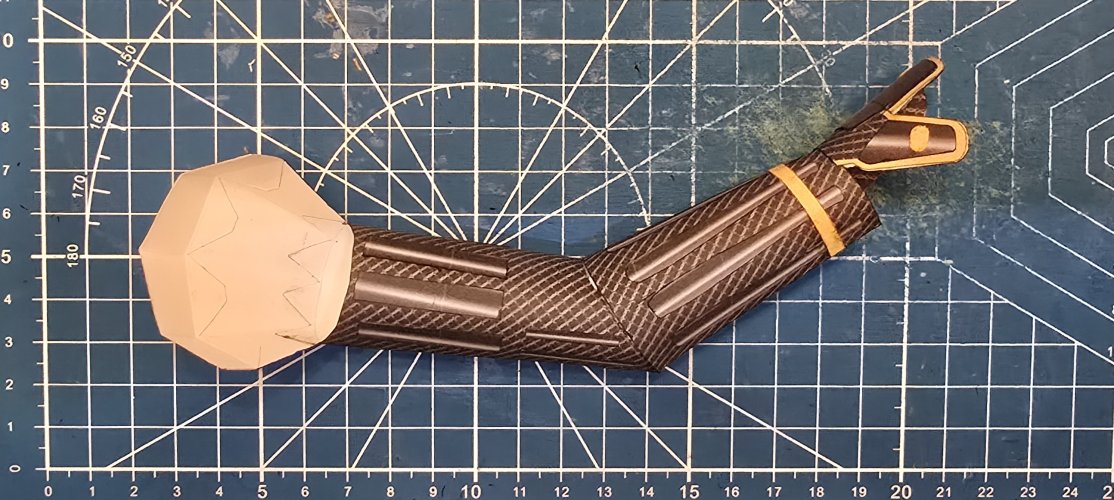
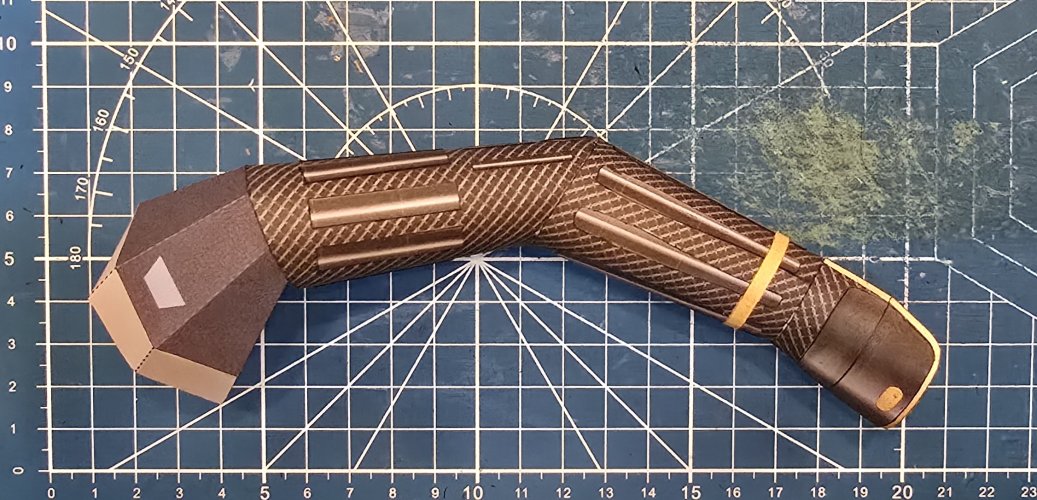
The sleeve & gauntlet are attached in place.
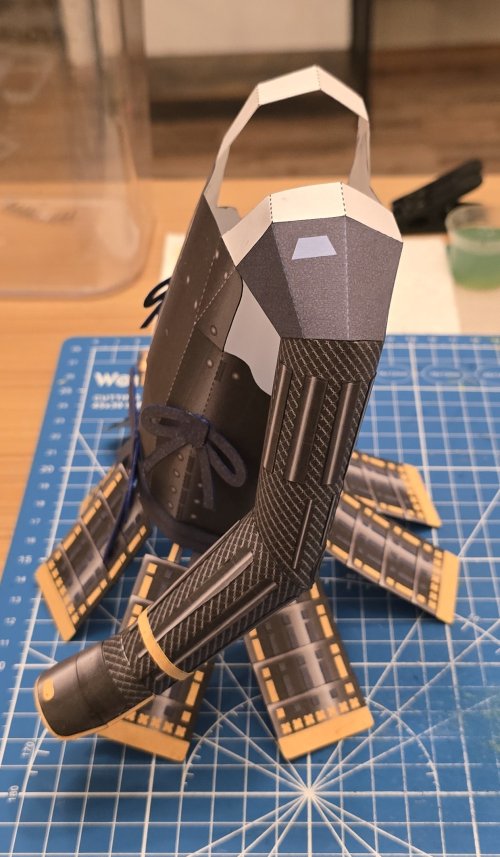
Here is the armour plate that attach to the shoulder and drape over the arms.
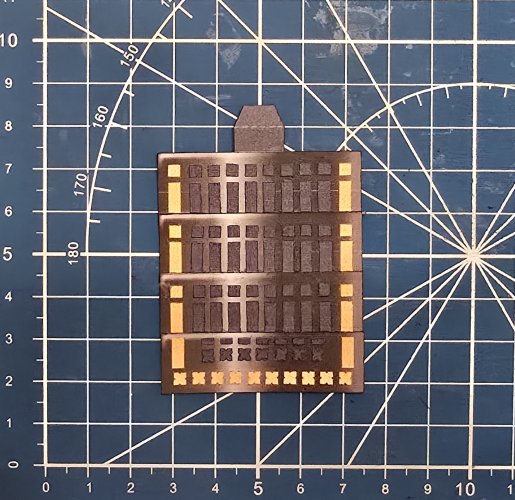
The armour plate is attached in place.
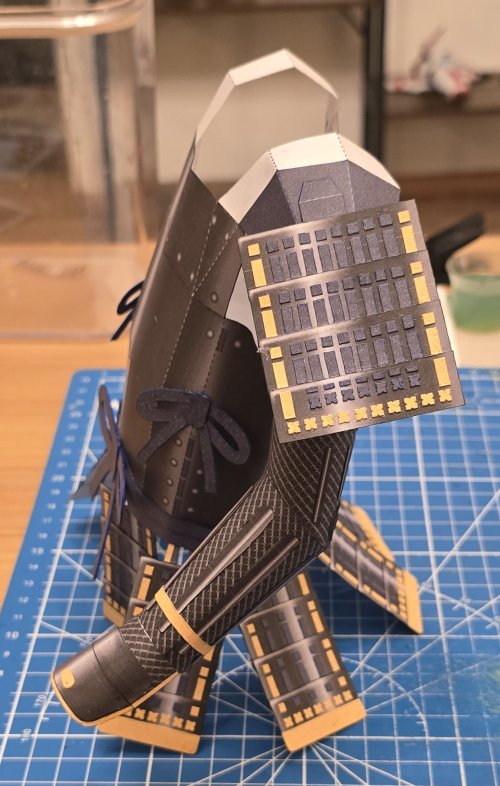
Here is the shoulder plate.
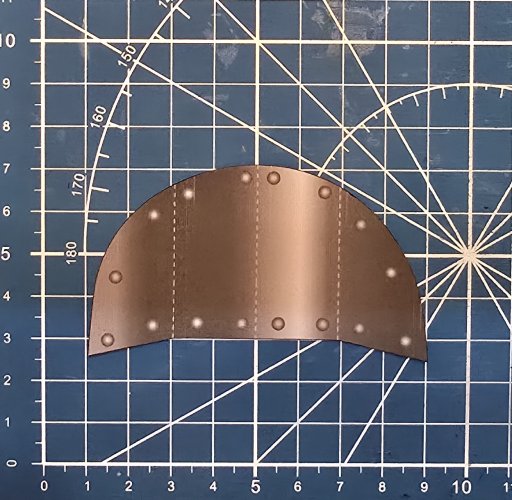
The shoulder plate is attached in place.
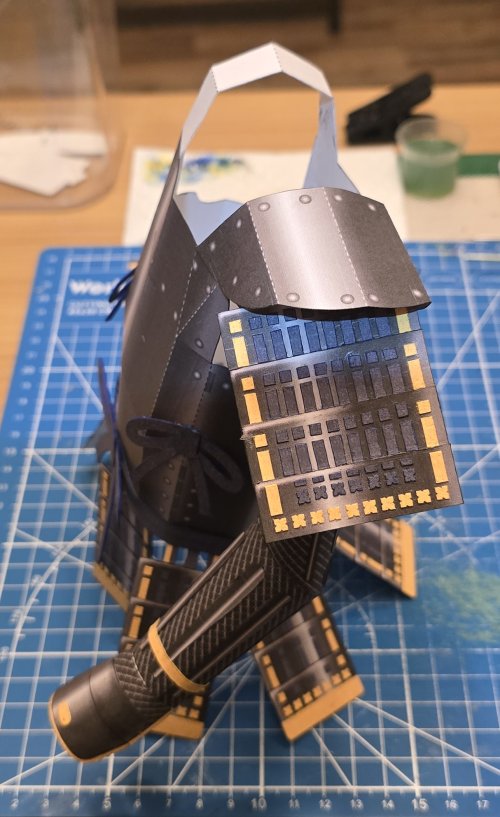
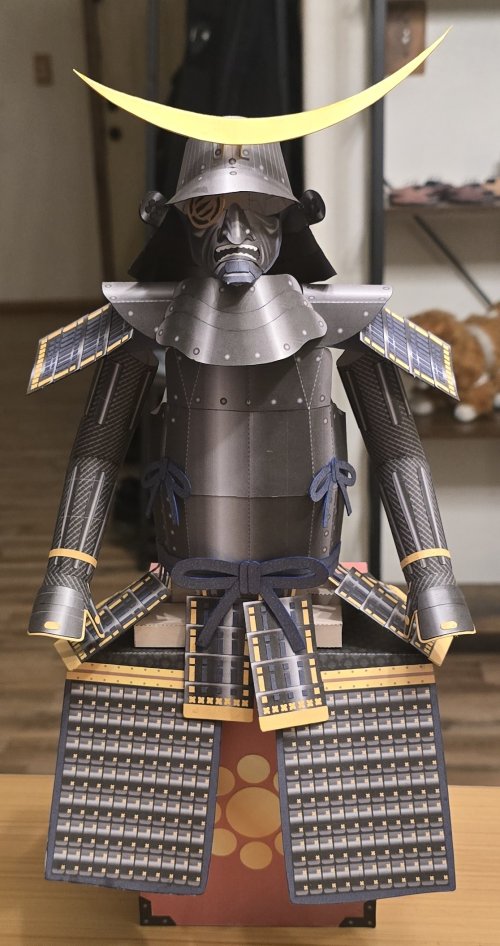
Both armour sleeves and armour plating are attached in place, and placed on the display frame.
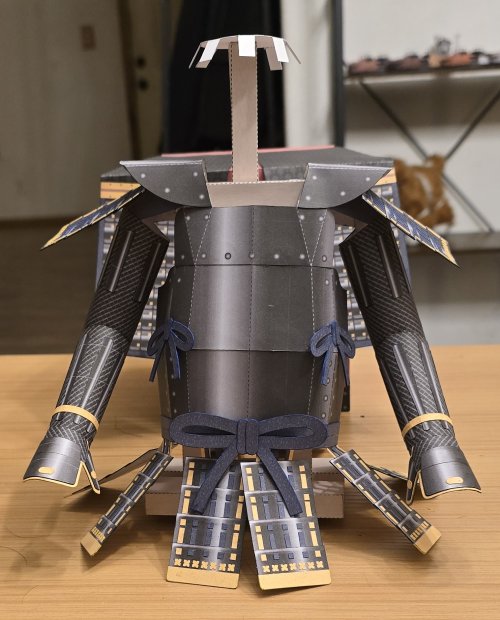
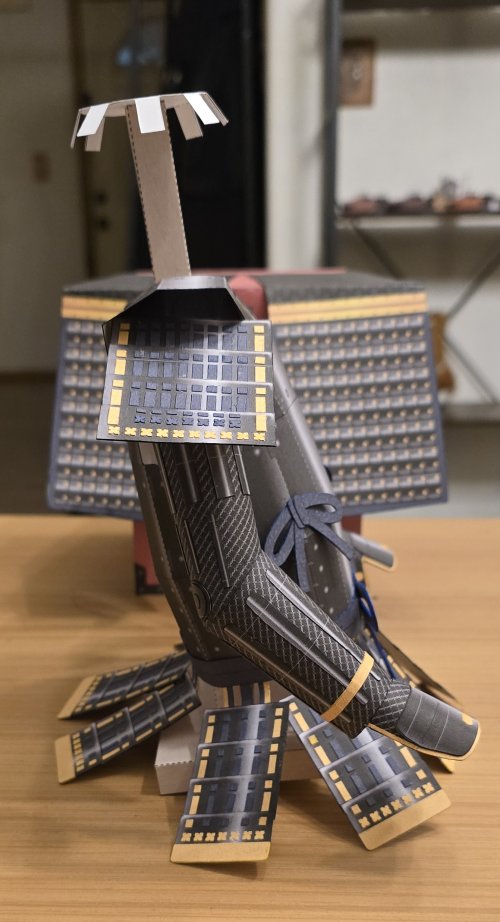
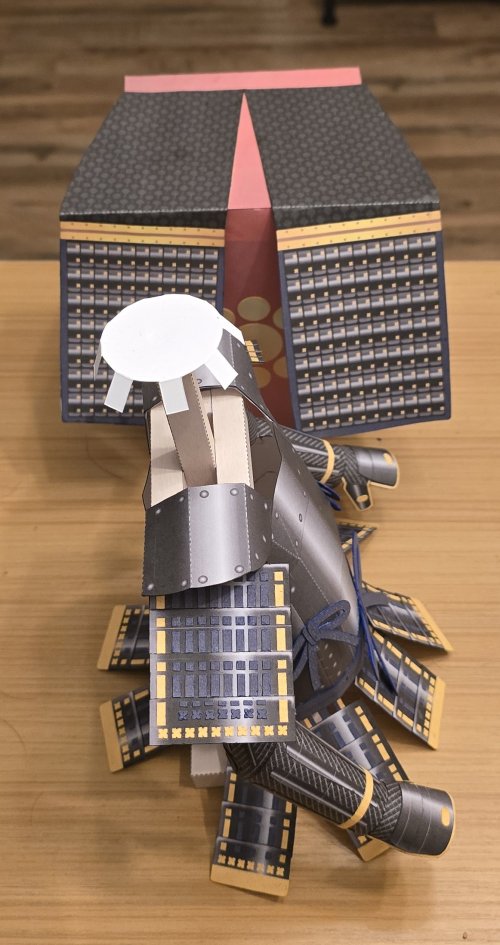
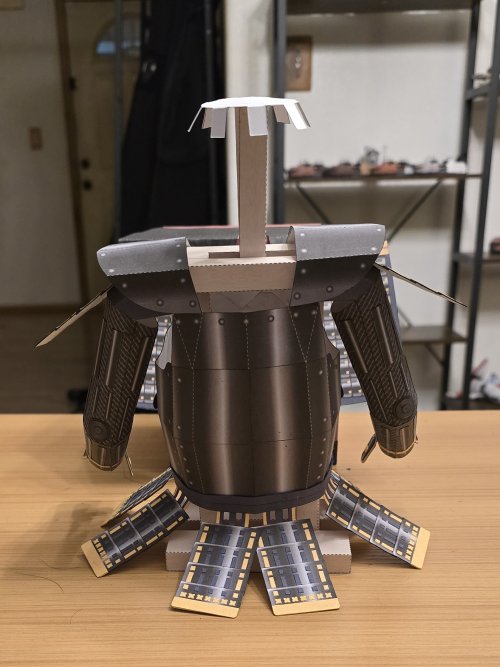
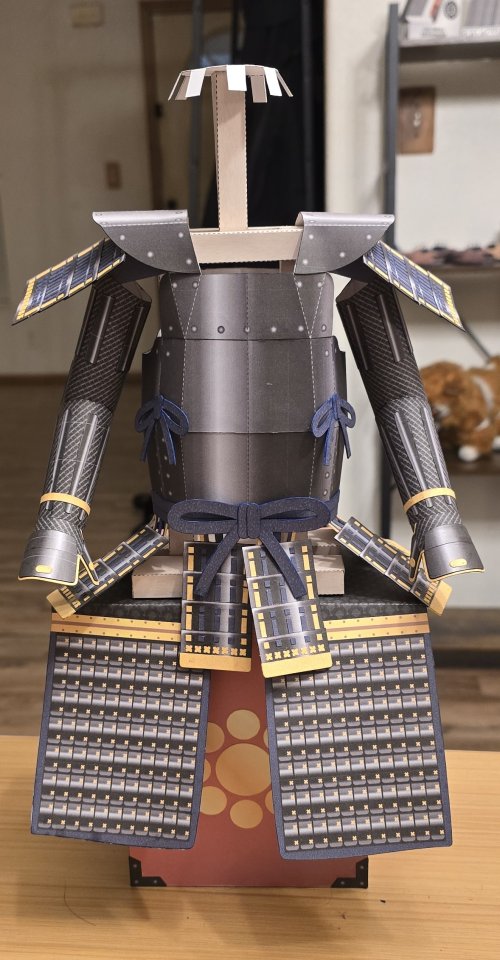
Here are the parts for the sleeves & gauntlets.

The sleeve & gauntlet are assembled.


The sleeve & gauntlet are attached in place.

Here is the armour plate that attach to the shoulder and drape over the arms.

The armour plate is attached in place.

Here is the shoulder plate.

The shoulder plate is attached in place.

Both armour sleeves and armour plating are attached in place, and placed on the display frame.


All looks very crisp and clear did you add the extra details on the sholder plate?
- Apr 5, 2013
- 13,876
- 10,214
- 228
Thank you very much!All looks very crisp and clear did you add the extra details on the sholder plate?
I layered the panels and raised the coloured the yellow and blue part (that are suppose to be cordage to hold the panels together).
I have to say that I too am partial to the black suit of armour as well.I like this Black Armor suit even more!
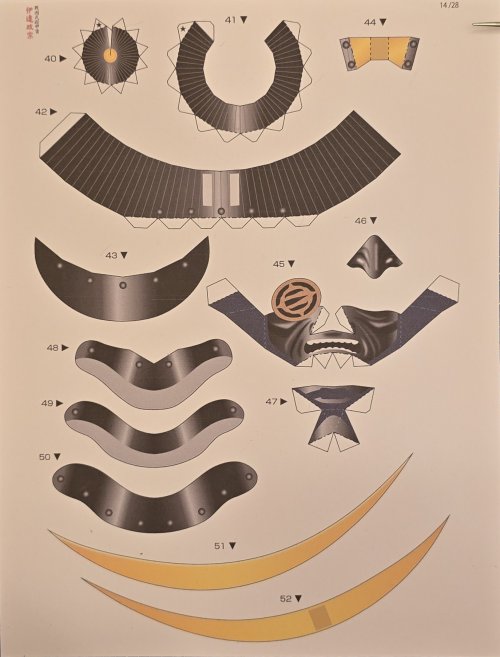
Here are the parts for the main part of the helmet and face mask.
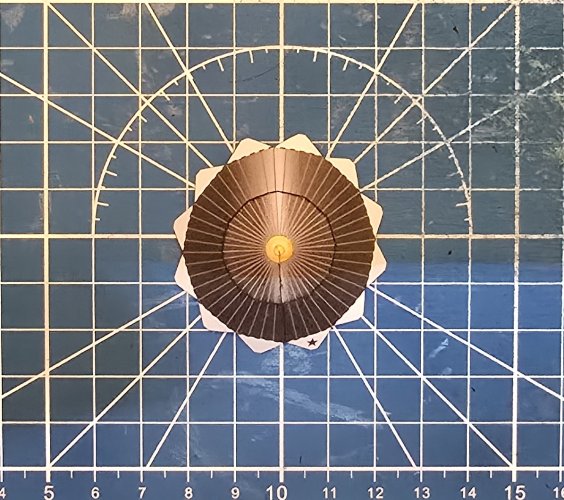
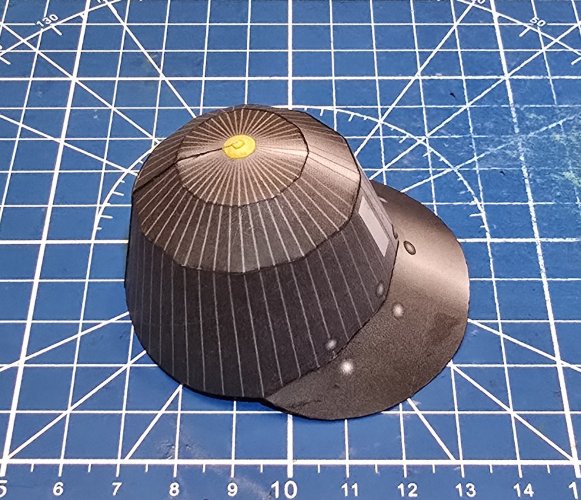
Starting with the "crown" of the helmet. When assembling, I had to be very mindful of the line texture and make certain that the lines matched up properly.
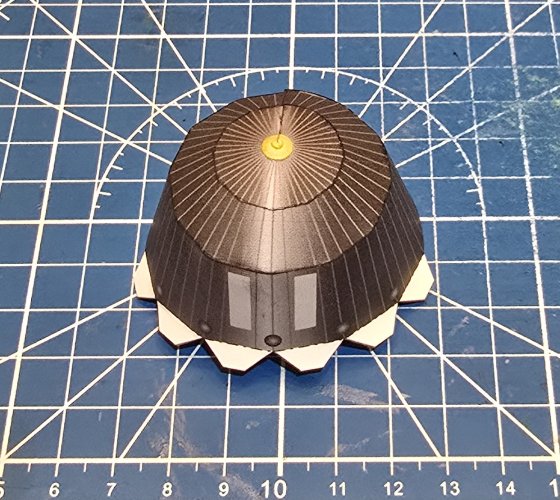
Moving on to the "main body" of the helmet (continuing to make certain that that line texture matched properly).
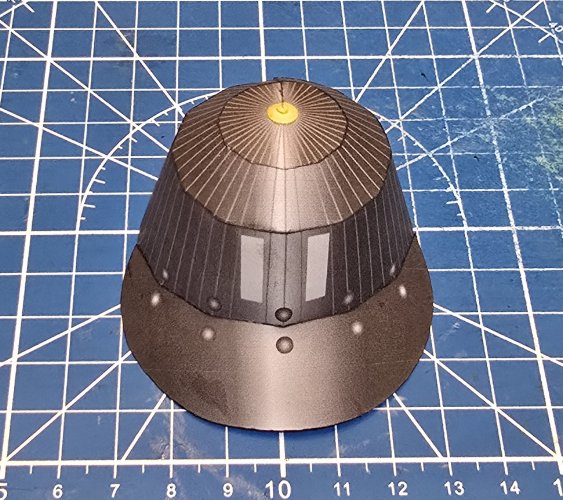
I attached to bill in place.

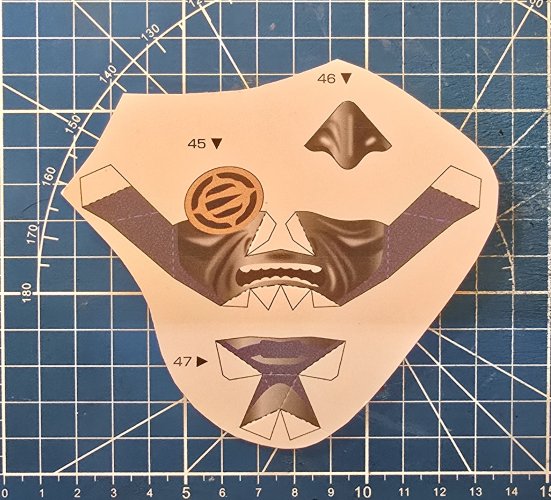
Here are the parts for the face-mask.
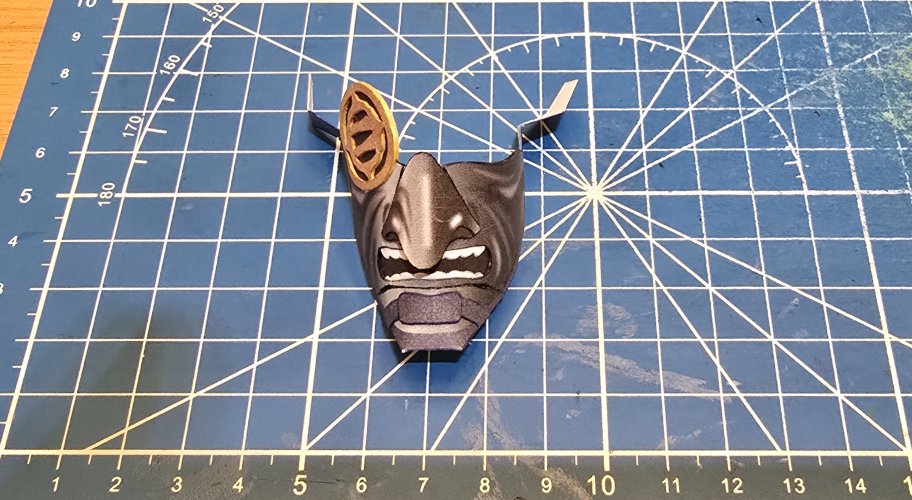
The face-mask is assembled. I raised the "sword handguard" eye-patch, raised the chinstrap, and recess the parts for the mouth (i.e. the teeth and "negative" space for the mouth)
Here is a shot of the "sword handguard" eye-patch.
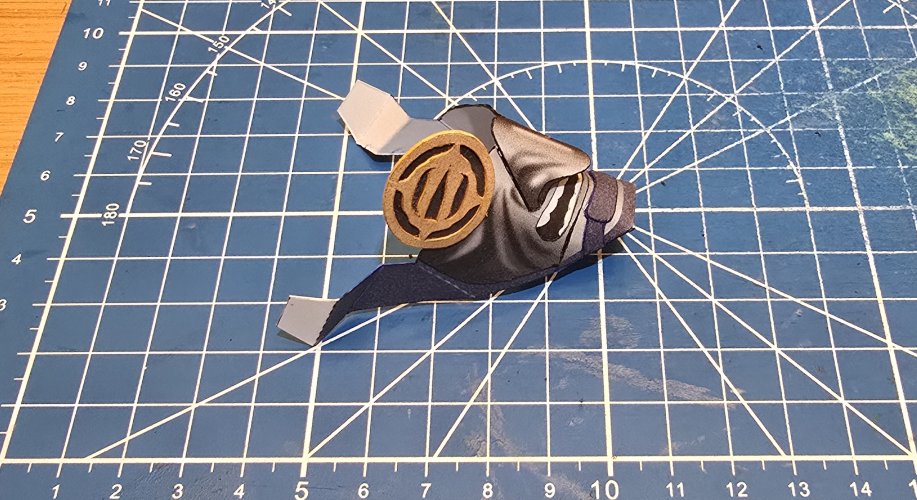
Here is a shot of the other side of the face-mask.
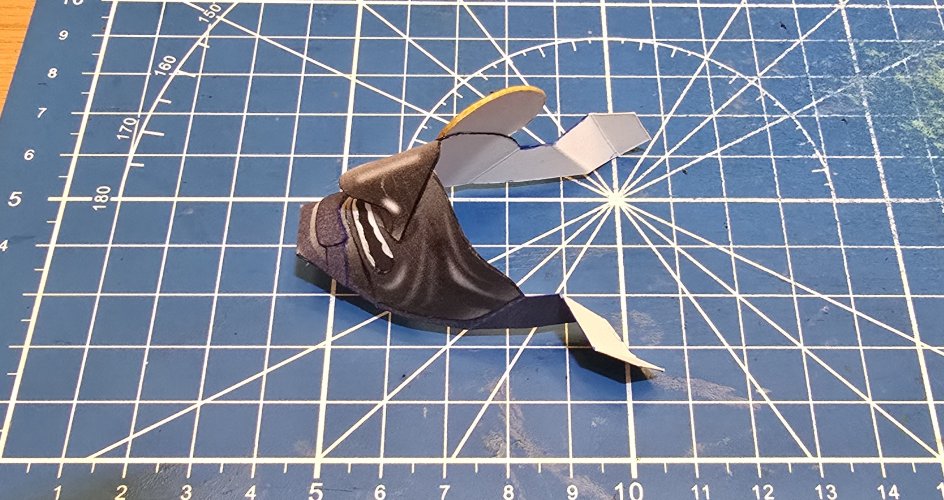
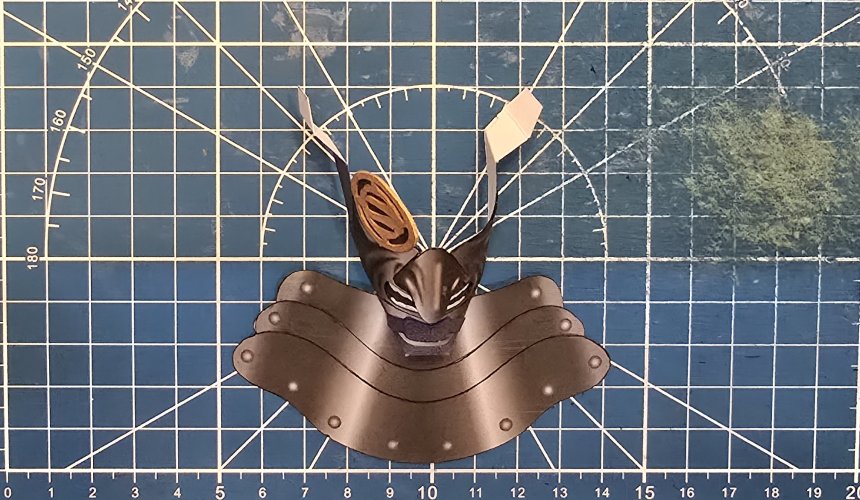
I attached the neck armour to the bottom of the face-mask.
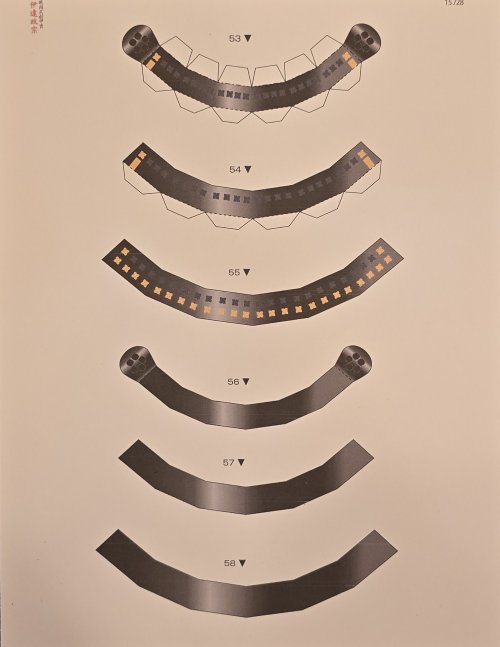
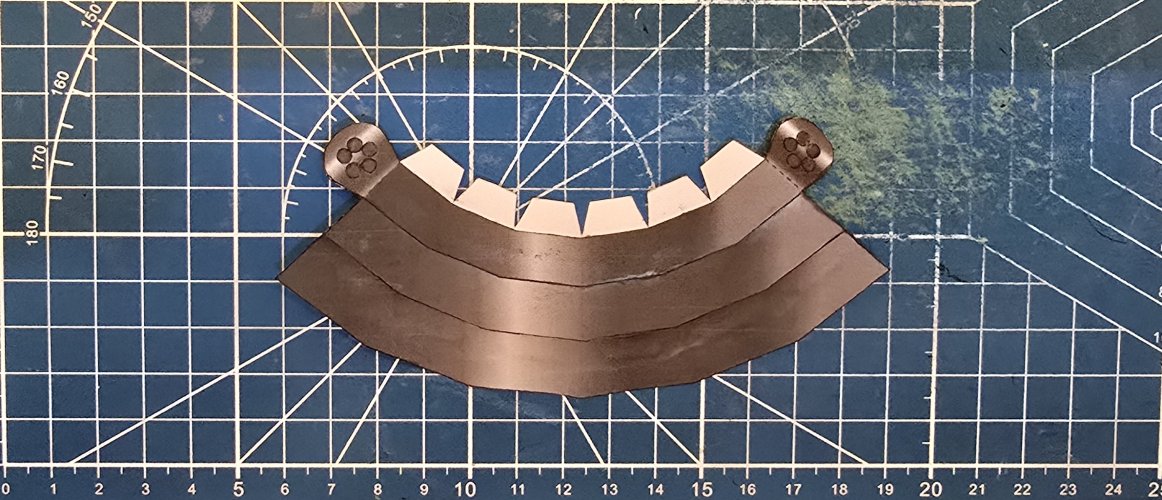
Here are the parts for the armour plates of the back of the helmet.
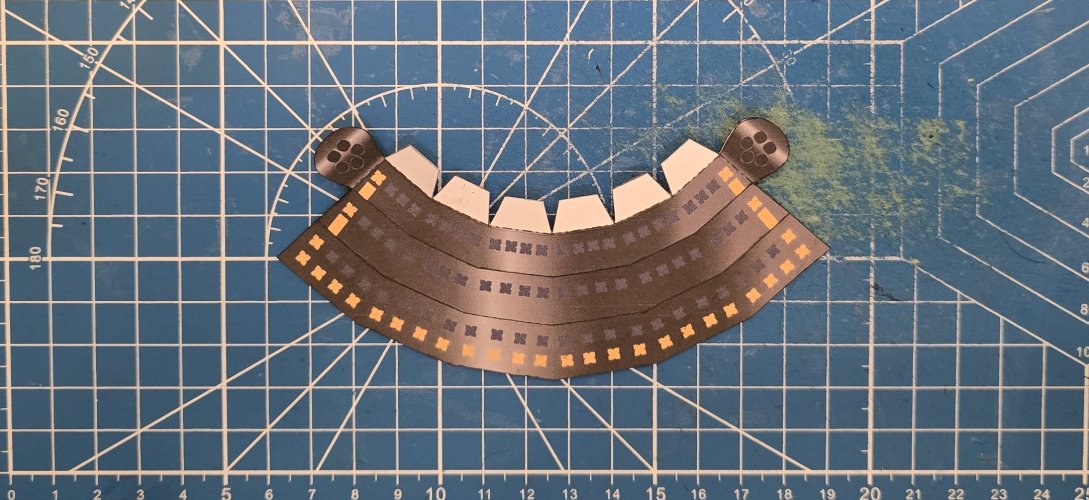
I assembled each of the plates.
This is the back of the plates.
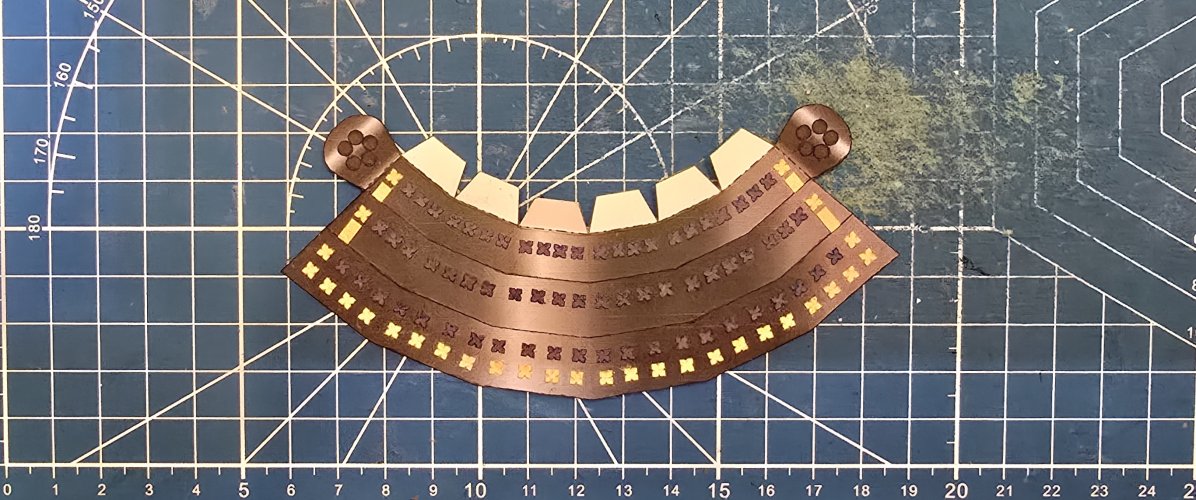
I also raised the blue and the gold "cord" pieces.
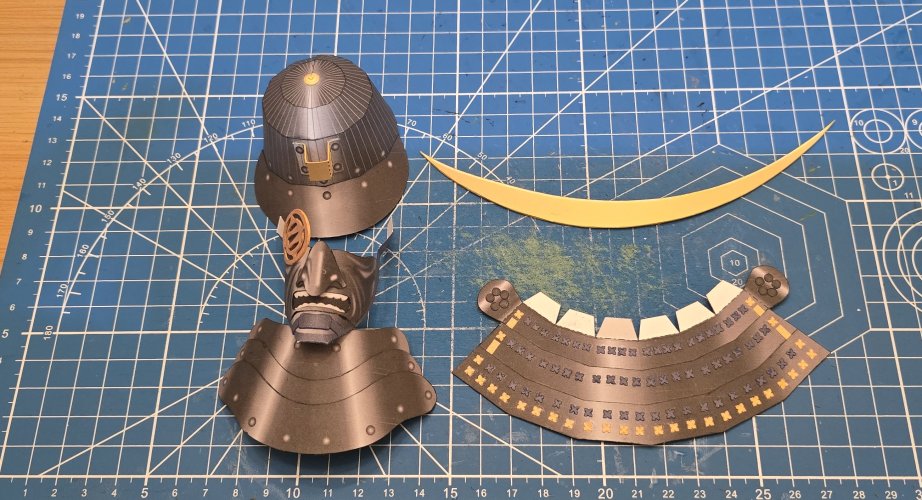
All of the components for the helmet are assembled.
All of the helmet components are attached in place.
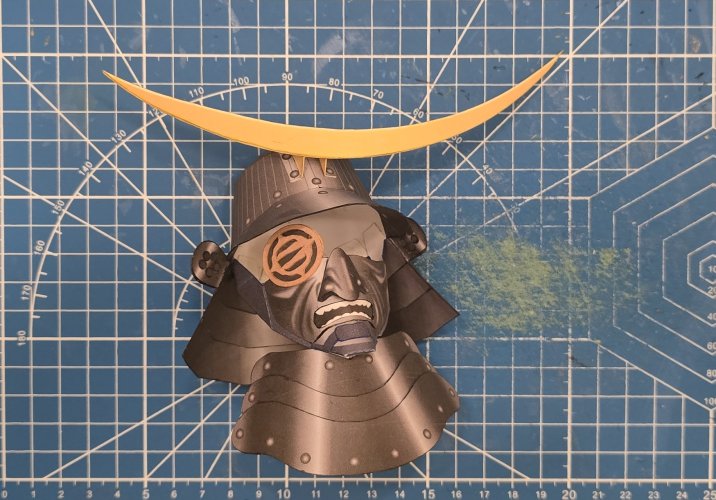
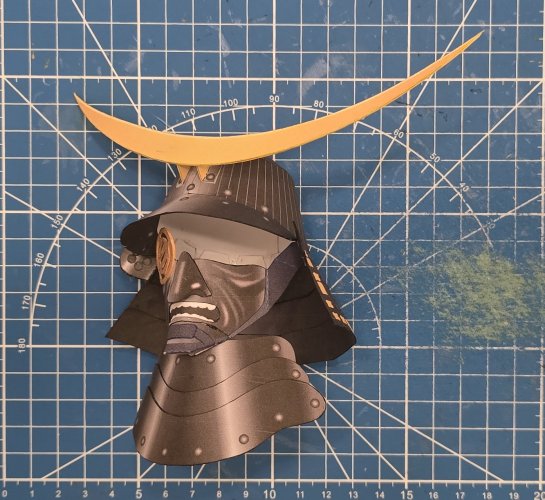
Yes, I know that the crescent looks like it is off center. According to the instructions, it is supposed to be.
(*NOTE* I do not like it either.)
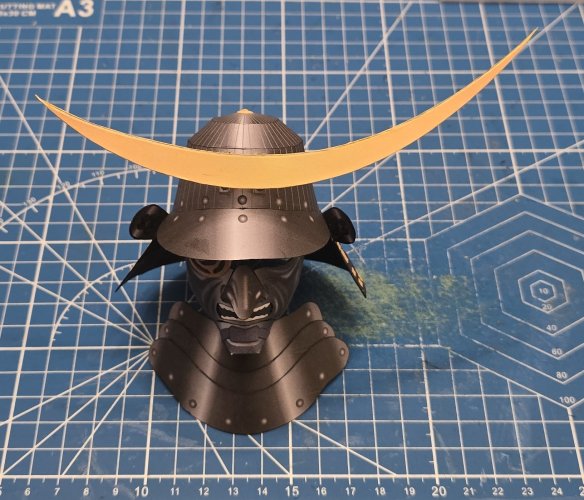
The helmet is placed on the display frame.

Starting with the "crown" of the helmet. When assembling, I had to be very mindful of the line texture and make certain that the lines matched up properly.

Moving on to the "main body" of the helmet (continuing to make certain that that line texture matched properly).

I attached to bill in place.


Here are the parts for the face-mask.

The face-mask is assembled. I raised the "sword handguard" eye-patch, raised the chinstrap, and recess the parts for the mouth (i.e. the teeth and "negative" space for the mouth)

Here is a shot of the "sword handguard" eye-patch.

Here is a shot of the other side of the face-mask.

I attached the neck armour to the bottom of the face-mask.

Here are the parts for the armour plates of the back of the helmet.

I assembled each of the plates.

This is the back of the plates.

I also raised the blue and the gold "cord" pieces.

All of the components for the helmet are assembled.

All of the helmet components are attached in place.


Yes, I know that the crescent looks like it is off center. According to the instructions, it is supposed to be.
(*NOTE* I do not like it either.)

The helmet is placed on the display frame.


