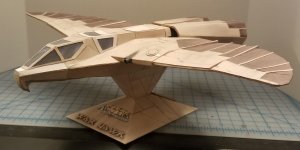
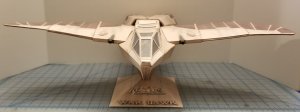
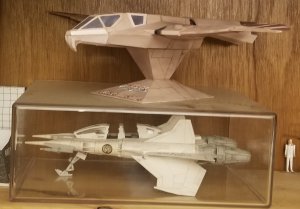
REBUILD of ThunderChild's Warhawk

Rhaven Blaack

!!!THE MAN BEHIND THE CURTAIN!!!
Staff member
Administrator
Moderator
Greeting ladies and gentlemen,

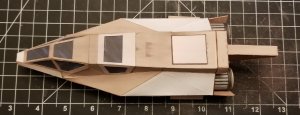
Once again, it is time for another update on this project. Here is the section that I am working on now.
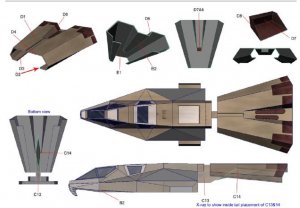
Warhawk section three.JPG

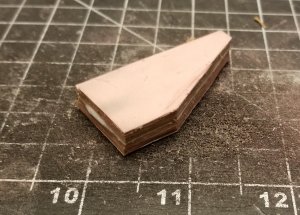
In my original beta building, I laminated the tail with thin cereal cardboard for added strength and durability. I have decided to do the same thing again.
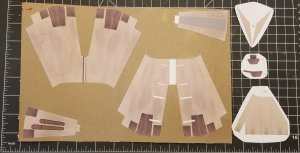
20191029_121339.jpg

As you see, I have laminated the tail connector to cereal box cardboard to the desired thickness as well.
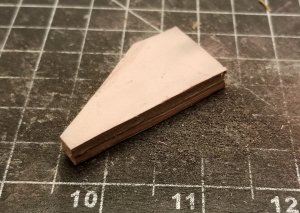
20191029_184512.jpg 20191029_184527.jpg

I layered the trim on to finish off the connector piece.
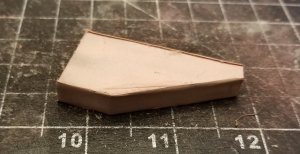
20191029_185132.jpg

The connector piece is attached.
20191029_185708.jpg 20191029_185651.jpg

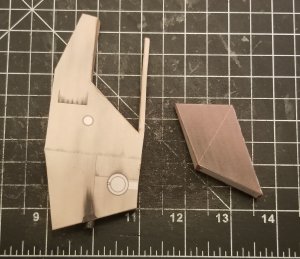
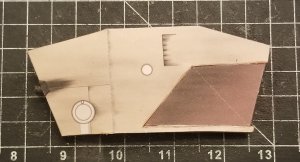
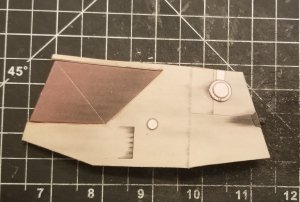
This is the cowling that goes under the engines (these are parts B4 & B5.
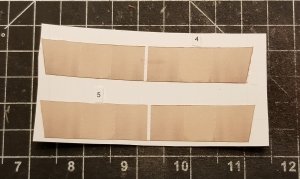
20191030_214014.jpg

The cowling is attached.
20191030_220625.jpg 20191030_220617.jpg

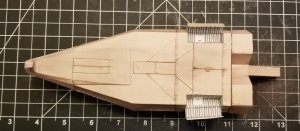
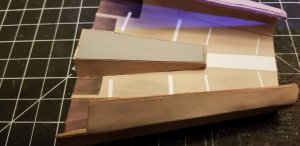
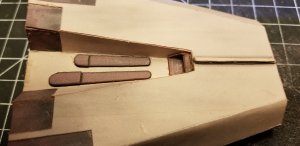
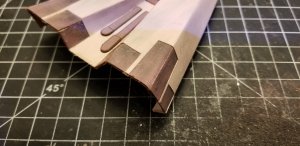
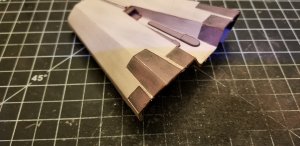
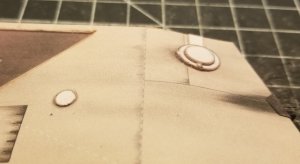
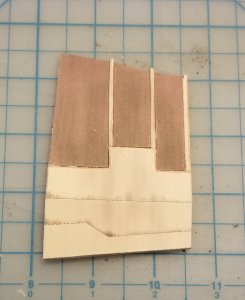
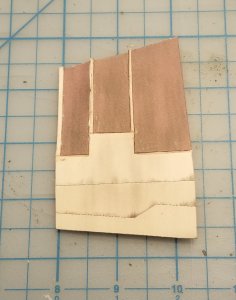
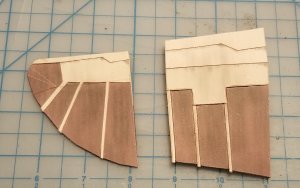
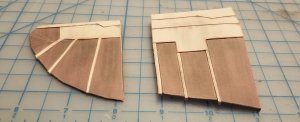
Here is the tail section. I laminated a few of the parts to show detail and definition.

Starting with the underside, I raised the gray rectangle, and recessed the dark brown tail-end rectangles.
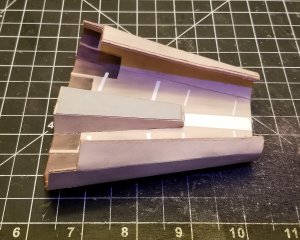
20191030_221001.jpg 20191030_221007.jpg

On the top, I recessed the dark brown tail-end rectangles, raised the two brown ovals in the middle of the tail and raised the spine.
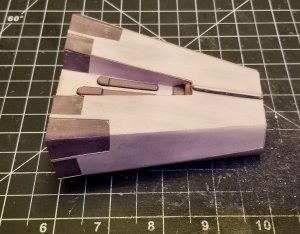
20191030_220952.jpg 20191030_221017.jpg 20191030_221026.jpg

20191030_221033.jpg

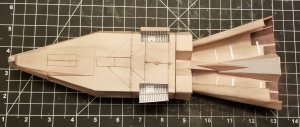
I attached the tail section.
20191030_221610.jpg 20191030_221620.jpg 20191030_221716.jpg


Please stay tuned to your local Earth Broadcasting Directorate channel for further updates as they are posted.
 

Rhaven Blaack

!!!THE MAN BEHIND THE CURTAIN!!!
Staff member
Administrator
Moderator
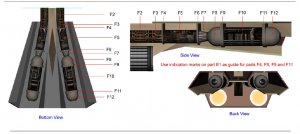
Here is the next section of the build. These are the "long" engines that are under the tail.

Warhawk section four.JPG

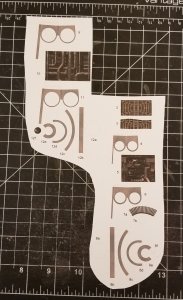
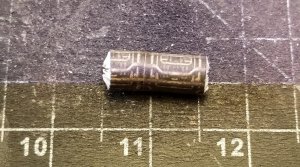
These are the parts.
20191031_134458.jpg

Starting from the rear tubing, working my way to the exhaust.
20191031_140749.jpg

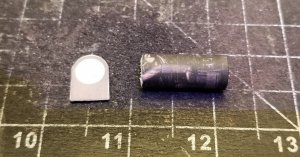
I laminated the arch "anchors" to the proper thickness of the skins.
20191031_145612.jpg

The first long engine is finished.
20191031_222825.jpg

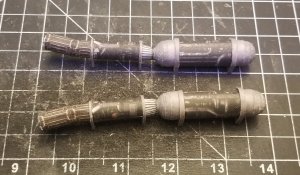
Both long engines are finished.
20191103_152730.jpg

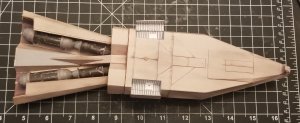
The long engines are attached.
20191103_153244.jpg 20191103_153408.jpg

Please stay tuned to your local Earth Broadcasting Directorate channel for further updates as they are posted.
 

Rhaven Blaack

!!!THE MAN BEHIND THE CURTAIN!!!
Staff member
Administrator
Moderator
Now that I have recovered from my surgery, I can now once again return to this project!

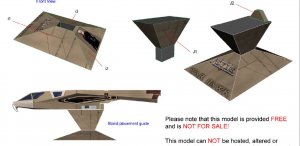
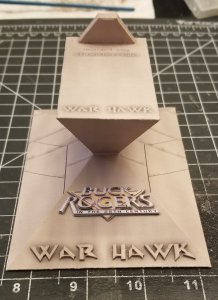
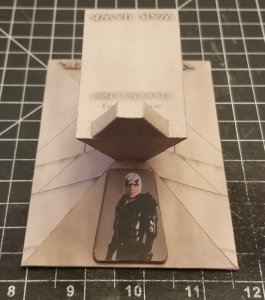
Here is the stand.
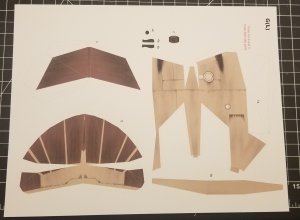
Warhawk section five.JPG

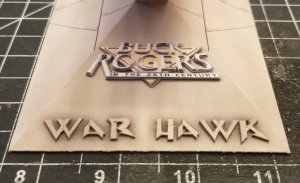
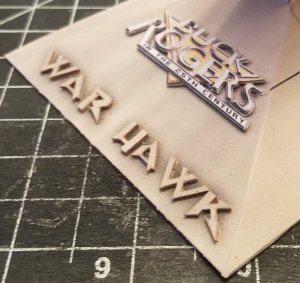
Here is the front side of the stand. I raised the letters and the logo about 1 mm.
20191118_141900.jpg 20191118_141913.jpg 20191118_141924.jpg

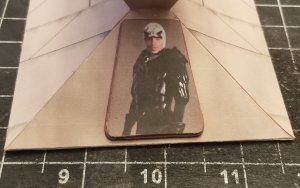
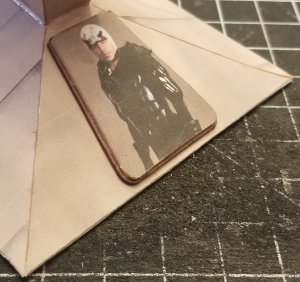
Here is the back side of the stand. I raised the photo of Hawk.
20191118_141958.jpg 20191118_141946.jpg 20191118_141938.jpg

Please stay tuned to your local Earth Broadcasting Directorate channel for further updates as they are posted.
 

Rhaven Blaack

!!!THE MAN BEHIND THE CURTAIN!!!
Staff member
Administrator
Moderator
OK, since my last post, I decided to not build the landing gear for it, and have it in "flight" mode.
 

Rhaven Blaack

!!!THE MAN BEHIND THE CURTAIN!!!
Staff member
Administrator
Moderator
Continuing on with this build, I have moved on to the wings.

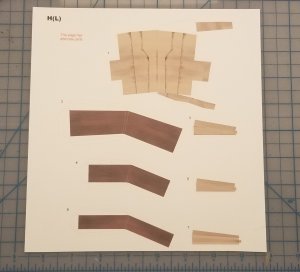
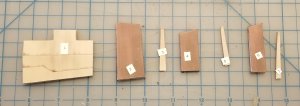
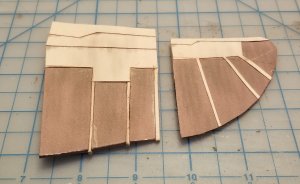
Here are the parts for the wing root and the wing tip.
20191119_101649.jpg

The wing root is assembled.
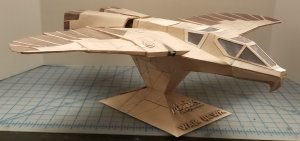
20191119_190802.jpg 20191119_190957.jpg 20191119_195015.jpg

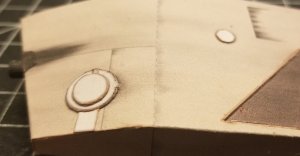
As you can see, I have raised to circles and tabs on and to the side of the large circle.
20191119_195023.jpg 20191119_195033.jpg

The wing root is attached.
20191119_195921.jpg

Here are the parts for the middle part of the wing.
20191120_185813.jpg 20191121_134812.jpg

The middle part of the wing is assembled.
20191121_140030.jpg 20191121_140039.jpg

As you can see, I have raised the leading edge panels, to add more detail.
20191121_161559.jpg 20191121_161606.jpg 20191121_161624.jpg

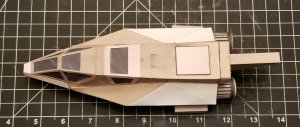
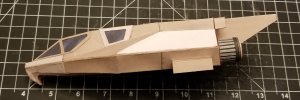
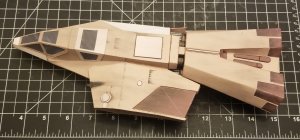
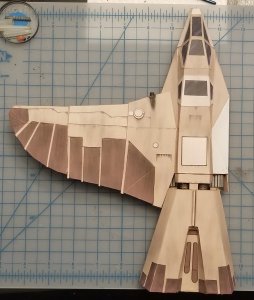
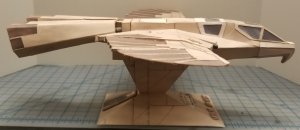
The wing is fully assembled and attached.
20191121_162338.jpg

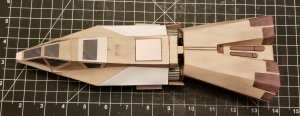
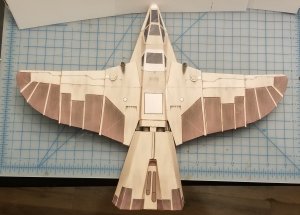
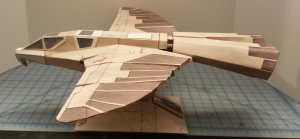
Both wings are attached.
20191122_220433.jpg
 

Gandolf50

Researcher of obscure between war vehicles...
Staff member
Moderator
OK, since my last post, I decided to not build the landing gear for it, and have it in "flight" mode.


Well, OK...but we reserve the right to see Landing Gear..at Sometime !!...those Claws are so, COOL!
 

Rhaven Blaack

!!!THE MAN BEHIND THE CURTAIN!!!
Staff member
Administrator
Moderator
Well, OK...but we reserve the right to see Landing Gear..at Sometime !!...those Claws are so, COOL!
Yes, the claws are very cool. The bad thing is, they will not hold up the ship.
I attempted to make them three times and failed all three times. Some of the parts are very small and extremely difficult for me to make. I ended up destroying them in the process. If I decide to make it again, I will attempt the landing gear again. I may use other material of the very small fiddly parts that I had problems with.
 
Top