Hello strange creatures, monsters and otherworldly beings,
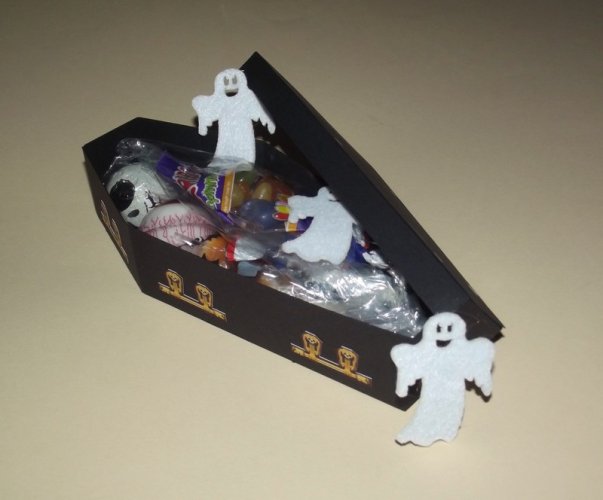
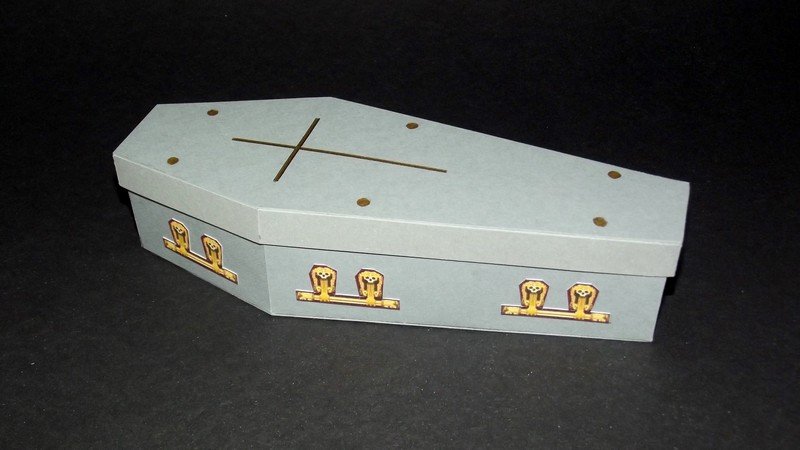
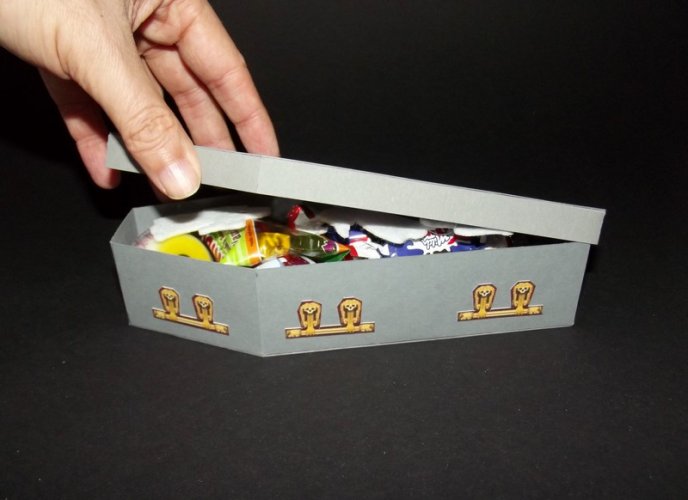
today's crosswords called for the furniture of the day, necessary for any everlasting nap. And what else could it be other than - a coffin? And since it is Halloween it was time to make a whole collection for my colleagues at work. You see, I simply love them to death!


Now then. Everything started with Ravensblight's magnificent deluxe coffin templates which you can find here.
I chose the Mahogany version and assembled a prototype to see how the parts go together:
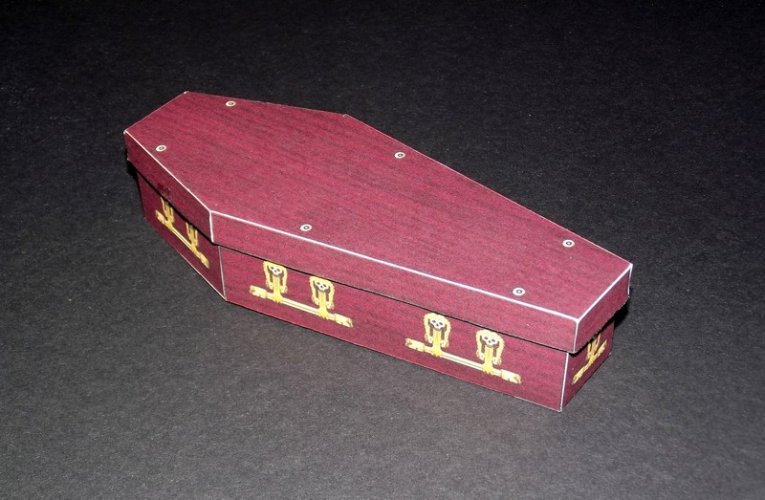
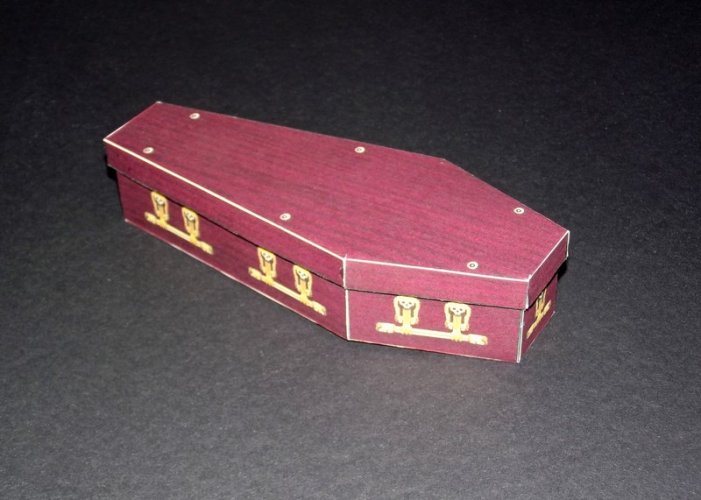
The model is very well designed and comes with very cool textures. Ray even added a padding to the inside:
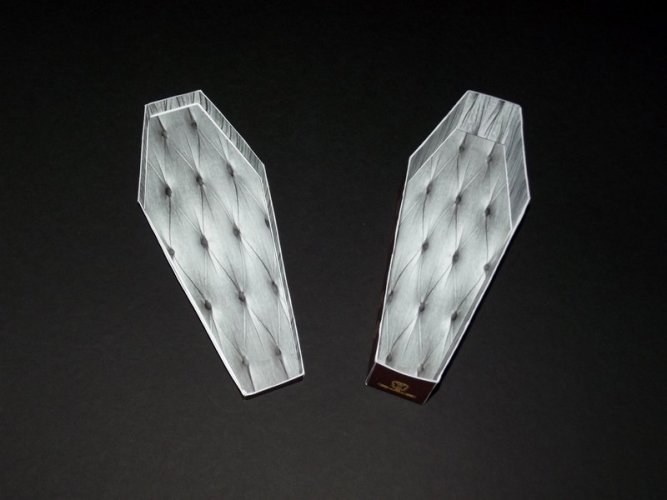
The double lamination makes the model stronger than usual but I needed even stronger card to make the coffins sturdy enough to fulfill their purpose.
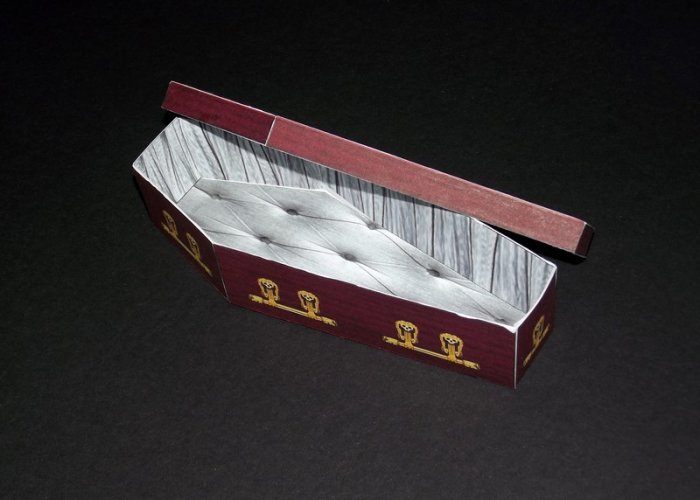
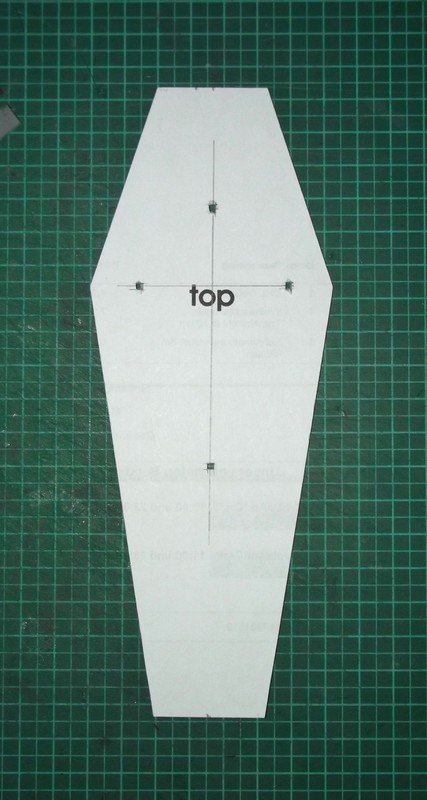
So I transferred the pattern onto thicker card and made a stencil. I resized it to a size of 18cm.
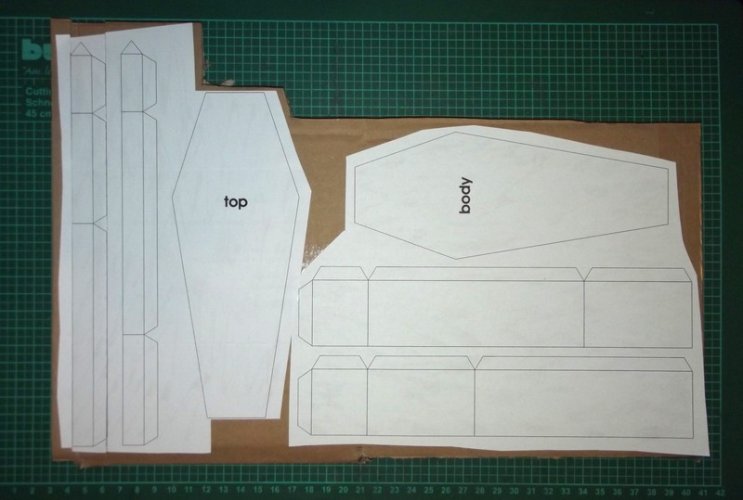
I re-arranged the pattern to make cutting and assembly easier.
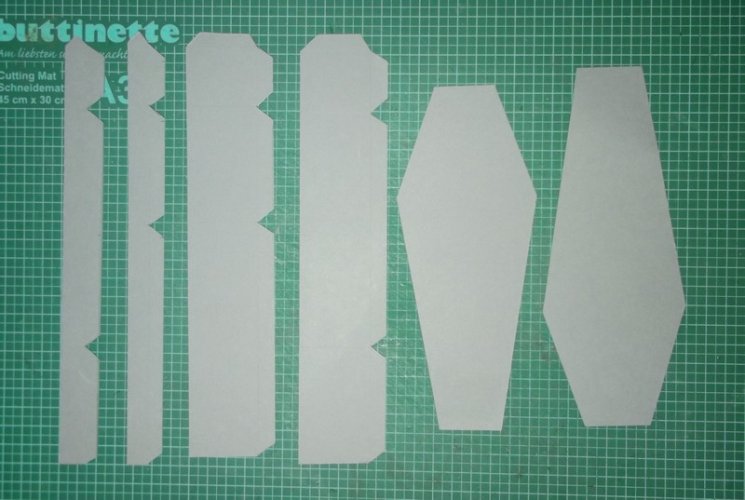
Then I traced the pattern onto heavy cardstock and began assembly.
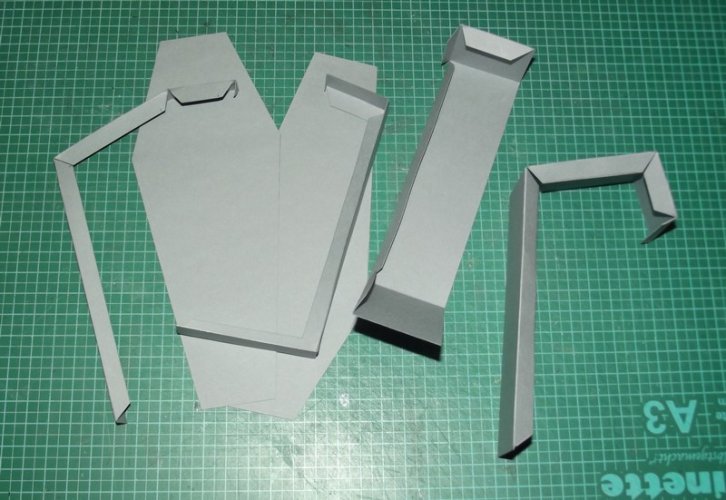
As a side effect this procedure allowed me to save paper. Each coffin would have needed three pages of paper which would have resulted in 48 pages in total for this project. The way I did it only required a total amount of 5 pages (two pattern pages and three additional pages for decoration).
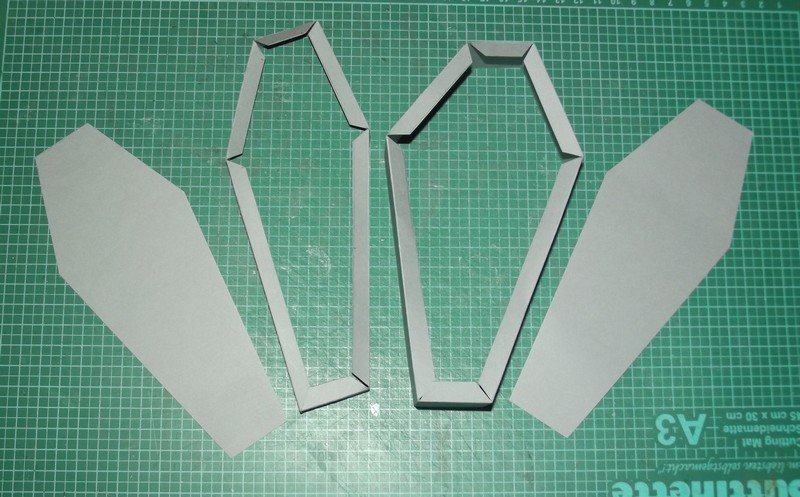
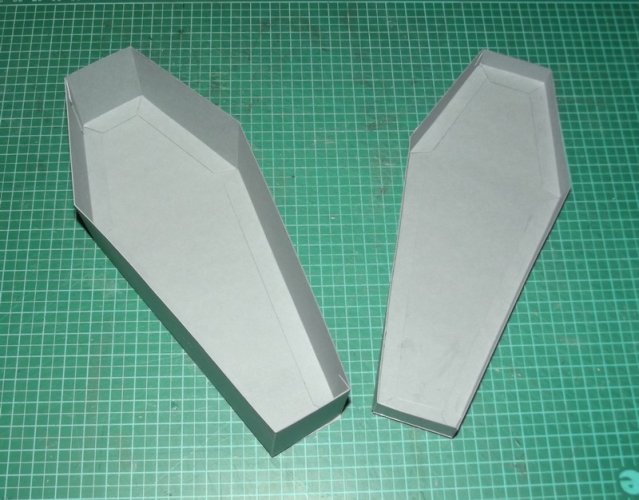
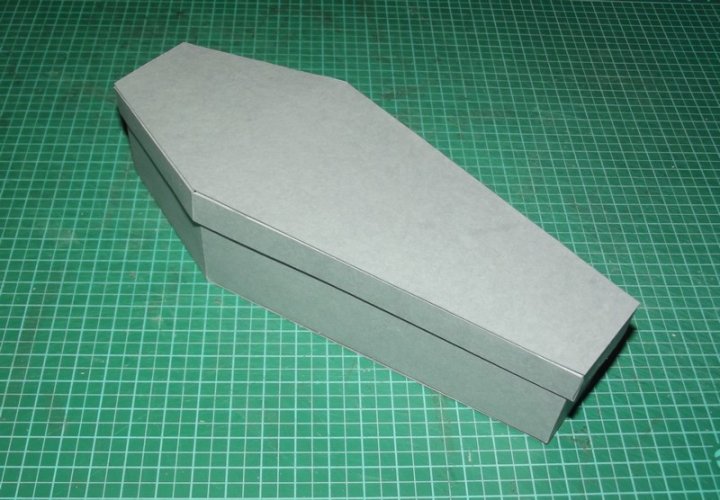
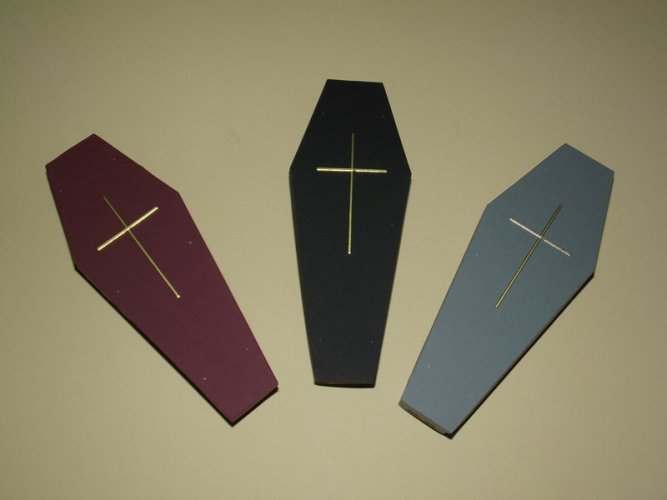
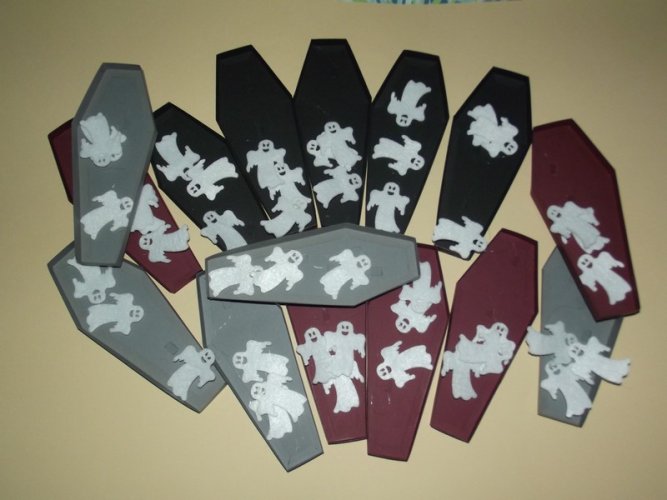
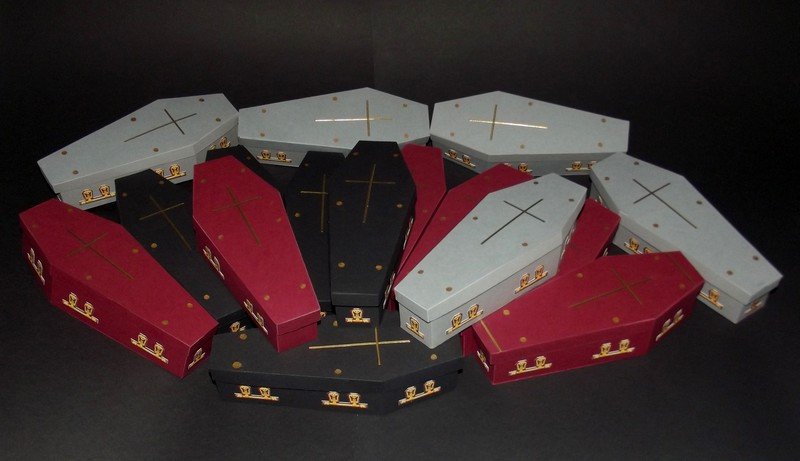
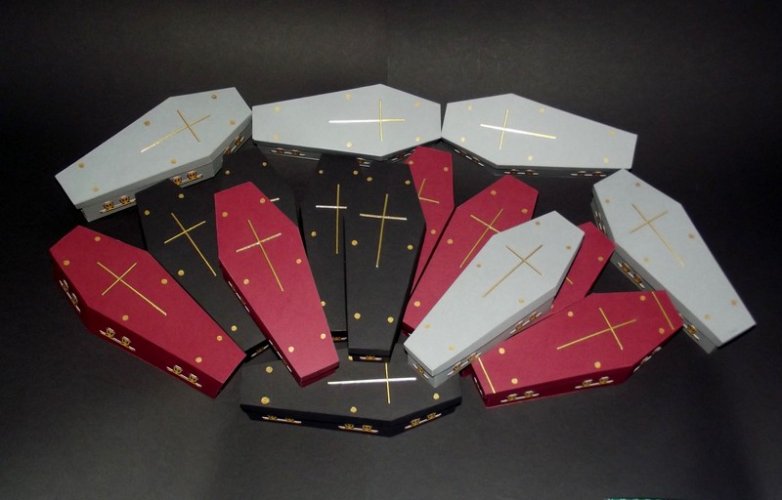
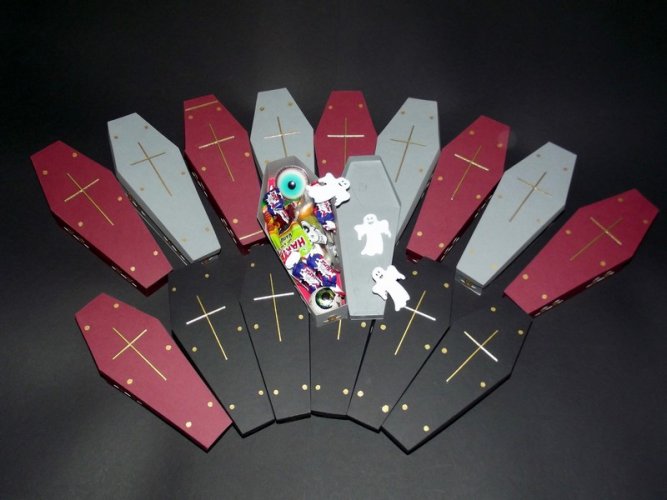
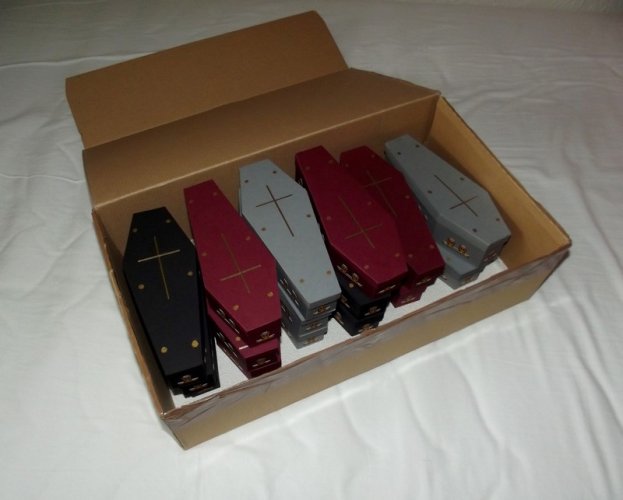
This is the first of 16 coffins. In order to make the collection more attractive I chose three different colours to make them:
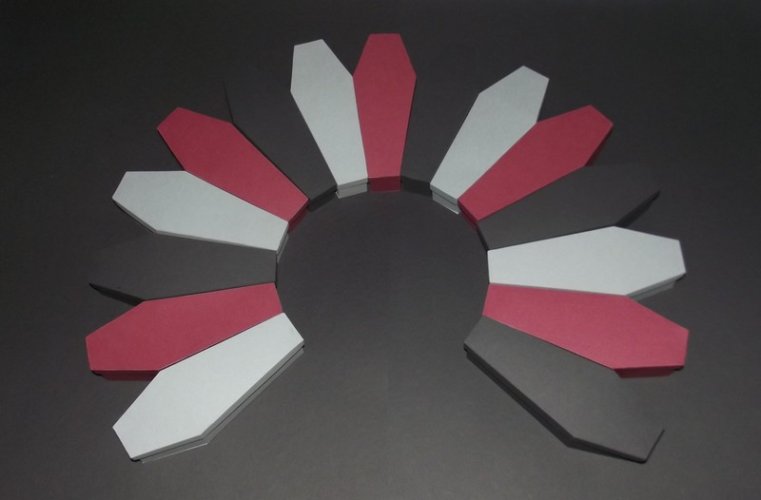
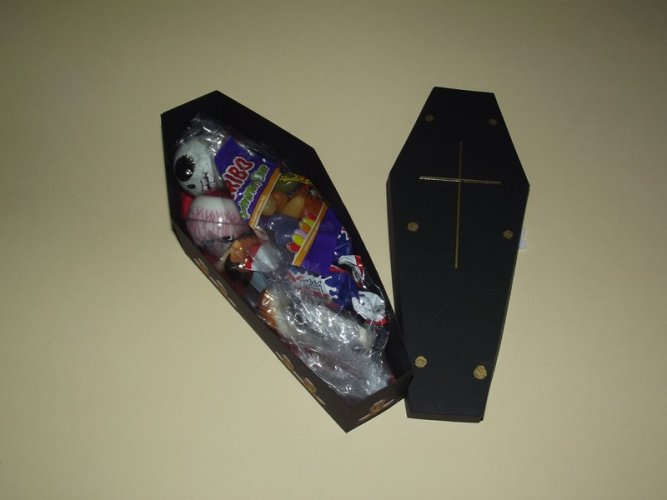
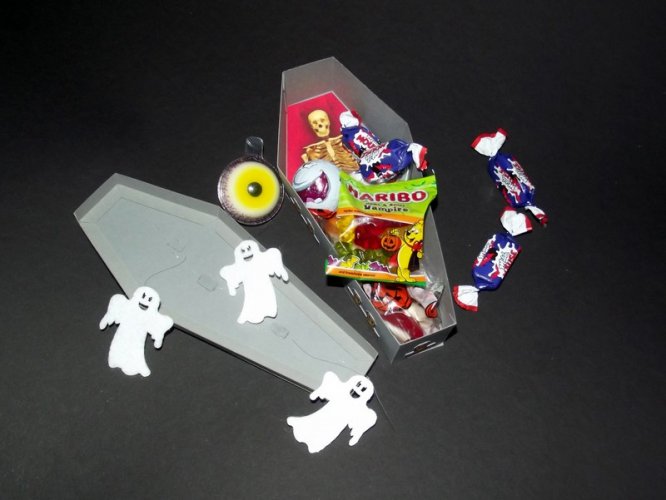
Now it was time for decoration. I thought it would be a nice gimmick to have a corpse inside each coffin and luckily Ray provided one complete with a quilted blanket. I resized it to fit with the new pattern.
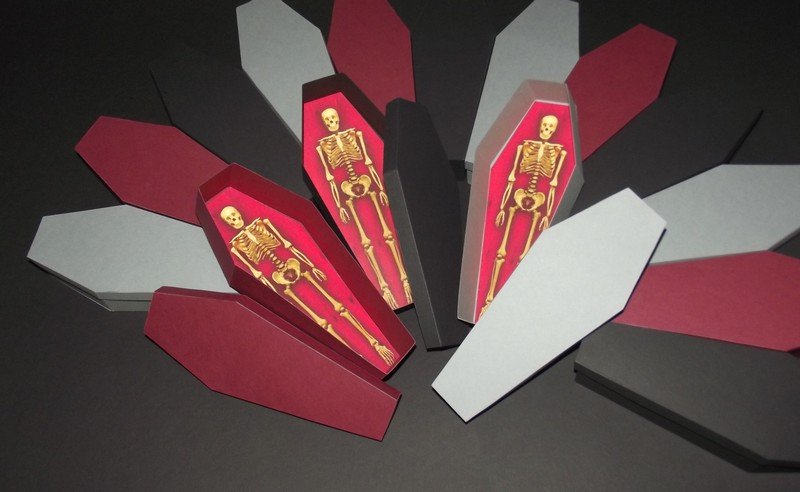
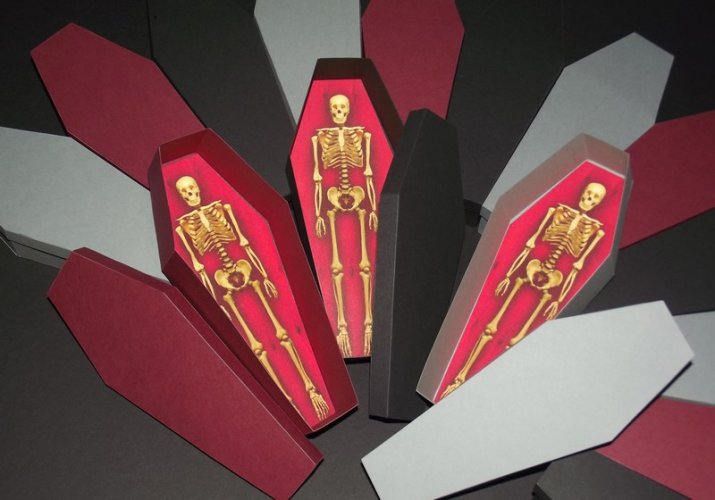
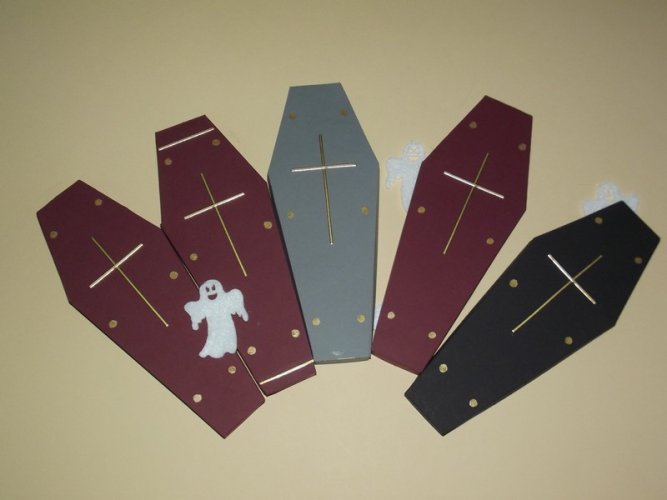
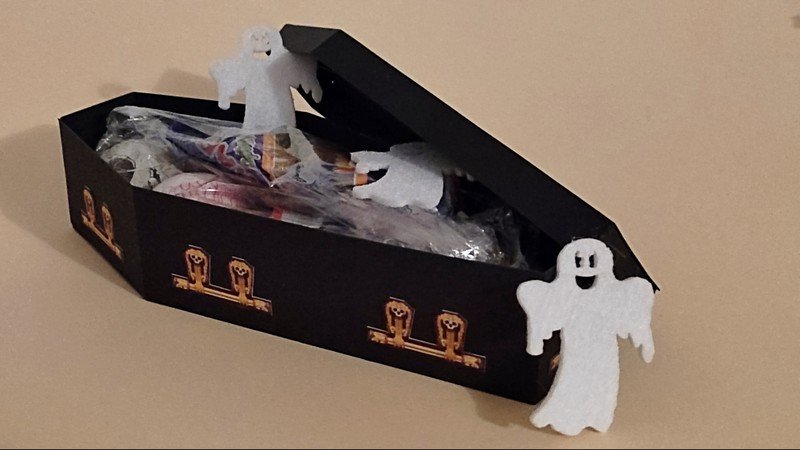
The outside was to feature the golden handles from the original template. I isolated them and printed them on a separate page. After cutting them out
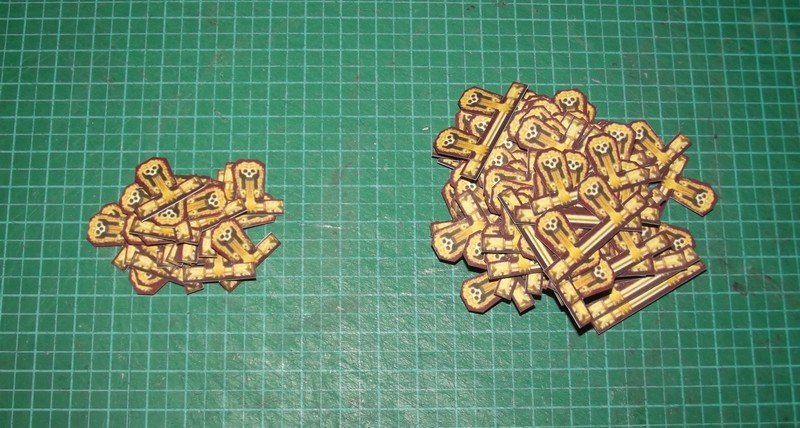
they were glued around the bottom halves of the coffins. I used a paper strip as a guide to determine the position of the handles.
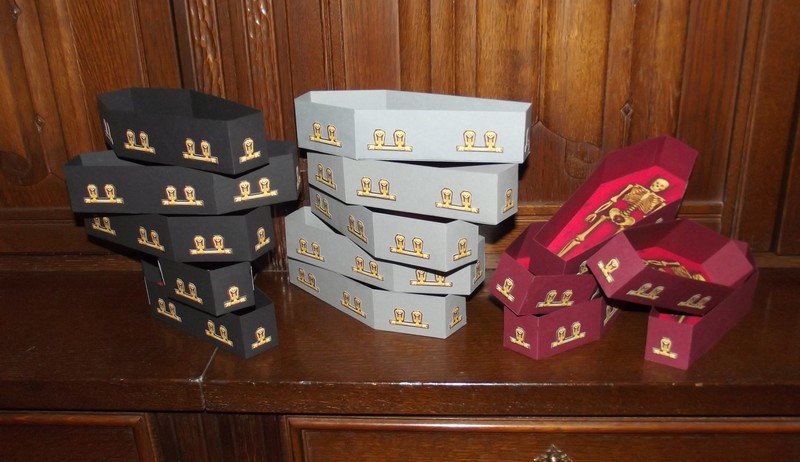
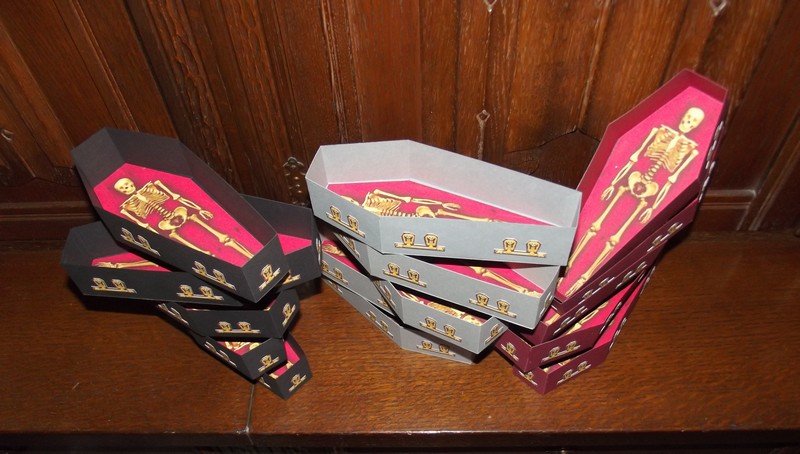
With the addition of the handles the bottom halves were finished. Now I was able to turn to the decoration of the lids.
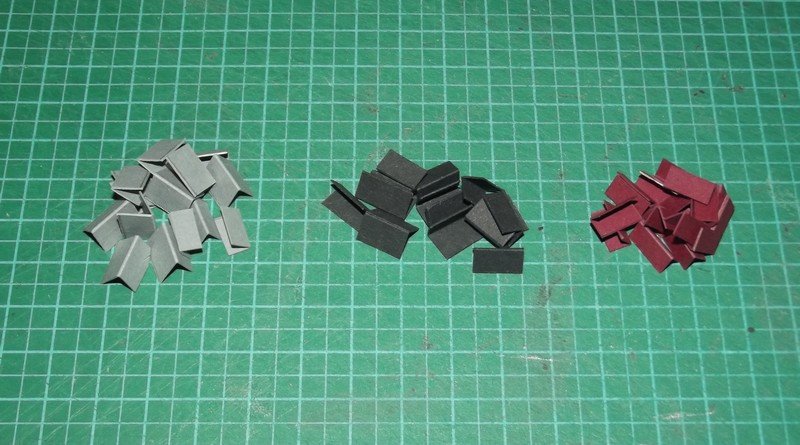
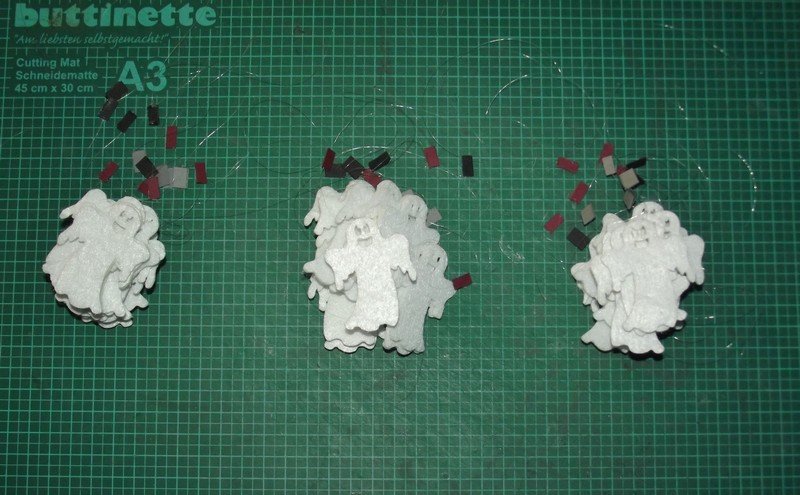
Several square pieces were cut from leftover card (three pieces for each coffin).
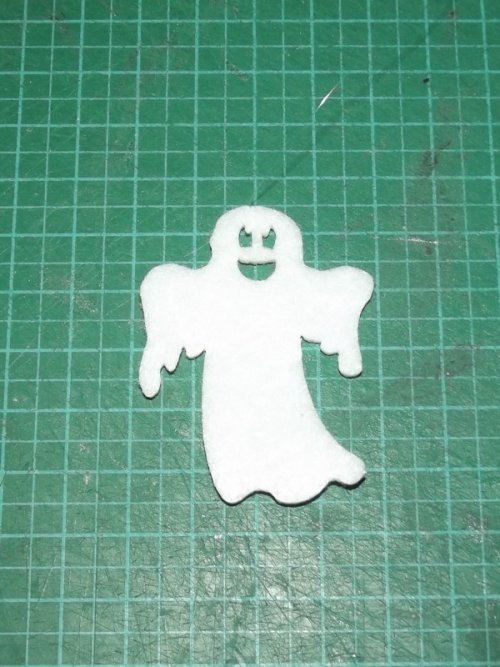
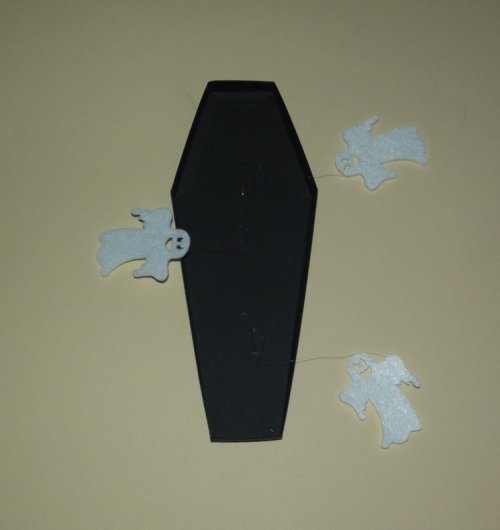
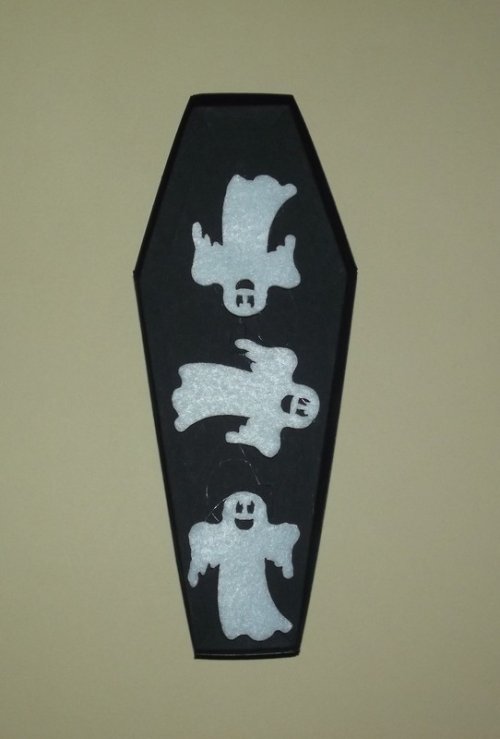
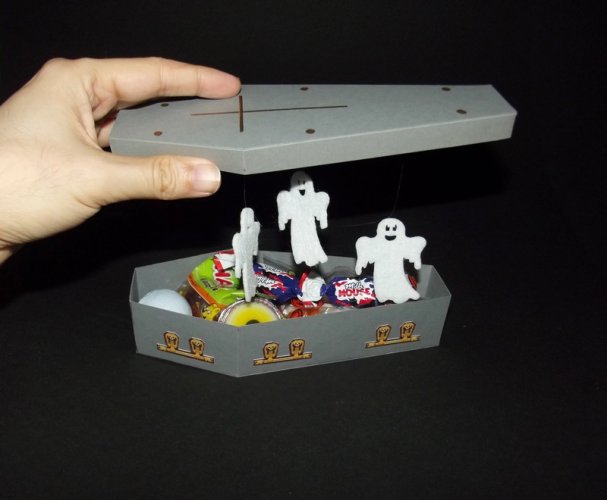
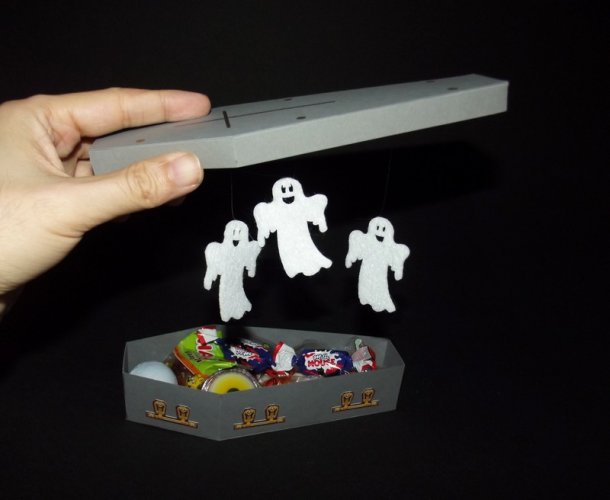
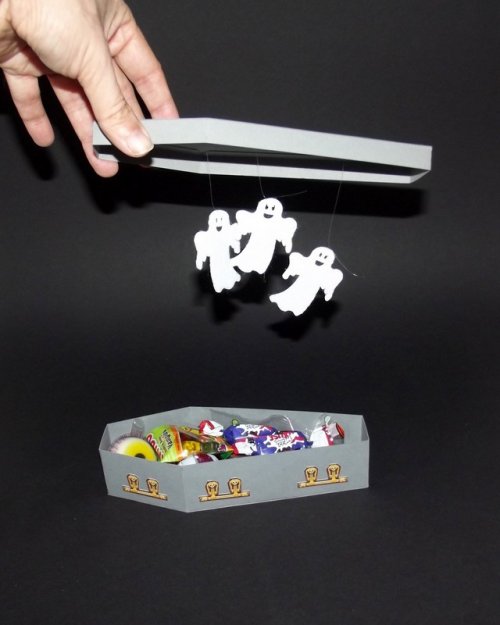
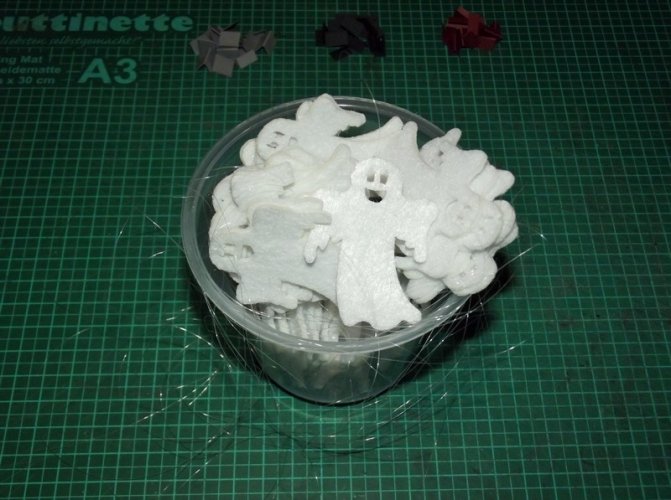
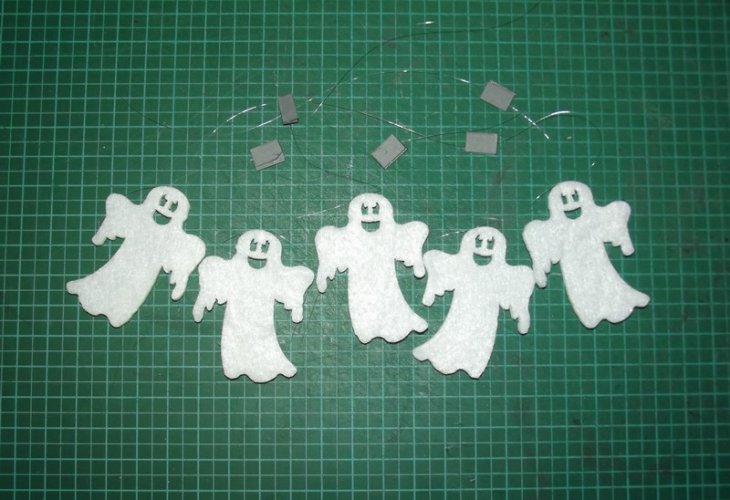
At a local store I found these adorable ghosts made of felt. A clear thread was knotted to one eye.
Each thread was glued to one of the card squares.
today's crosswords called for the furniture of the day, necessary for any everlasting nap. And what else could it be other than - a coffin? And since it is Halloween it was time to make a whole collection for my colleagues at work. You see, I simply love them to death!


Now then. Everything started with Ravensblight's magnificent deluxe coffin templates which you can find here.
I chose the Mahogany version and assembled a prototype to see how the parts go together:


The model is very well designed and comes with very cool textures. Ray even added a padding to the inside:

The double lamination makes the model stronger than usual but I needed even stronger card to make the coffins sturdy enough to fulfill their purpose.

So I transferred the pattern onto thicker card and made a stencil. I resized it to a size of 18cm.

I re-arranged the pattern to make cutting and assembly easier.

Then I traced the pattern onto heavy cardstock and began assembly.

As a side effect this procedure allowed me to save paper. Each coffin would have needed three pages of paper which would have resulted in 48 pages in total for this project. The way I did it only required a total amount of 5 pages (two pattern pages and three additional pages for decoration).


This is the first of 16 coffins. In order to make the collection more attractive I chose three different colours to make them:

Now it was time for decoration. I thought it would be a nice gimmick to have a corpse inside each coffin and luckily Ray provided one complete with a quilted blanket. I resized it to fit with the new pattern.


The outside was to feature the golden handles from the original template. I isolated them and printed them on a separate page. After cutting them out

they were glued around the bottom halves of the coffins. I used a paper strip as a guide to determine the position of the handles.


With the addition of the handles the bottom halves were finished. Now I was able to turn to the decoration of the lids.

Several square pieces were cut from leftover card (three pieces for each coffin).

At a local store I found these adorable ghosts made of felt. A clear thread was knotted to one eye.

Each thread was glued to one of the card squares.

Last edited:


