Thanks guys!
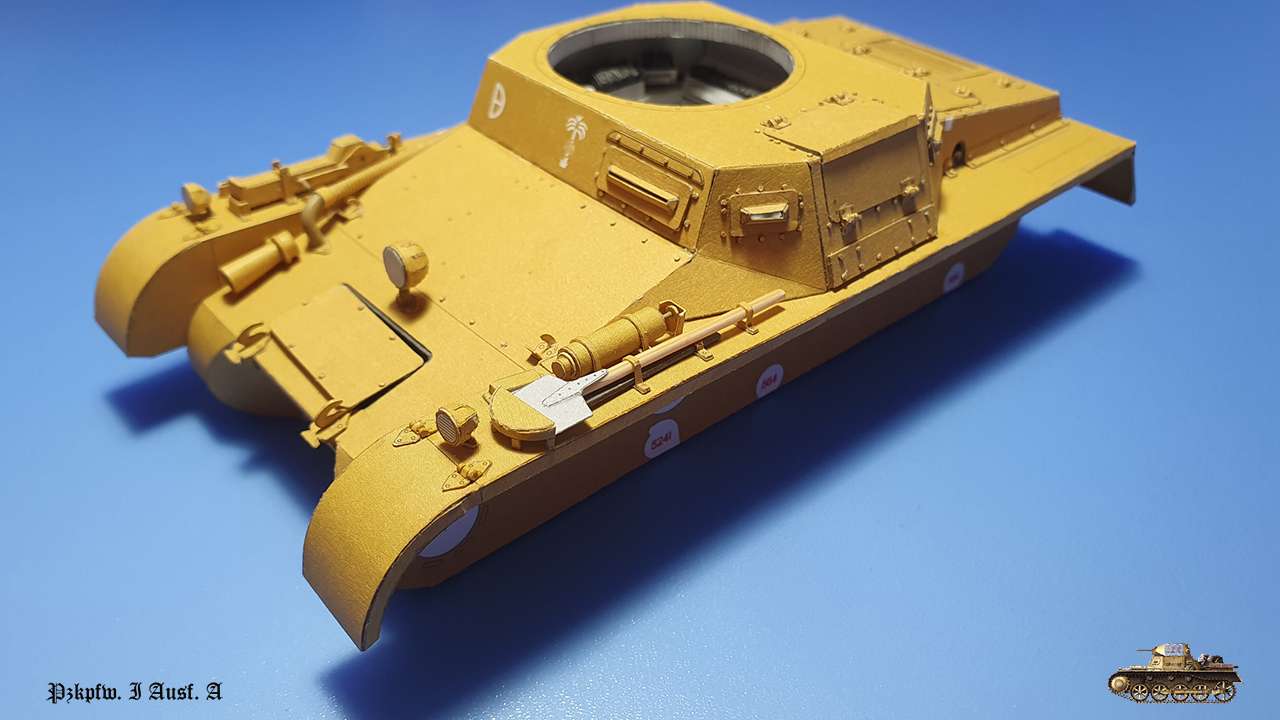
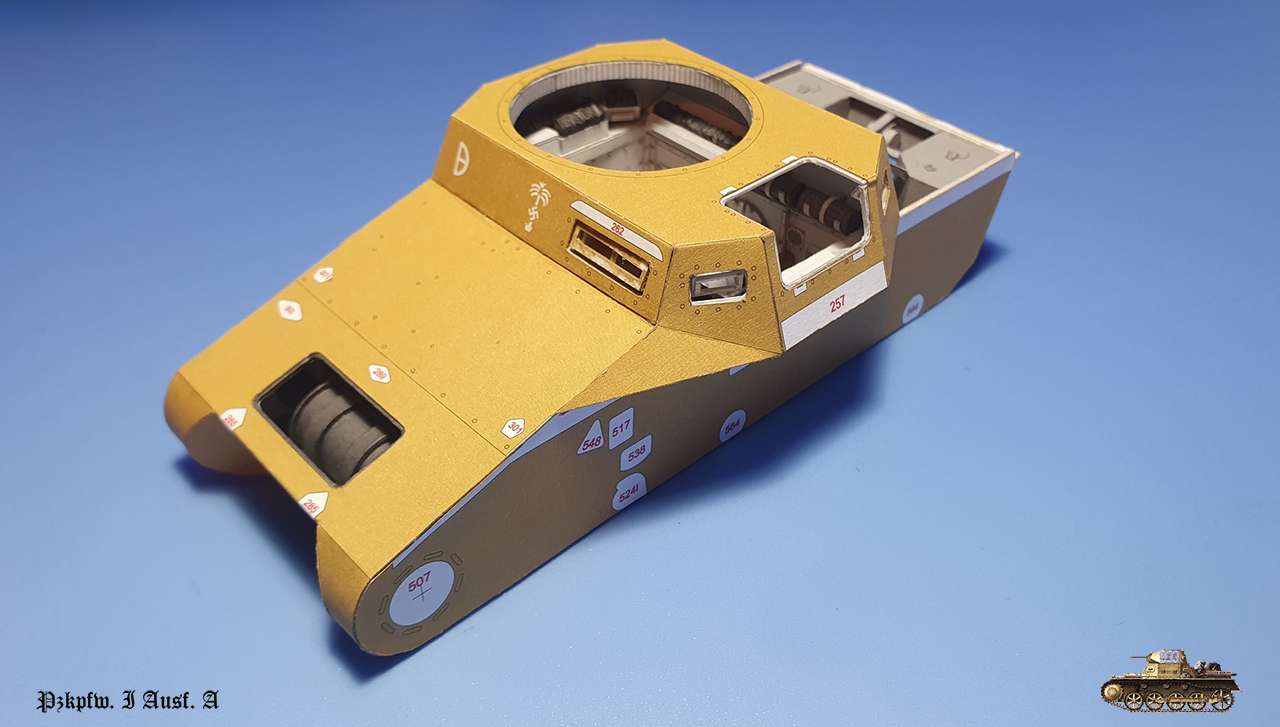
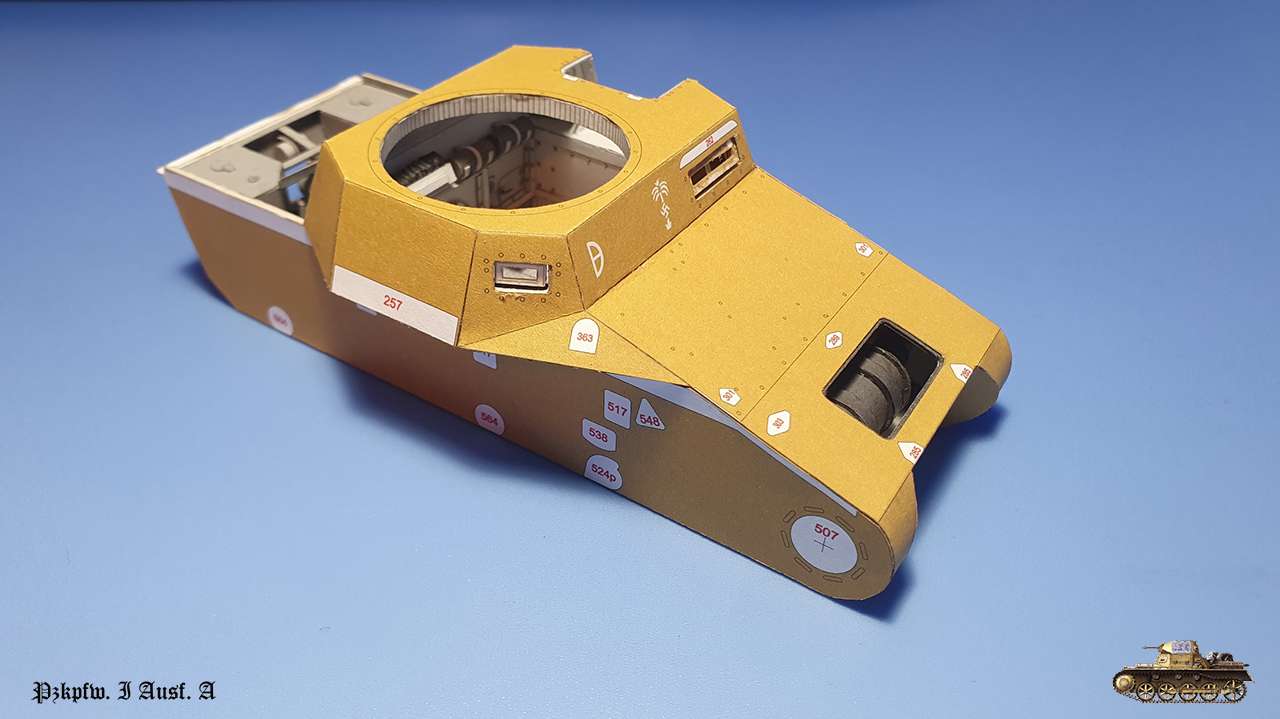
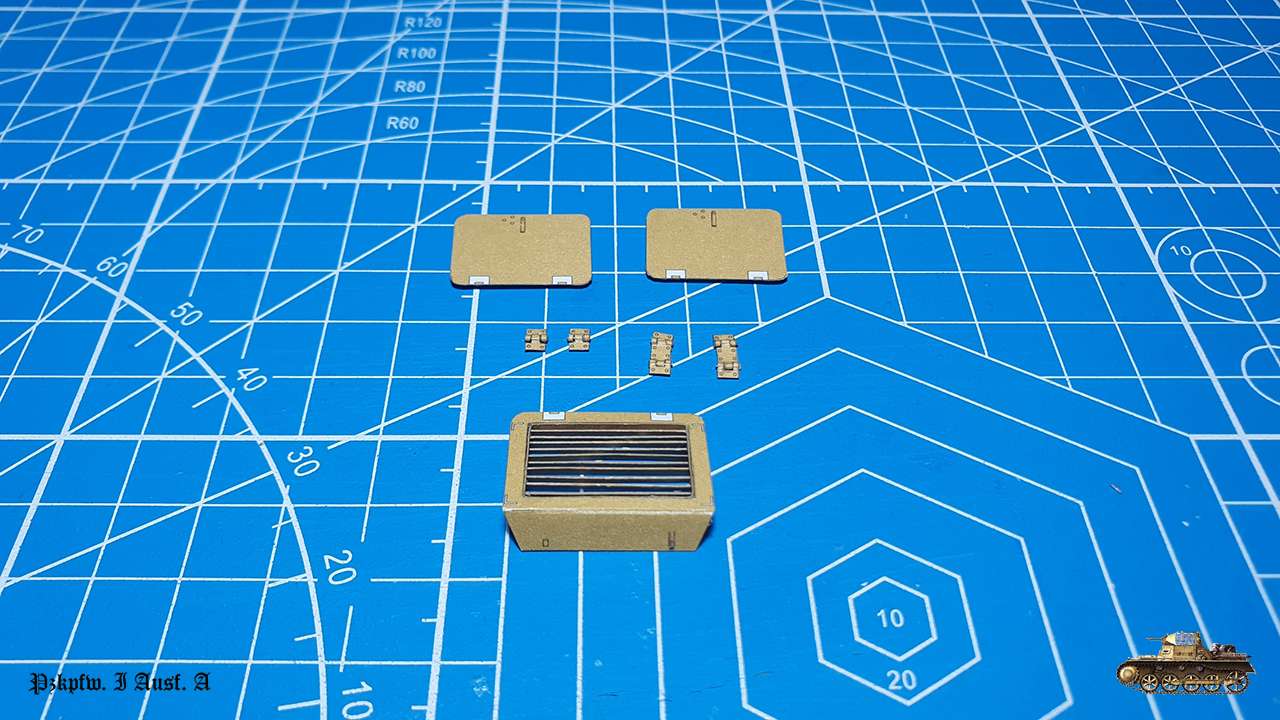
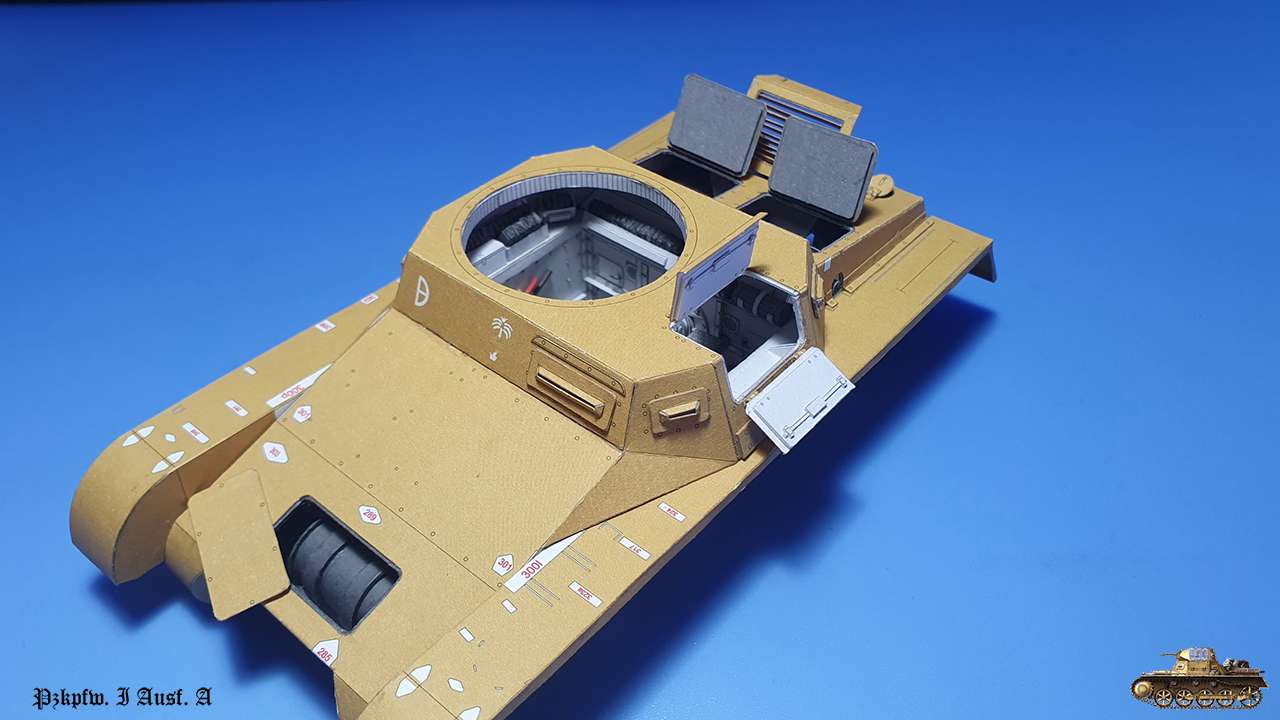
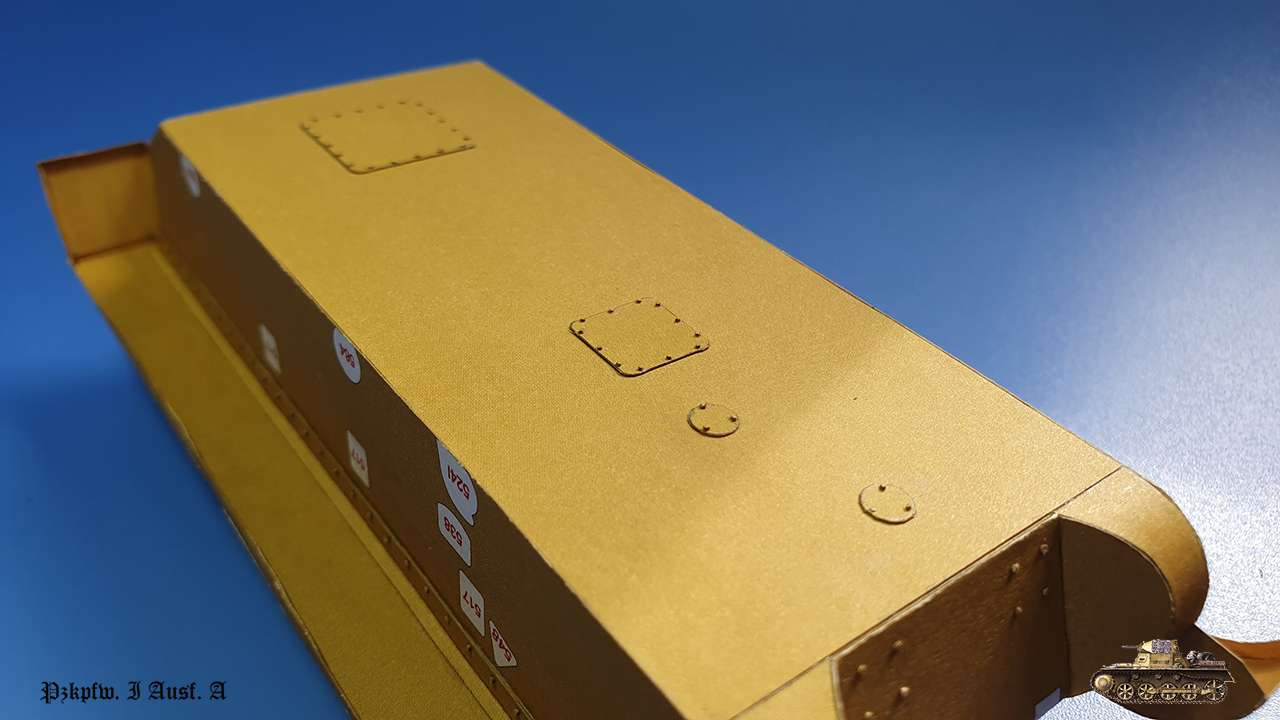
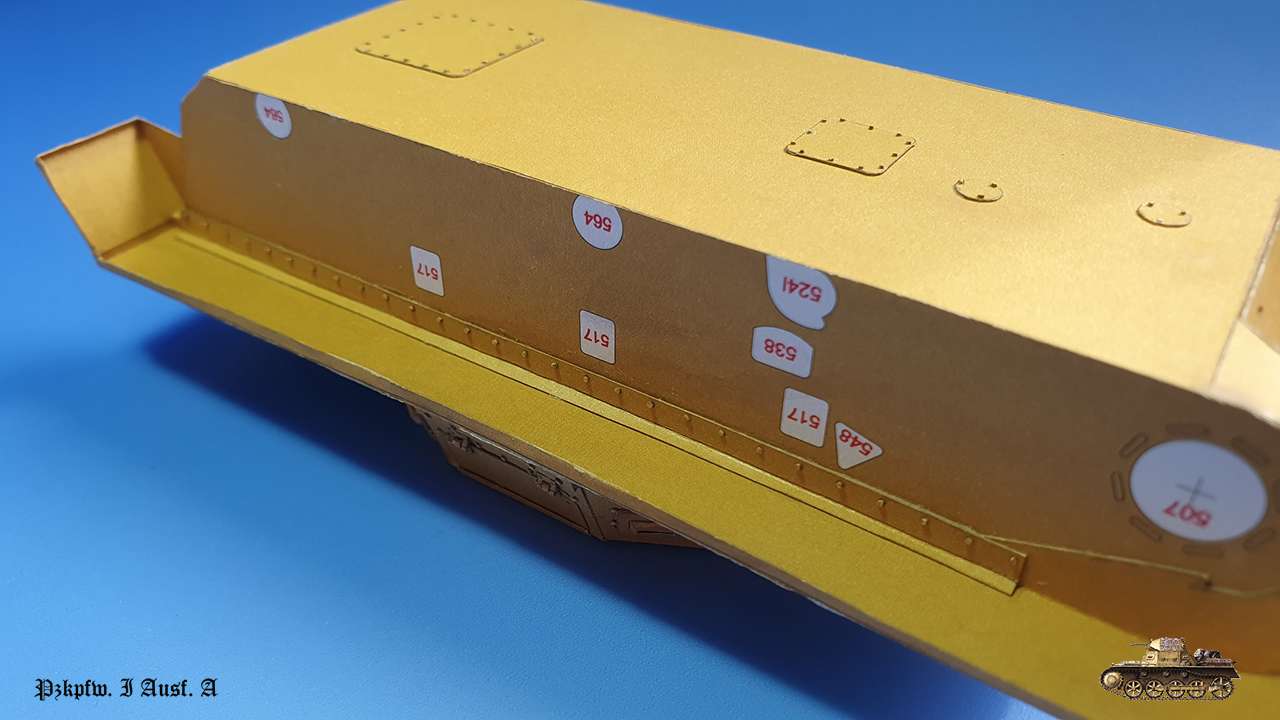
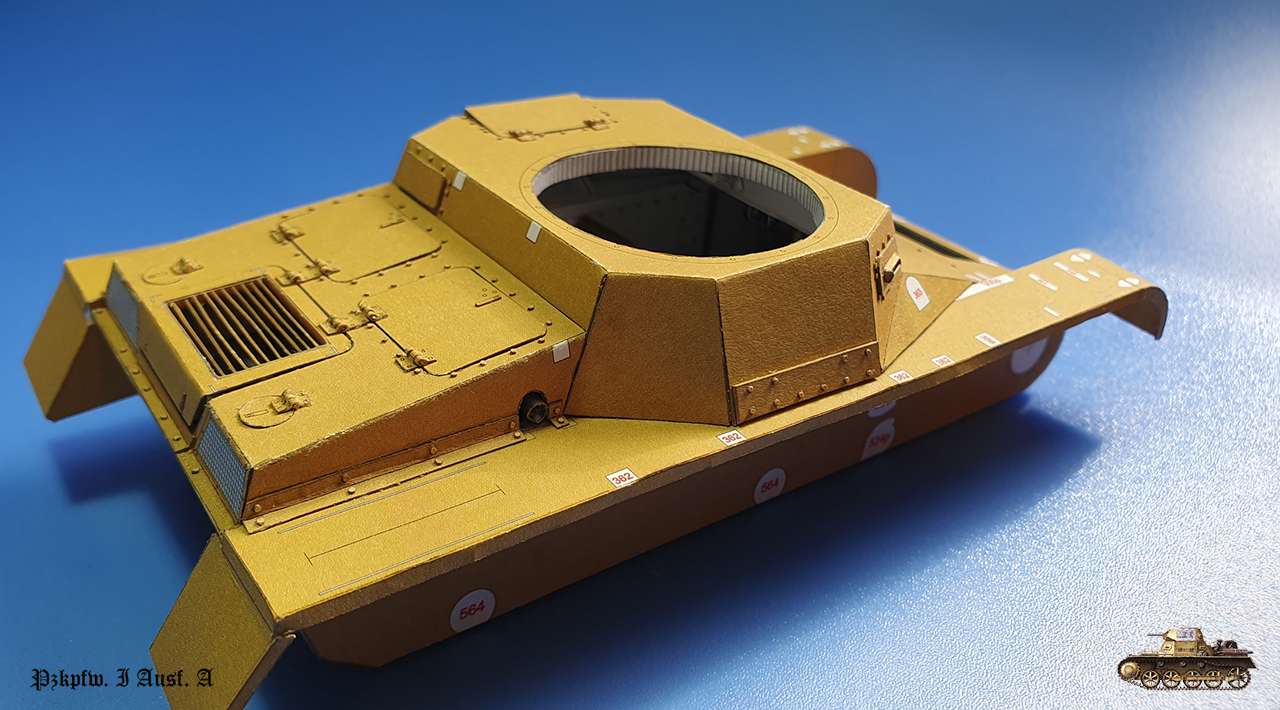
Started to put outer skin.
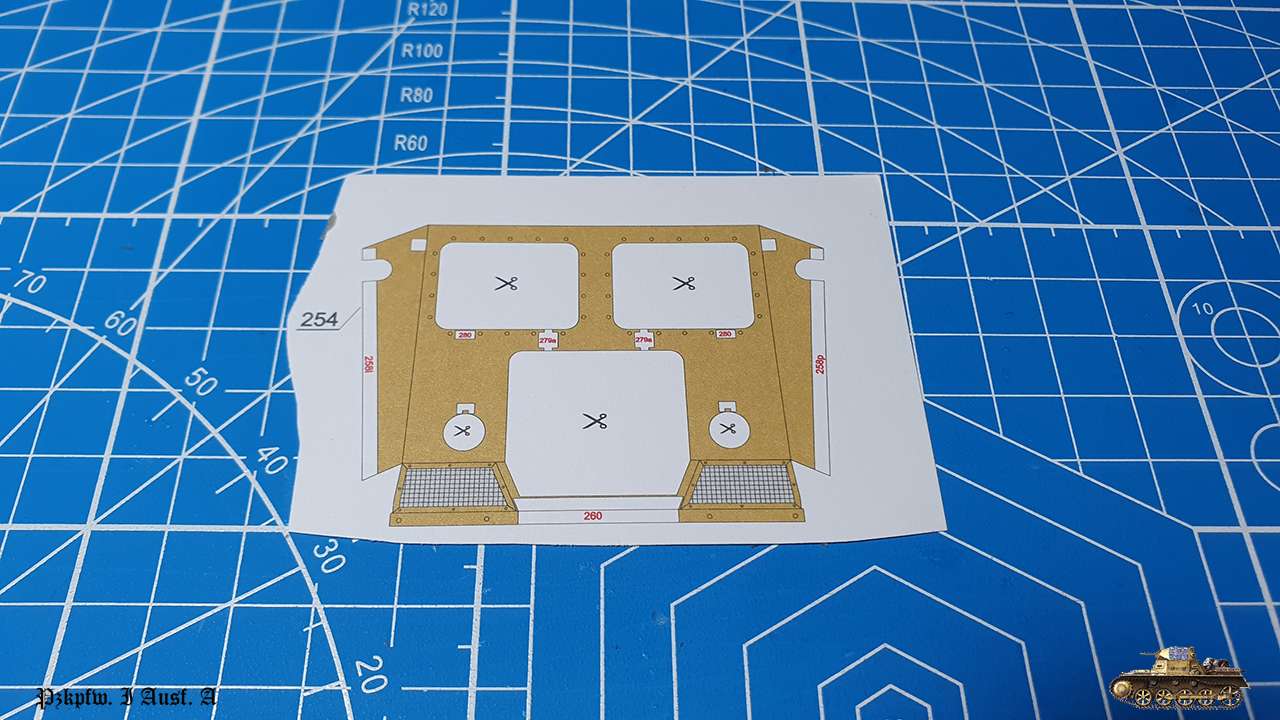
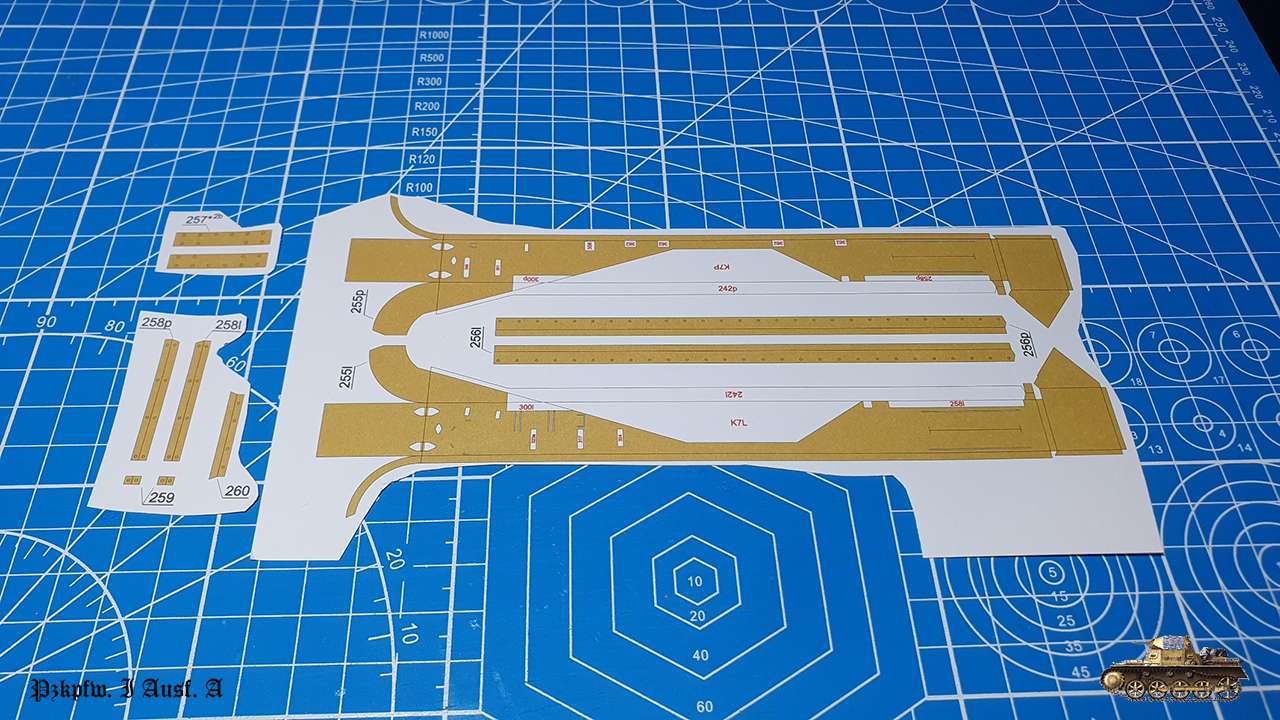
This step is crucial, and you must cut everything prices and dry fit every part.
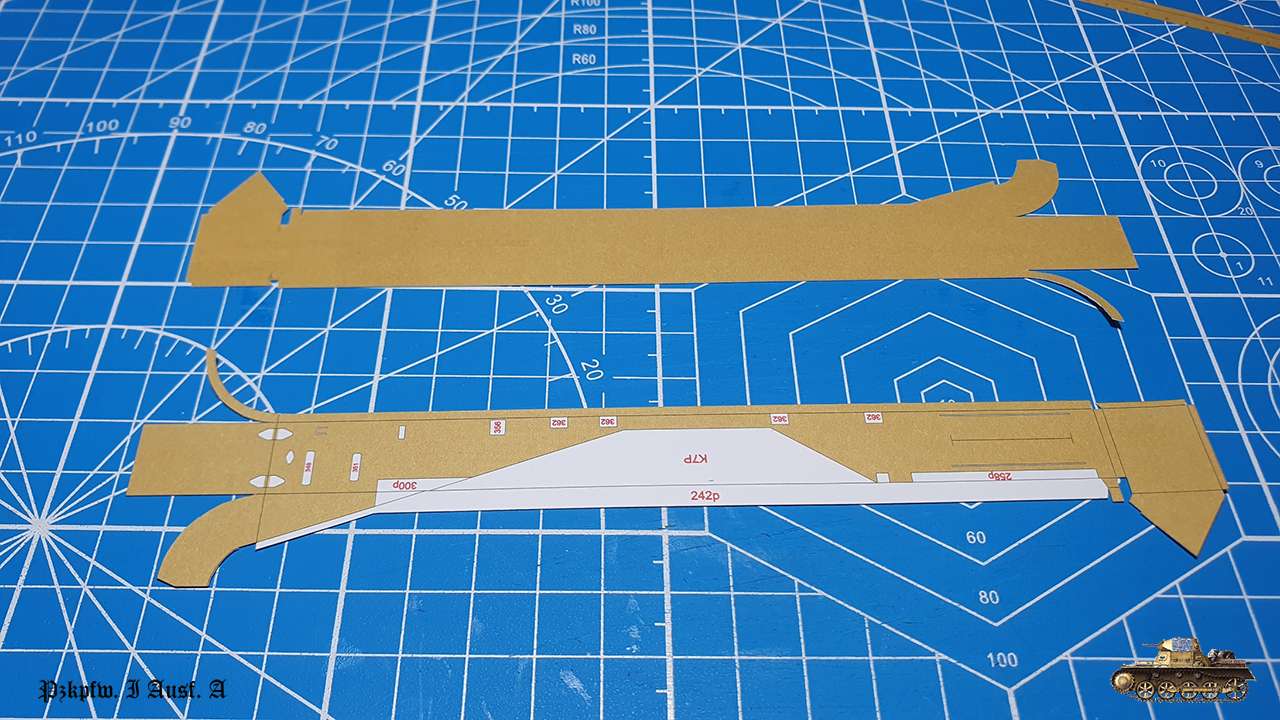
I did minimum adjustments to two parts only: 243 and 244.
The fitment was satisfying and everything aligned well.

To connect all parts in a best way i did it in this order:
Upper front skin (part 243)

Two small front bumper skins (part 245)
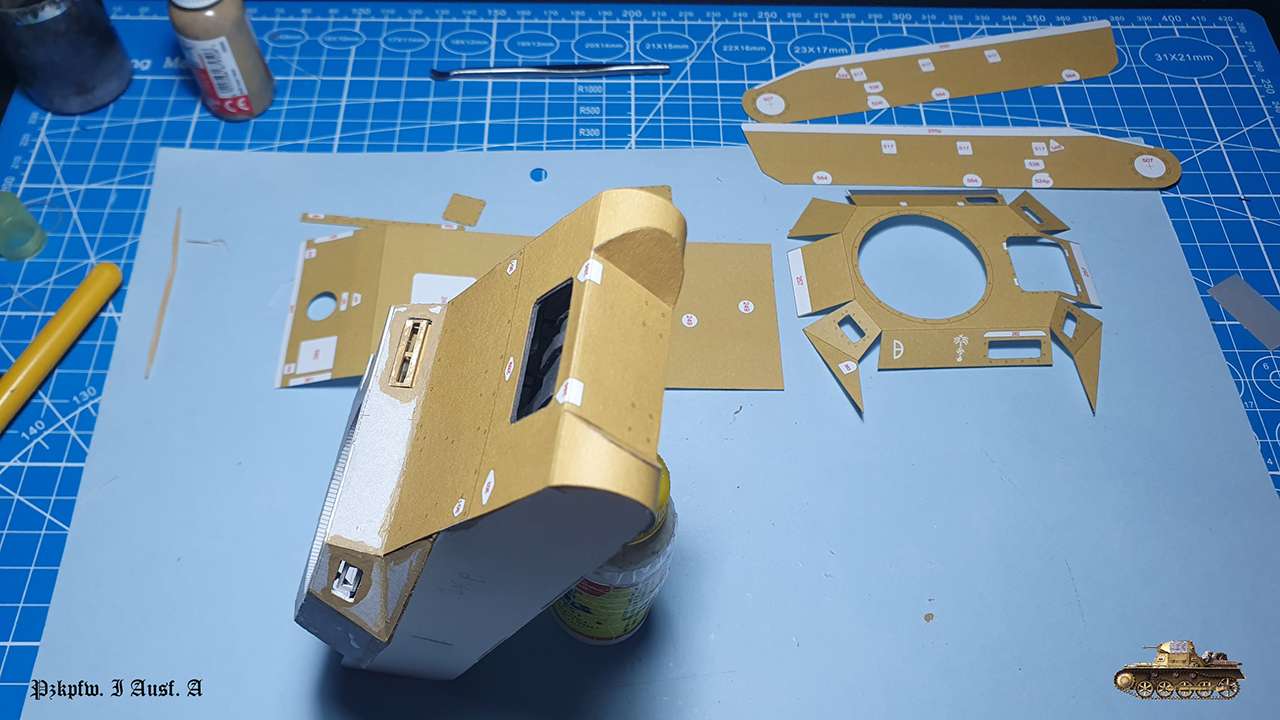
Bottom and side skins (parts 242, 244)
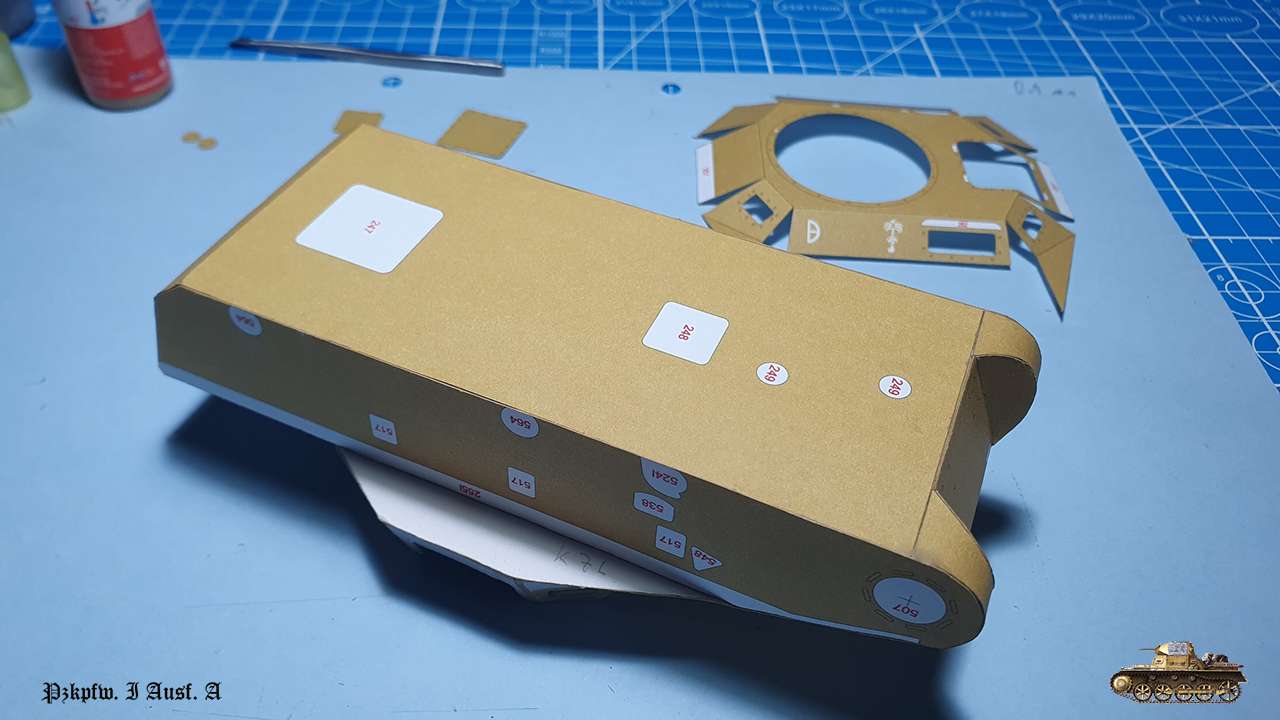
Upper main part. First glued middle and then each side (part 250)

And then all the small parts at the bottom and finished

errors:
none
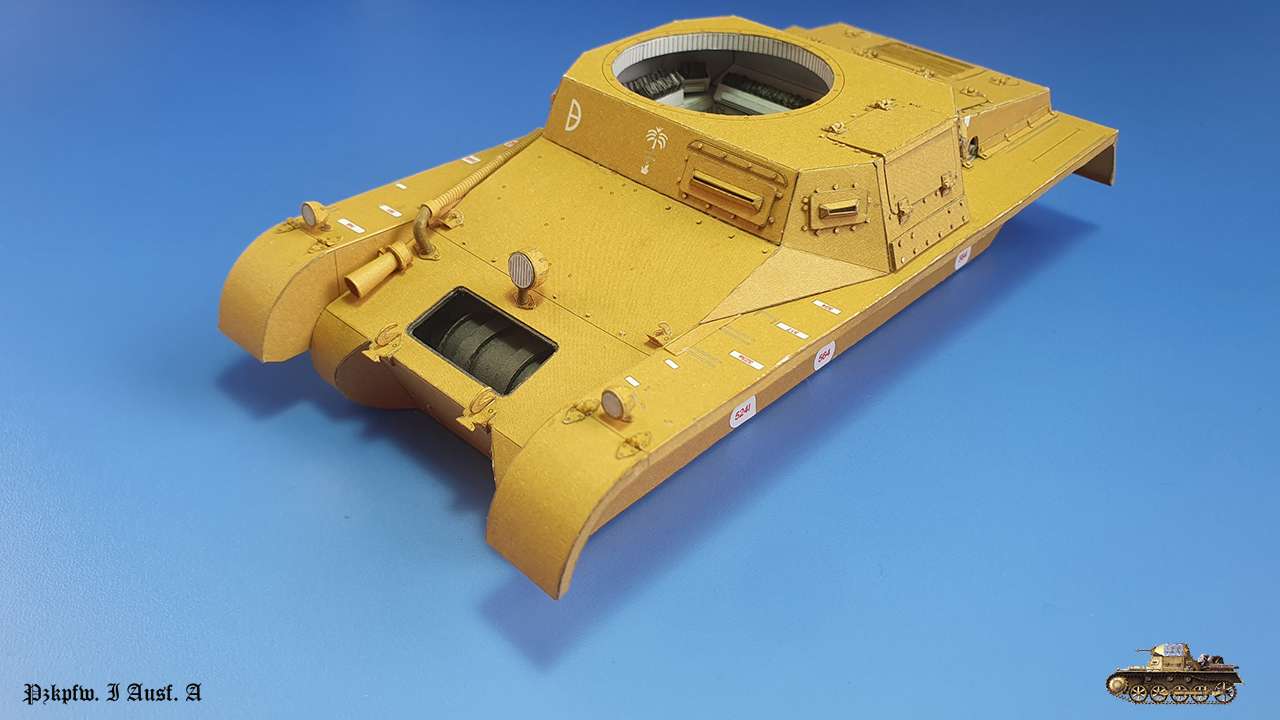
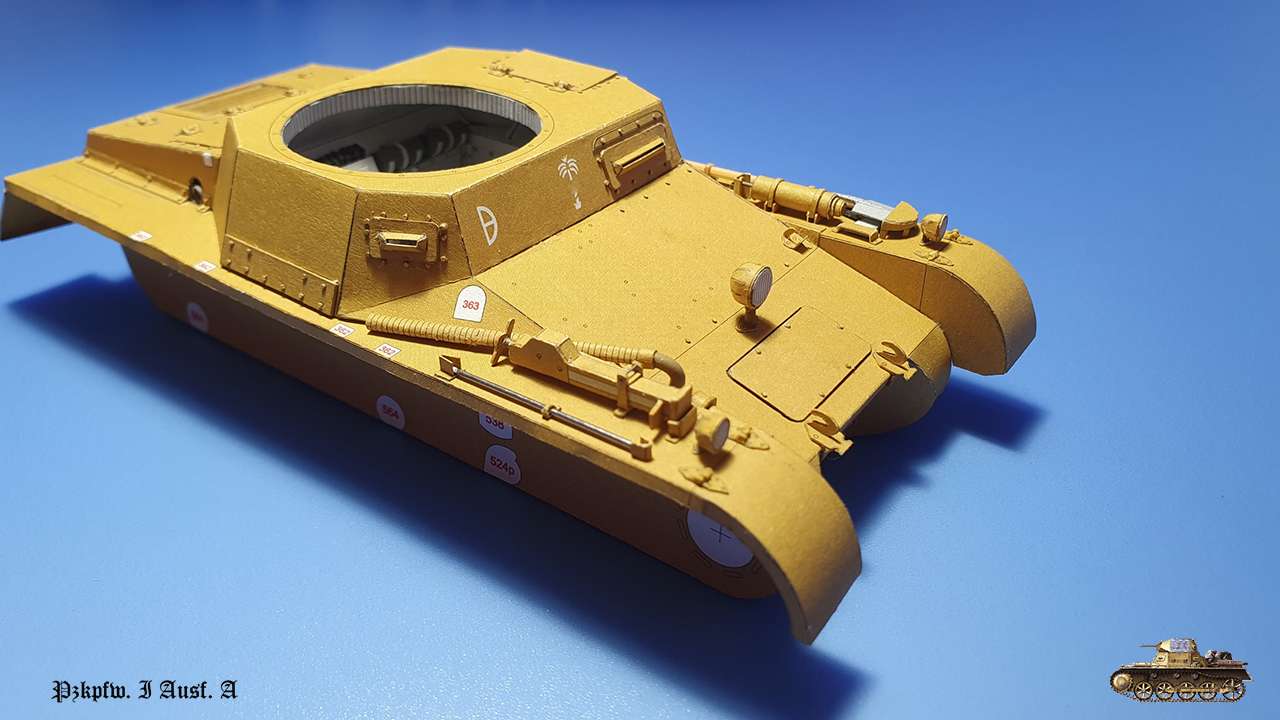
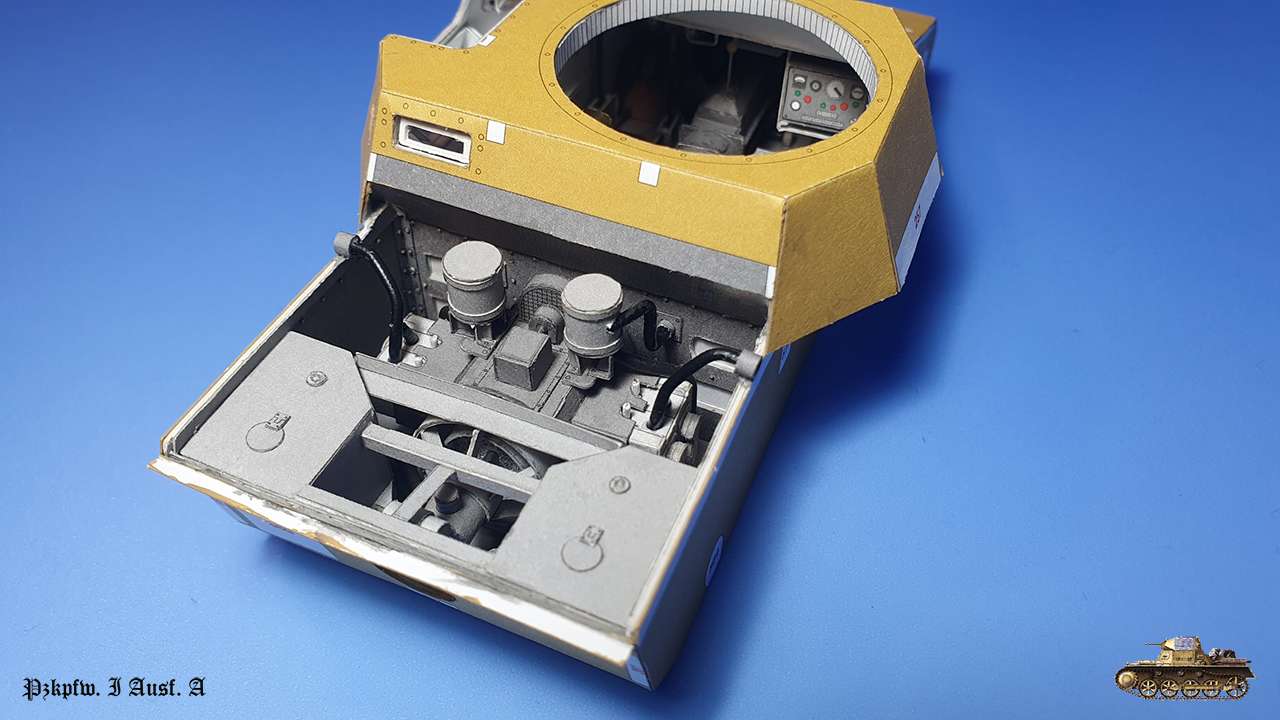
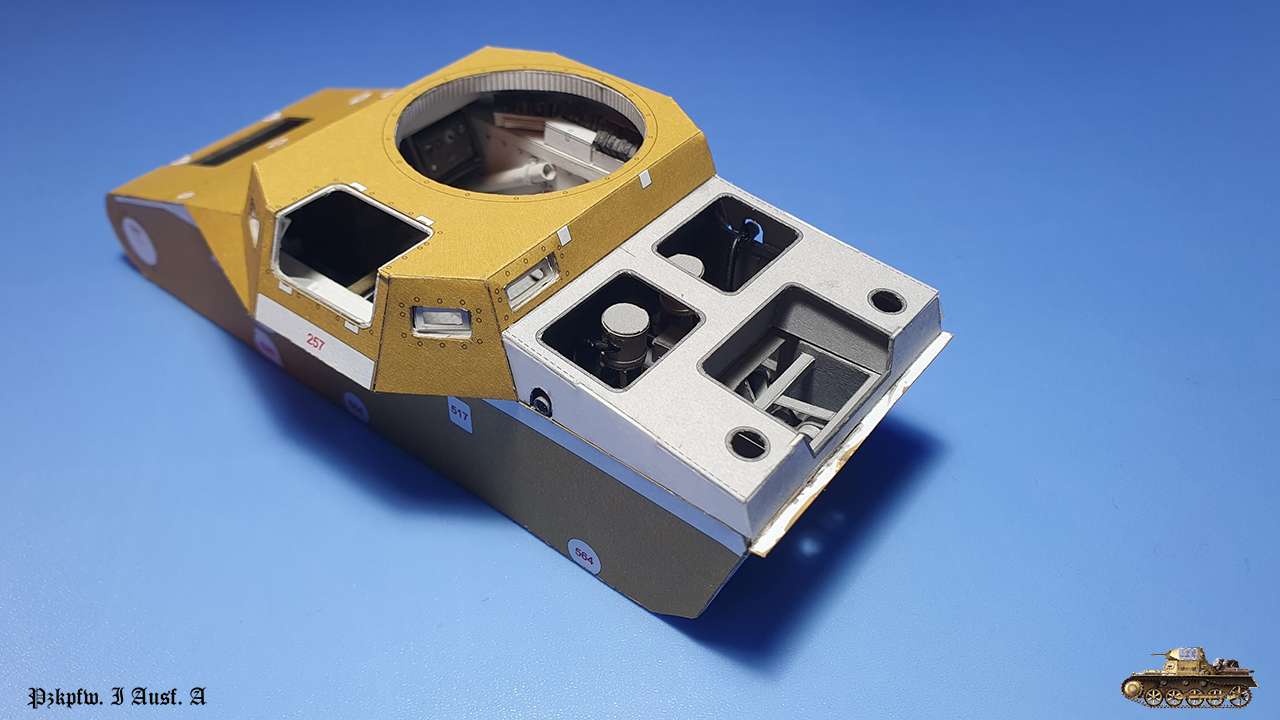
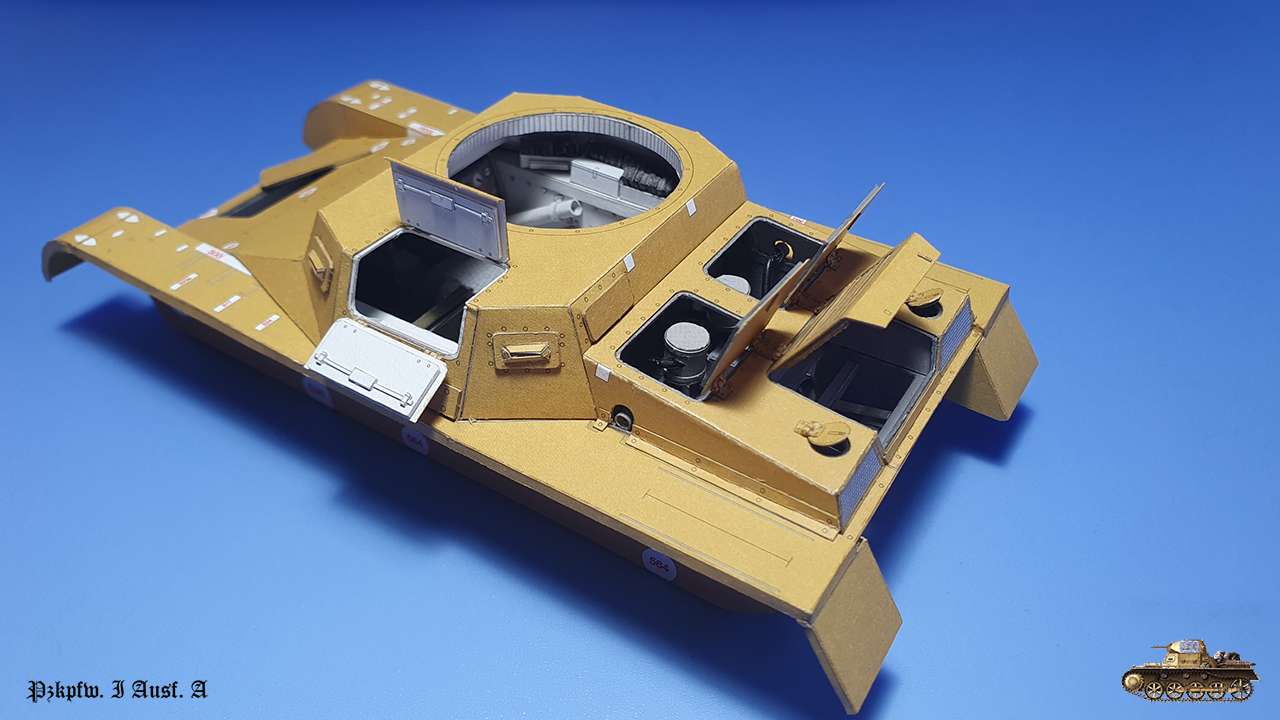
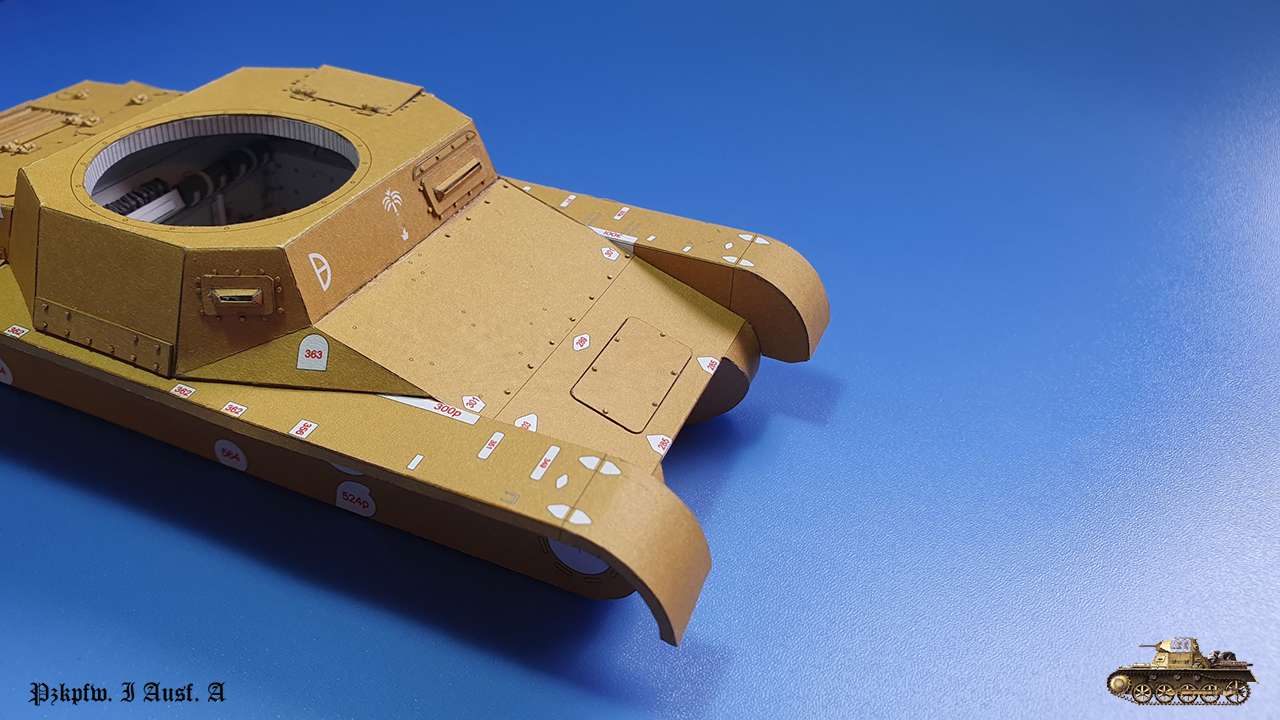
Started to put outer skin.
This step is crucial, and you must cut everything prices and dry fit every part.
I did minimum adjustments to two parts only: 243 and 244.
The fitment was satisfying and everything aligned well.
To connect all parts in a best way i did it in this order:
Upper front skin (part 243)
Two small front bumper skins (part 245)
Bottom and side skins (parts 242, 244)
Upper main part. First glued middle and then each side (part 250)
And then all the small parts at the bottom and finished
errors:
none


")


")