

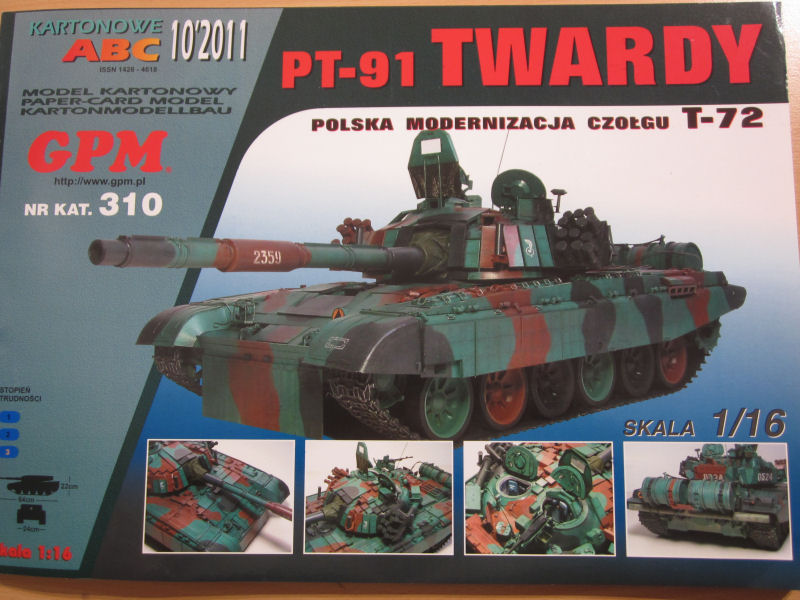
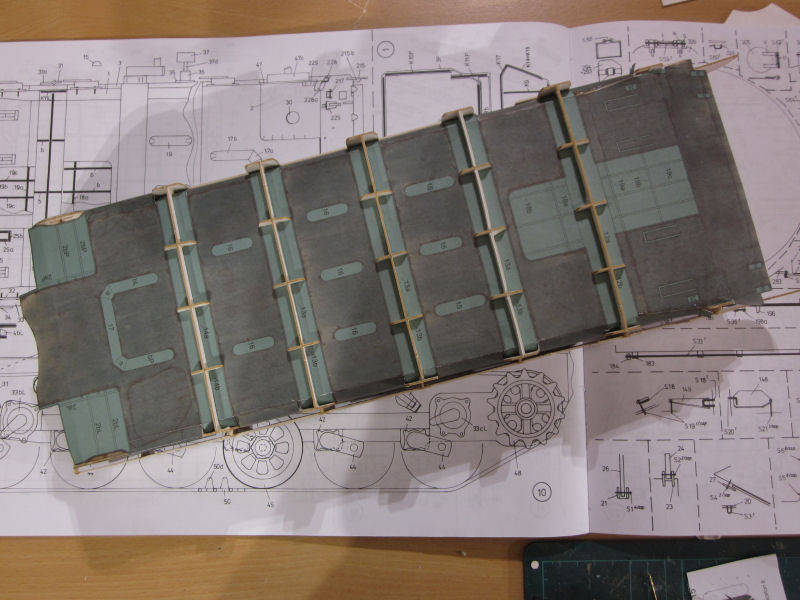
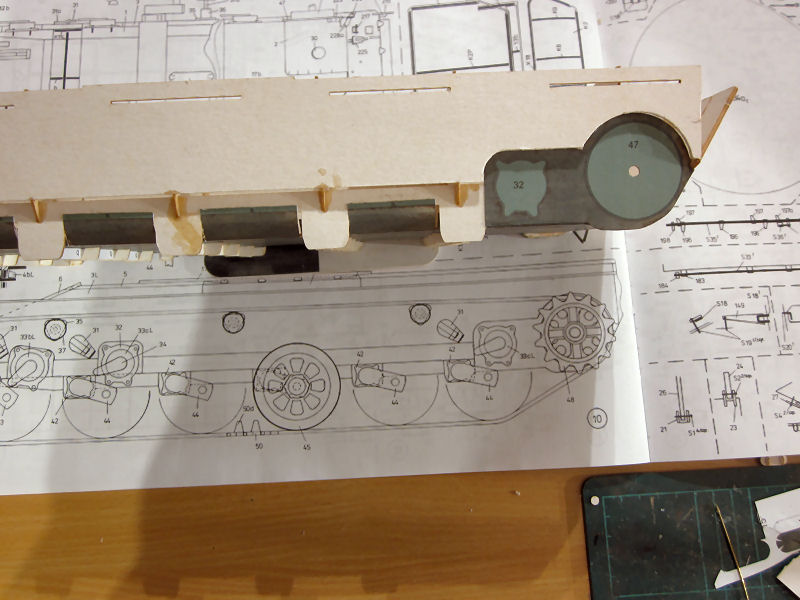
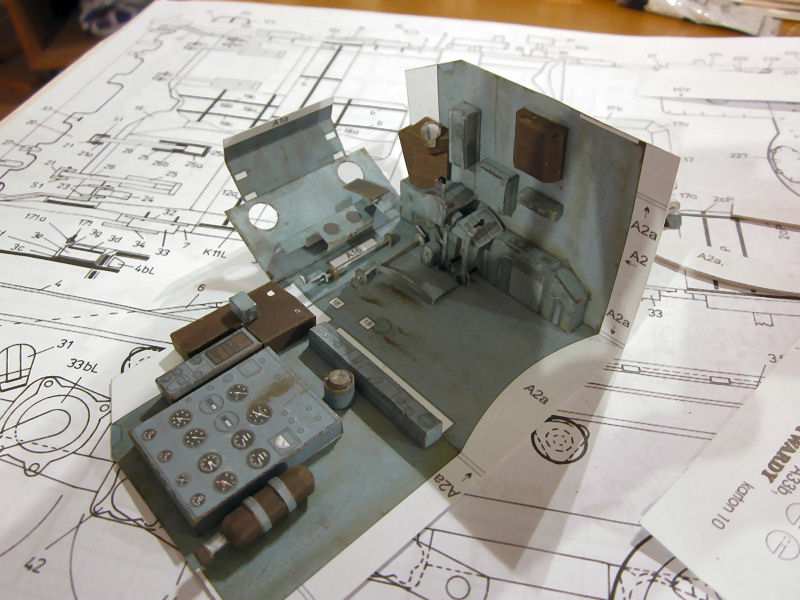
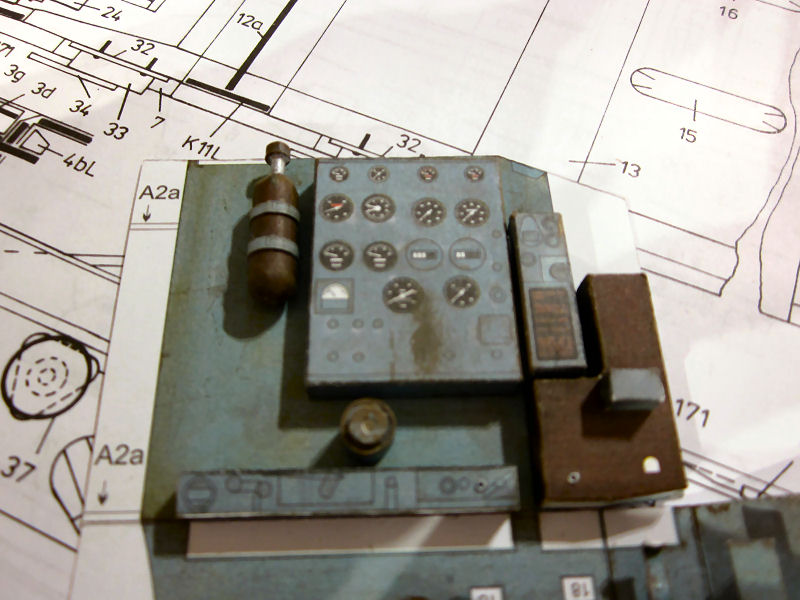
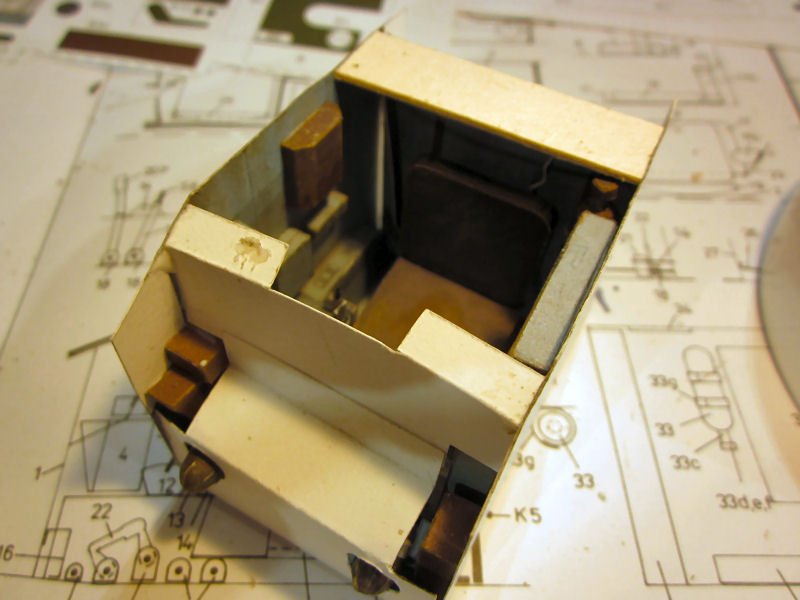
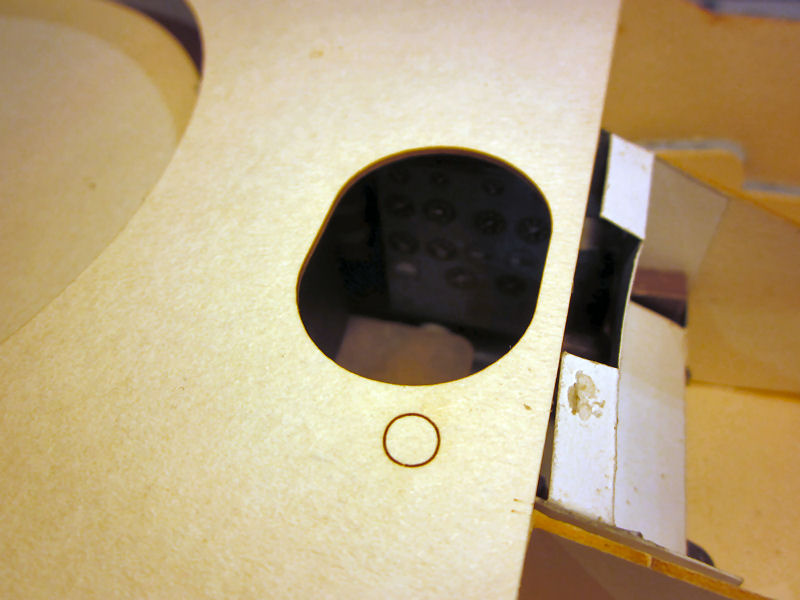
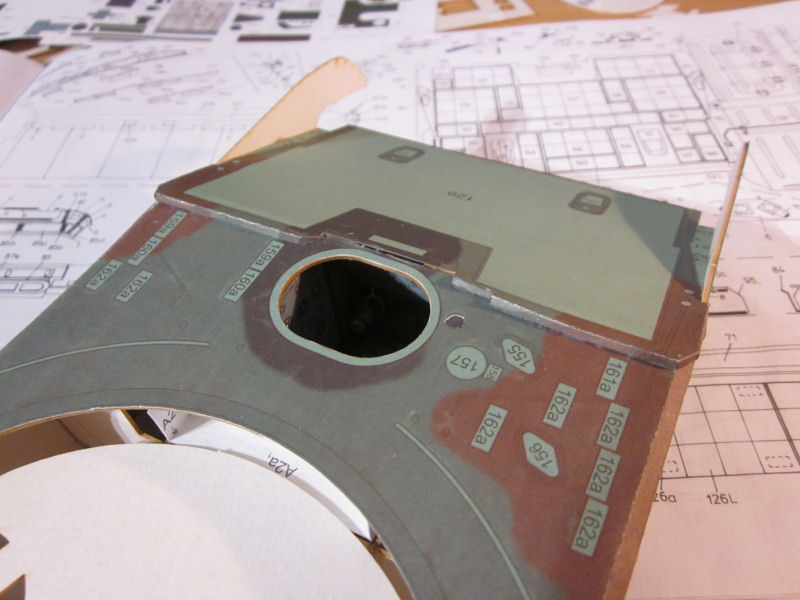
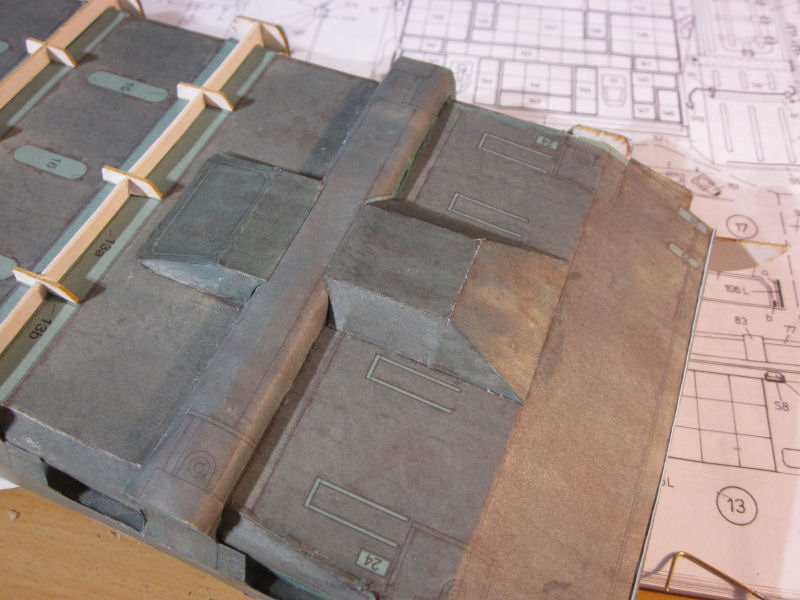
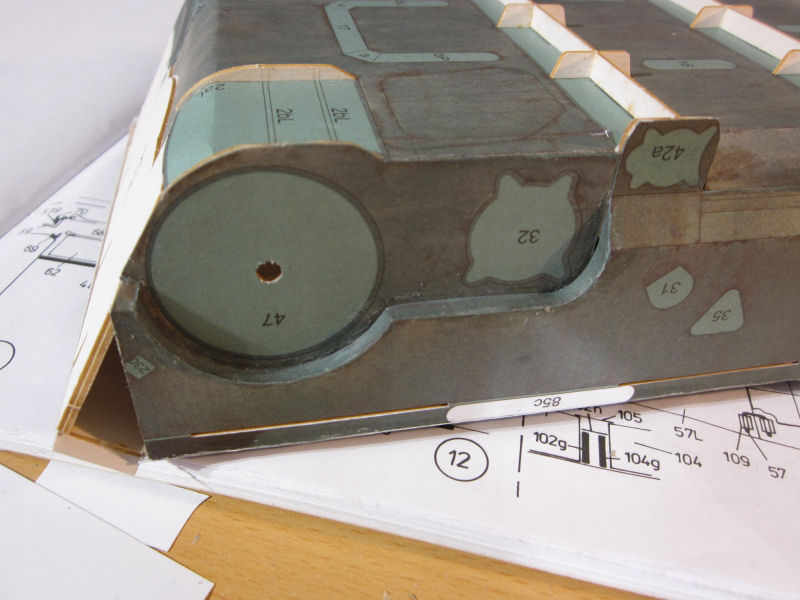
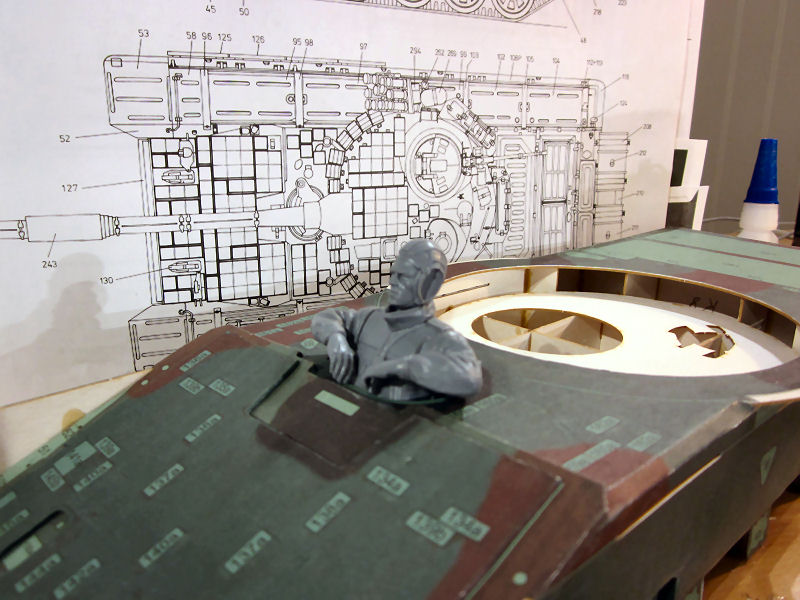
New build! The massive pt-91 tank...
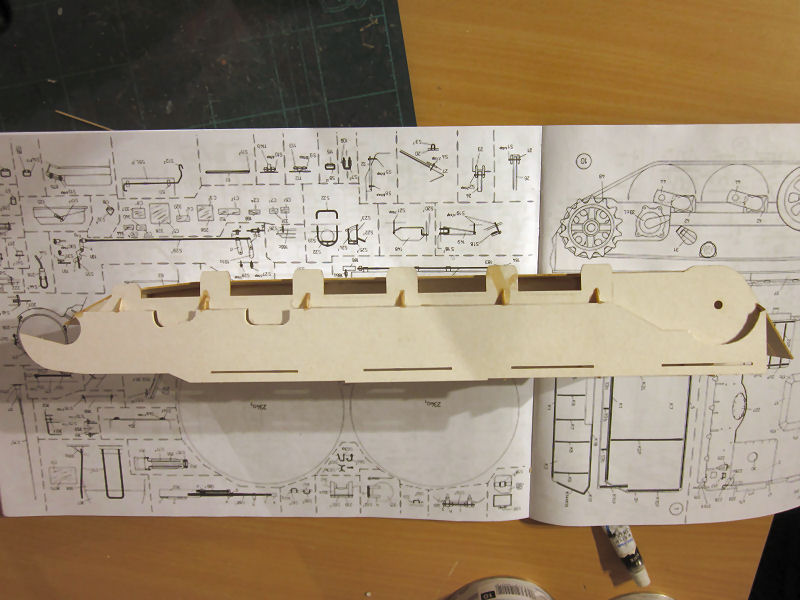
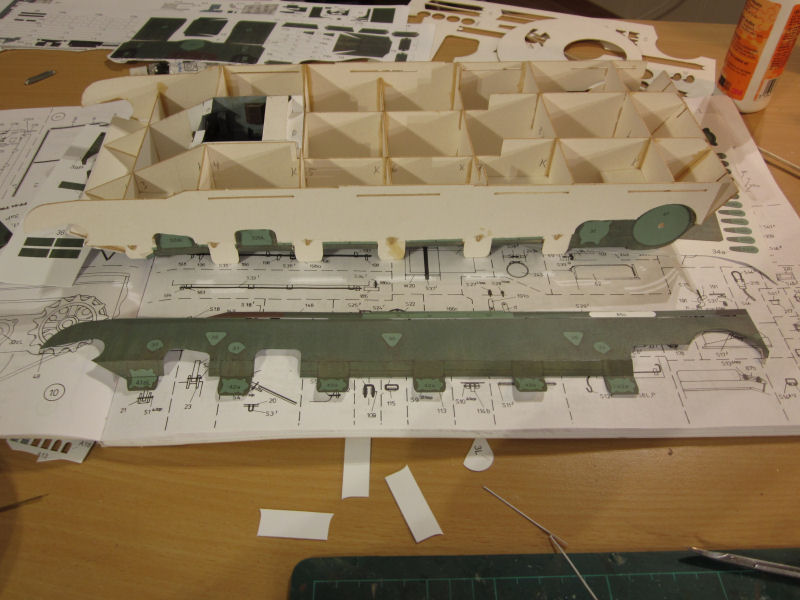
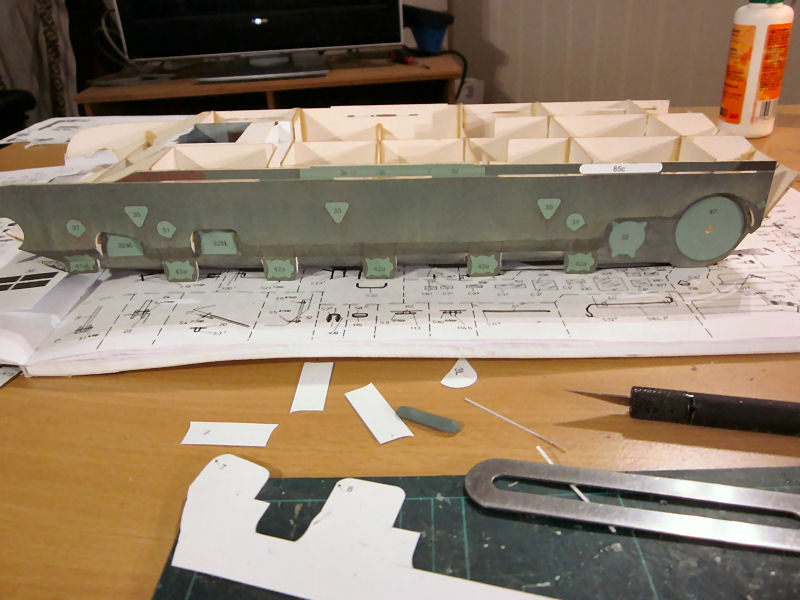
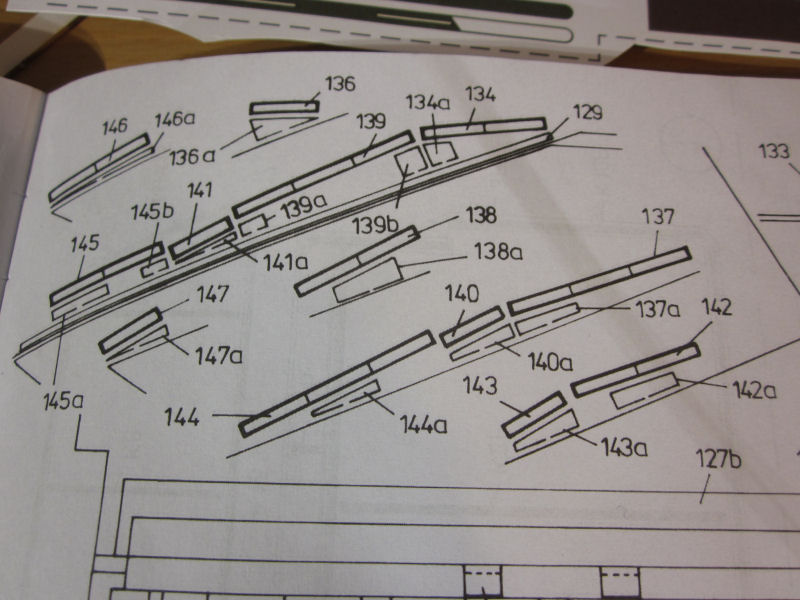
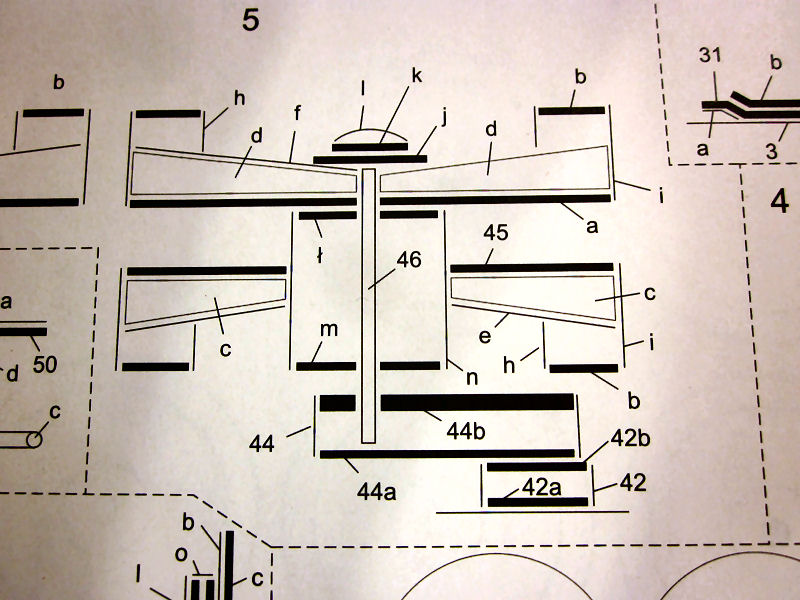
Starting with formers

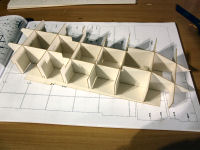
Starting with formers

I only use lasercuts theese days....maybe I got lazyJust out of curiosity, how do you cut that thick board for the formers? The structure looks really strong. I am interested as I do ship hulls and sometimes use a scroll saw. What you are doing looks much cleaner.
") , so I get laserparts if available for the model. saves a lot of time and cutting.
, so I get laserparts if available for the model. saves a lot of time and cutting.I don't blame you. That option in the U.S. is far too expensive. It's hard cutting 1 mm board, hard on the tools, and hard on your fingers!
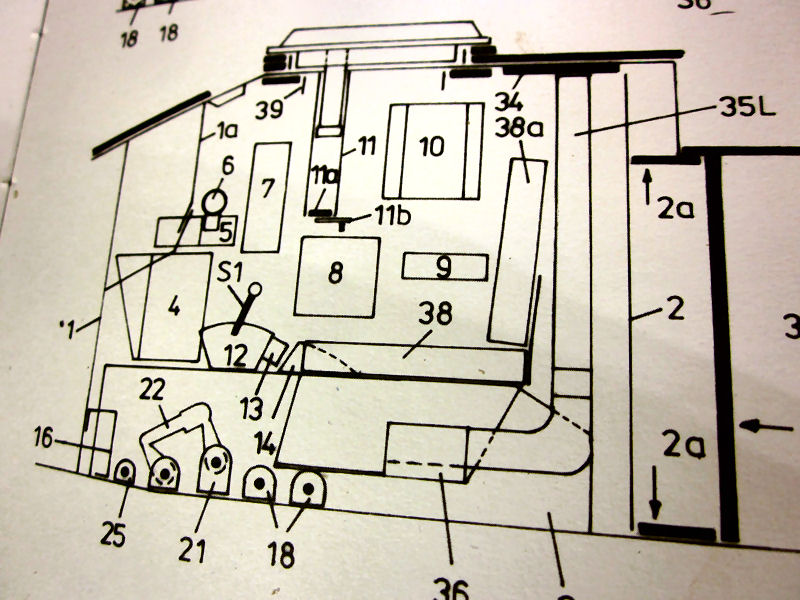
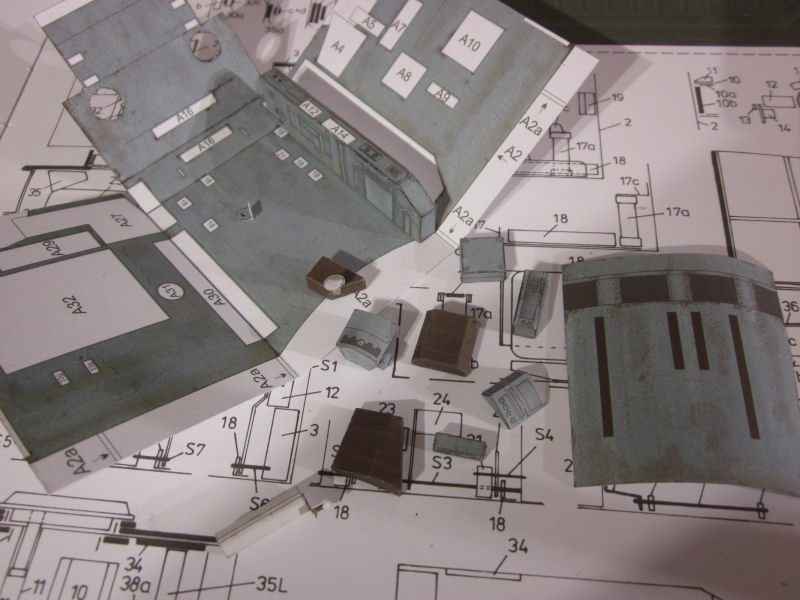
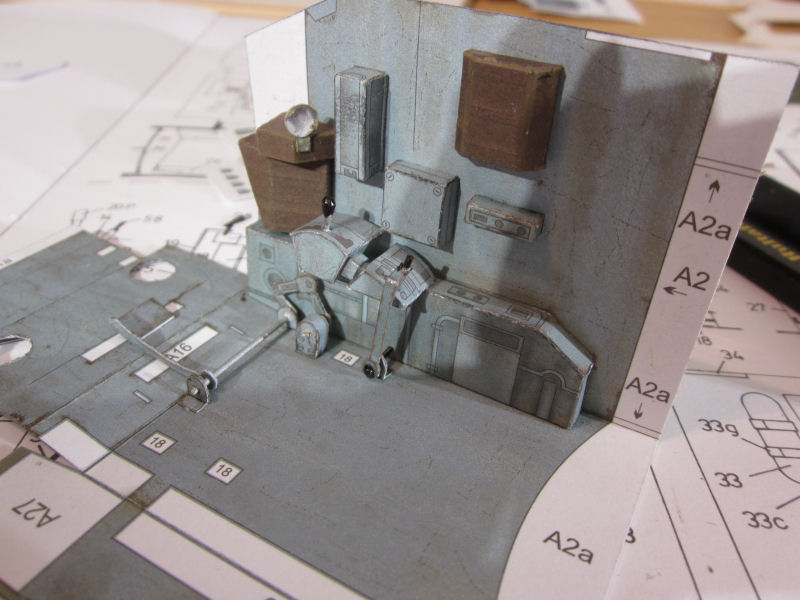
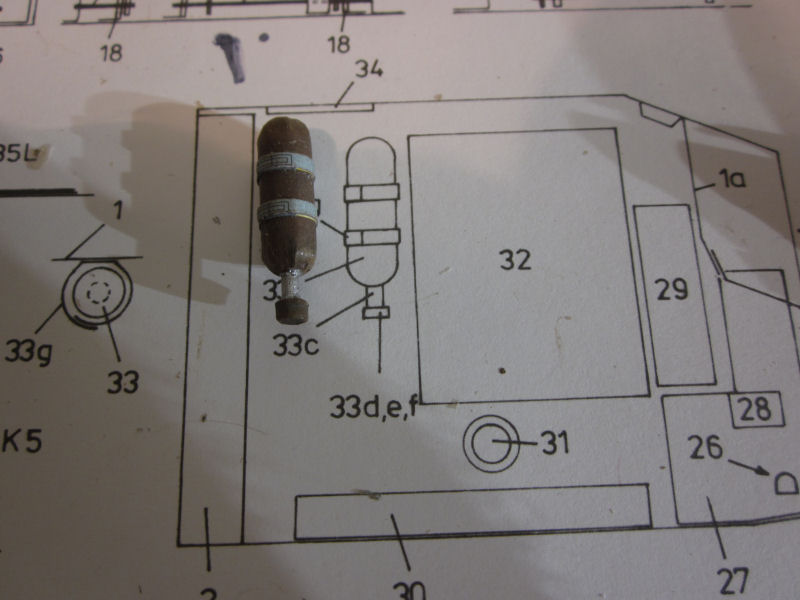
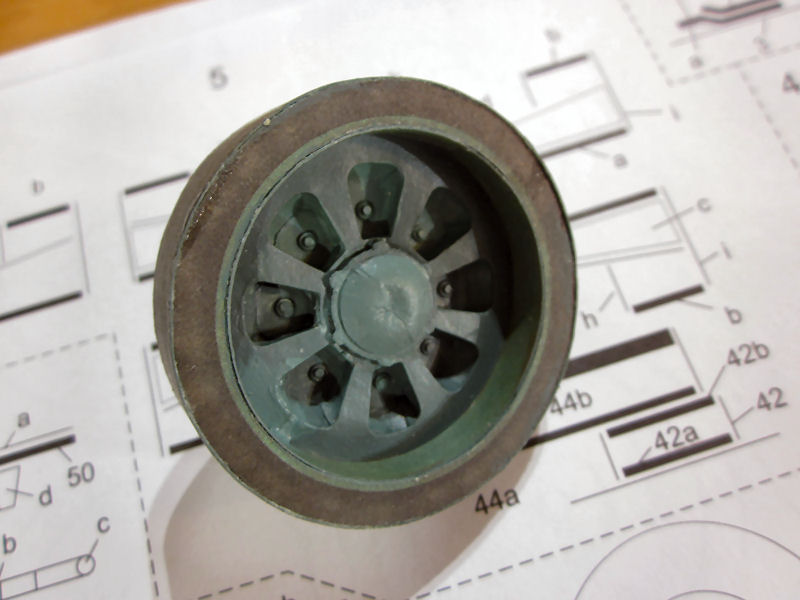
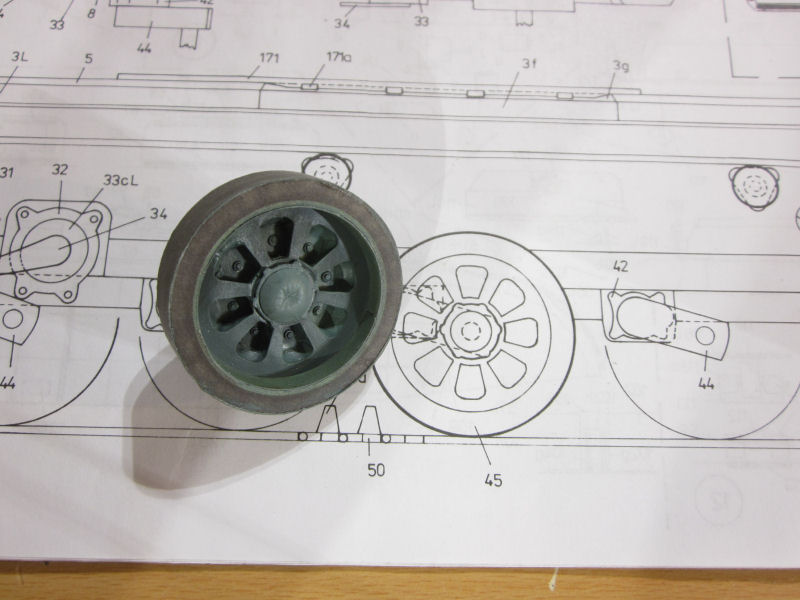
saves your hands and tools from a lot of damage... and it seems like the partsfit is very good here. Havent been able to find english instructions for this model...so I make it in a slow pace with a lot of research....but there seems to be very few builds out there of this model.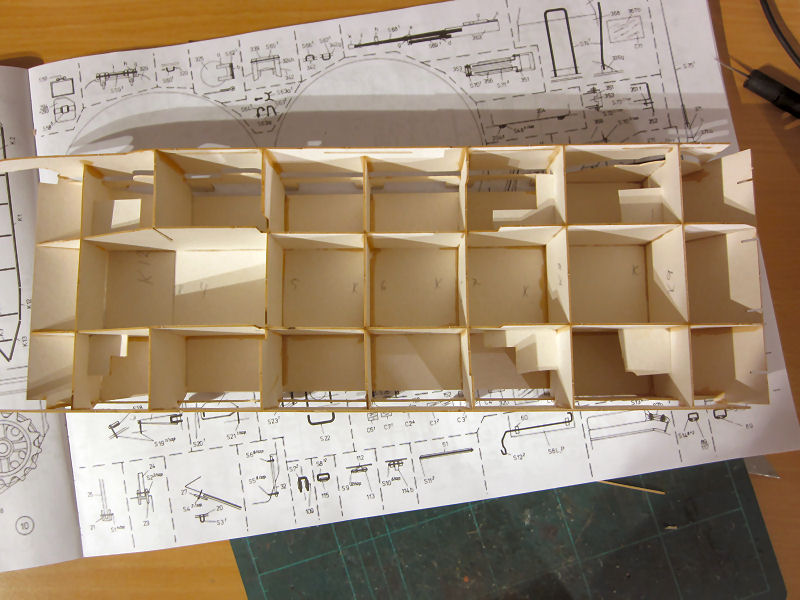


")