Proteus II (modernized RT era Landraider) by Patoroch
- Thread starter Sudsy
- Start date
You are using an out of date browser. It may not display this or other websites correctly.
You should upgrade or use an alternative browser.
You should upgrade or use an alternative browser.
Glad to see you back sudsy, hope we see more of your models more often. i stopped doing papercraft too (stupid depression and other bad stuff) i wanted to continue doing my papercrafts. but when you lack not having the proper tools to do other good stuff (like that puncher, the roller and some good quality blades you have) it really makes you to stop sadly for me getting those tools is really hard
Such robust looking models!! They will endure the eventual paper kerfuffle.
By the way, What are coated X-Acto blades?
So, they are the same steel we all know and love, only X-Acto decided to coat them with zirconium nitride. I suspect this is similar to the coatings on some of our favorite drill bits and end mills (among other cutting tools for metals and other materials), and the coating increases the hardness of the cutting edge extending service life to some extent. We shall see...
Glad to see you back sudsy, hope we see more of your models more often. i stopped doing papercraft too (stupid depression and other bad stuff) i wanted to continue doing my papercrafts. but when you lack not having the proper tools to do other good stuff (like that puncher, the roller and some good quality blades you have) it really makes you to stop sadly for me getting those tools is really hard
Hang in there, keep doing what you can! Sometimes you just have to improvise on tools with alternate techniques. When I was growing up, I used to make my precious few No. 11 blades last for just about forever... I cut everything with those... No punches, nothing. I did occasionally wrap the paper around pencils and markers though, as I didn't have ratchets or drill bits... Sometimes the art it much more satisfying when you get it done with fewer tools, because you overcame that and got it done regardless.
- Apr 5, 2013
- 13,876
- 10,215
- 228
I noticed on end mills the only coatings that lasted were the Titanium Oxide, and once the leading edge was sharpend, it only helped chips to not stick. This may allow cleaner thicker cuts tough. If they're charging more for it, I wouldn't pay the extra cost, though initially you may the cut better. A wet stone is the best way to bring X-Acto blades back to life, and Rhaven Blaack is an expert at that. 
My apollogies for not posting more updates.... I have had all my documentation time consumed demonstrating papercraft to the community at Yaktribe games forum. Been fun seeing a handful of folks re-evaluate paper for vehicles.

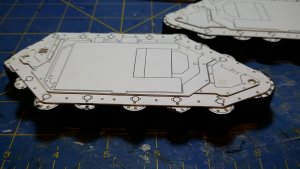
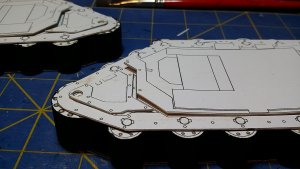
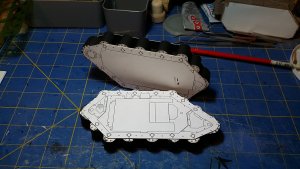
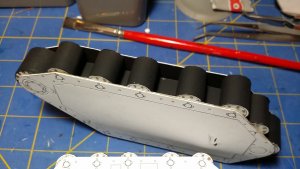
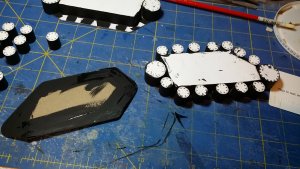
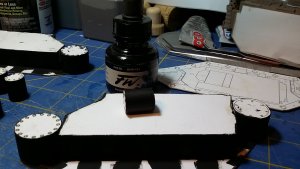

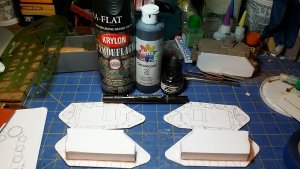
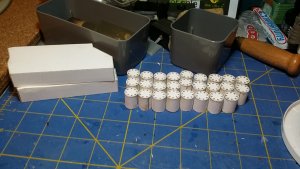
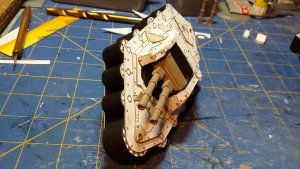
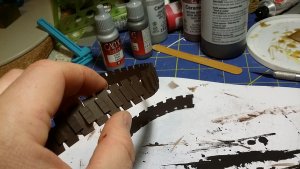
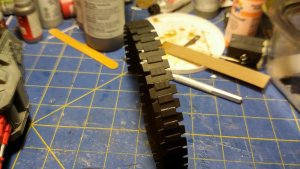
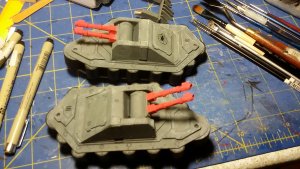
Here was my track road wheel build. Ended up using the blac acylic paint, though the ink was good on the wheels as well.


Here was my track road wheel build. Ended up using the blac acylic paint, though the ink was good on the wheels as well.
Onwards toward painting!
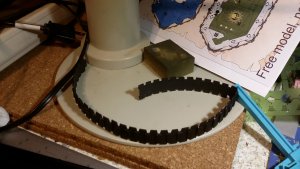
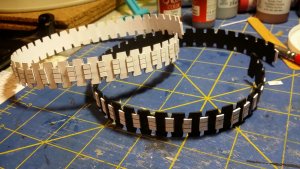
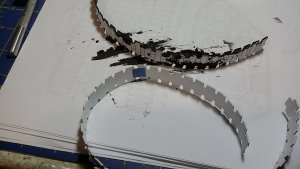
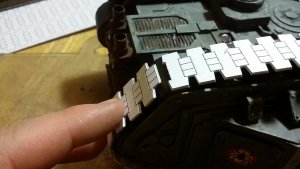
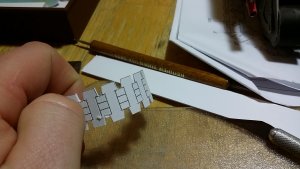
Tracks will be the highly impractical ones the Classic it had, the tracks that the hinge contacts the ground surface with... But then, this is based on the long obsolete MK I through V series of WWI fame. To establish the technological backwardness of the 40k series, this was the first tank for the game.
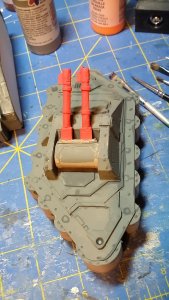

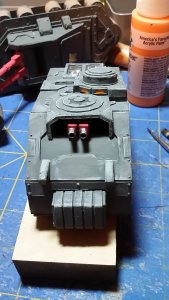
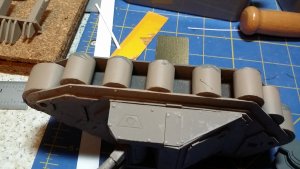
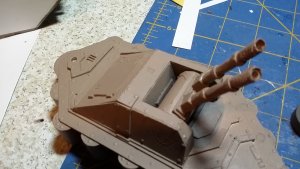
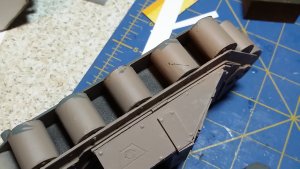
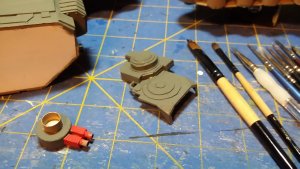
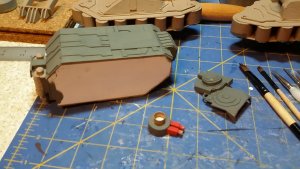
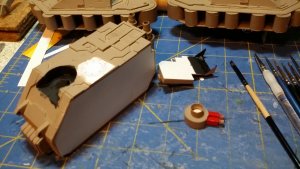
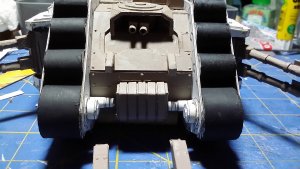
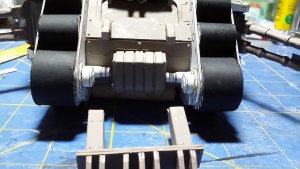
Tracks will be the highly impractical ones the Classic it had, the tracks that the hinge contacts the ground surface with... But then, this is based on the long obsolete MK I through V series of WWI fame. To establish the technological backwardness of the 40k series, this was the first tank for the game.


@Sudsy nice updates but the photos where uploaded in reverse i'm seeing the final part rather than the beginning but above all that nice work and nice painting. only have one question is there a way to avoid to certain parts to bend when you put glue on them? take for example the 3 photo on the post #25
@Sudsy nice updates but the photos where uploaded in reverse i'm seeing the final part rather than the beginning but above all that nice work and nice painting. only have one question is there a way to avoid to certain parts to bend when you put glue on them? take for example the 3 photo on the post #25
I do not beleve ther is much to prevent bending as glue adds moisture go the card. Clear coat spray helped reduce it to some extent prior to cutting. To solve that issue on that photo, I put the part under some weight like a stack of books, binders, or clamp as it dried.
As for photo order, I have been uploading attachments and inserting as thumbnails without too much regard for order out of laziness on my part... ;-)
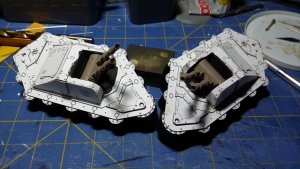
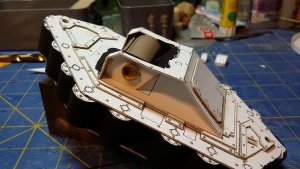
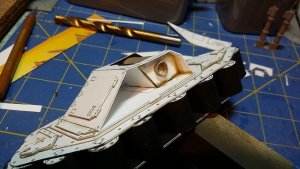
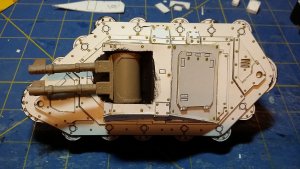
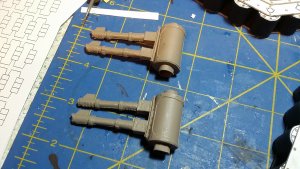
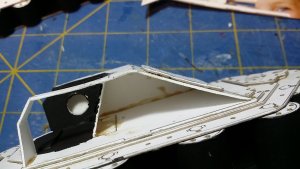
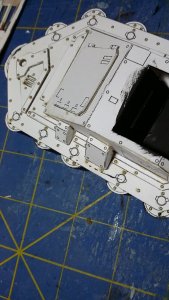
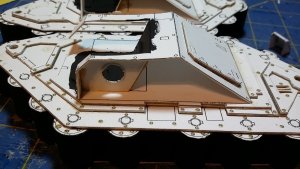
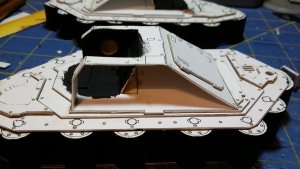
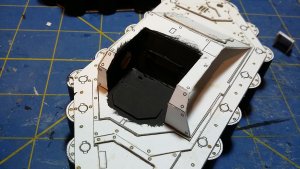
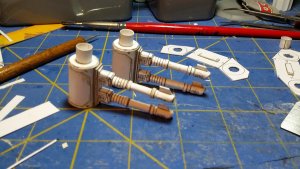
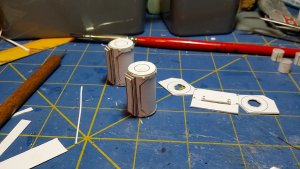
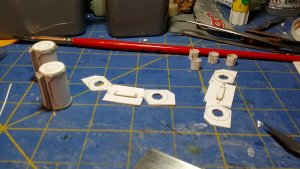
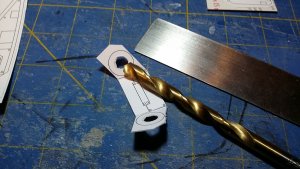
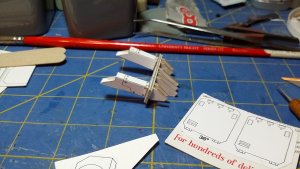
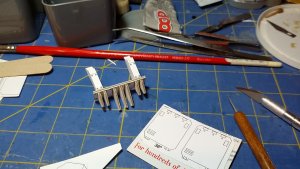
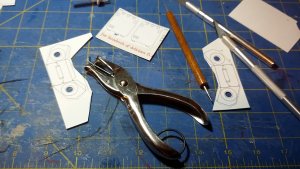
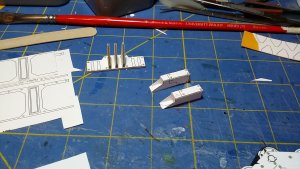
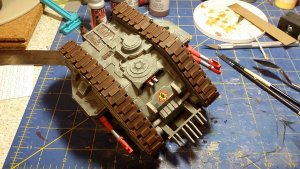
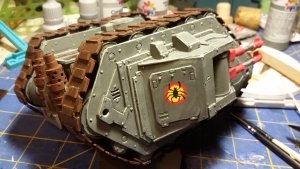
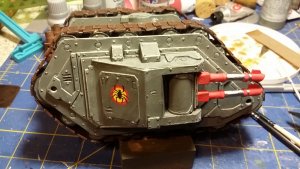
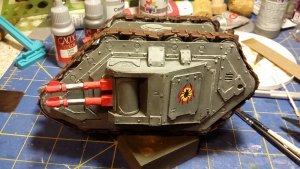
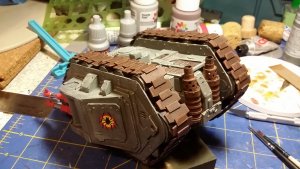
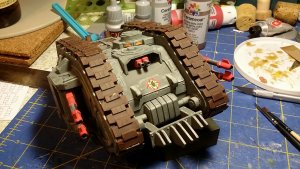
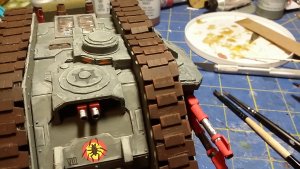
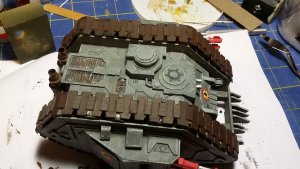
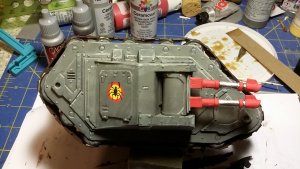
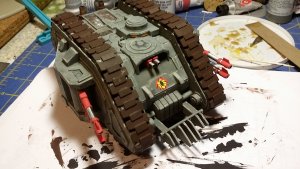
Latest Photo dump:
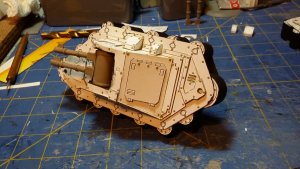
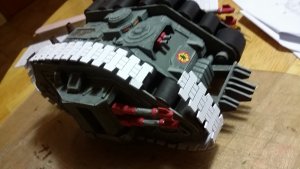
Started final assembly today! Merry Christmas!
Now, I just have treads to complete.... That might take me into 2020 with this project!
Yes, I lazily loaded these without regard to order here on Zealot. For that I appologize. However, you can note on page one of this build, my documentation and order of doing was noted as being done as a paper craft demo for Yaktribe Games. So, for better explainations of everything here today, this is the LINK to the current page over there for your review. If you are a member there, feel free to pop in and say hi and offer your critique over there as well as here!
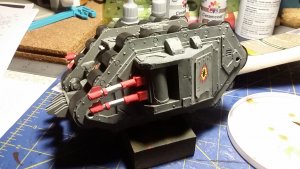
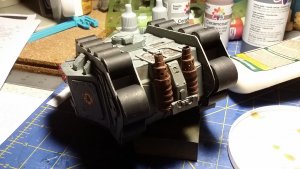
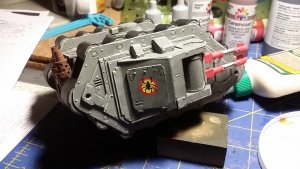
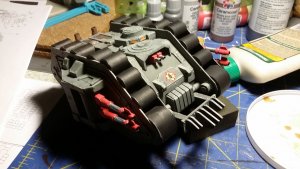
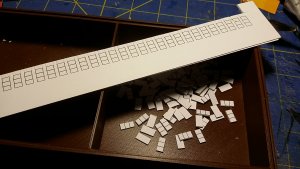
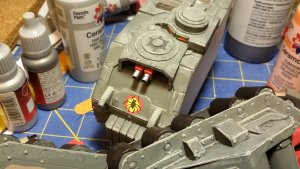
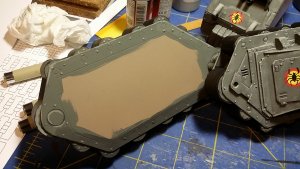
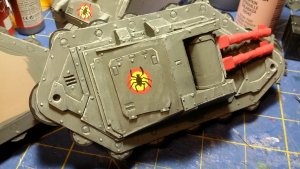
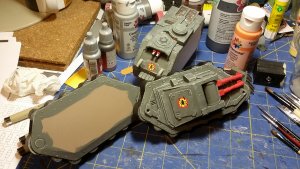
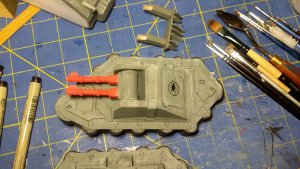


@Sudsy Nicely done man and most of all finished before ending the year now some questions what did you use for the painting? and why it doesn't look bad when painting?
Step 1. When you print the template, use clear flat or satin finish spray paint/coating. Then cut and build.
Step 2. When you get sub assemblies built, or the whole model, use a spray paint primer. In my case, I used camouflage paint (intended for hunting equipment) from the hardware store. I like it because it is a flat finish, this gives the acrylics (below) something to adhere to.
Step 3. I used crafting acrylic paint (in North America, Delta Ceramcoat, Folkart, etc). Any acrylic will work, you can get tubes of artists acrylic if you desire and water it down to the consistency that you brush it (or airbrush) it onto the kit like you would a plastic model.
I use a wet palette that consists of a sealed plastic food leftover storage dish, a wet paper towel, and parchment paper on top of that. I then put my acrylic paint on the parchment paper. I seal the lid between sessions.
Hope that helps!


