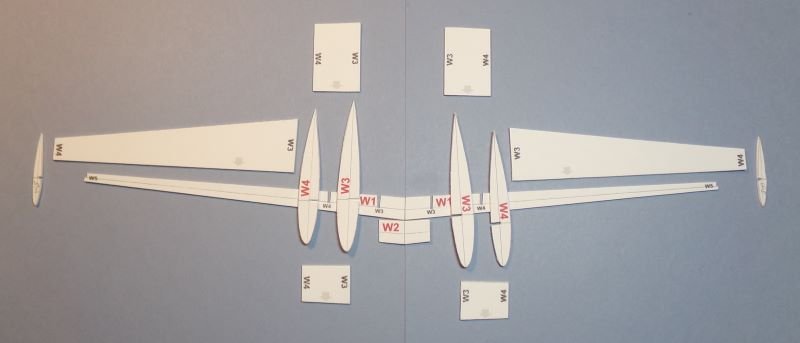
P-51B Mustang Miss Pelt 1/33 scale

Revell-Fan

Co-Administrator
Staff member
Administrator
Moderator
Aug 1, 2009
11,613
12,353
228
Vreden
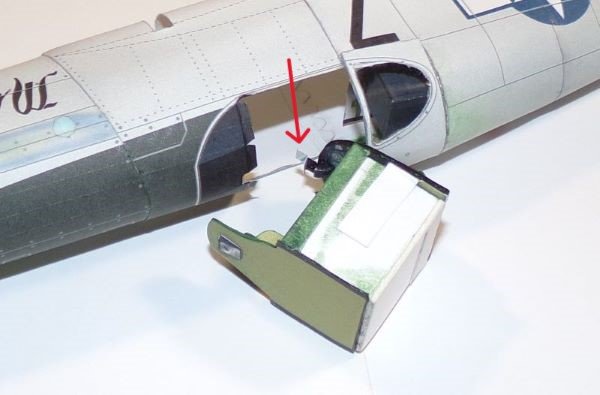
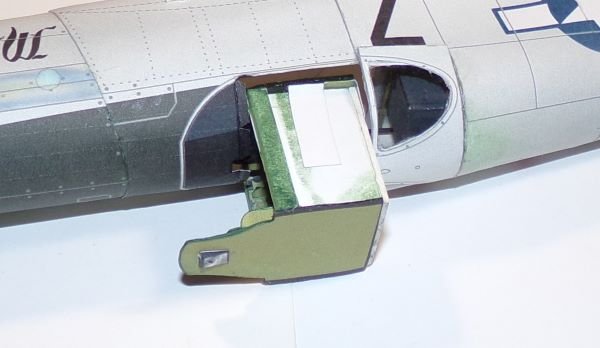
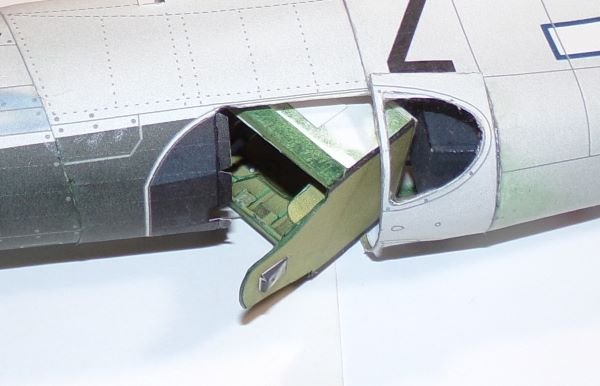
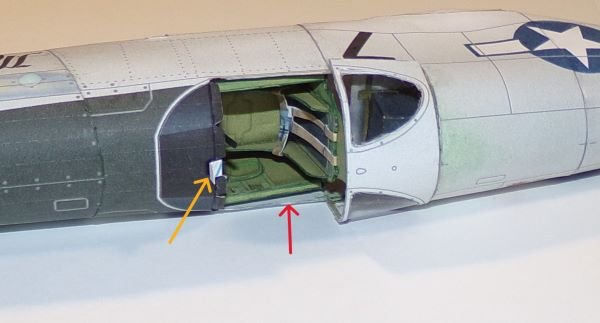
Would it be better to install the cockpit interior before closing the outer hull? ;)
 

flpaperguy

Active Member
Nov 9, 2023
84
305
40
66
Central Florida, USA
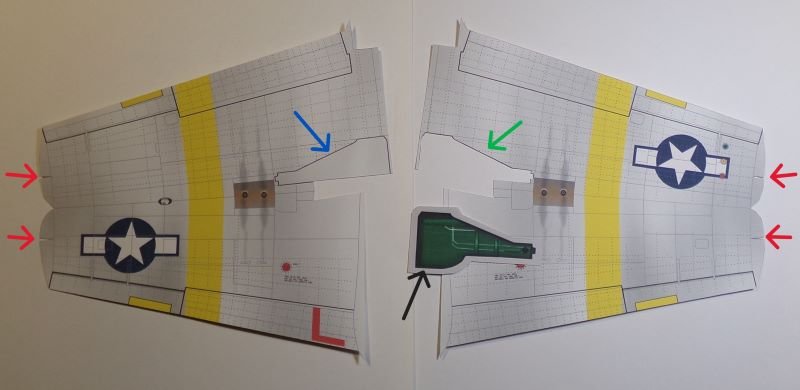
After cutting out the wing skins, there are a few things that need to be done to the skins. Two small, tapered slots need to be cut into the outer edges of each skin and then closed with small glue tabs (see red arrows). If the model is going to have landing gear down, the faux landing gear doors needs to cut out (see green arrow) and then the graphic landing gear wheels glued into place (see black arrow). If the landing gear is going to be up, nothing needs to be done to faux landing gear door (see the blue arrow).

mp-img25.jpg


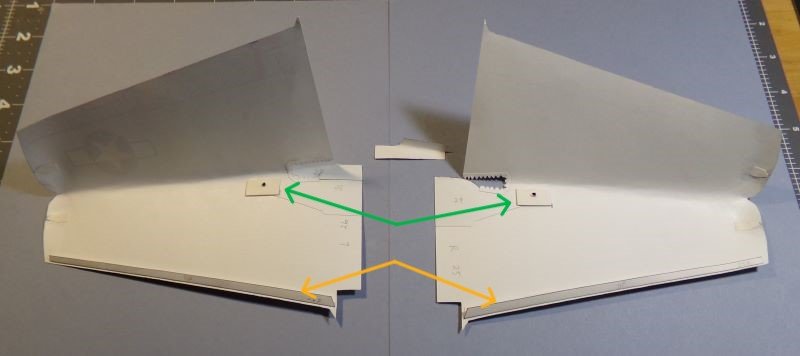
On the inner side of the skins, the long glue tabs need to be placed along the trailing edges of the skins (see the yellow arrows). Add a couple layers of card behind the mounting area for the landing gear if used (see green arrows). Start shaping the leading edge of the skins by wrapping around a pencil or a dowel. Do not score and crease the leading edge.

mp-img26.jpg
 

flpaperguy

Active Member
Nov 9, 2023
84
305
40
66
Central Florida, USA
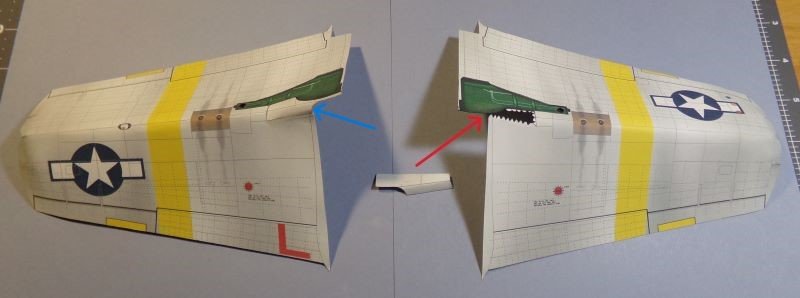
Shape and attach the wing extensions to the inner leading edge of the skins using the provided tabbed joiner strips (see the red arrow). Here's what it looks like when glued in place (see the blue arrow).

mp-img27.jpg


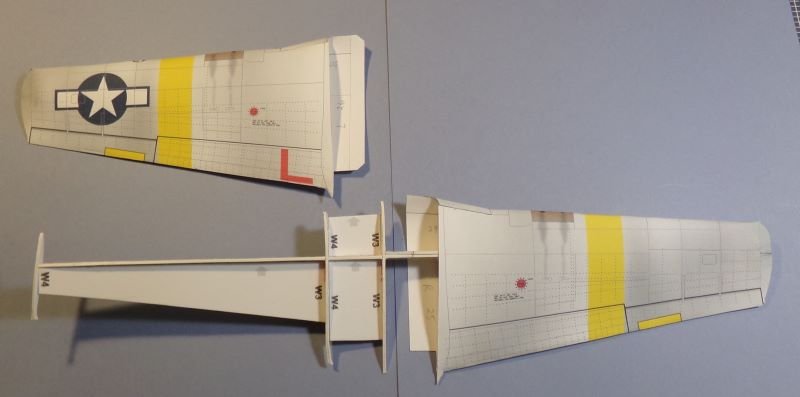
Do the final shaping of the wing skins by wrapping each skin around the wing skeleton. Then close the trailing edges with the previously installed glue tabs. After the glue is thoroughly dry, slip each skin onto the wing skeleton.

The instructions state gluing the wing skins to the ribs and spars is allowed but not required. I chose to put a thin layer of glue on the top and bottom of the wing spar. I also made a glue tab to attach the inner edges of the skins.

mp-img28.jpg
 

micahrogers

Moderator "Where am I, and how did I get here?"
Staff member
Moderator
Jul 12, 2012
3,772
4,639
113
Shannon GA
If you are going to display landed, Consider dropping the flaps. The flaps on the Mustang were hydraulic, and as pressure bleed down, the flaps dropped.
 
  • Like
Reactions: mijob

zathros

*****SENIOR ADMINISTRATOR*****
Staff member
Administrator
Moderator
Apr 5, 2013
13,498
9,549
228
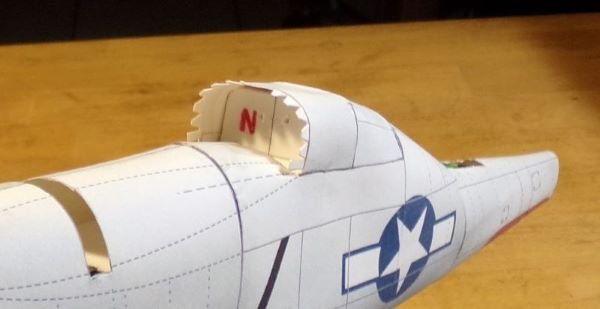
The fuselage is pushed in behind the cockpit, around the "Star" insignia. You might want to pop that out with a rubber tipped pencil or something. :)
 
  • Like
Reactions: flpaperguy

flpaperguy

Active Member
Nov 9, 2023
84
305
40
66
Central Florida, USA
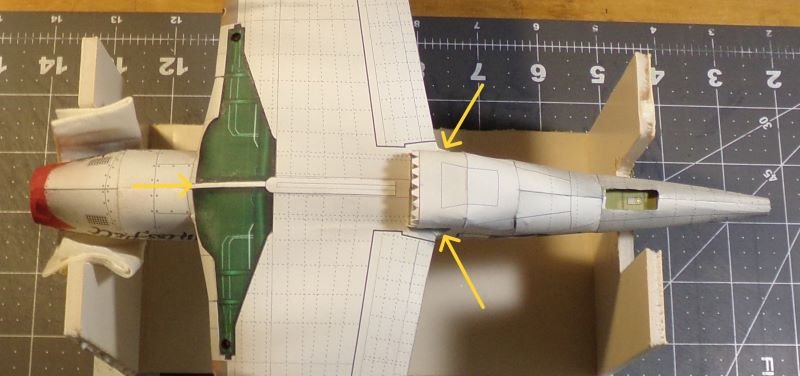
Installing the wing assembly is a simple matter of slipping the wing spar into the slot in the bottom of the fuselage and aligning the back of the wing with the base of the air scoop. I applied glue in the three areas indicated with the yellow arrows.

mp-img32.jpg


Now you can finish building the air scoop by gluing the thin spacer (part 78) in place (see the yellow arrow) and then adding the front portion of the scoop.

mp-img33.jpg
 

flpaperguy

Active Member
Nov 9, 2023
84
305
40
66
Central Florida, USA
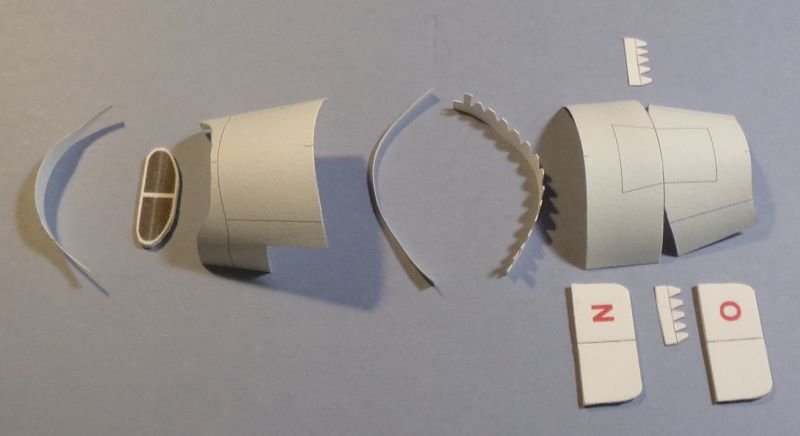
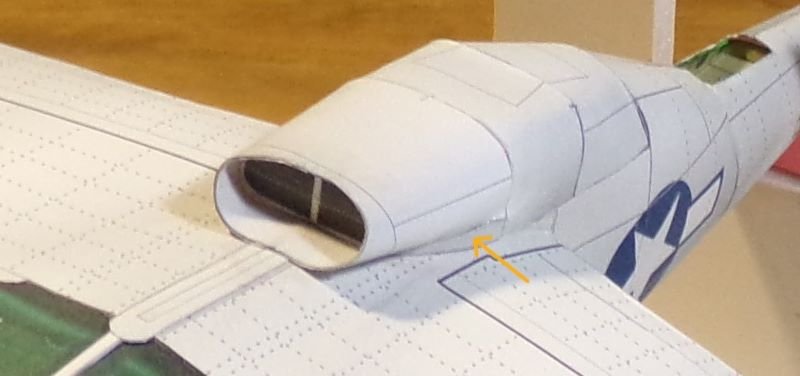
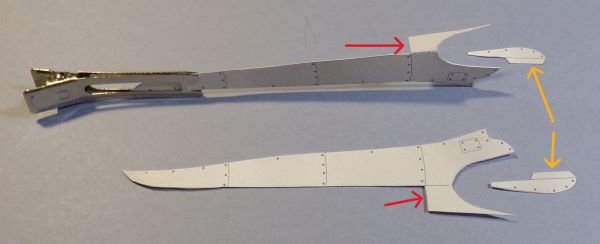
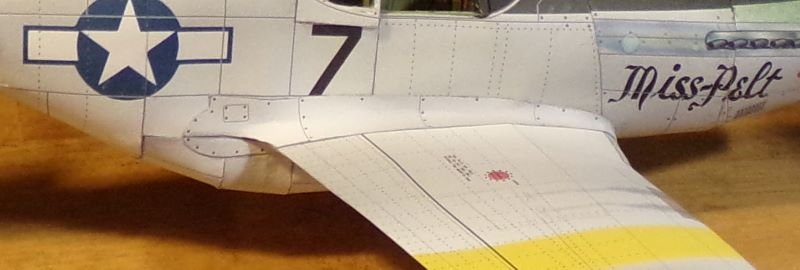
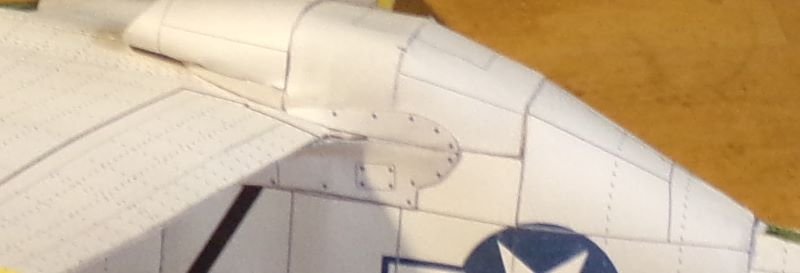
Now that the wing assembly and belly scoop are in place, it is time to add the wing fairings. The larger top portion of the wing fairings have a hooked portion (see the red arrows) which should be folded under. This provides a colored surface to the visible underside of the fairing. The smaller parts (see the yellow arrows) are for the underside of the wings.

mp-img34.jpg