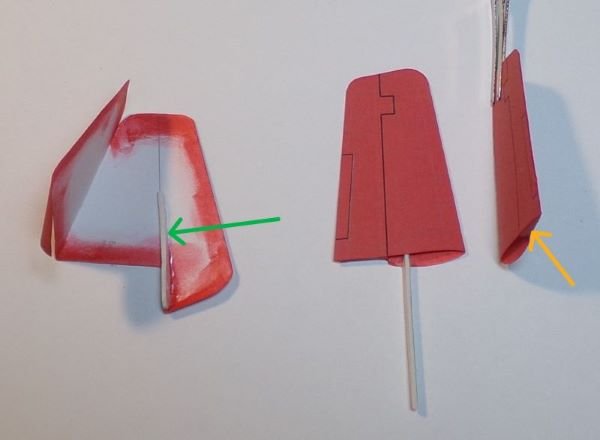
The tail (on the left in the photo) consists of the skin and former L (see the green arrow) that mates with former K on the rear of the fuselage. The stabilizers (on the right) are made by simply folding them in half and edge gluing the sides and top (leave the bottom open). The yellow arrow indicates a small fold over.
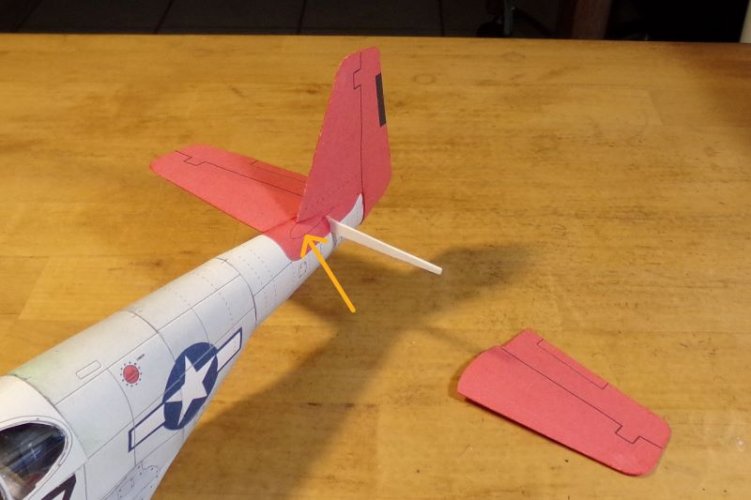
Each stabilizer is slipped on the former. The inside edges of the stabilizers are aligned with the tear-dropped shaped guidelines (see yellow arrow) and glued to the fuselage.
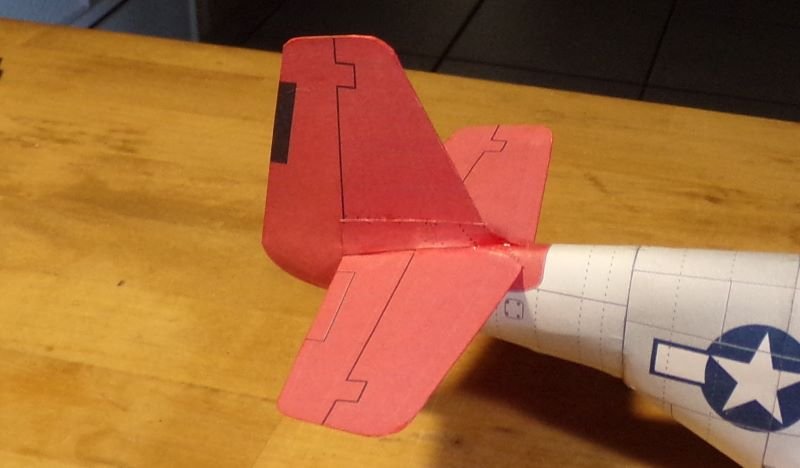
Installing the tail fairings finishes the tail and stabilizers.

Each stabilizer is slipped on the former. The inside edges of the stabilizers are aligned with the tear-dropped shaped guidelines (see yellow arrow) and glued to the fuselage.

Installing the tail fairings finishes the tail and stabilizers.



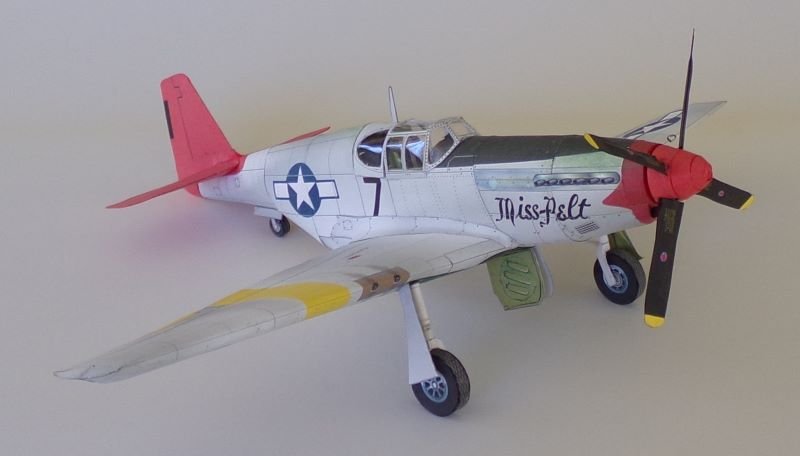
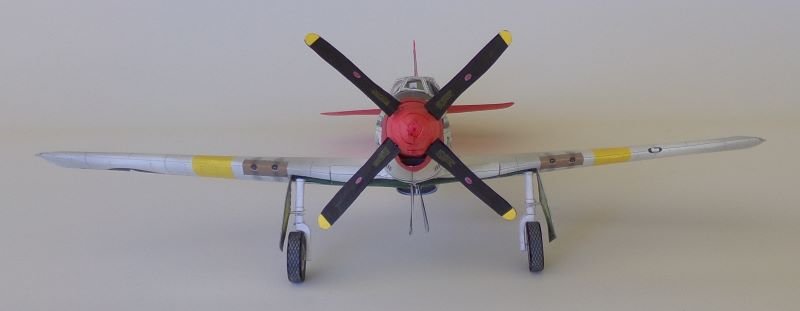
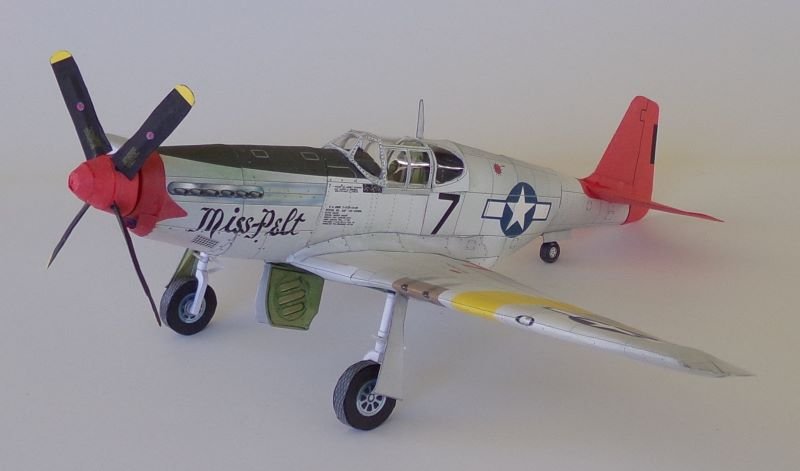
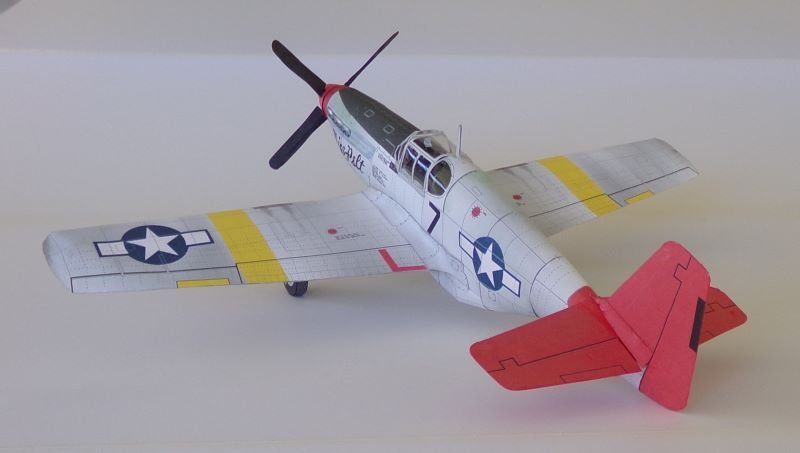
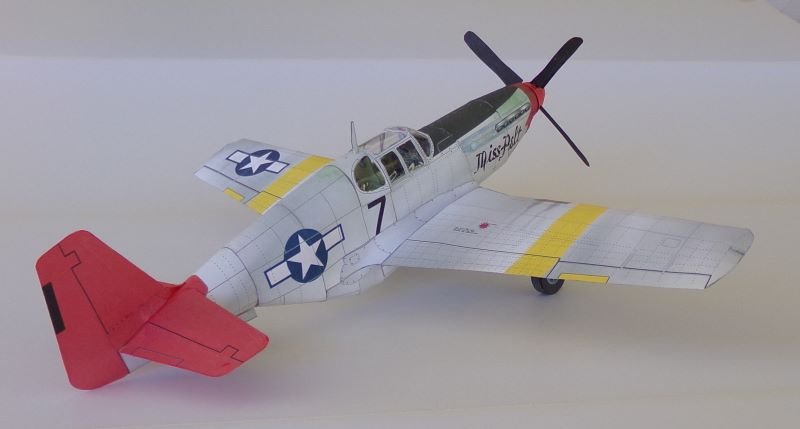
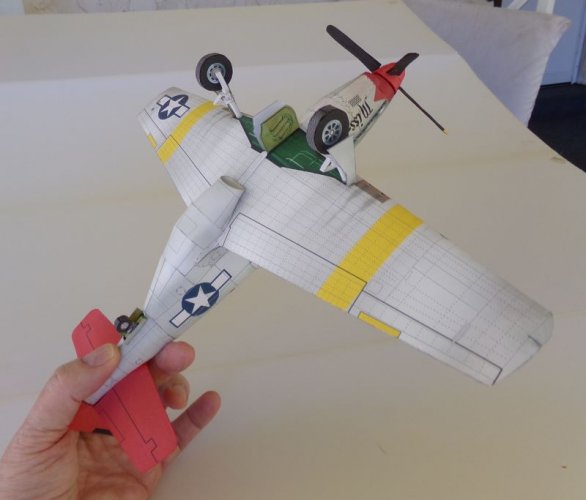
 That looks realy good. You have done a great job.