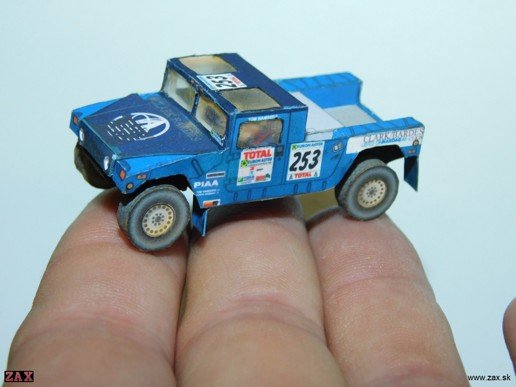
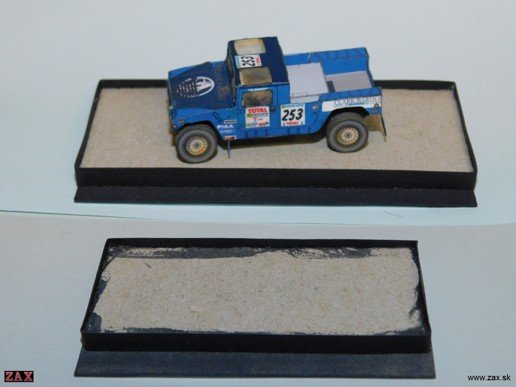
My mini models

Yes there is one. Check the first page of this thread at the end you will find the Lambo Rambo.
Thank you for pointing me to these! :cool:
I downloaded both the Dakar version, and the street versions.
 
  • Love
Reactions: mijob
So I'm slowly continuing. It's going slower due to my busy schedule, but I have some time so I'll get on with it. I forgot to mention last time that after printing on an inkjet printer, I lightly varnish each page with a clear spray varnish, which fixes the print.
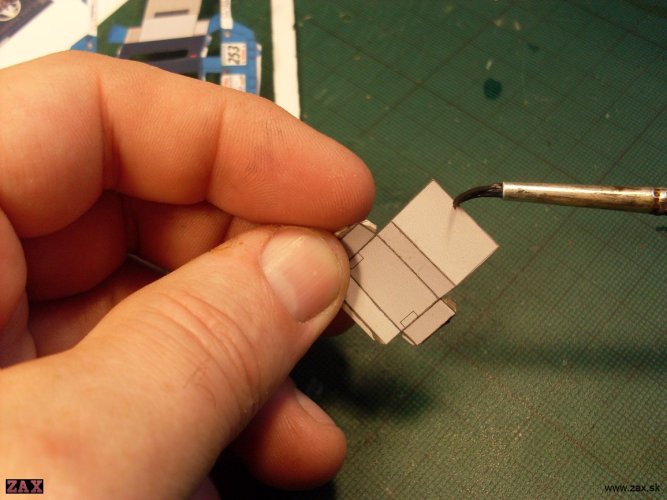
I have the parts cut out. Since I'm going to do the interior again, I also cut out all the windows, the Hummer has a glass roof, so it'll be interesting... I also cut out all the protective frames, I'll make them my own...(photo 1)
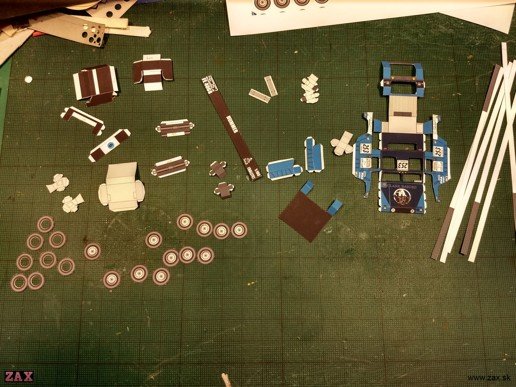
Hummer H1 minibox-21 IMG_20250122_210048198_HDR.jpg

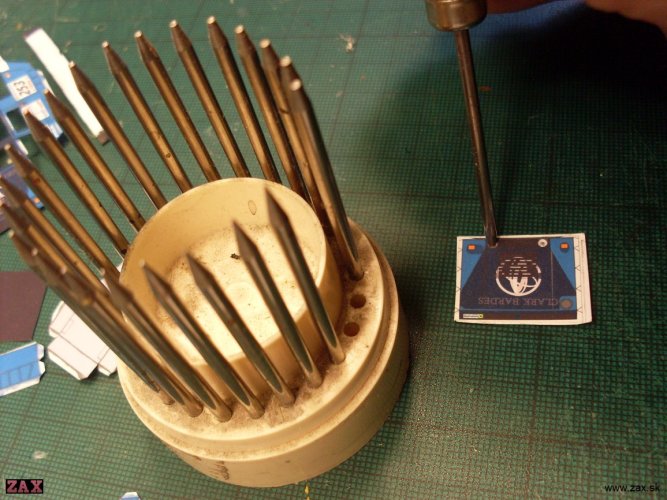
As always, I also make "plastic" wheels, for which I will use a hole punch (photo 2)
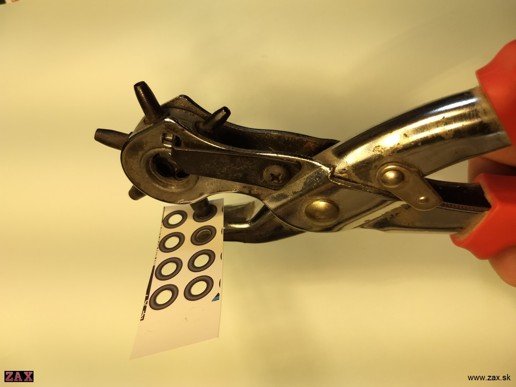
Hummer H1 minibox-22 IMG_20250119_221955581.jpg

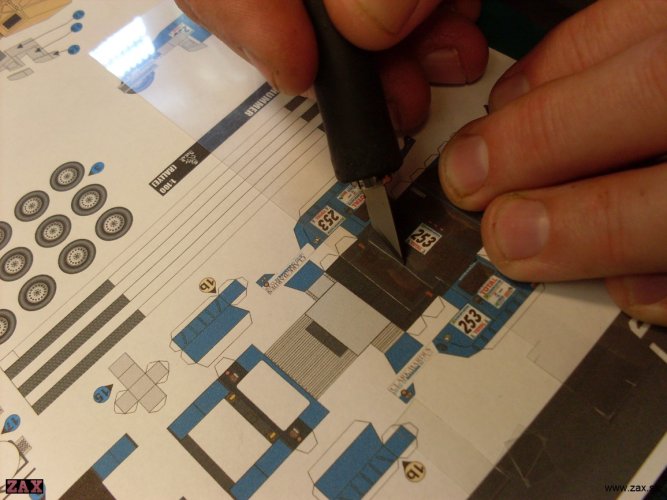
Now I have to retouch the parts. I use watercolors for retouching. I have several sets of colors, if I still can't find a suitable shade, I have to mix my own... (photo 3)
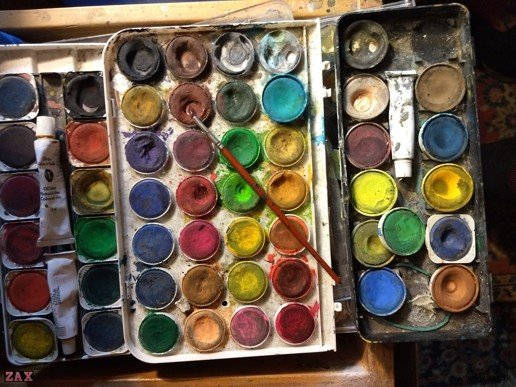
Hummer H1 minibox-23 IMG_20250122_210209502.jpg

So have a good time, I'll check back in over the weekend. ;)
 
I realy like this indepth build. Thank you for taking the time todo this for us.
When spraying the template with clear spray does this have effect on cutting the paper or on the cutting blade?
 
  • Like
Reactions: micahrogers
To tell the truth, the report is holding me back a bit and I partly consider it unnecessary, since I consider it a common procedure that more or less every modeler knows, but maybe it will help someone ;)

As for the varnishing issue - I don't think so, since it is a very thin layer... It is a significant protection against moisture, just a drop of water from the brush when retouching, sweaty hands and the print will melt and it may happen that you throw away the part you worked on for hours... (it happened to me...) this spraying is a must (at least for me)
 
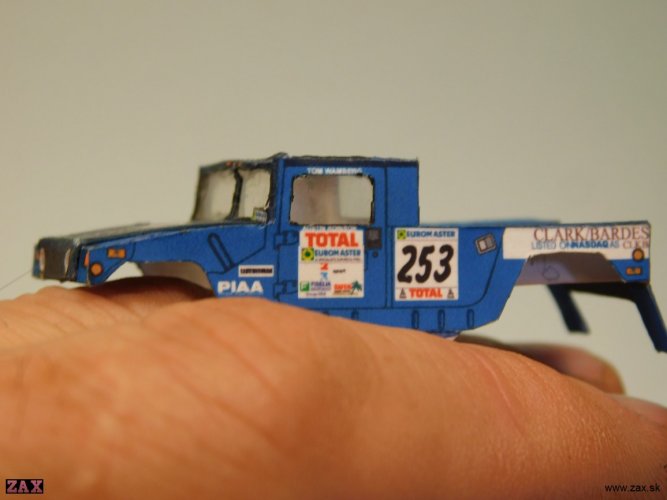
I put the bodywork together, as I expected it wasn't easy because of the glazing...:bulgeeye:

First, I'll go back to retouching. I find it best to retouch when I move the side of the brush perpendicular to the retouched edge. There must be little water on the brush and I must be careful to only paint the edge (photo 1).
SDC19935.jpg
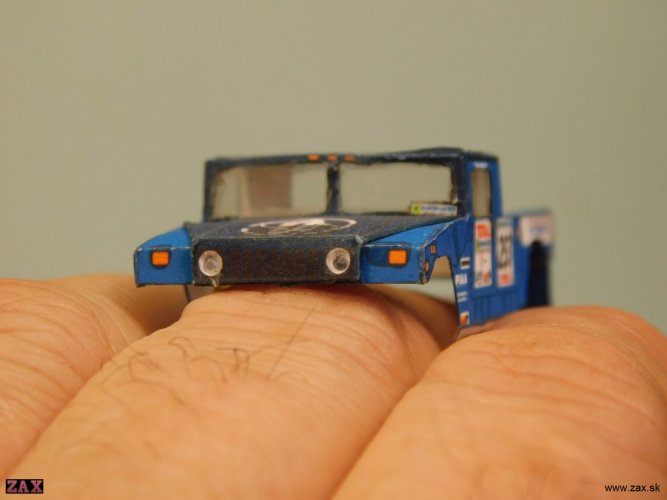
I made a small improvement - I printed the hood again, taped it and glued it to the place where it was just drawn. (even the real car has it higher), I recessed the lights - to punch out small holes I use a set of "kornajsny" (this is what jewelers use to set diamonds), you can make perfect rivets or small holes with it (photo 2)
SDC19936.jpg
I cut the glasses from foil according to the printed body (photo 3)
SDC19940.jpg
Glue them to the body with instant gel glue, being careful not to get the foil dirty (photo 4)
SDC19943.jpg
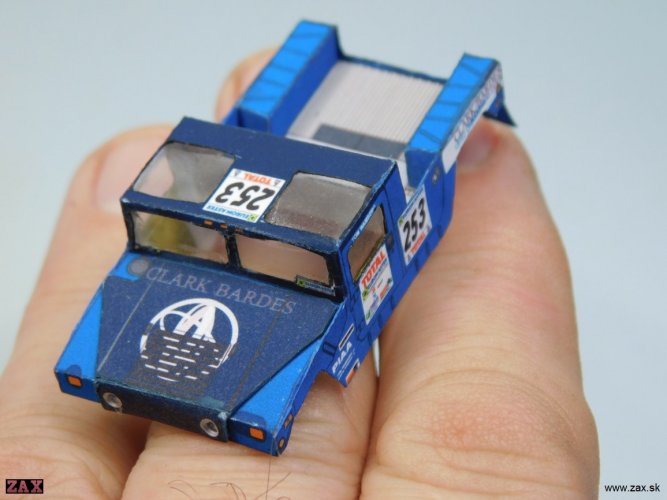
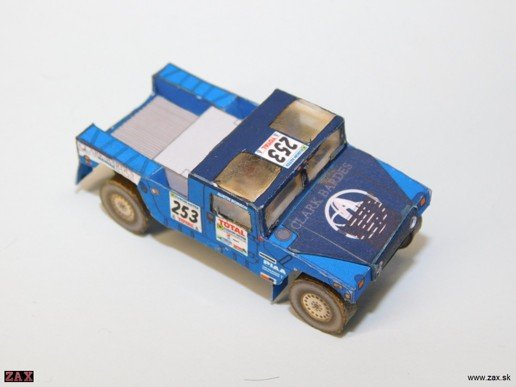
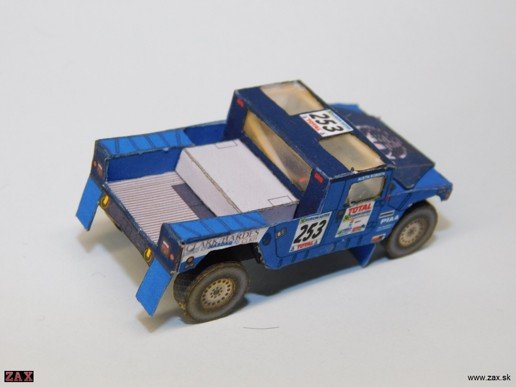
Well, this is how it looks at the moment, it doesn't look very good yet, but I'm only at the beginning... ;) (photo 5, 6, 7)
DSCN5355.jpgDSCN5357.jpgDSCN5362.jpg
 
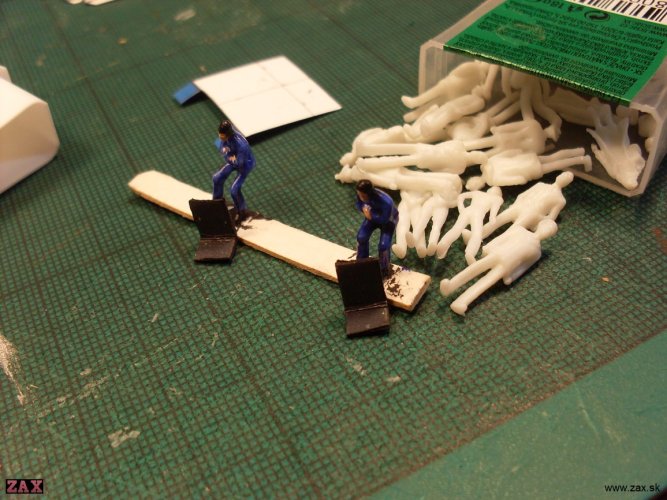
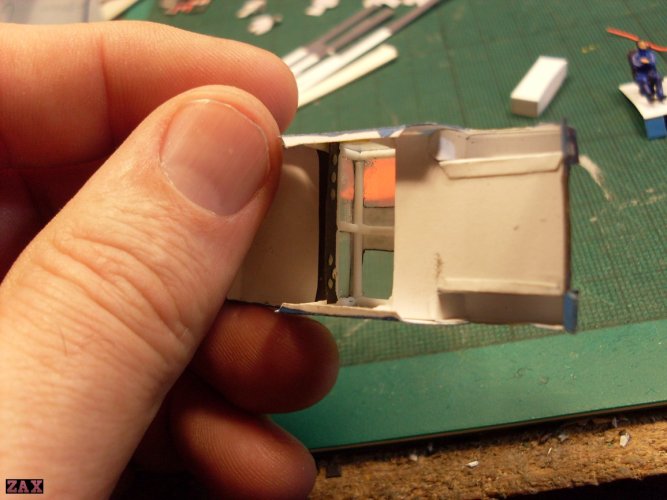
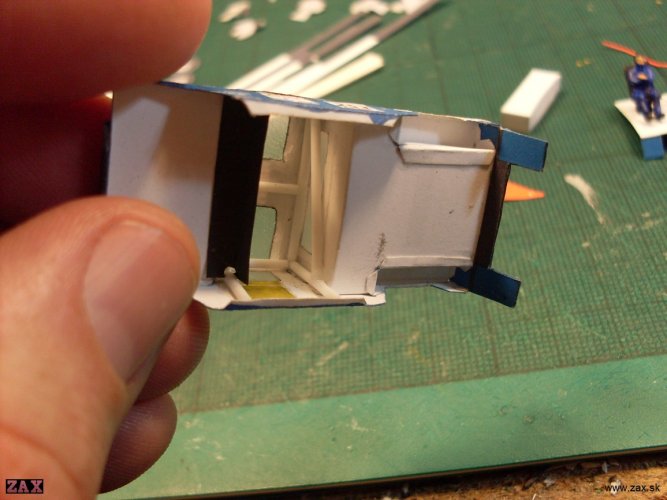
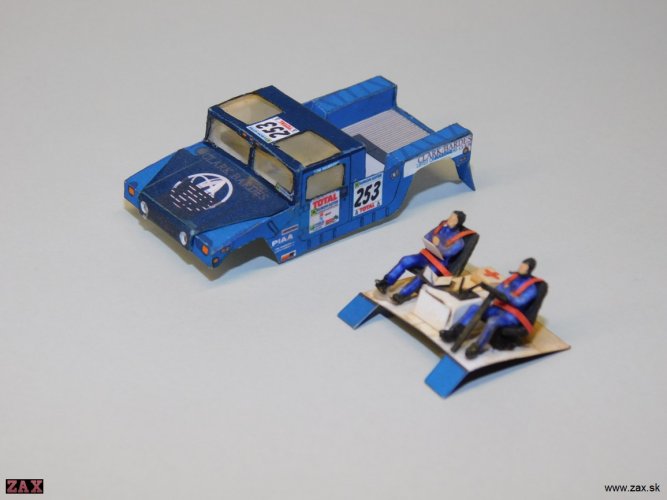
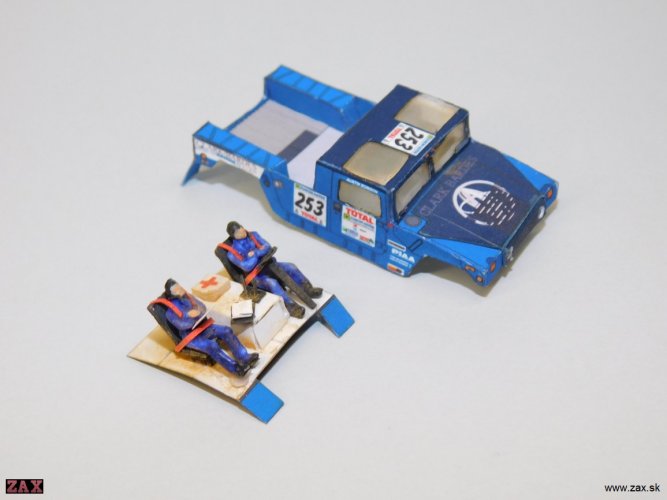
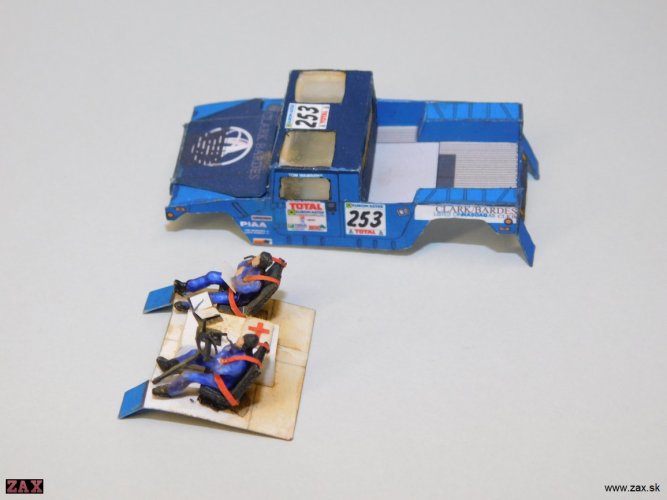
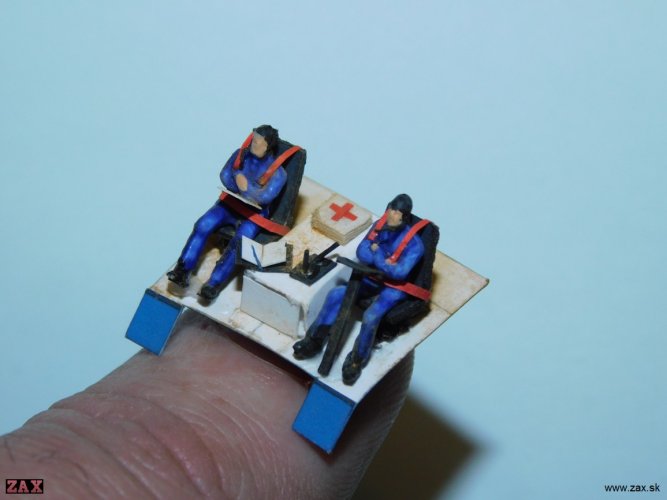
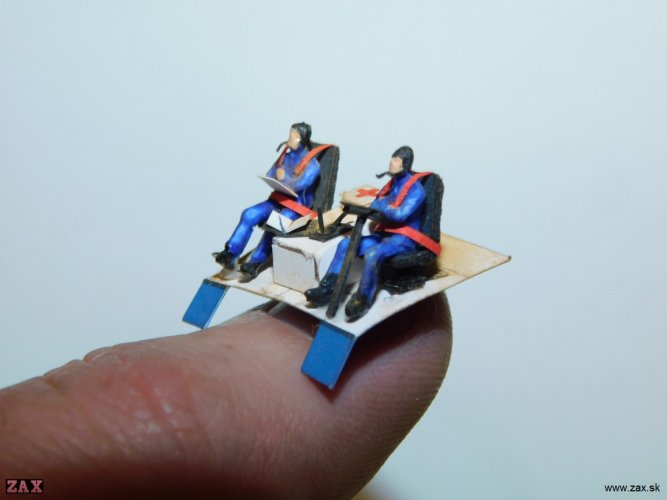
I continue with a simple interior and crew. I chose suitable figures that I painted with acrylic paints, the seats are made of thicker cardboard.

Hummer H1 minibox-41 SDC19957.jpg

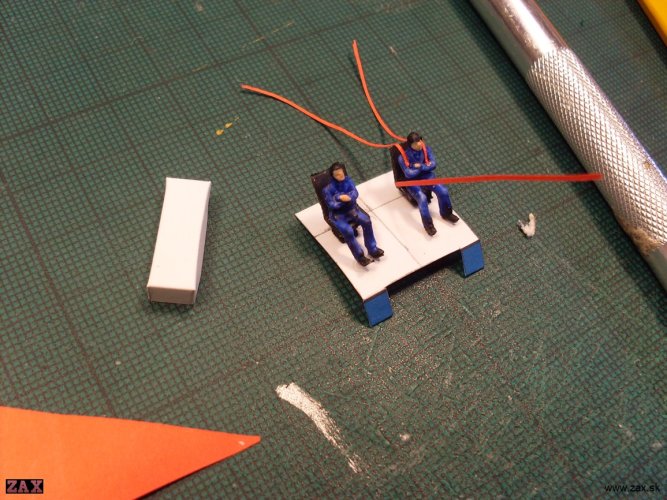
I added seat belts and the center tunnel that the Hummer has in the cabin.

Hummer H1 minibox-42 SDC19960.jpg

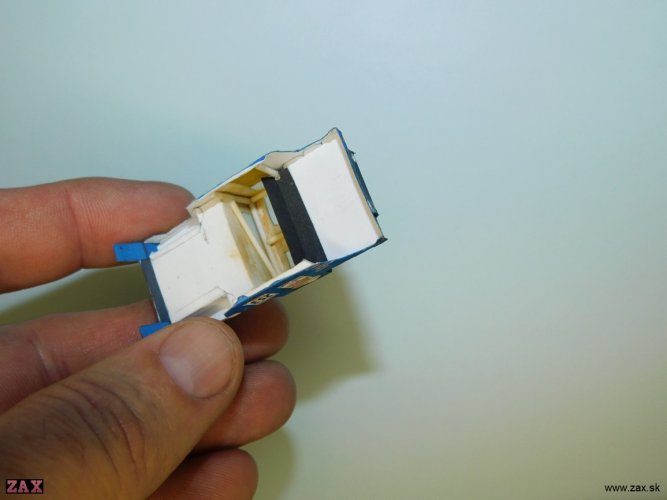
I added a safety frame to the cabin, which I made from plastic profiles.

Hummer H1 minibox-43 SDC19978.jpgHummer H1 minibox-44 SDC19979.jpg

Finally, I added more accessories - a steering wheel, a first aid kit, notes and dusted it all off a bit... Now I'll stick it in the cabin and I can move on.

Hummer H1 minibox-45 DSCN5365.jpgHummer H1 minibox-48 DSCN5369.jpgHummer H1 minibox-47 DSCN5368.jpg
Hummer H1 minibox-51 DSCN5376.jpg
Hummer H1 minibox-49 DSCN5373.jpgHummer H1 minibox-52 DSCN5395.jpg
 
Now this is exactly why I asked you to show how you do it. All the extra work you are investing shows and elevates every build from "standard" to "special". And when everything comes together it goes from "special" to "extraordinary". Great job! :bowdown:
 
Thankx, I don't deserve so much praise... my approach to model making is that I try to make each model something unique, so maybe sometimes I'll manage to make a detail that I'm happy with, and if you like it too, it will make me even happier. ;)

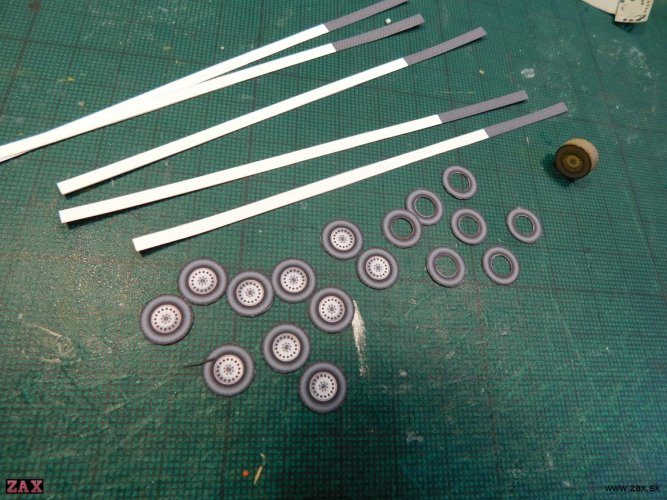
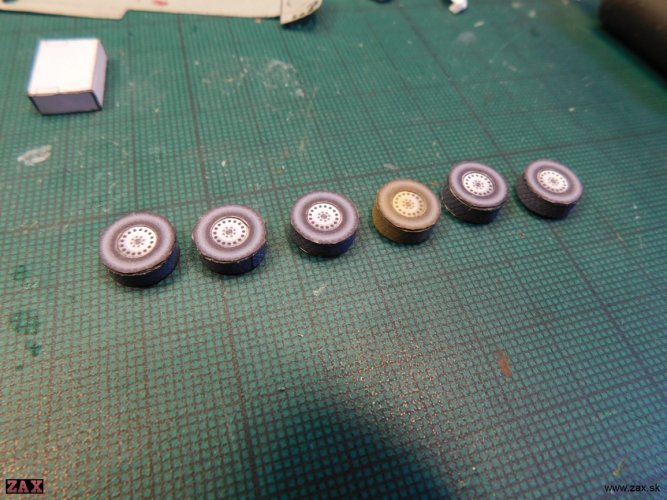
I did some work on the wheels, which I modified a bit...cut and retouched the parts
Hummer H1 minibox-51 Dscn5402.jpg
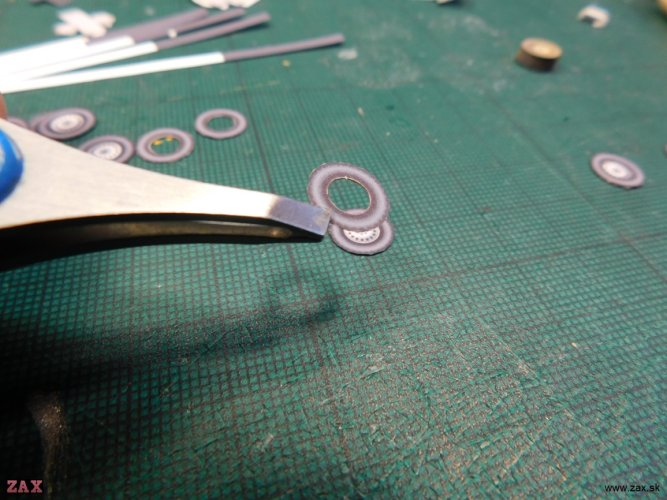
...I also cut the sidewall of the tire, which gives me a slightly more plastic sidewall
Hummer H1 minibox-52 Dscn5410.jpg
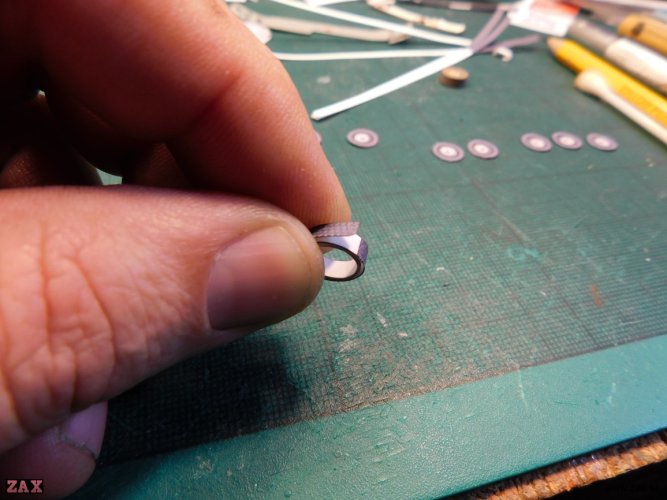
...I rolled up the circumference of the wheel
Hummer H1 minibox-53 Dscn5413.jpg
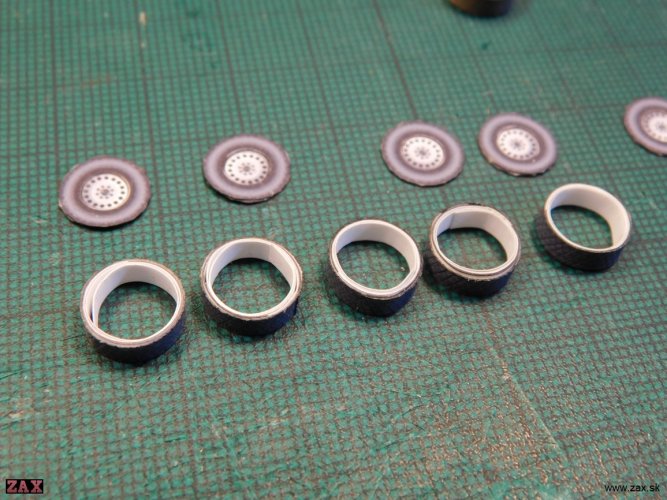
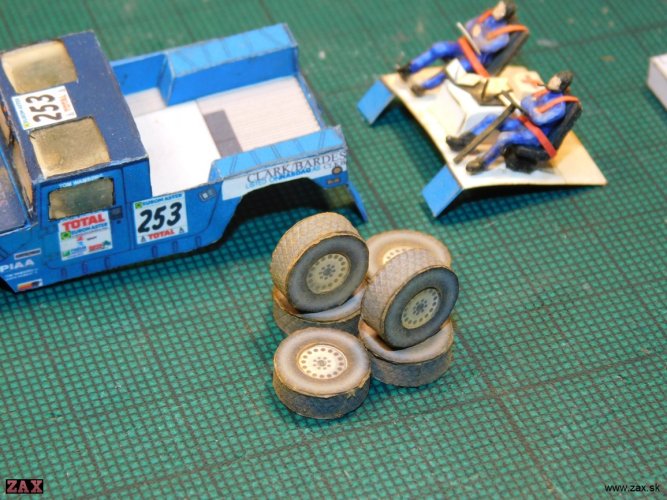
...and glued all the wheels
Hummer H1 minibox-54 Dscn5414.jpgHummer H1 minibox-55 Dscn5416.jpg
...I tried one more thing that I've never done before - the side of the wheel is plastic, but the circumference was still just a smooth surface...gluing a separate tread in this scale is unrealistic, so I thought of grooving the tread, it's pretty quick and you can see how it looks in the last photo...I quite like it, so I'll definitely use it in the future...;)
Hummer H1 minibox-56 Dscn5427.jpg
 
What you are doing with these models is magic you have lifted the bar from a nice model to a superb model.
 
As always, your models are awesome. I have never seen a box of figurines like that!! :)
 
  • Like
Reactions: micahrogers
Thanx, I'm glad someone likes my gluing. ;)

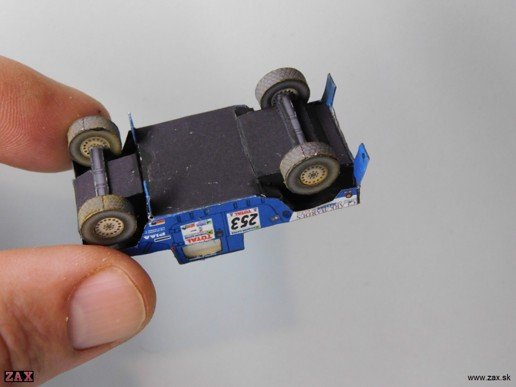
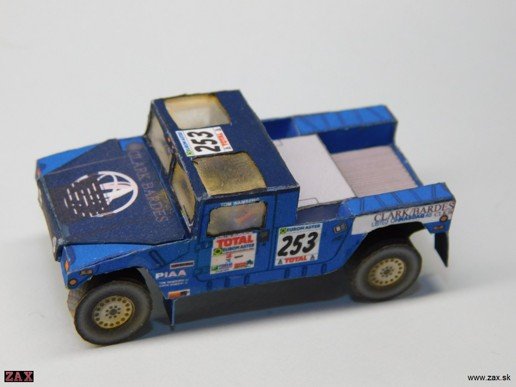
I closed the cabin, glued the chassis and put the car on its wheels... Now I can start working on the mat in addition to finishing the body details. The Hummer is a relatively large car and on the pad I have prepared for passenger cars will almost not fit, so I will use a larger pad, at least there will be room to create the terrain...;)
DSCN5430.jpgDSCN5438.jpgDSCN5444.jpgDSCN5446.jpgDSCN5450.jpgDSCN5452.jpg
 
A fantastic build and thread! Great work and thank you very much! :)