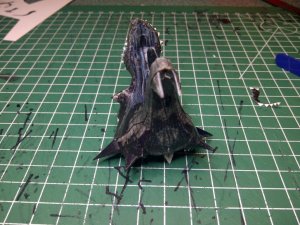
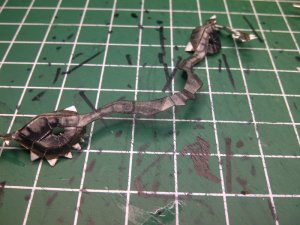
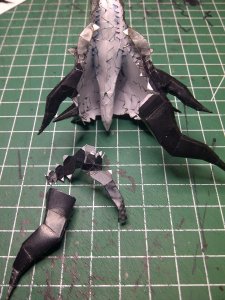
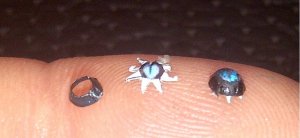
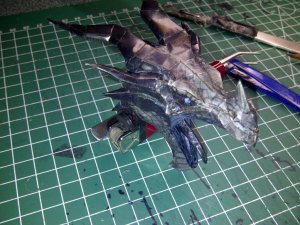
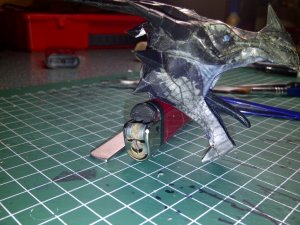
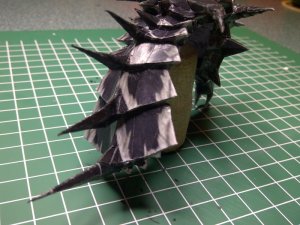
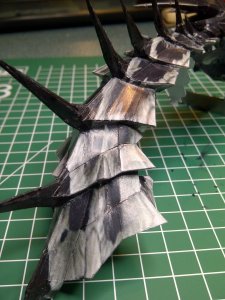
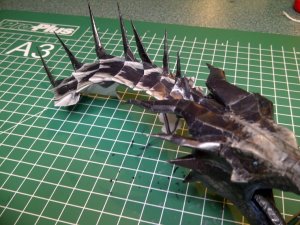
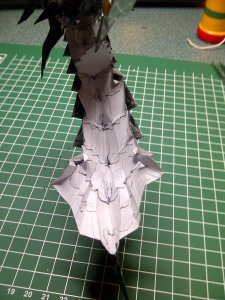
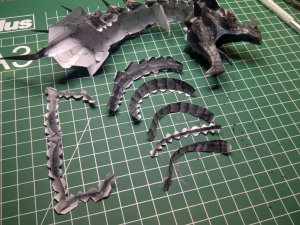
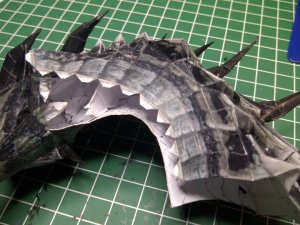
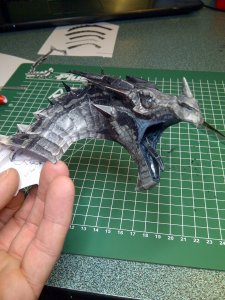
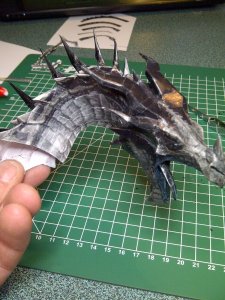
When I first saw Daishi's Model of the Month design and build of the Frost Dragon from the Skyrim episode of the Elder Scrolls game, I nearly badly injured myself, when my jaw hit the floor so hard, in stunned awe! I nearly fell in the bathroom too, as I ran to get tissues because,.... well..... never mind!:mrgreen:
Anyway, I would like to present my attempt at building this beauty.
I would like to point out at the start, that I am no gamer. I have never played the Elder Scrolls V game, or any of the others for that matter. I have always loved dragons, and in my younger days, I used to collect all the white metal dragon minatures from The Games Workshop. I had a large collection then, but they unfortuantly have all been lost in the past.
Even though I have only been paper modelling for just under a year, and am not very experienced, when I saw Daishis stunning model, I just HAD to give it a go.
As I have been building only technical 'hard' model designs, so far, I thought I would like to try my hand at biological/figurine type model for a change. And the Frost Dragon is my subject.
I decided to print the model in two weights of paper: 120gsm for the small intricate assemblies like the head, and 160gsm for the rest. I made an error at the printers, as the pages were printed on glossy photo paper, wall1, not exactly the correct texture for a dragon. But, I intend overcoming the shiny problem by spraying the whole model in various coats of matt acrylic varnish.
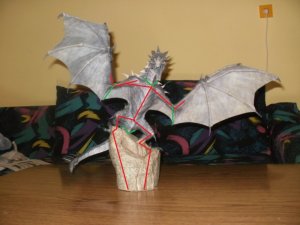
After reading various comments about the stability of the completed model, I decided to design an internal bracing armature for the legs and wings. To add to this, I also wanted to be able to remove the tail and wing assemblies, in case I ever need to move house, (or transport it to a paper model exhibition. ops
ops
I spent a week or so studying the sub-assemblies in Pepakura, deciding how the heck I was gonna achieve all this, as well as building the very difficult model itself!! (What did I get myself into .....? )
)
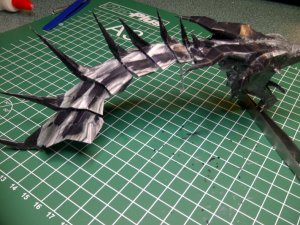
I decided to move the joints of the wings to the body, to the elbow joint, instead of at the shoulder. The reason for this was to utilize gravity at the joint, so that I could attach the wings without glue, or any other form of bond, keeping in mind the wire armature holding the wings up, that attaches inside the body.
A bit difficult to explain, but it will hopefully come clear to you all (and me) as the build goes on.
I want to use a strong magnet and plate to hold the tail on, and I don't forsee too many problems with that. I am undecided as to whether I am going to make the head/neck assembly detachable aswell, if so I'll use the same system as the tail.
Most of the armature design is in my head, and I have planned how I am going to build it, sort of... (A lot of the design will involve making it up as I go along.) I am going to have to build the model assemblies AROUND the armature I think, as there are too many bend angles to insert the armature after the model is built.
This model is a tab-haters worst nightmare!!!!!!! But, I stuck to the original design, because there was no way I was gonna attempt this by edge glueing everything. Some say I am a crazy Englishman, but I am definately not insane sign1
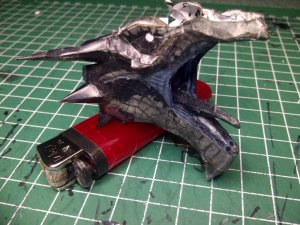
I started with the head and neck, which is the most difficult part according to Daishi. I started with the back of the throat and built outwards, almost as if the head is regurgitating itself into existance!!
There are 690 parts to the model in total, so let's start with the first 4, that make up the tongue...
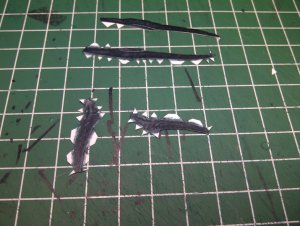
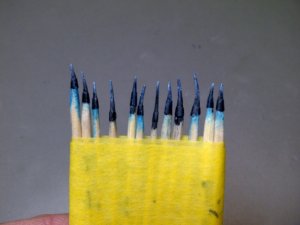
I edge coloured all the parts using markers and water colour pencils before assembly. The throat and inside of the mouth were made up and the tongue attached.
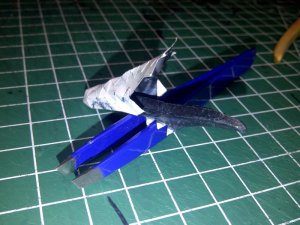
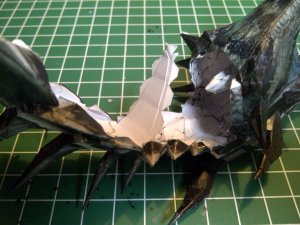
Next the front parts of the inside of the mouth were attached. The one piece that makes up the lower jaw, cheeks and a small strip along the top of the mouth was attached. That top strip is only about 1-2 mm wide in places....
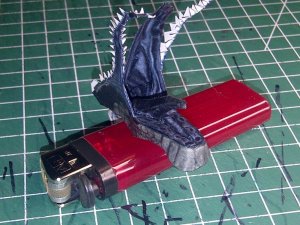
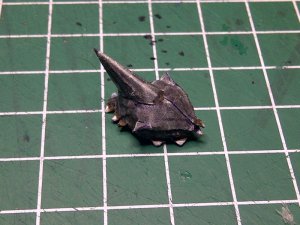
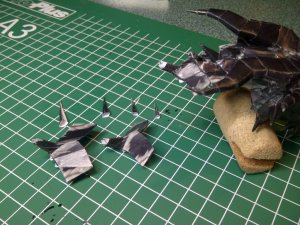
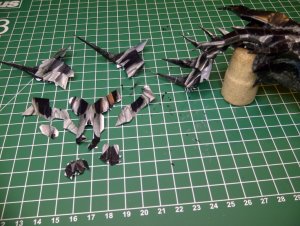
The next pieces were attached which included the first of the many horns on the model. The horns were pre assembled and glued on when the holding pieces were already attached to the head.
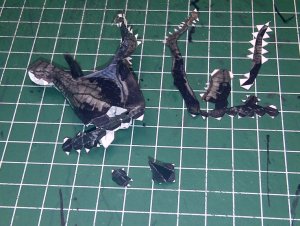
Next up the ridge under the eyes. (Tab-haters, please look away now....)
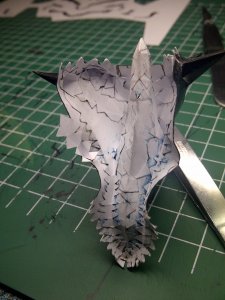
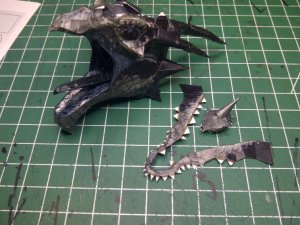
The two smaller horns were then made up and attached.
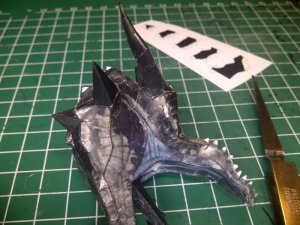
Back in a bit.......
Anyway, I would like to present my attempt at building this beauty.
I would like to point out at the start, that I am no gamer. I have never played the Elder Scrolls V game, or any of the others for that matter. I have always loved dragons, and in my younger days, I used to collect all the white metal dragon minatures from The Games Workshop. I had a large collection then, but they unfortuantly have all been lost in the past.
Even though I have only been paper modelling for just under a year, and am not very experienced, when I saw Daishis stunning model, I just HAD to give it a go.
As I have been building only technical 'hard' model designs, so far, I thought I would like to try my hand at biological/figurine type model for a change. And the Frost Dragon is my subject.
I decided to print the model in two weights of paper: 120gsm for the small intricate assemblies like the head, and 160gsm for the rest. I made an error at the printers, as the pages were printed on glossy photo paper, wall1, not exactly the correct texture for a dragon. But, I intend overcoming the shiny problem by spraying the whole model in various coats of matt acrylic varnish.
After reading various comments about the stability of the completed model, I decided to design an internal bracing armature for the legs and wings. To add to this, I also wanted to be able to remove the tail and wing assemblies, in case I ever need to move house, (or transport it to a paper model exhibition.
I spent a week or so studying the sub-assemblies in Pepakura, deciding how the heck I was gonna achieve all this, as well as building the very difficult model itself!! (What did I get myself into .....?
I decided to move the joints of the wings to the body, to the elbow joint, instead of at the shoulder. The reason for this was to utilize gravity at the joint, so that I could attach the wings without glue, or any other form of bond, keeping in mind the wire armature holding the wings up, that attaches inside the body.
A bit difficult to explain, but it will hopefully come clear to you all (and me) as the build goes on.
I want to use a strong magnet and plate to hold the tail on, and I don't forsee too many problems with that. I am undecided as to whether I am going to make the head/neck assembly detachable aswell, if so I'll use the same system as the tail.
Most of the armature design is in my head, and I have planned how I am going to build it, sort of...
This model is a tab-haters worst nightmare!!!!!!! But, I stuck to the original design, because there was no way I was gonna attempt this by edge glueing everything. Some say I am a crazy Englishman, but I am definately not insane sign1
I started with the head and neck, which is the most difficult part according to Daishi. I started with the back of the throat and built outwards, almost as if the head is regurgitating itself into existance!!
There are 690 parts to the model in total, so let's start with the first 4, that make up the tongue...

I edge coloured all the parts using markers and water colour pencils before assembly. The throat and inside of the mouth were made up and the tongue attached.

Next the front parts of the inside of the mouth were attached. The one piece that makes up the lower jaw, cheeks and a small strip along the top of the mouth was attached. That top strip is only about 1-2 mm wide in places....

The next pieces were attached which included the first of the many horns on the model. The horns were pre assembled and glued on when the holding pieces were already attached to the head.

Next up the ridge under the eyes. (Tab-haters, please look away now....)

The two smaller horns were then made up and attached.

Back in a bit.......


