Gonna try some simple D&D terrain first, it's called 2.5D terrain, because the walls are just represented by double thickness pieces... The patterns print on regular paper, and are glued to foam core, or cardboard...
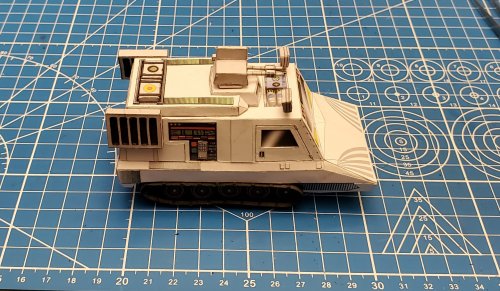
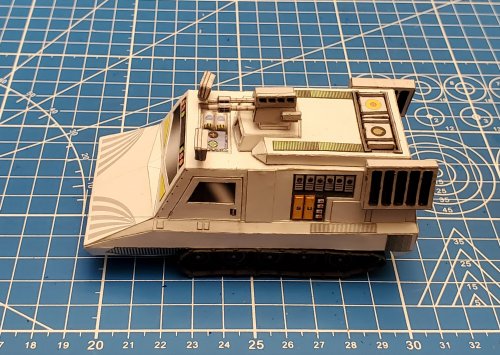
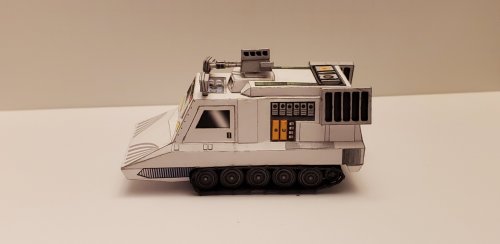
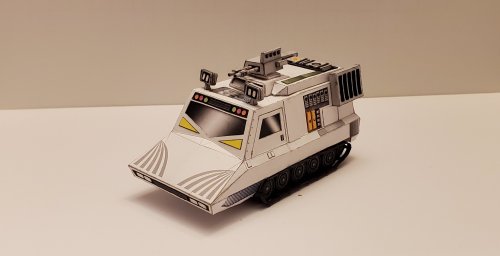
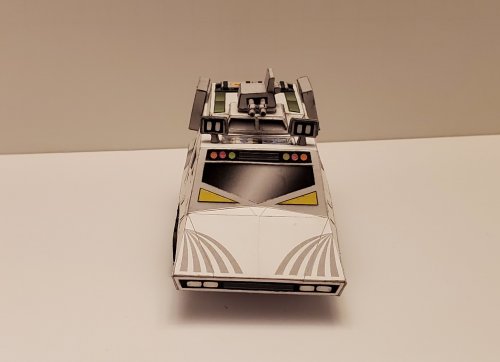
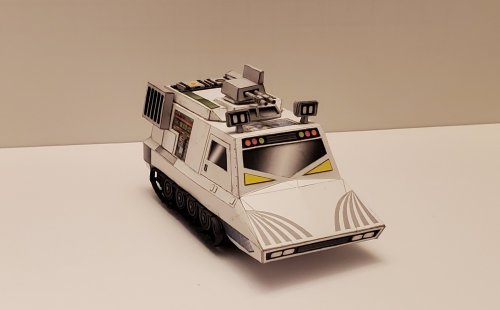
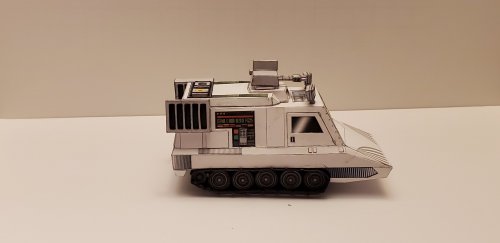
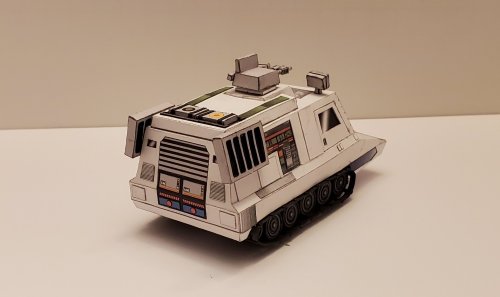
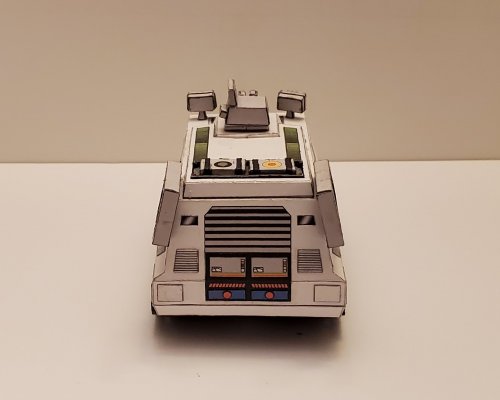
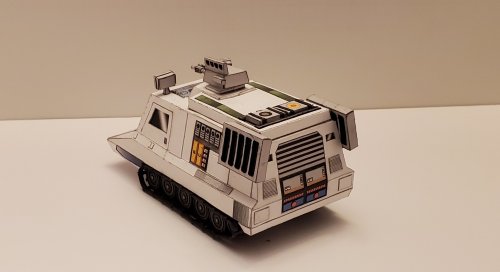
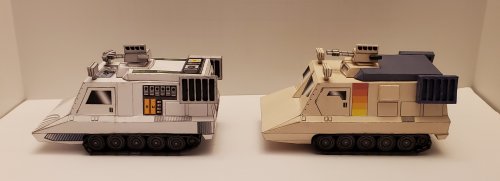
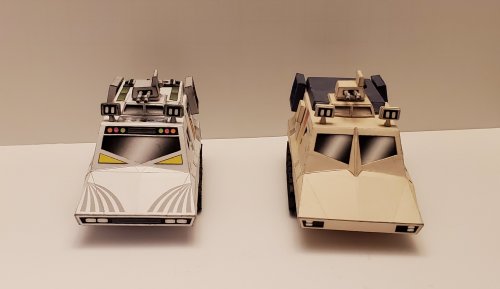
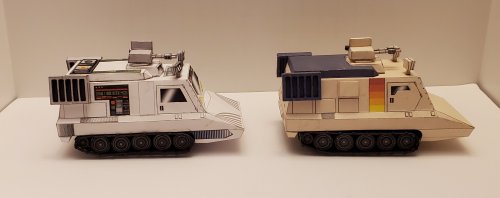
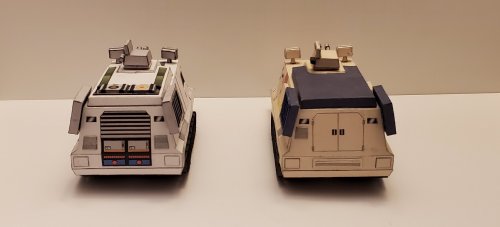
MK-I (armed) Land Rover from "BUCK ROGER in the 25th CENTURY" (MEGO livery) in 1:50 scale
- Thread starter Rhaven Blaack
- Start date
You are using an out of date browser. It may not display this or other websites correctly.
You should upgrade or use an alternative browser.
You should upgrade or use an alternative browser.
Very nice! I have seen others do it in other forums and the results are very good!Gonna try some simple D&D terrain first, it's called 2.5D terrain, because the walls are just represented by double thickness pieces... The patterns print on regular paper, and are glued to foam core, or cardboard...
That can be very effective if you use separate layers. You may even use forced perspective. 
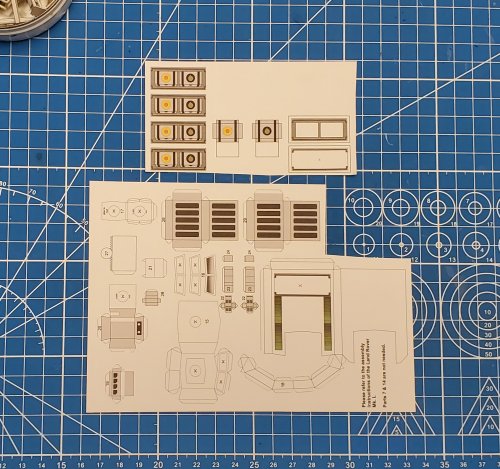
It is time for another update! Here are the parts of the components for the top and side
(*NOTE* There are a few added components that go on top of the top plate that goes behind the weapons system.)
Here is the top plate that goes behind the weapons system. As you can see, there are two green strips on either side. I raised them one layer of cardstock. There is also a cargo rack. I recessed the cargo space by one layer of cardstock and raised the brackets (that are around the cargo space) two layers of cardstock.

Here is the inside of the top plate. I attached the internal formers.
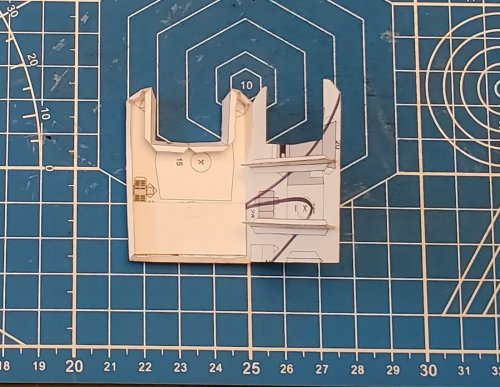
The top plate is assembled.
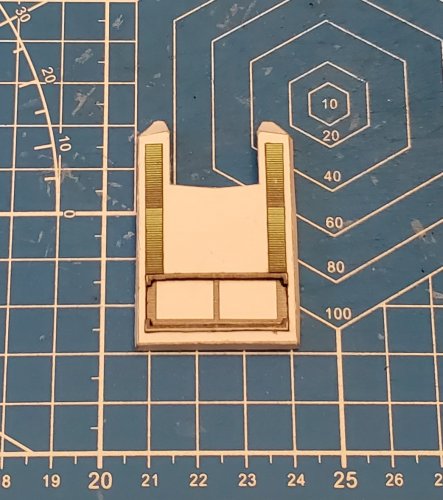
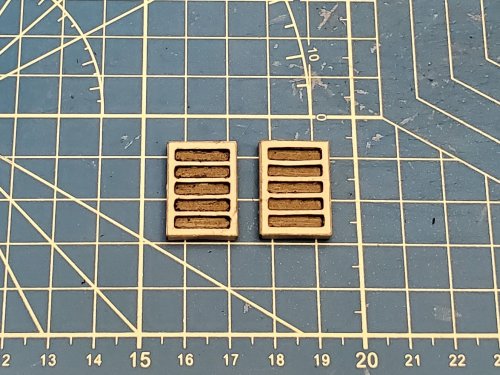
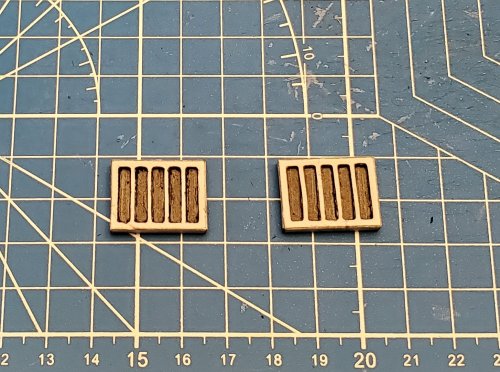
Here are the two boxes that go inside of the cargo space.

The top plate is attached.
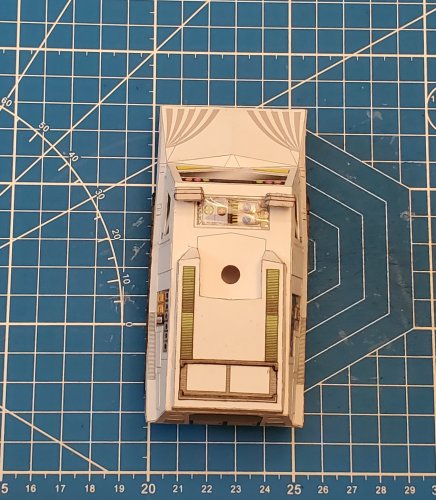
The boxes are in place.
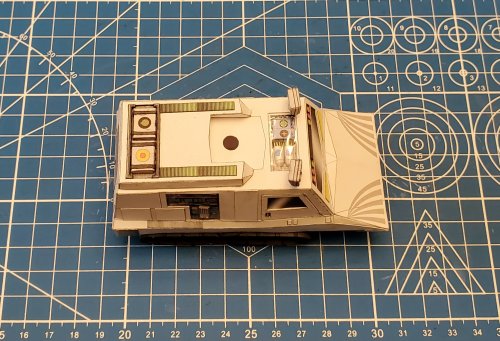
The mount for the turret is in place.
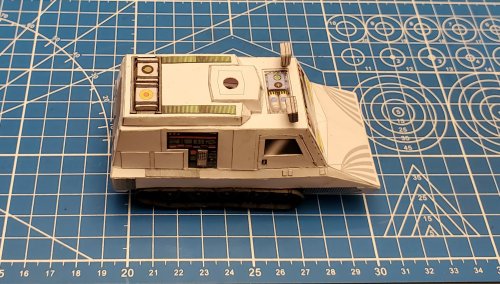
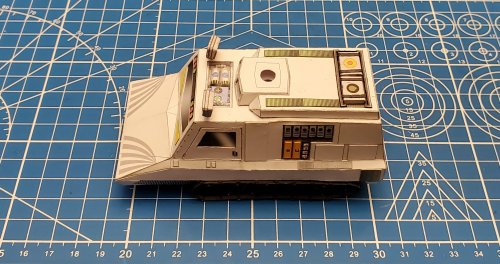
The spacer (between the turret and the mount) is in place.
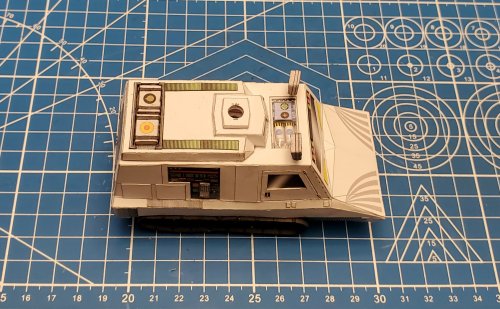
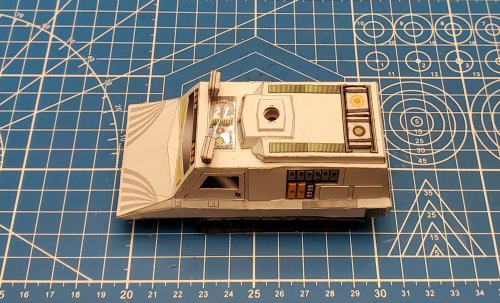
(*NOTE* There are a few added components that go on top of the top plate that goes behind the weapons system.)

Here is the top plate that goes behind the weapons system. As you can see, there are two green strips on either side. I raised them one layer of cardstock. There is also a cargo rack. I recessed the cargo space by one layer of cardstock and raised the brackets (that are around the cargo space) two layers of cardstock.

Here is the inside of the top plate. I attached the internal formers.

The top plate is assembled.

Here are the two boxes that go inside of the cargo space.

The top plate is attached.

The boxes are in place.

The mount for the turret is in place.


The spacer (between the turret and the mount) is in place.


Now moving on to the turret.
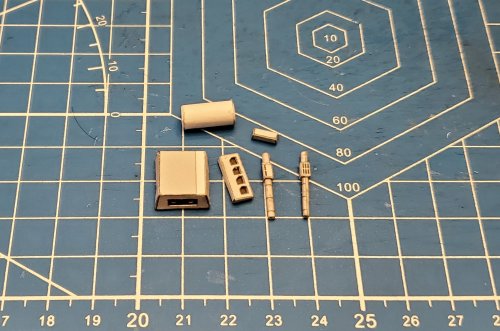
Here are the assembled components of the turret. I recessed the black rectangle (where the barrels are mounted). I (also) recessed the four black squares that are on the top piece.
The turret is fully assembled.
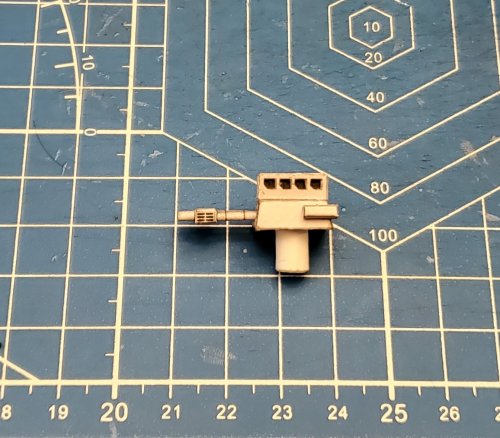
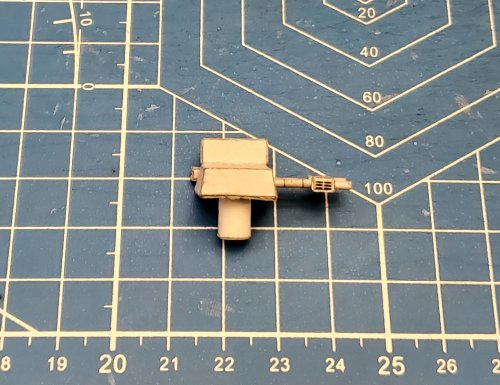
The turret is in place.
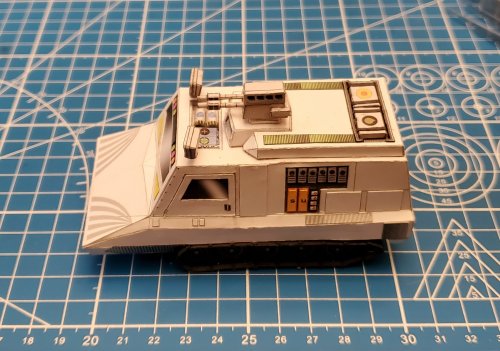
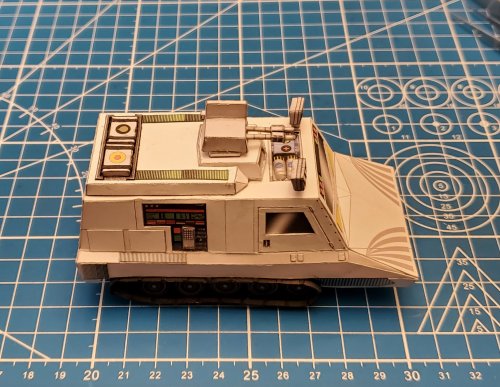
As you can see, the turret rotates.
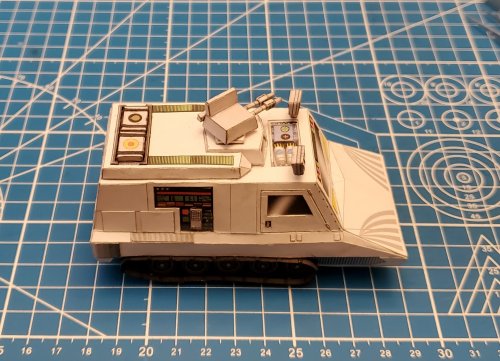
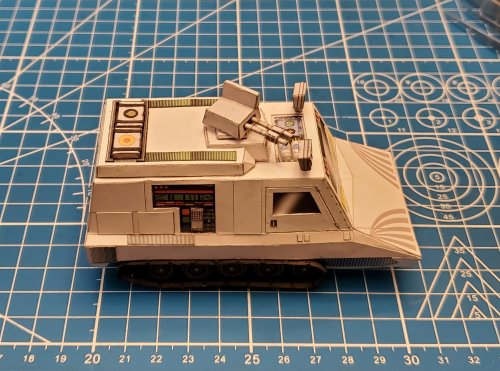
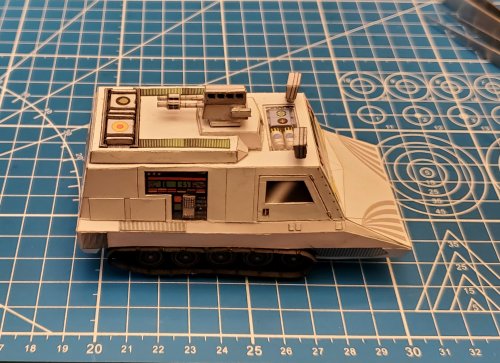
Here are the assembled components of the turret. I recessed the black rectangle (where the barrels are mounted). I (also) recessed the four black squares that are on the top piece.

The turret is fully assembled.


The turret is in place.


As you can see, the turret rotates.


Great work, pal! The additions looks awesome. I'm updating the plans accordingly. Stay tuned! 
Thank you both!
I enjoyed working on this project and being able to make a more "life-like" version of the toy.
I enjoyed working on this project and being able to make a more "life-like" version of the toy.
Thank you sir!!!Beautiful! Like always.
It was a fun build. I am glad that we were able this version, and make it into a viable model!


