I glue everything with waterproof white glueWhat did you glue this together with?")
MIKURU - Animefigur
- Thread starter Walter2
- Start date
You are using an out of date browser. It may not display this or other websites correctly.
You should upgrade or use an alternative browser.
You should upgrade or use an alternative browser.

- Apr 5, 2013
- 13,876
- 10,214
- 228
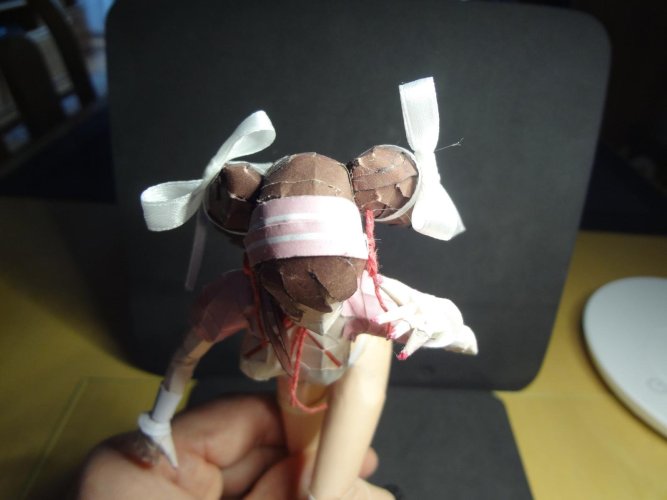
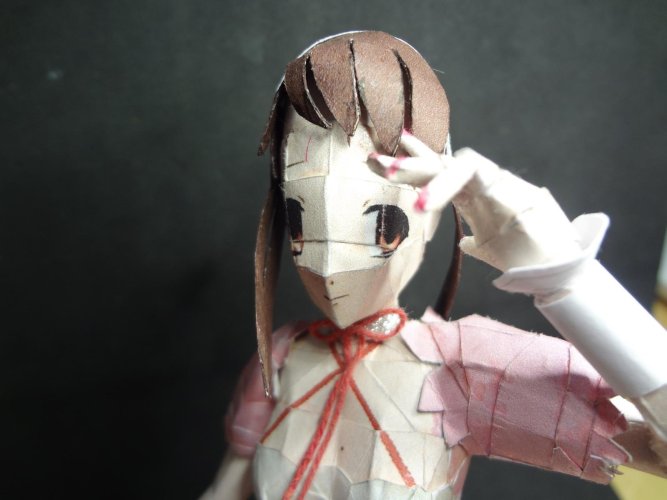
I'm sorry zathros, but it didn't work. Unfortunately the upper part of my head above the eyebrows came undone, so I have to do it again.
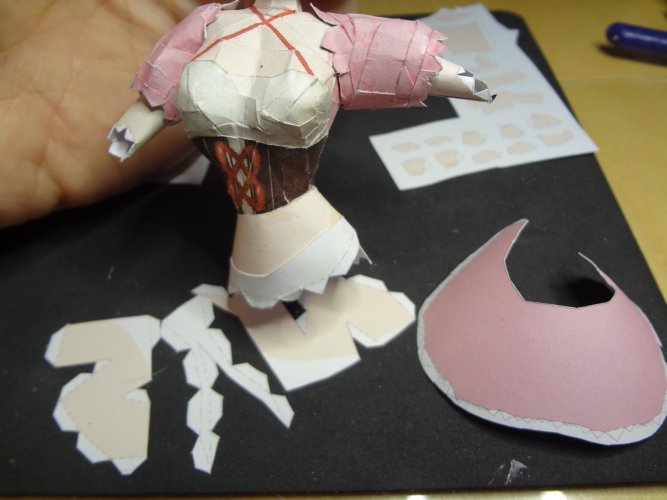
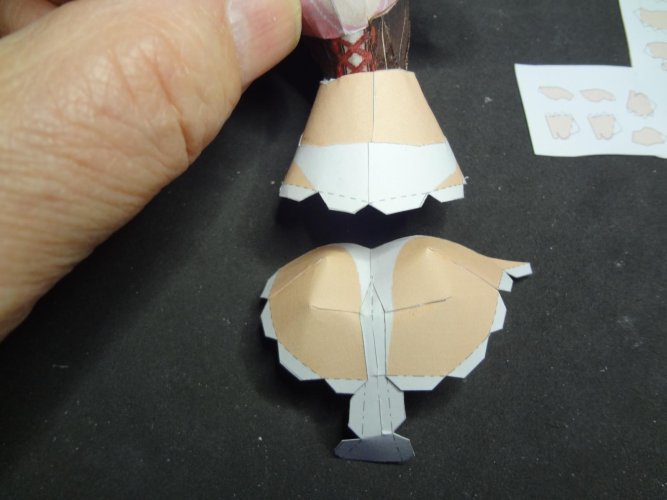
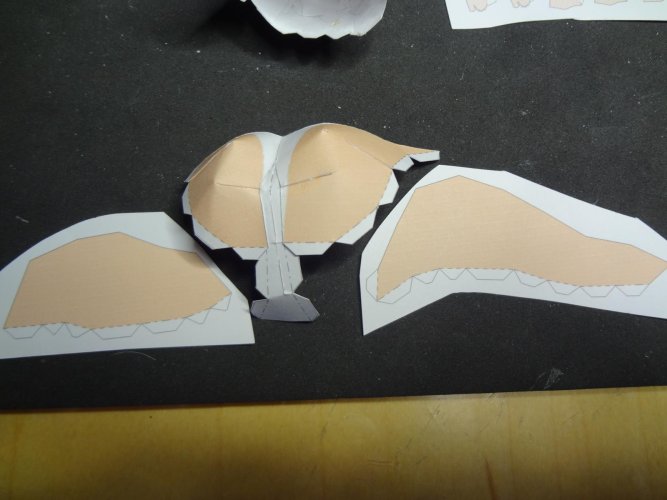
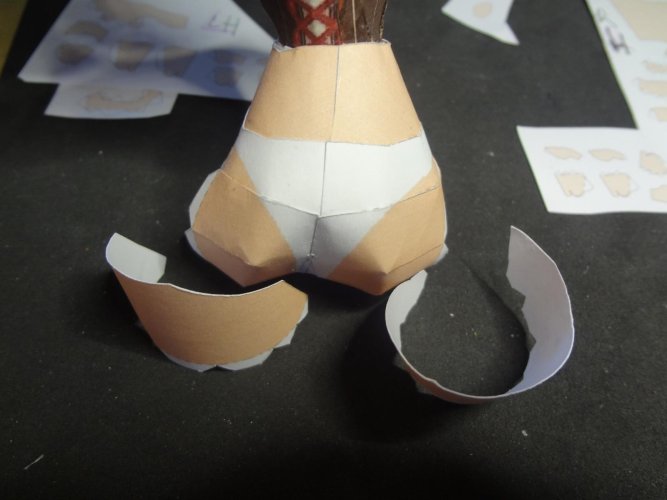
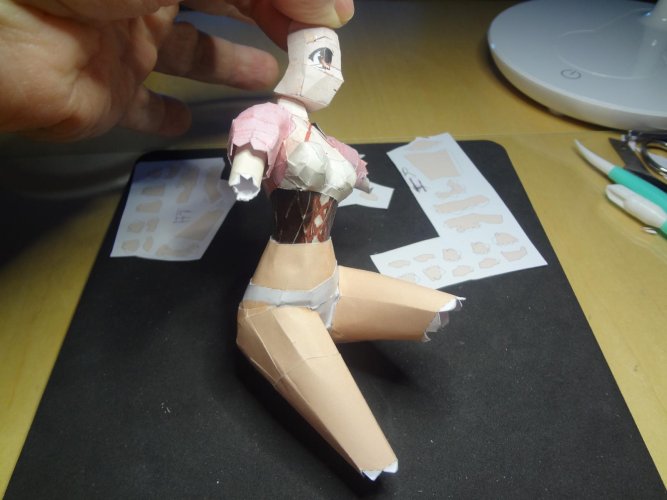
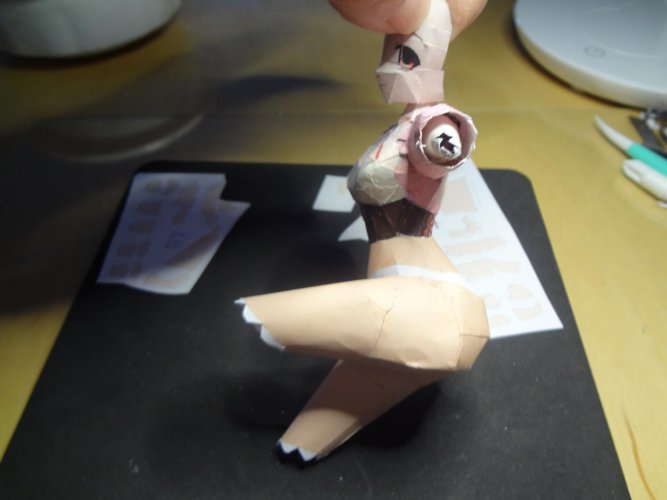
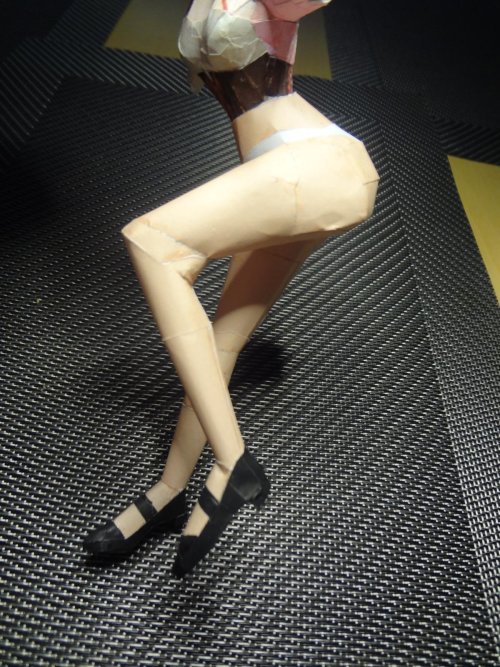
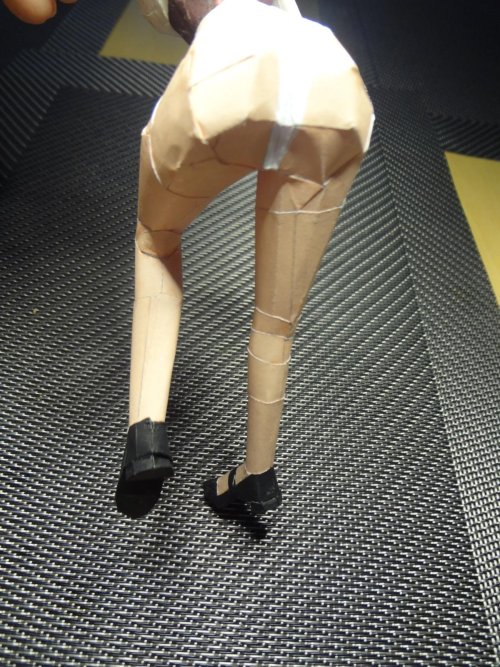
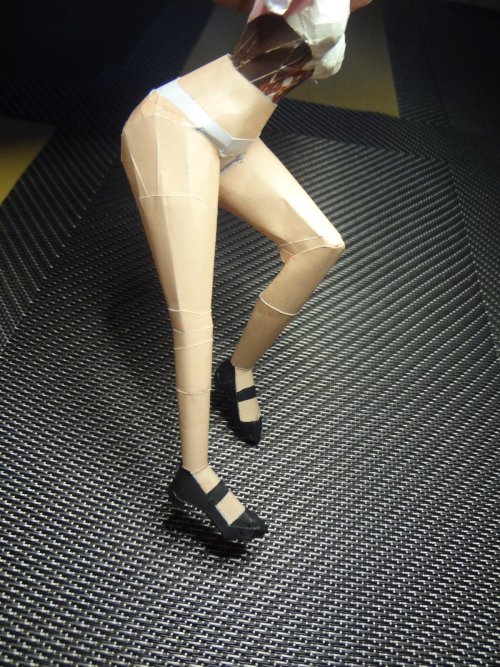
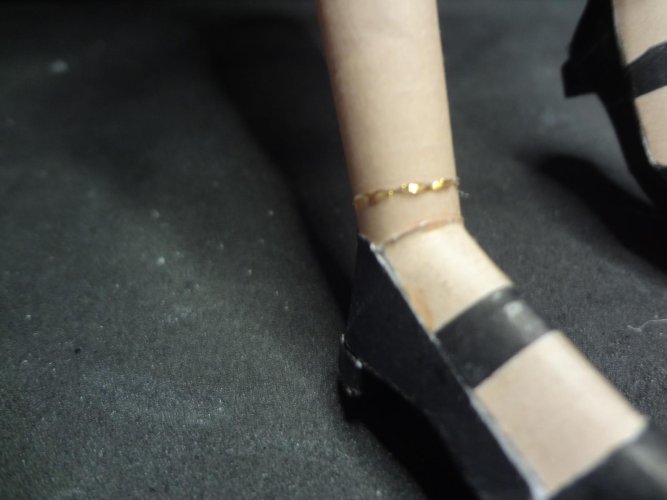
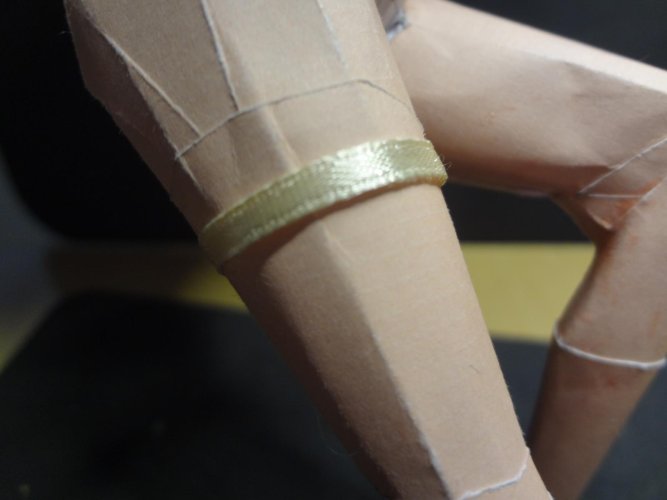
I also have to redo the bottom part from the hips down (bottom, thighs), all of a sudden nothing fit together. Once a small deviation and that continues. I will therefore assemble the lower part first and then attach it to the “corset”. It doesn't have to be so precise there, because the apron and the stitch are still attached here, so you can play a little trick here. So be patient a little longer.
I also have to redo the bottom part from the hips down (bottom, thighs), all of a sudden nothing fit together. Once a small deviation and that continues. I will therefore assemble the lower part first and then attach it to the “corset”. It doesn't have to be so precise there, because the apron and the stitch are still attached here, so you can play a little trick here. So be patient a little longer.

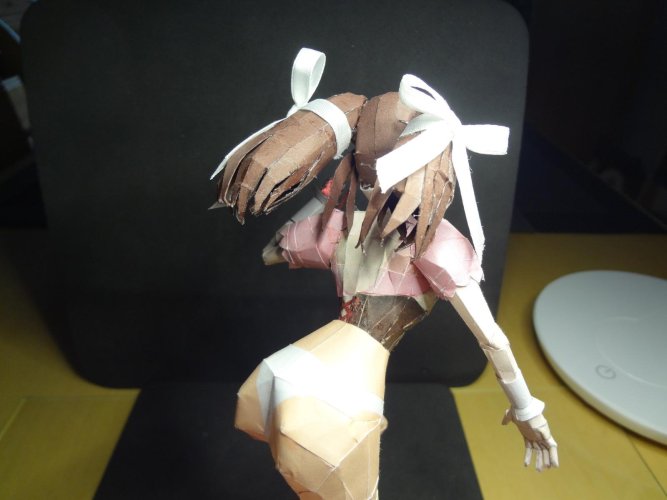
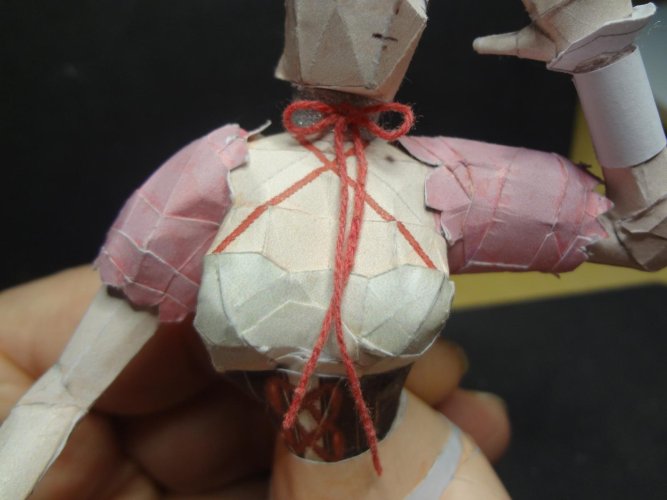
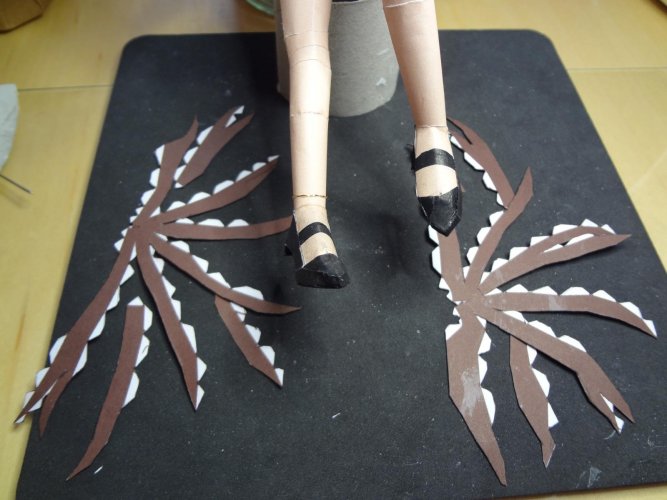
These parts are finally fitted, it was quite a fiddly job.
Attachments
-
 K1600_DSC05416.JPG153.7 KB · Views: 2
 -
 K1600_DSC05419.JPG146.7 KB · Views: 1
 -
 K1600_DSC05420.JPG173.7 KB · Views: 1
 -
 K1600_DSC05421.JPG135.1 KB · Views: 1
 -
 K1600_DSC05422.JPG124.8 KB · Views: 1
 -
 K1600_DSC05423.JPG124.6 KB · Views: 1
 -
 K1600_DSC05424.JPG162.5 KB · Views: 1
 -
 K1600_DSC05425.JPG150.3 KB · Views: 1
 -
 K1600_DSC05427.JPG141.9 KB · Views: 1
 -
 K1600_DSC05428.JPG142.4 KB · Views: 2
 -
 K1600_DSC05429.JPG157 KB · Views: 2
 -
 K1600_DSC05430.JPG111.8 KB · Views: 2
 -
 K1600_DSC05432.JPG112.1 KB · Views: 2
 -
 K1600_DSC05433.JPG134.1 KB · Views: 2
 -
 K1600_DSC05434.JPG151.4 KB · Views: 2
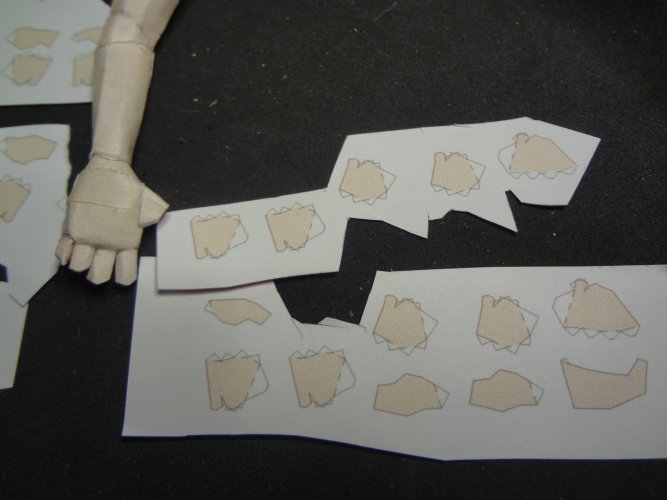
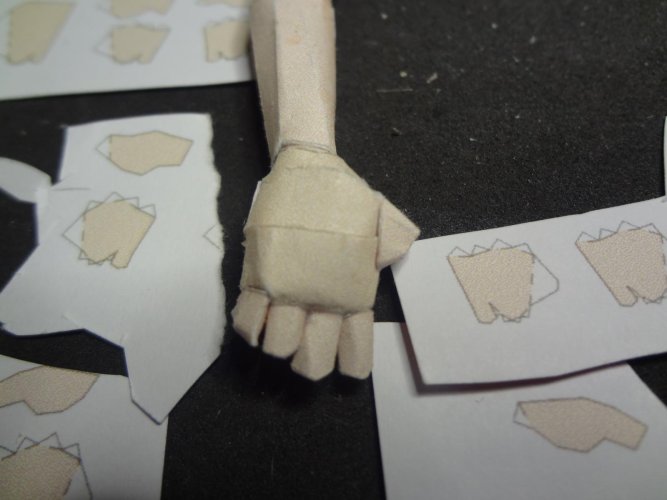
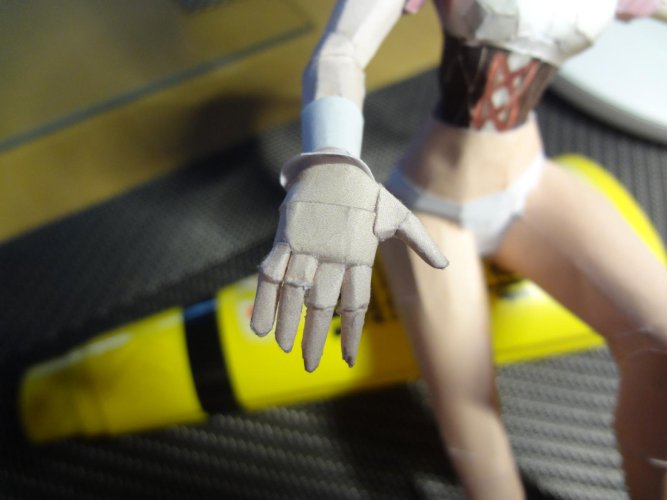
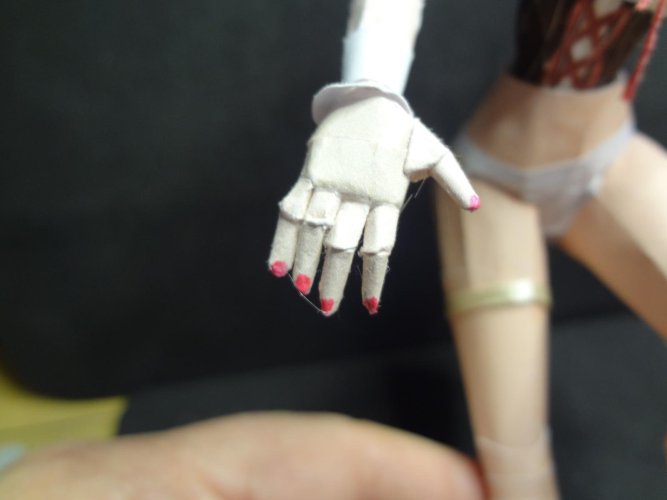
one hand ready. So far, there hasn't really been a part of this figure that I've done two or three times. The fingers were a horror anyway, they were so small. When gluing small parts, I switched from glue to a thin, transparent glue because the glue attacks the paper too much, softens it and blurs the color. The glue actually holds better.
Attachments

You are still going strong. Coming together nicely!
I tend to build from the smallest part towards the largest part. In this case the finger tips towards the wrist.
This way you can still have access for your tweezers as you work upwards. If you work towards the tips, you are in effect closing off your access as you go.
Attaching a completed hand to the arm is a lot easier than squishing the finger tips on at the end...")
I tend to build from the smallest part towards the largest part. In this case the finger tips towards the wrist.
This way you can still have access for your tweezers as you work upwards. If you work towards the tips, you are in effect closing off your access as you go.
Attaching a completed hand to the arm is a lot easier than squishing the finger tips on at the end...
Great tip! ThanksYou are still going strong. Coming together nicely!
I tend to build from the smallest part towards the largest part. In this case the finger tips towards the wrist.
This way you can still have access for your tweezers as you work upwards. If you work towards the tips, you are in effect closing off your access as you go.
Attaching a completed hand to the arm is a lot easier than squishing the finger tips on at the end...
But it doesn't work with my small fingers with 1mm adhesive folds and access too small for the tweezers.
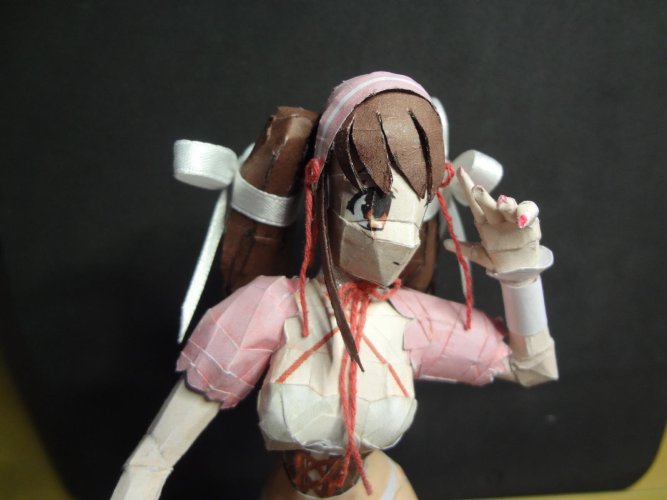
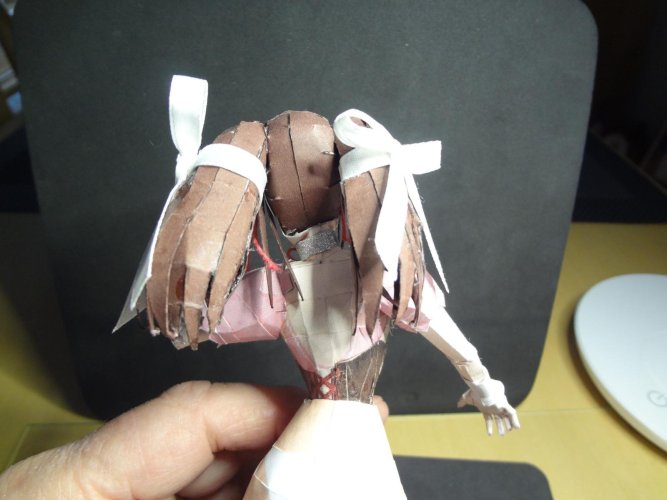
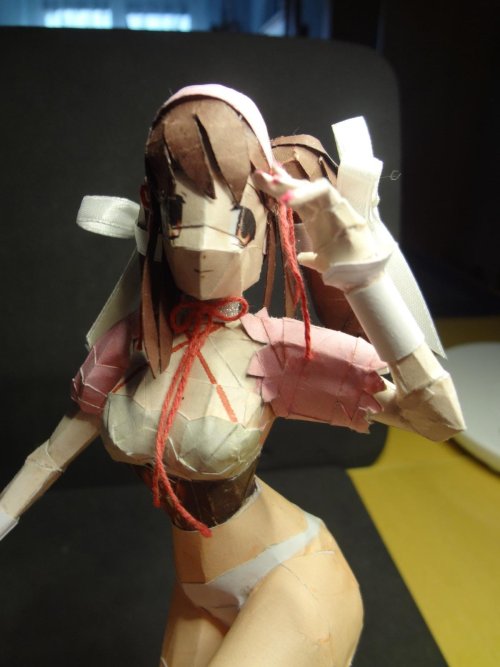
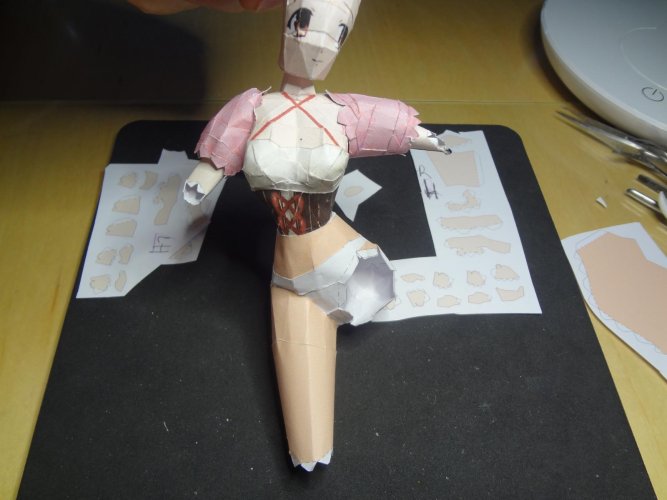
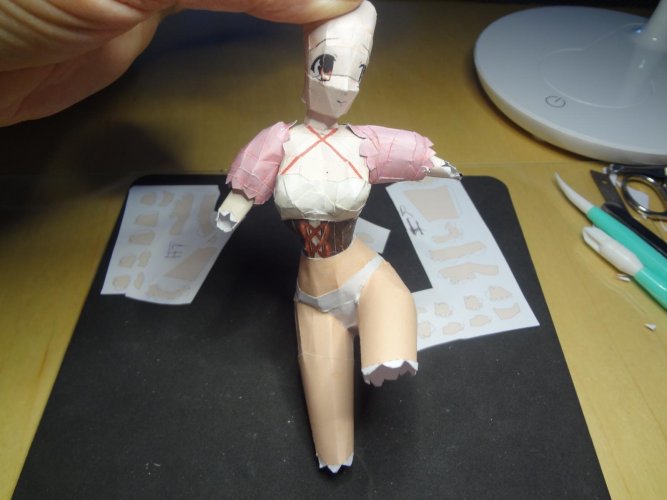
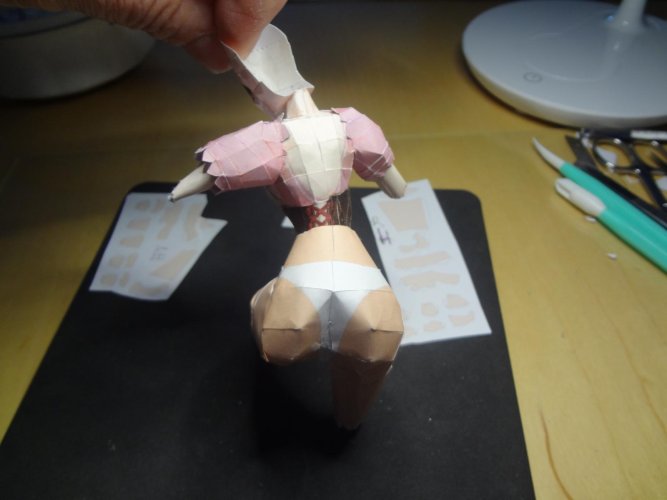
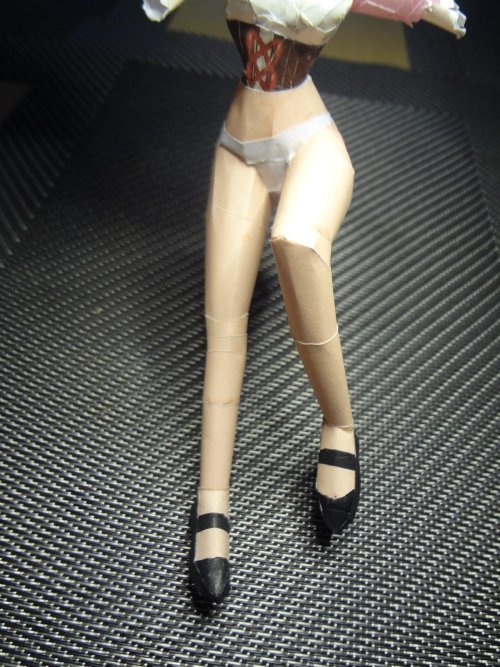
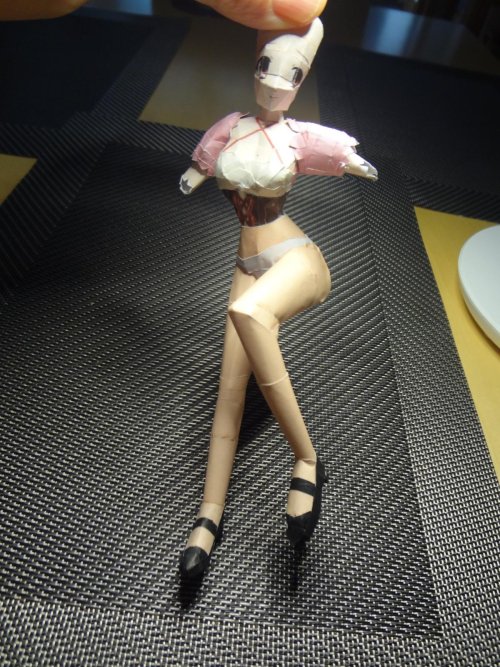
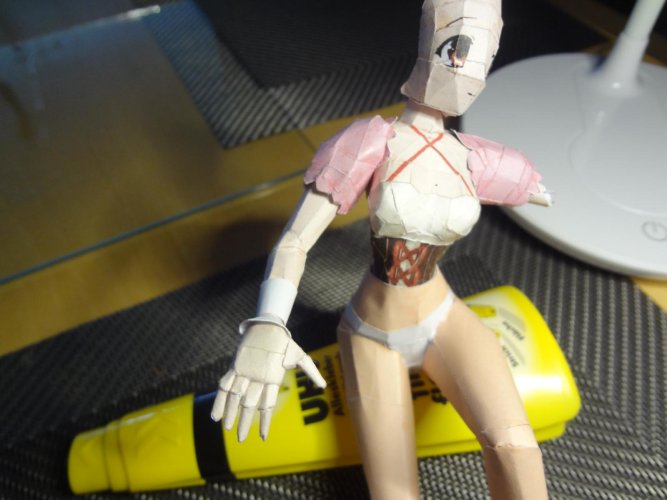
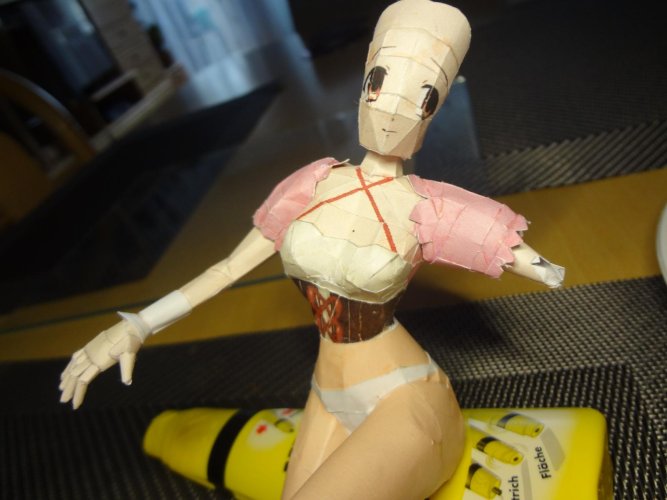
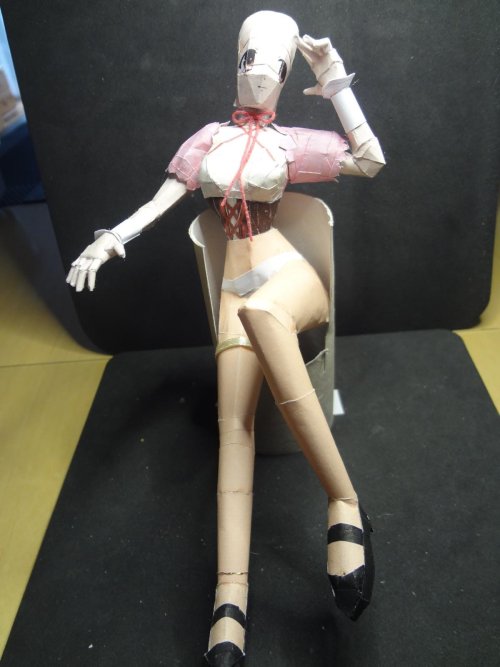
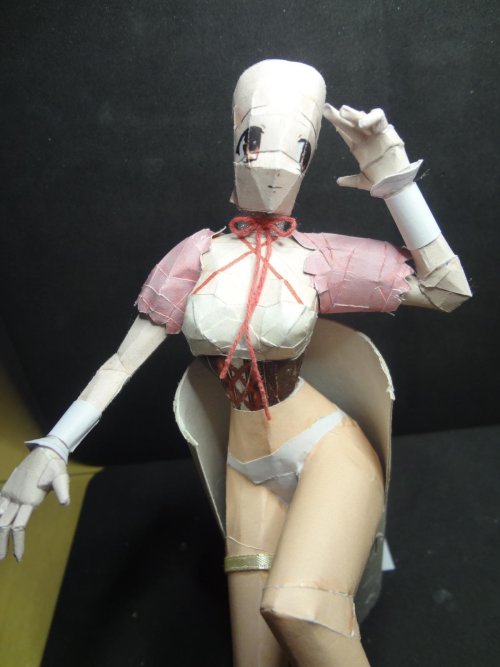
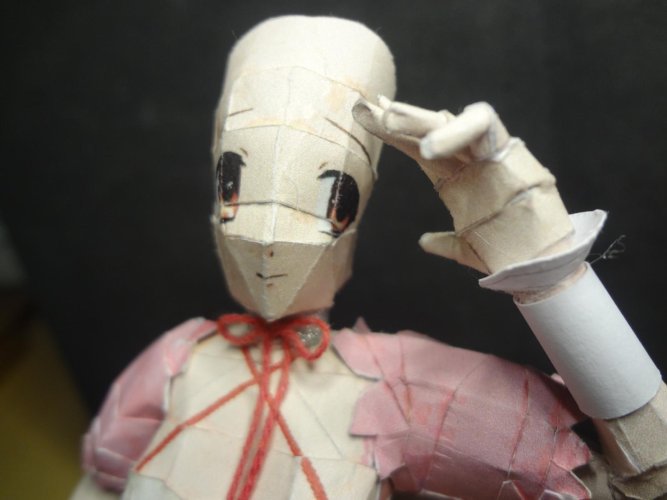
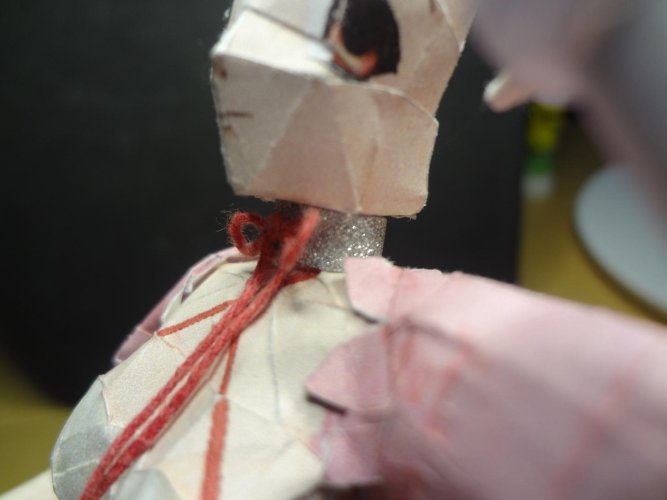
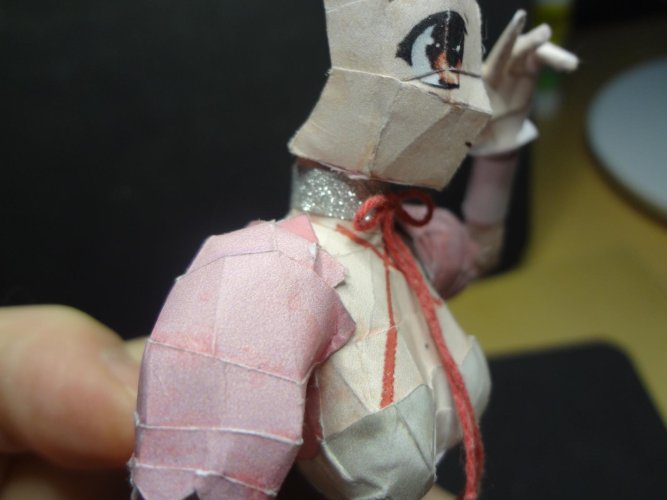
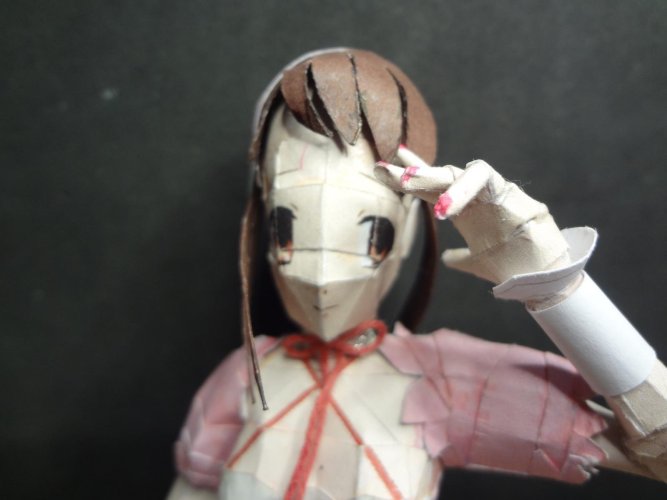
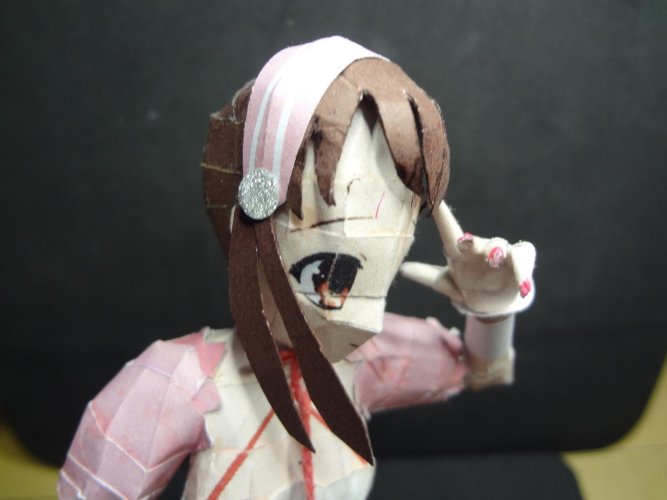
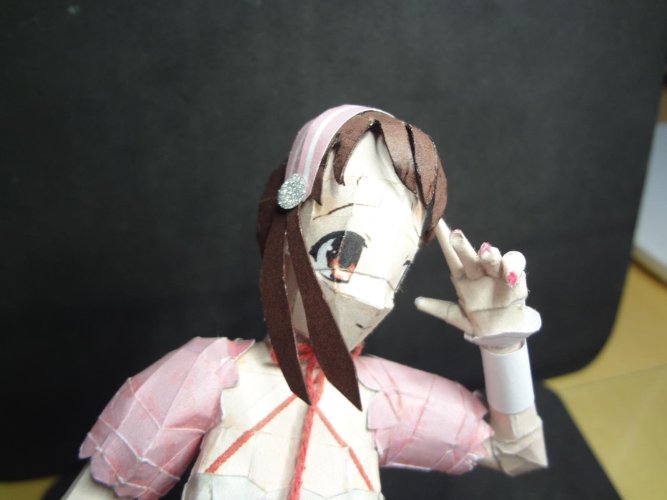
Body is ready. The hair and dress are still missing.
Attachments
-
 K1600_DSC05461.JPG157.4 KB · Views: 2
 -
 K1600_DSC05462.JPG153.8 KB · Views: 2
 -
 K1600_DSC05463.JPG128.2 KB · Views: 2
 -
 K1600_DSC05464.JPG139.1 KB · Views: 2
 -
 K1600_DSC05465.JPG101.3 KB · Views: 2
 -
 K1600_DSC05466.JPG111.5 KB · Views: 2
 -
 K1600_DSC05467.JPG133.2 KB · Views: 2
 -
 K1600_DSC05469.JPG142.5 KB · Views: 2
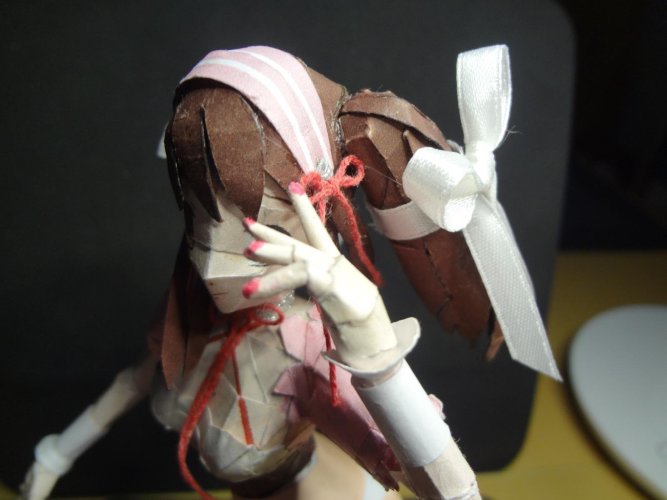
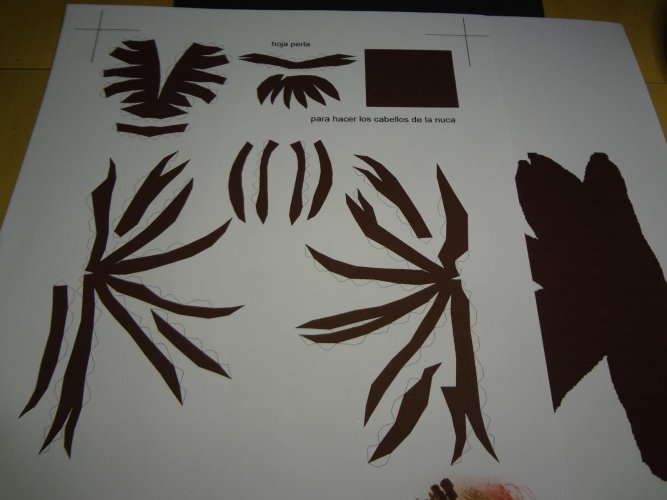
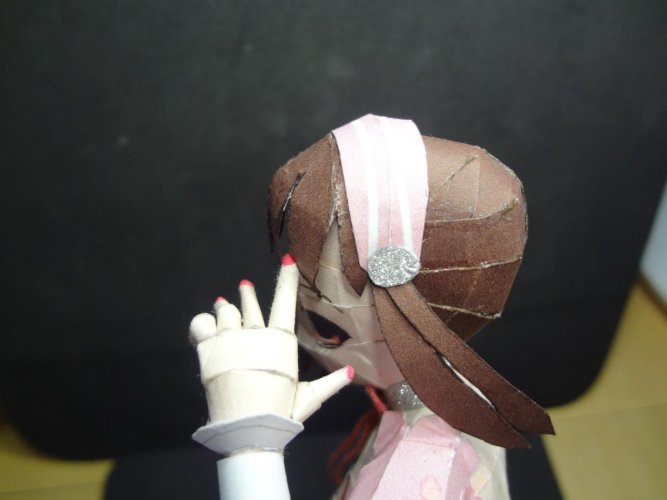
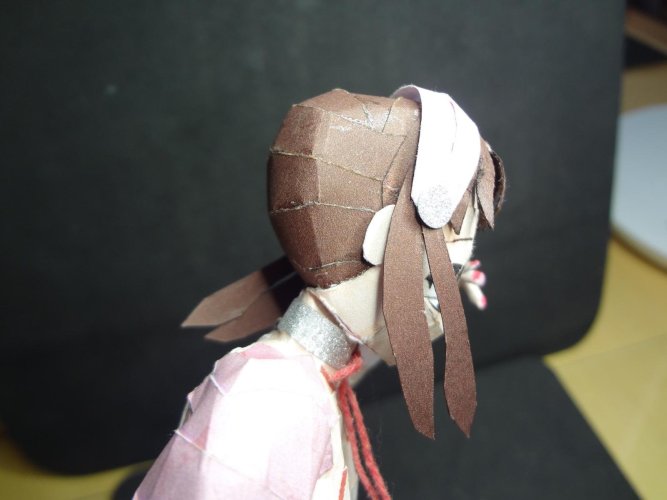
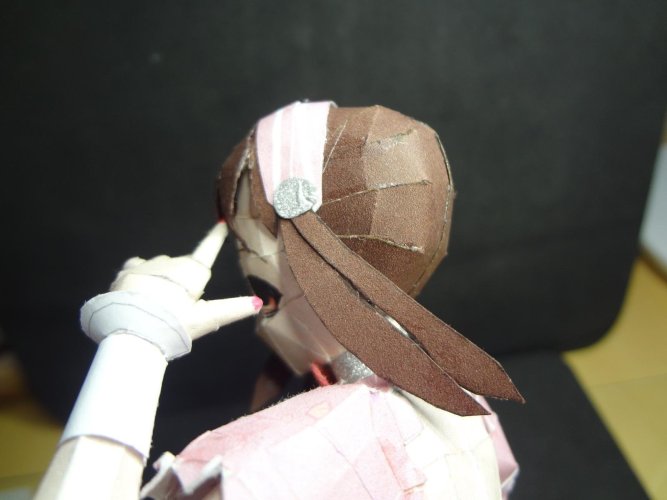
Now for the braids...
Attachments
-
 K1600_DSC05470.JPG107.2 KB · Views: 1
 -
 K1600_DSC05471.JPG250.3 KB · Views: 1
 -
 K1600_DSC05472.JPG265.3 KB · Views: 0
 -
 K1600_DSC05473.JPG75.8 KB · Views: 1
 -
 K1600_DSC05474.JPG103.1 KB · Views: 1
 -
 K1600_DSC05475.JPG107.7 KB · Views: 1
 -
 K1600_DSC05476.JPG115.8 KB · Views: 0
 -
 K1600_DSC05477.JPG132.3 KB · Views: 0
 -
 K1600_DSC05478.JPG110.5 KB · Views: 0
 -
 K1600_DSC05479.JPG129.3 KB · Views: 0
 -
 K1600_DSC05480.JPG129.8 KB · Views: 0
 -
 K1600_DSC05481.JPG186.1 KB · Views: 1
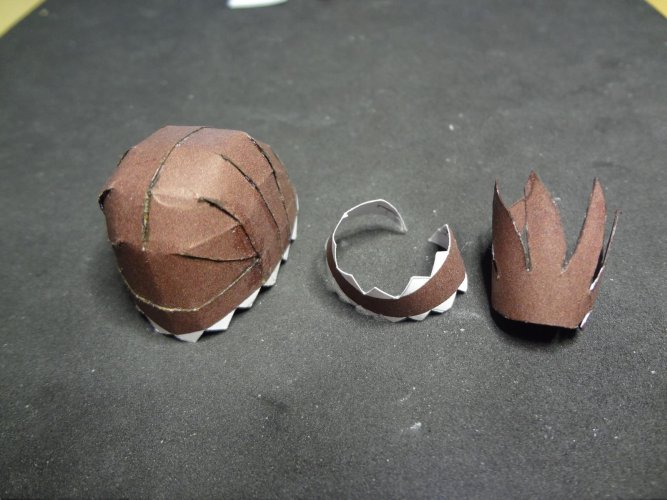
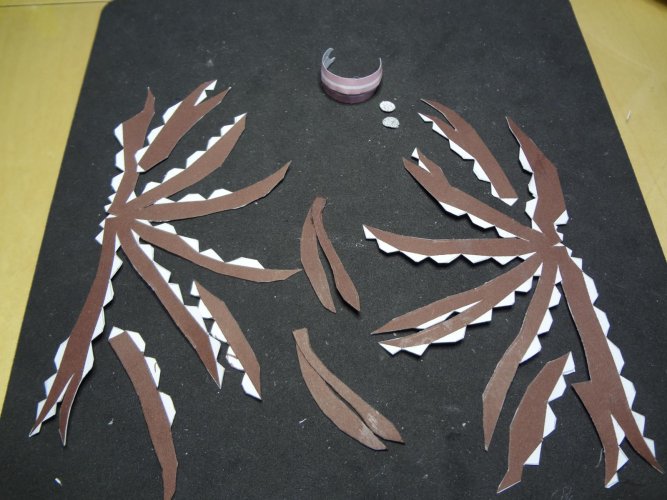
The braids were a horror, I don't like them either, it couldn't be better unless I do them again (NO). With the braids I learned one thing - with hair there is usually a part that you can glue to the back of the hair so that it has the same color. Forget it. Why? The paper became too thick and therefore couldn't be bent as precisely (which was very important here). I'll do it differently next time.
Now comes the dress...
Now comes the dress...