- Apr 5, 2013
- 13,876
- 10,214
- 228
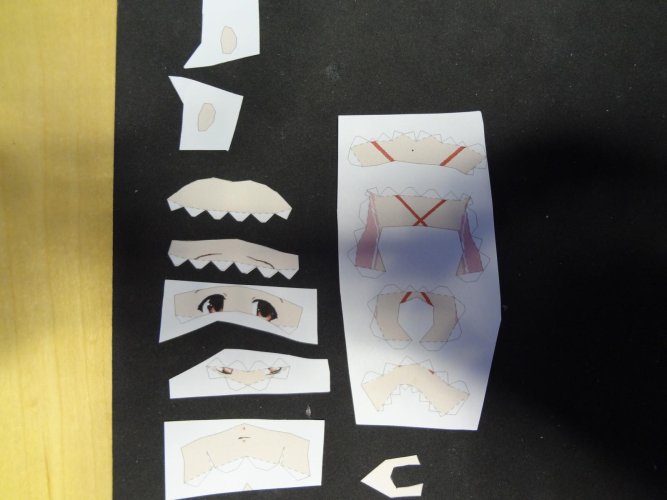
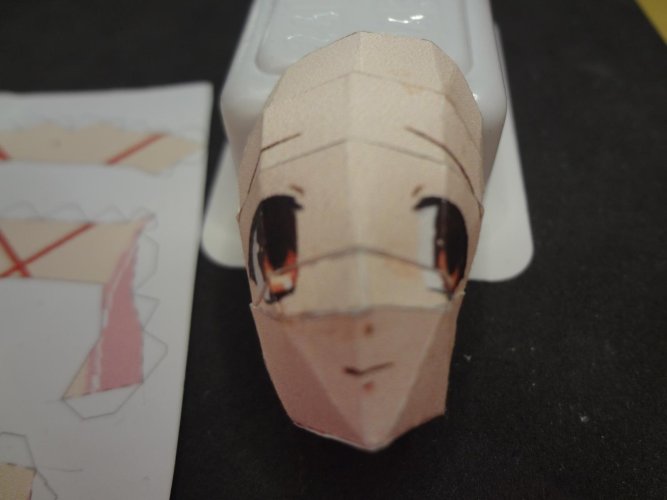
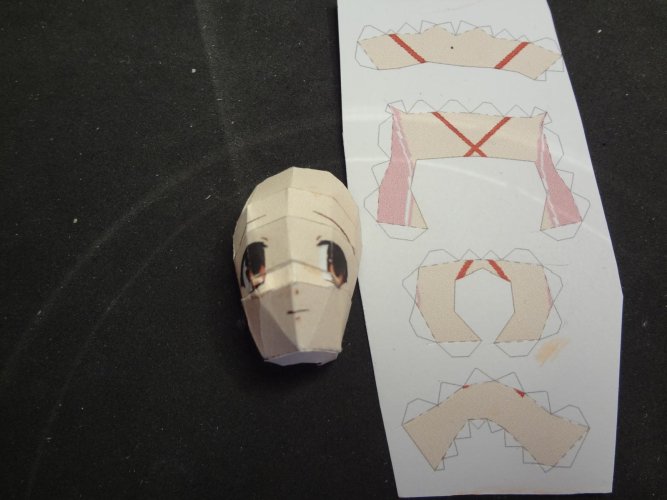
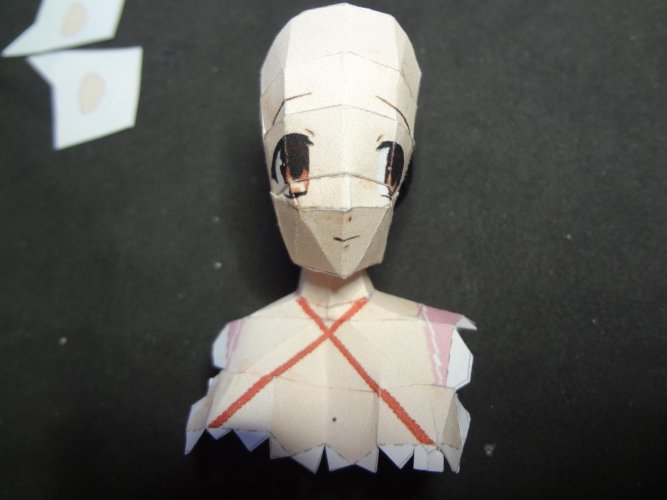
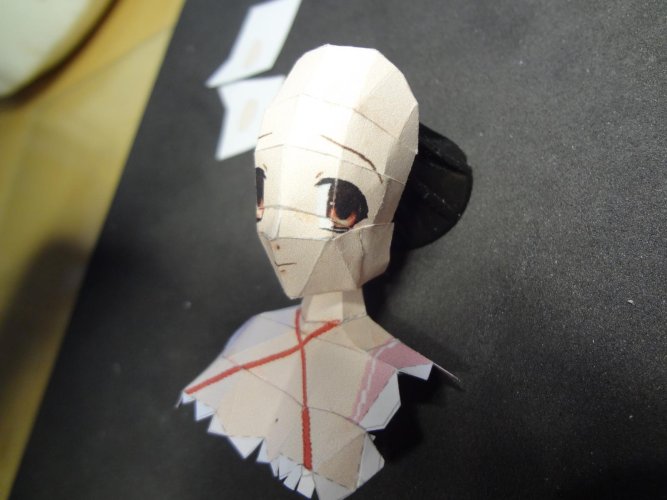
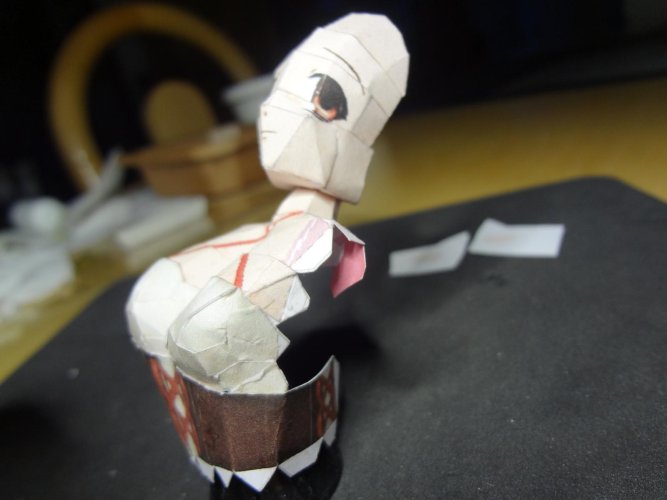
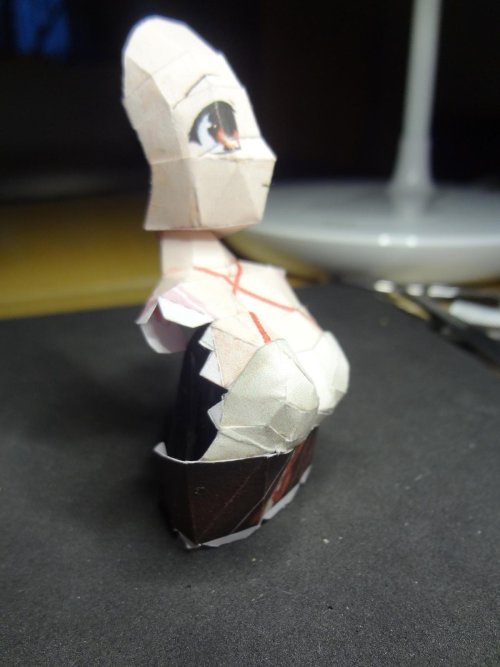
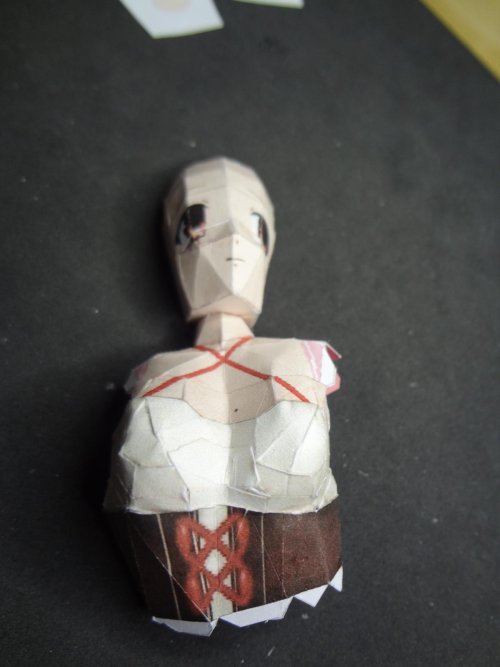
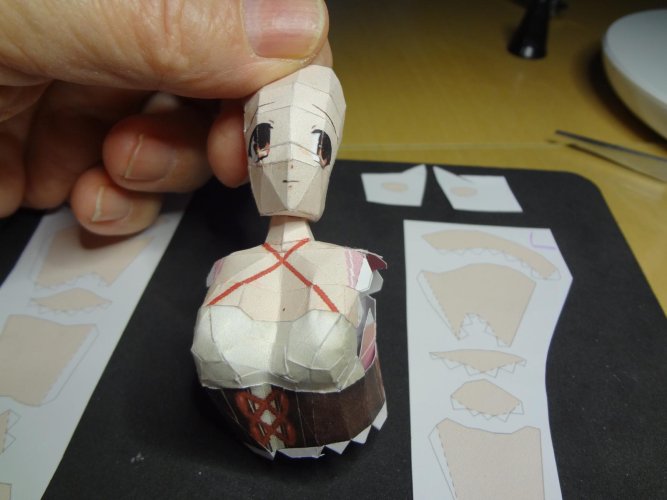
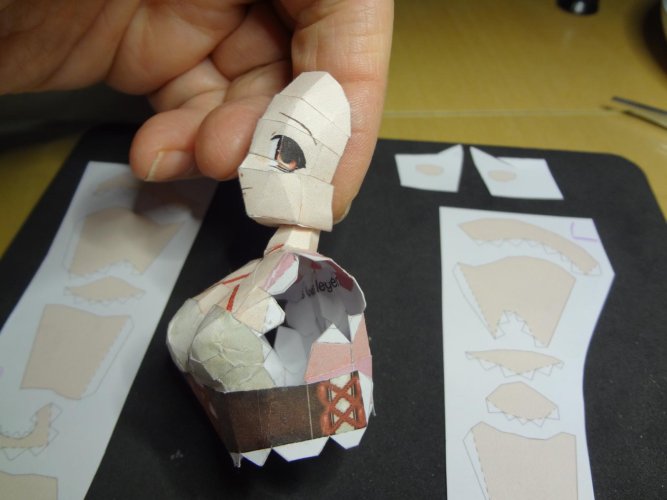
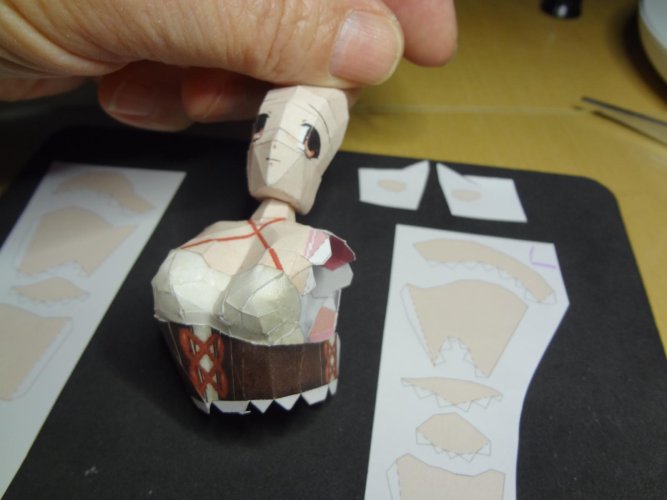
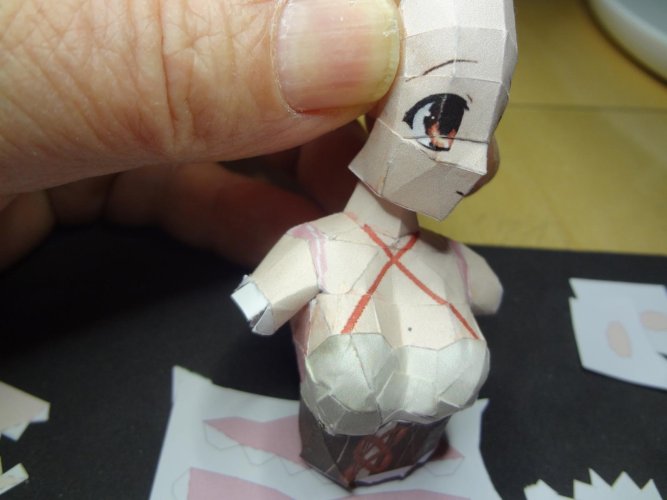
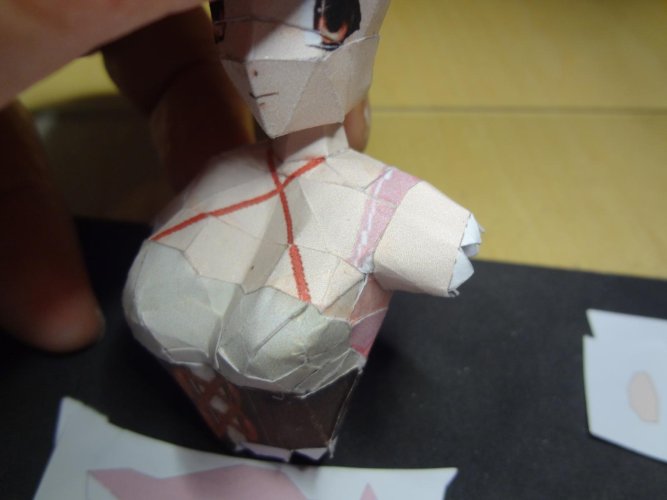
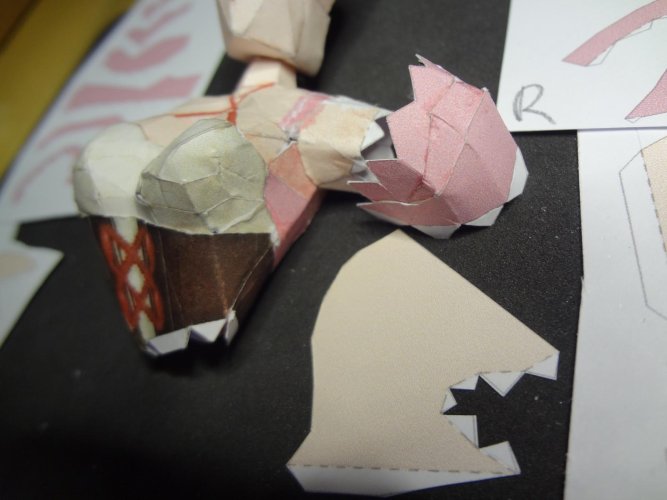
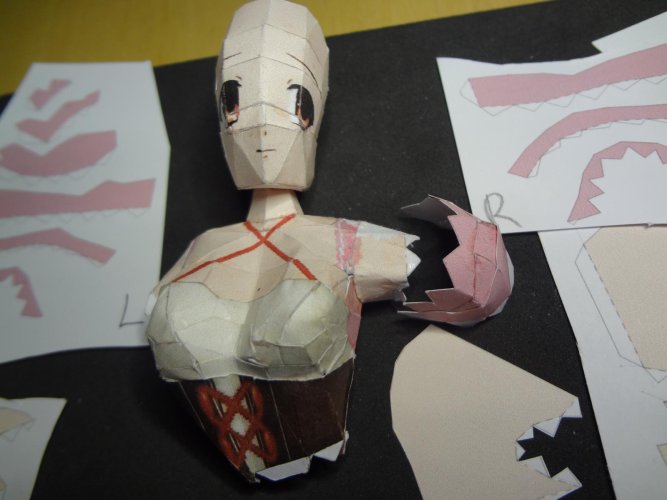
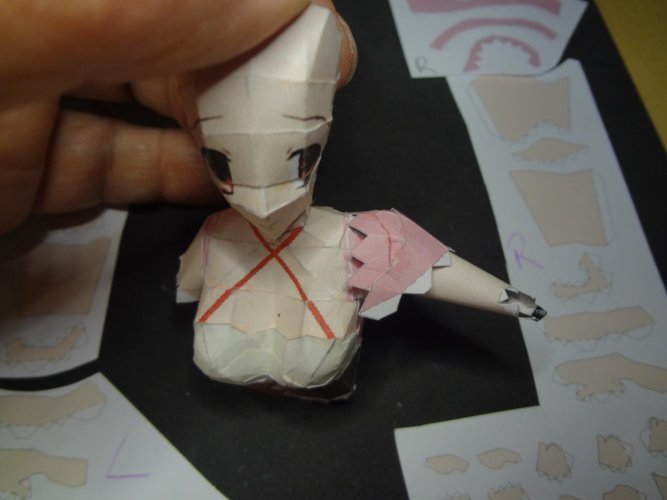
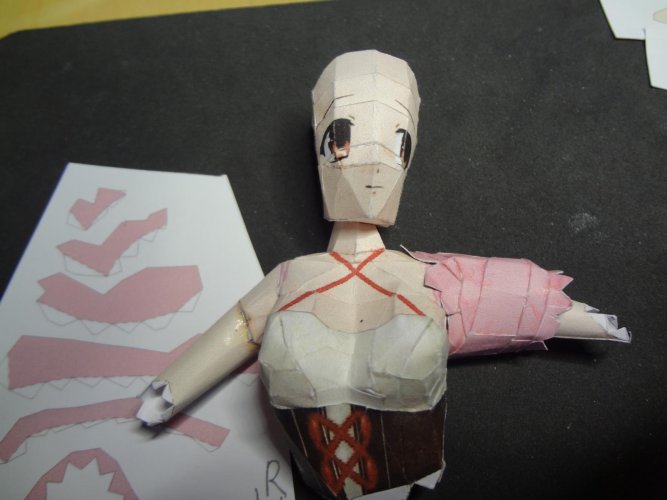
I give up - Pepakura cannot be used for such figures. Since you never know exactly where to “fold”, nothing fits together over time. The glue joints look horrible. The program is ok for other models, but not for such demanding figures. But I still have a lot of figures in stock as pdf. I will return to my “normal” models for the time being, as I have a large selection.
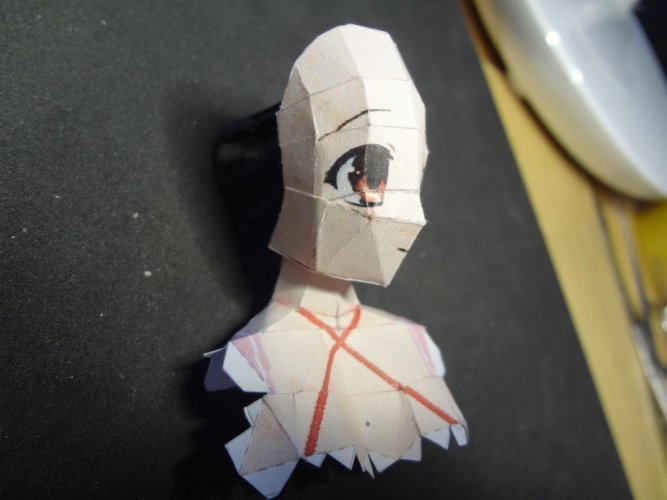
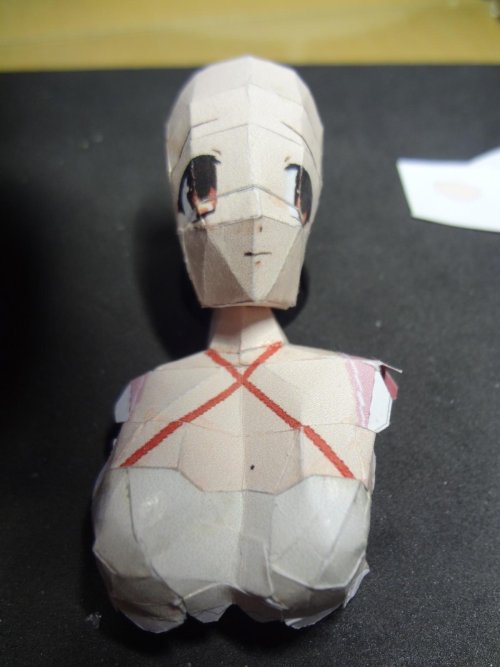
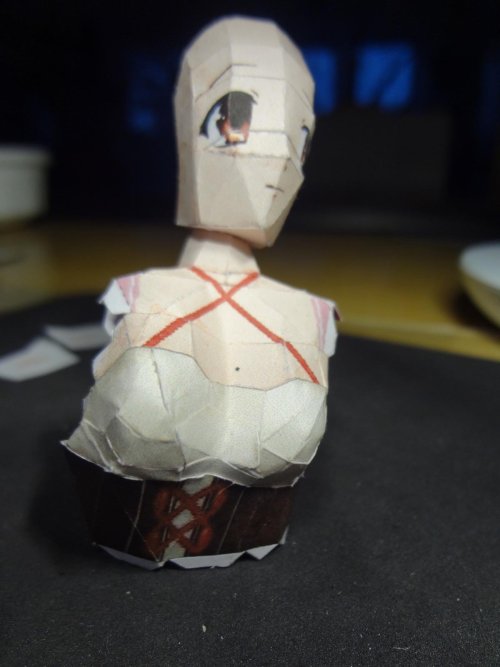
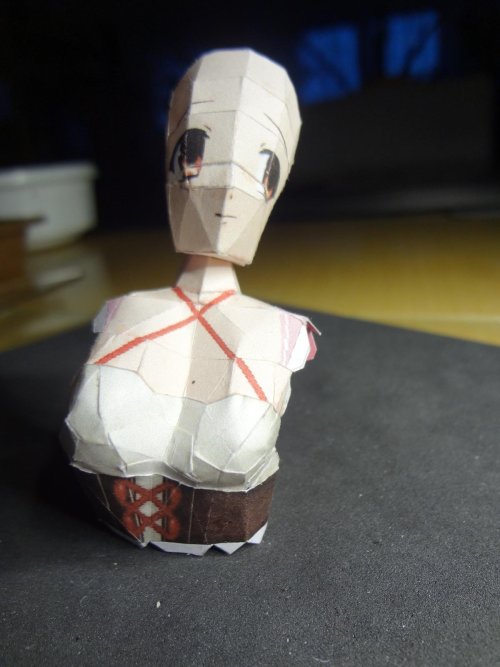
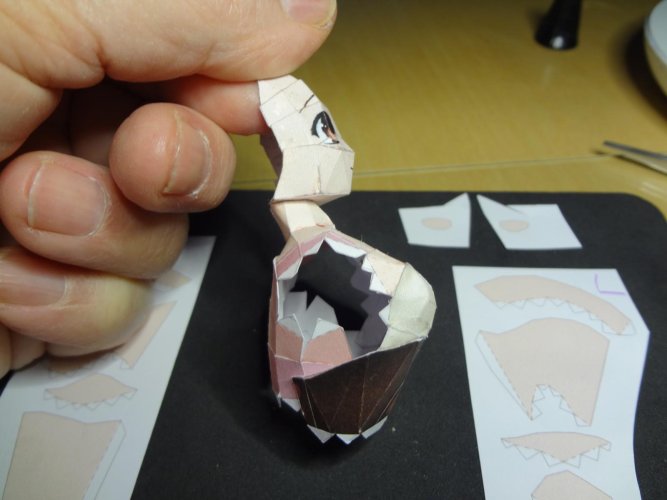
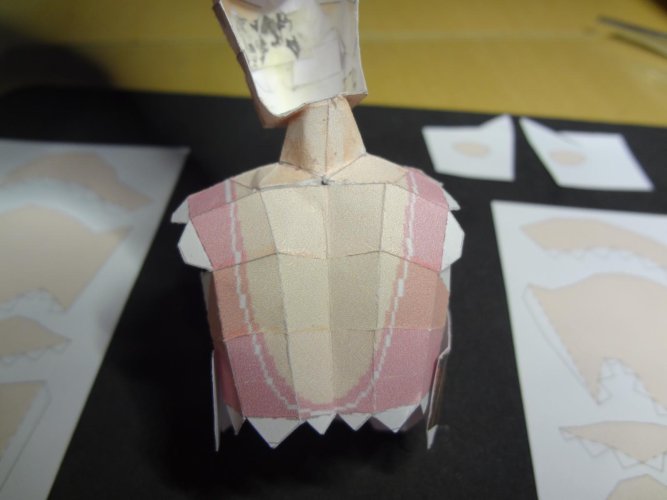
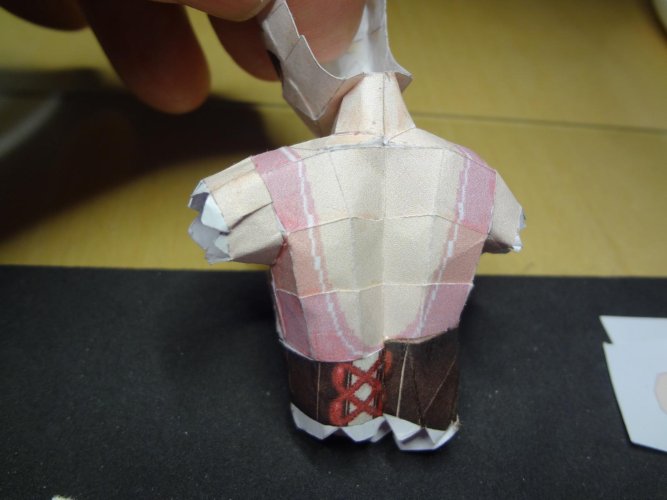
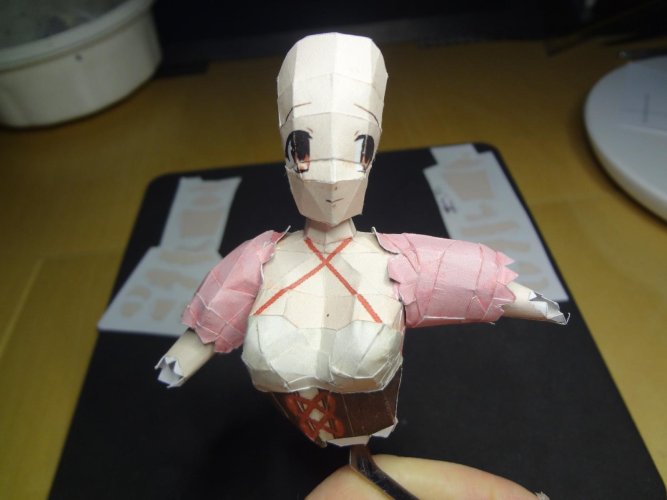
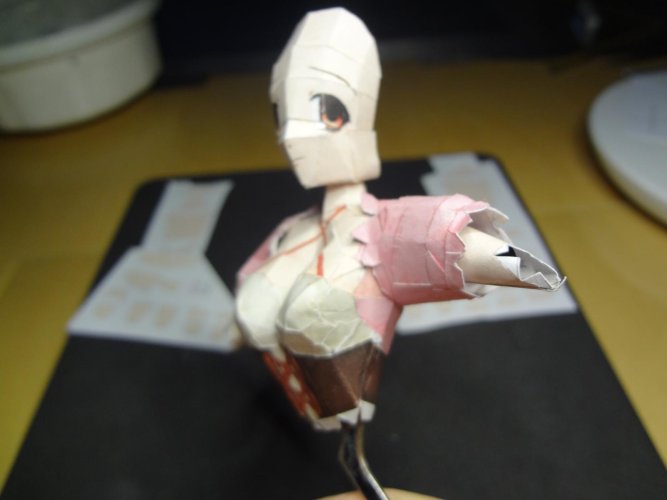
It can work, but only with water forming the parts after you glue them together. This means you must use a Pigment based Inkjet printer, and waterproof glue.
")


")