Hello everybody
A small update.
Started with scratch built parts.
First, small preamble.
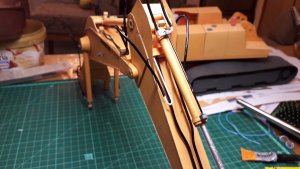
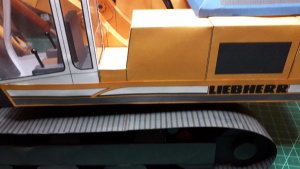
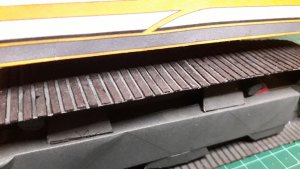
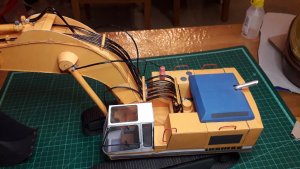
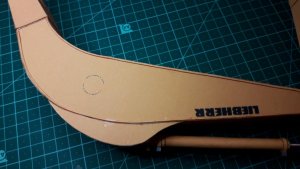
I found many pictures of this and other excavators of similar size. All of them had their top and bottom plate of the boom and stick protrude beyond the sidecheeks. As far as I can understand it, this protrusion is needed to easily weld the parts together.
This model does not provide for this protrusion. So... I will make it by myself.
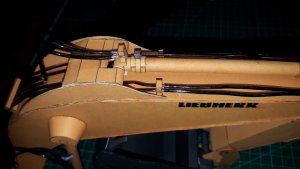
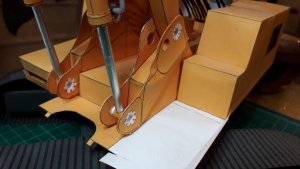
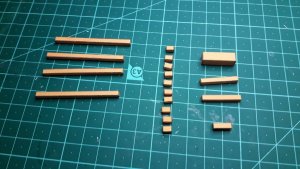
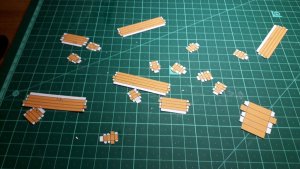
I printed out a sheet of paper filled with orange color. Then I glued narrow cardboard strip (actually it was a side piece of cereal box) along the long side of the sheet. After everything was dry, I sliced 2mm wide strips from this sandwich, edge painted and glued these on the side cheeks of the boom to simulate this protrusion.
Then I switched to hydraulic lines.
The lines in this model are given as flat strips of paper. Surely I could not do this
So, had to find tubes...
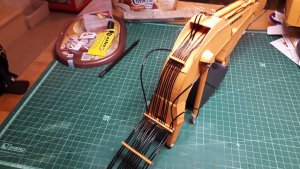
Small diameter tubes were exact diameter as PVC laminated medium sized paper clips. The donor for larger tubes was found in my daughter's bracelet making set. My daughter kindly donated one of the long tubes which was exact diameter of the larger hydro line and the same internal diameter of the paper clips.
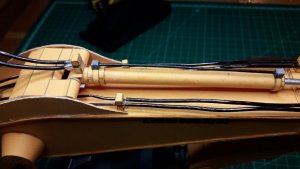
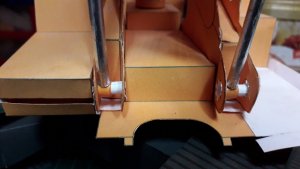
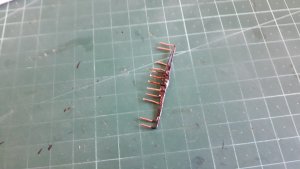
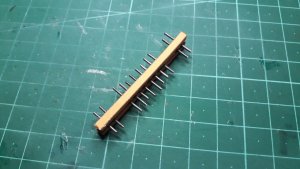
So, I made the bases for these tubes as proposed by designers. Then I've cut small 1cm long wires from the wire that I pulled from the laminated paper clip. Then I glued these wires on their places on the bases. Then the bases were covered by corresponding covers.
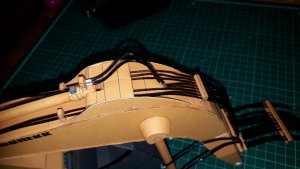
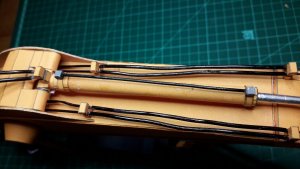
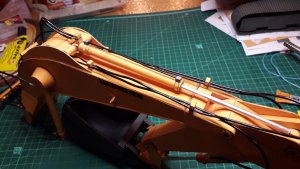
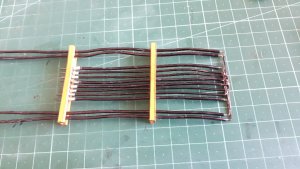
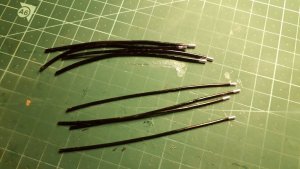
Then I cut the tubes to length, painted black with permanent marker, simulated the press fit connectors by 4mm wide aluminum foil strips.
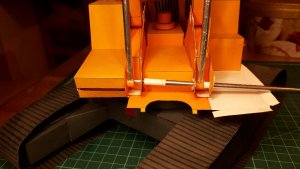
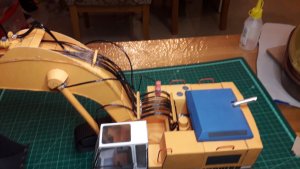
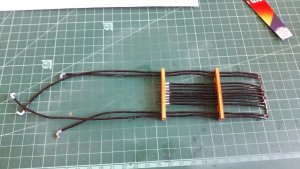
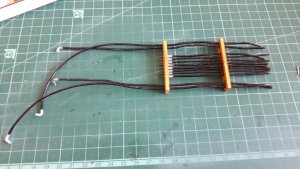
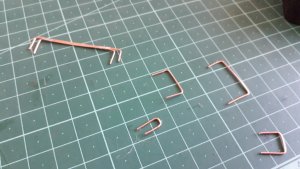
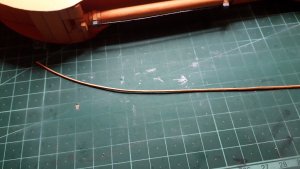
And then I had to devise a "collector" to which the lines will connect inside the engine bay. Found some copper wire at home that fit internal diameter of the lines, formed them to correct shape, soldered them together and colored them black with permanent marker. Looks acceptable.
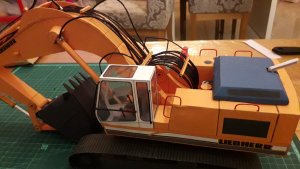
Then I started to assemble the things together.
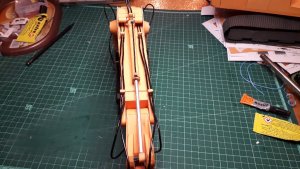
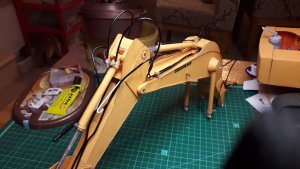
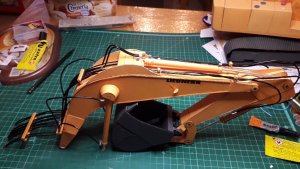
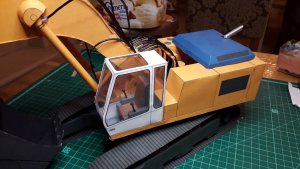
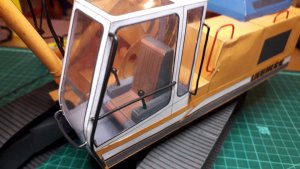
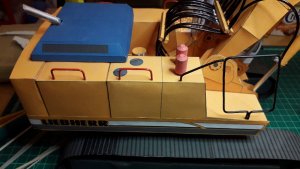
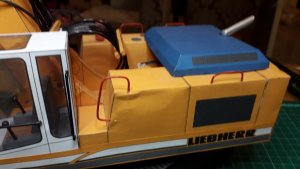
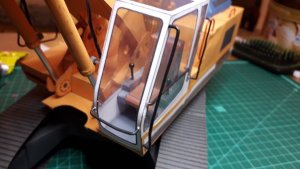
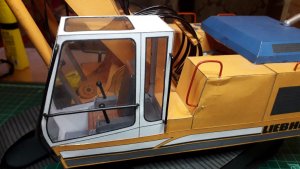
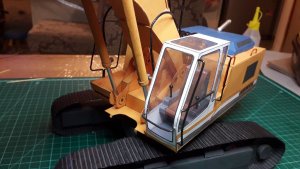
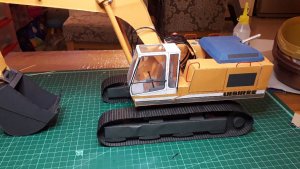
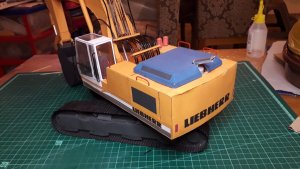
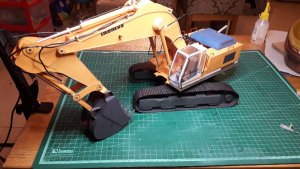
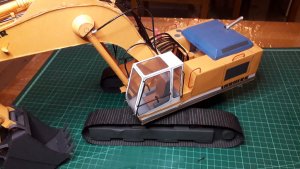
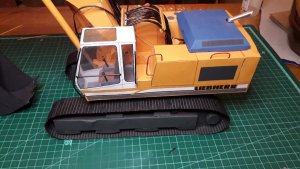
Result is seen on picture.
More hydro lines will come later
I will take about 3 weeks off on this build, going for family vacation in USA.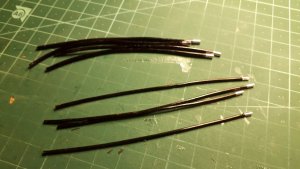


