Howdee fans,
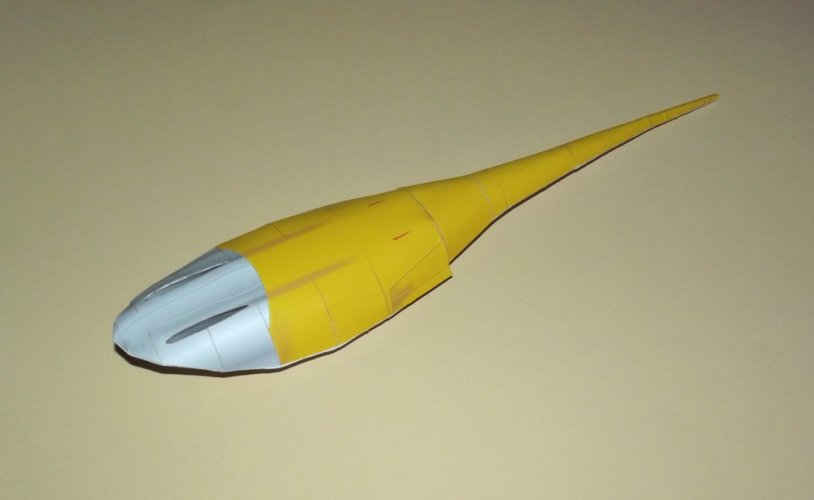
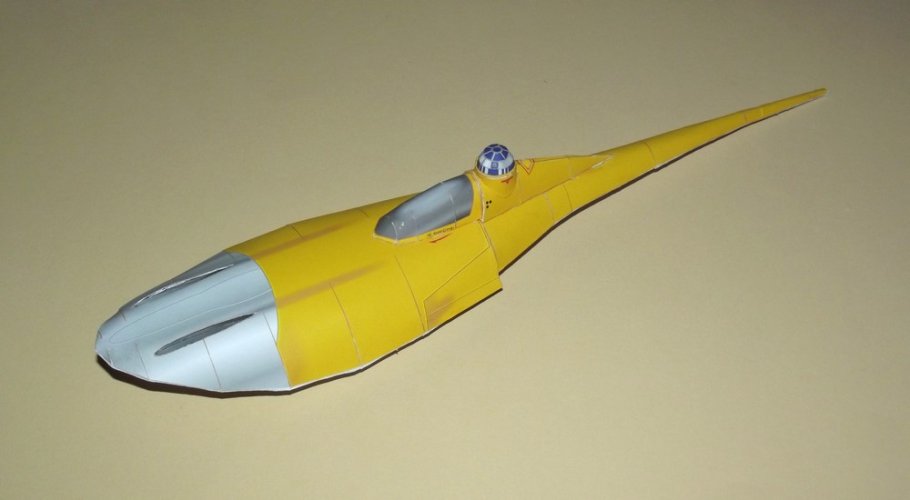
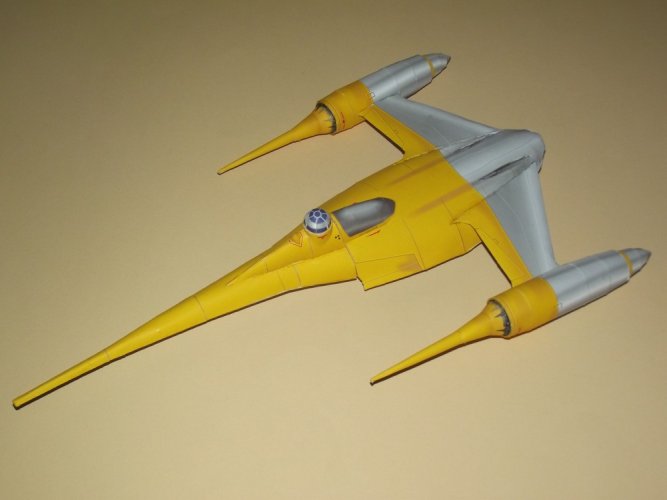
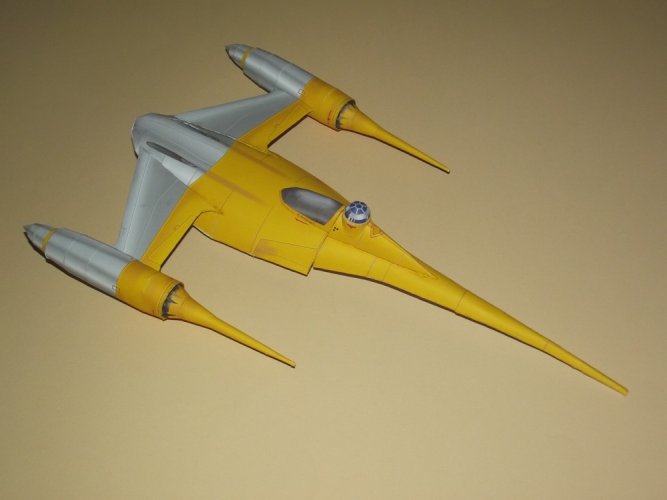
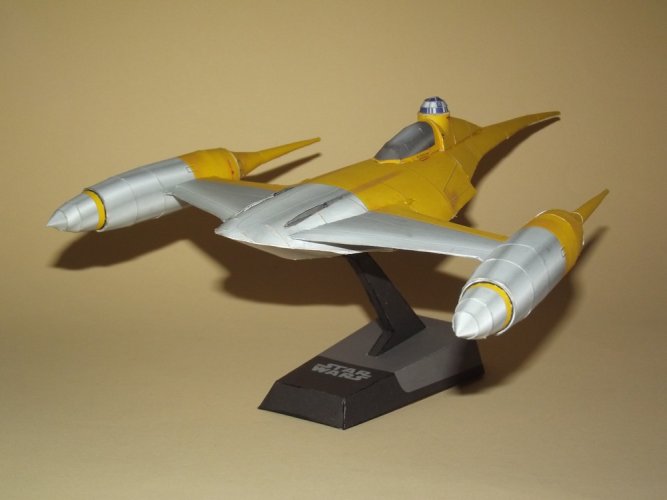
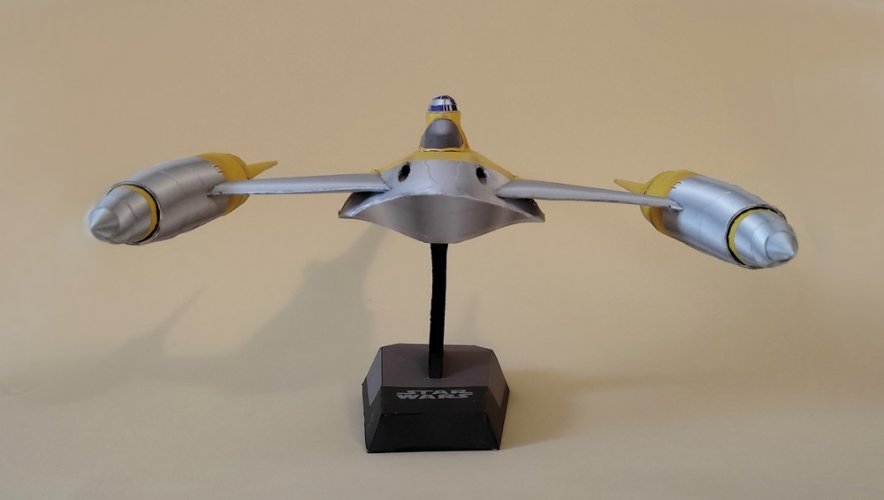
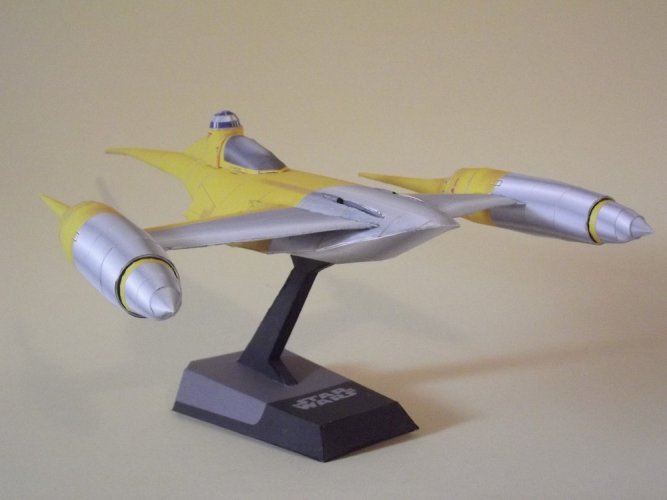
today is my friend's BD and I was in the mood to build another Star Wars themed model for him as a present. Since this year is the 25th anniversary of "Episode I: The Phantom Menace" I though it would be a great fit to choose the Naboo N1 Starfighter. I would have love to make Mando's upgraded version but the only template I found is too simplistic and needs a little clean-up. So I chose Julius' template which you can find here.
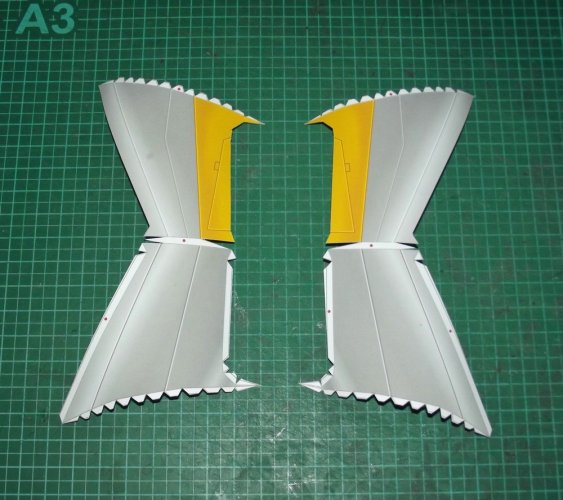
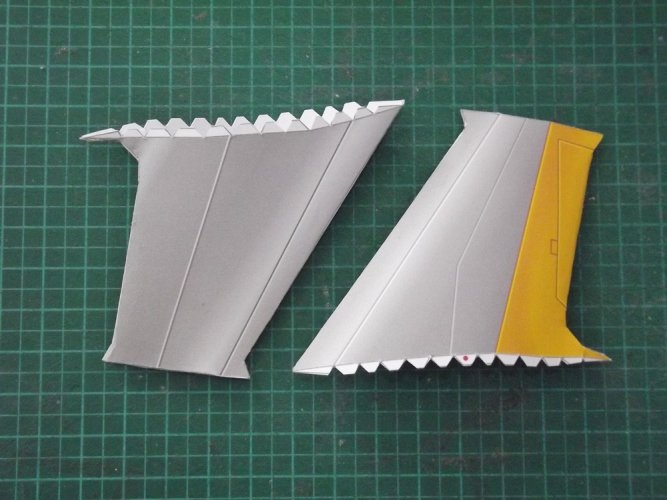
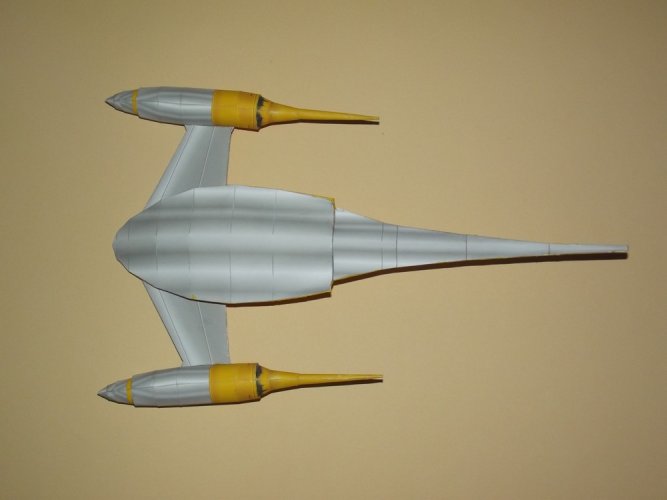
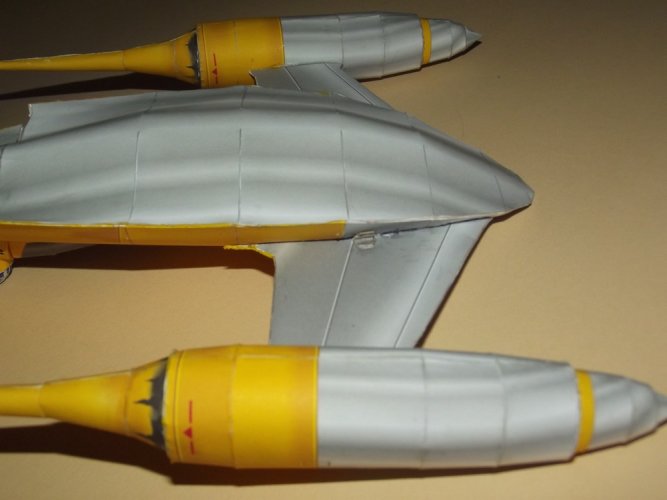
I DLed the template several years ago, right after release. When I checked it before printing I noticed that the wing parts were white except for the panel lines. I re-downloaded the PDF last week and saw that Julius had updated the file and added the missing texture. So I advise you to check your file. If you too have the old one in your archive you may go and DL it again.
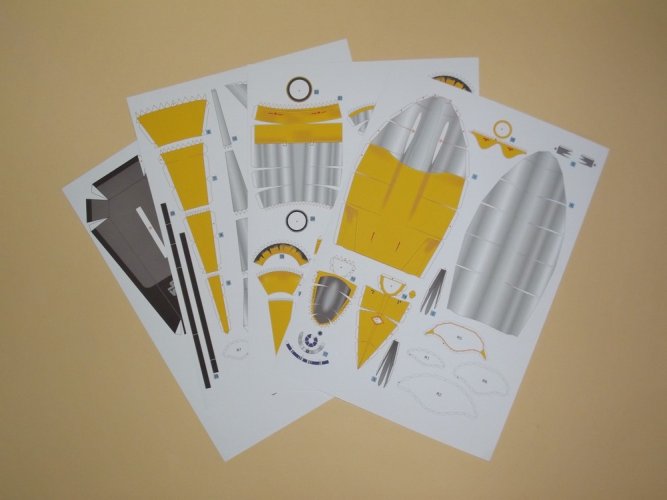
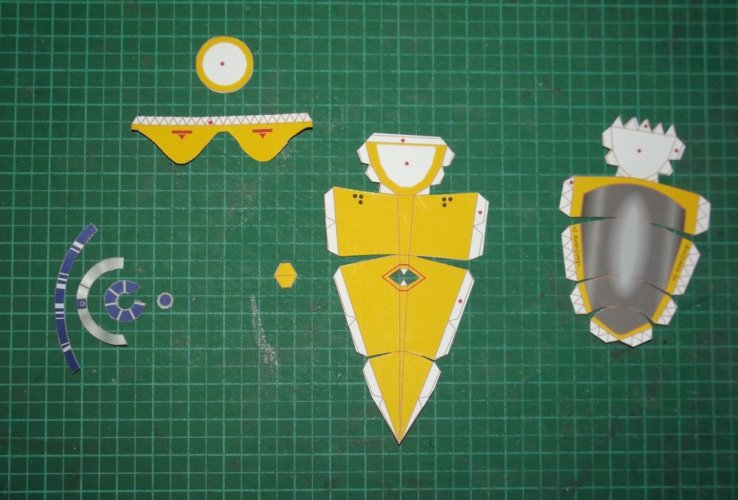
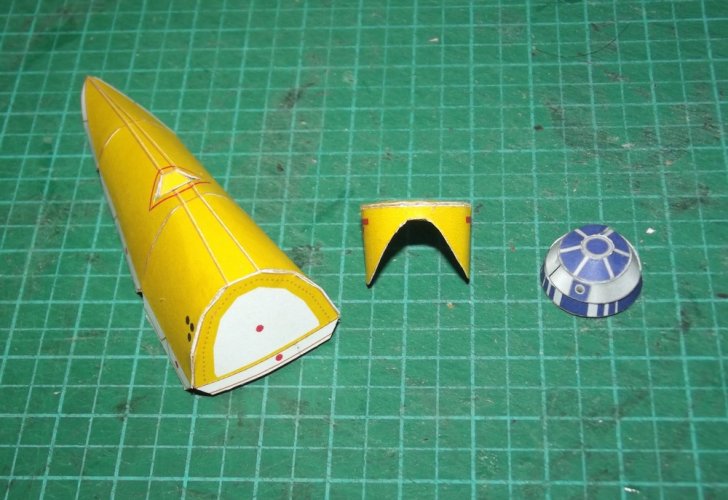
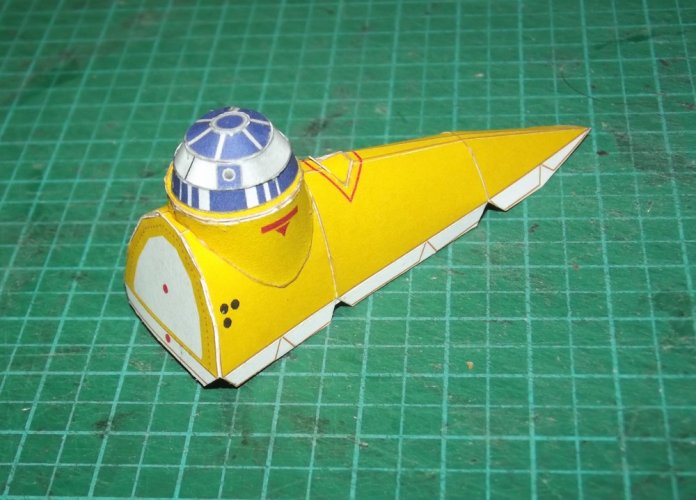
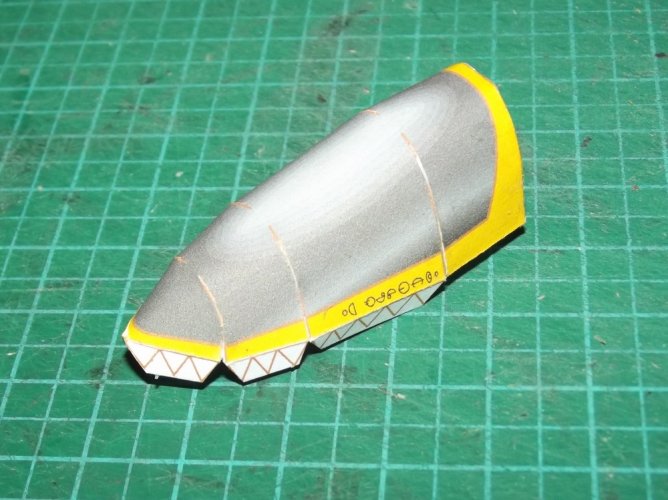
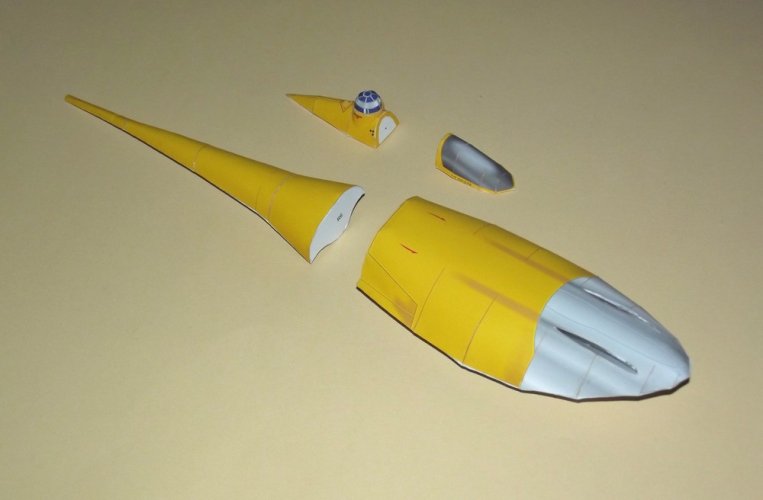
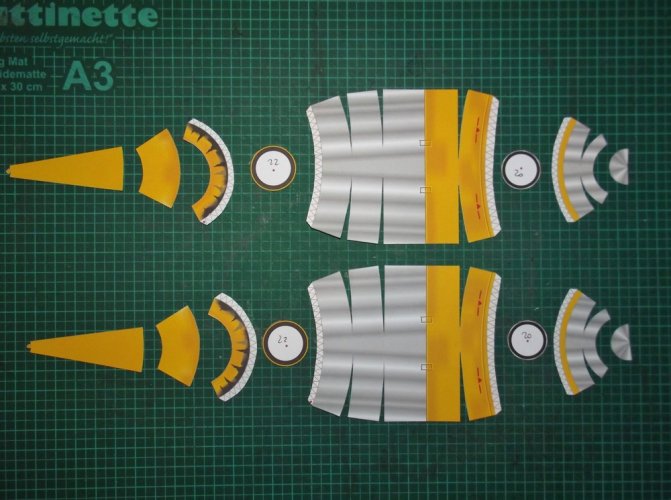
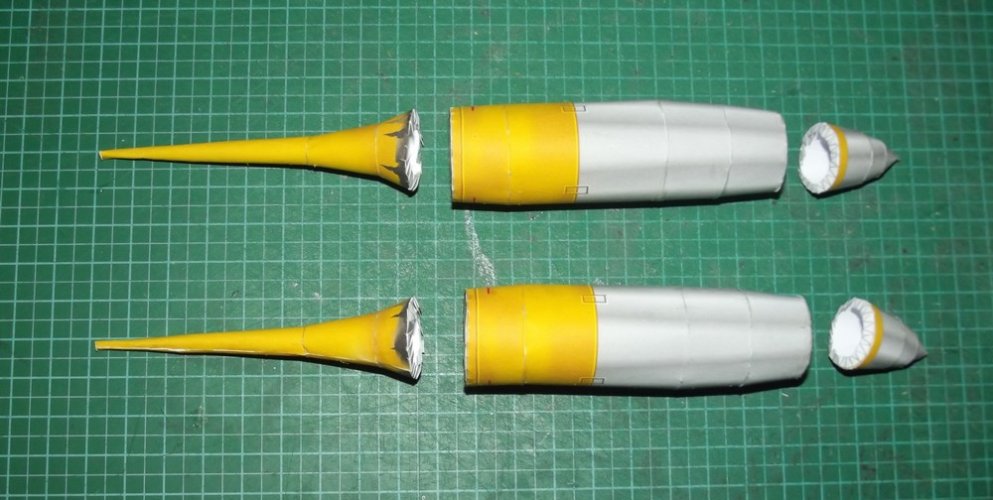
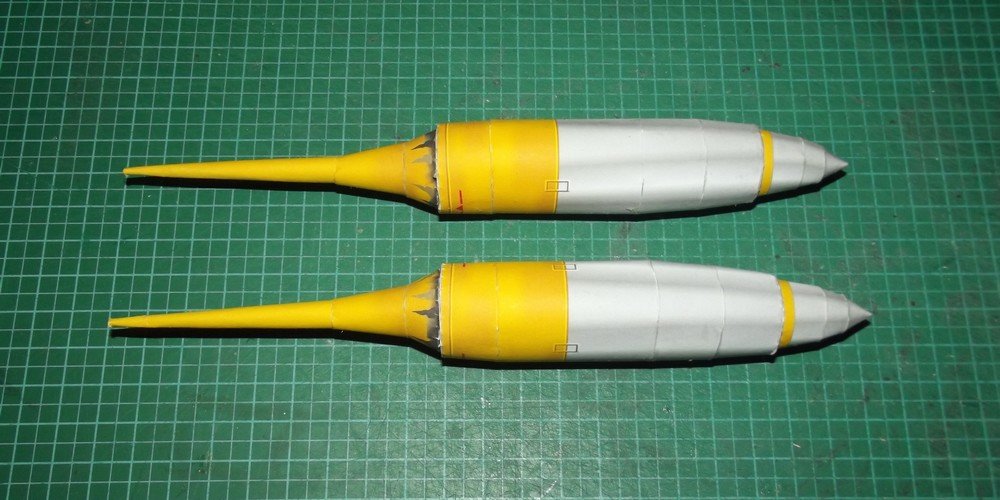
Now then. The colours turned out splendidly. The yellow is vibrant and rich, the metallic gradient really looks like metal in pictures.
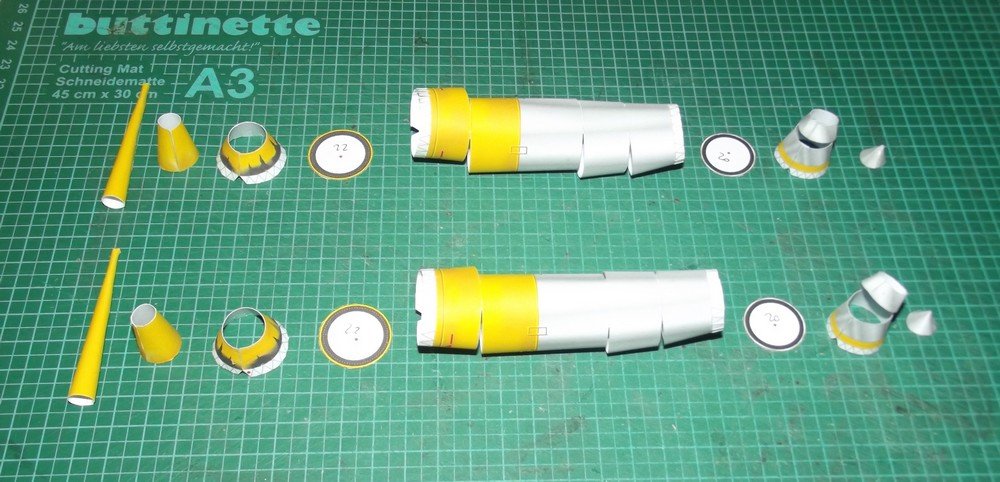
I began with the fuselage.
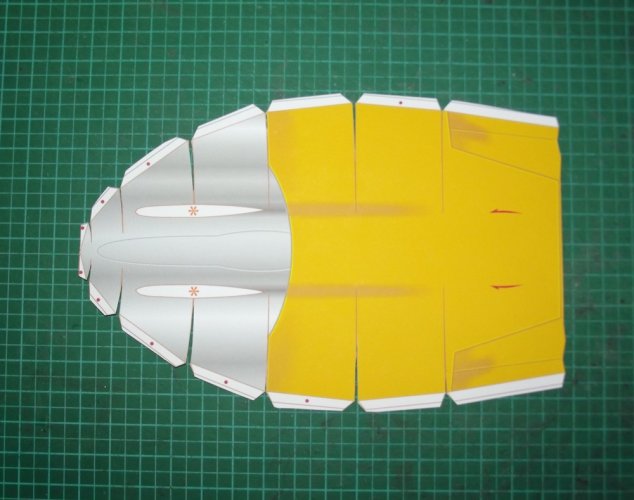
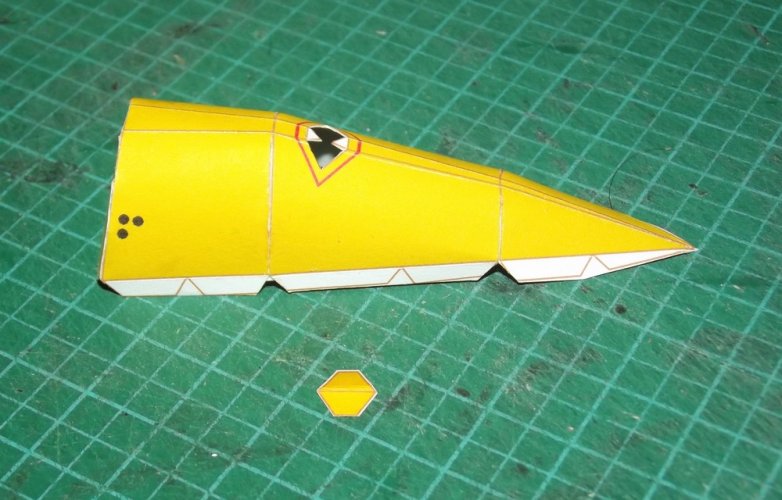
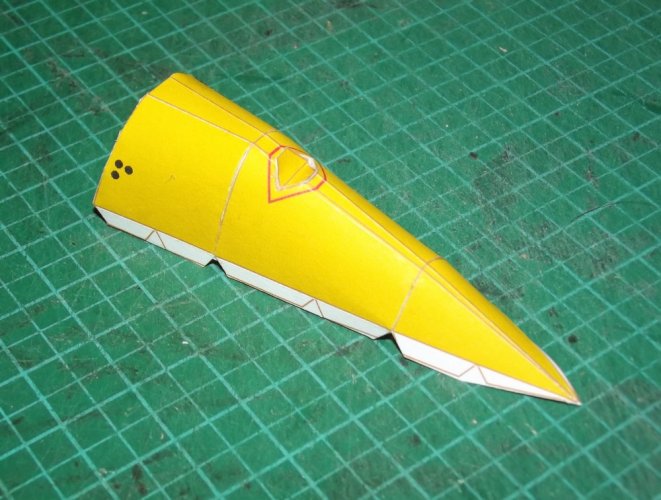
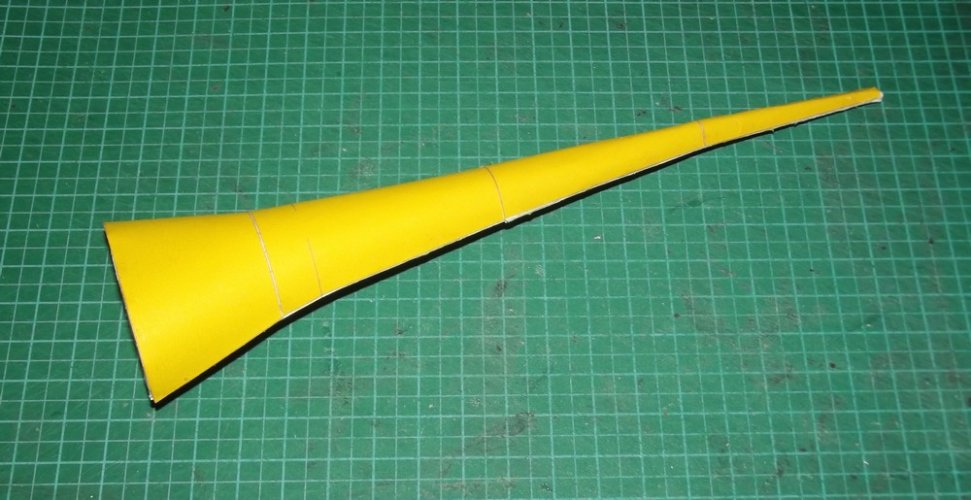
I pre-shaped the big top part and glued it together using paper strips on the back side.
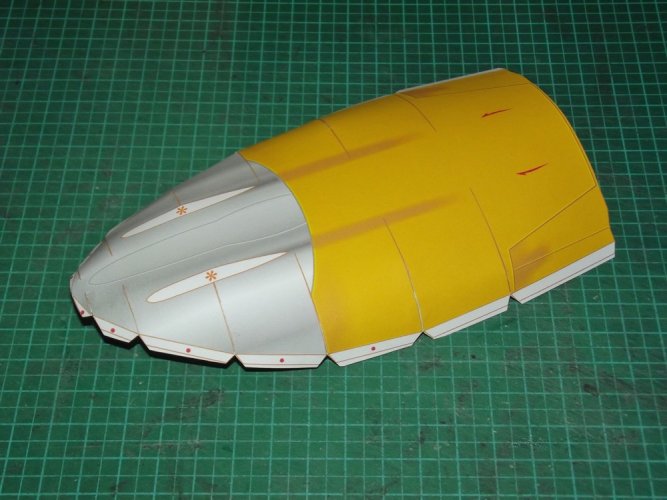
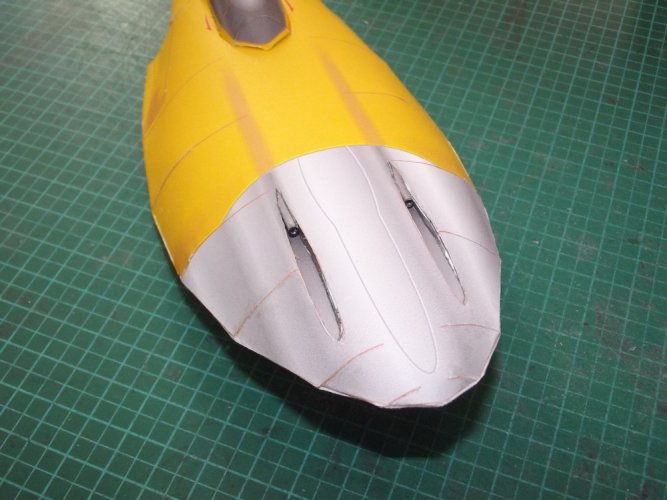
Please note that I did not cut out the holes for the cannon channels yet. That way I was able to pre-shape the edges of the channels properly. If I had cut the out before the edges might be very tricky to curve. This is a trick I learned from the cones of the Thunderfighter.
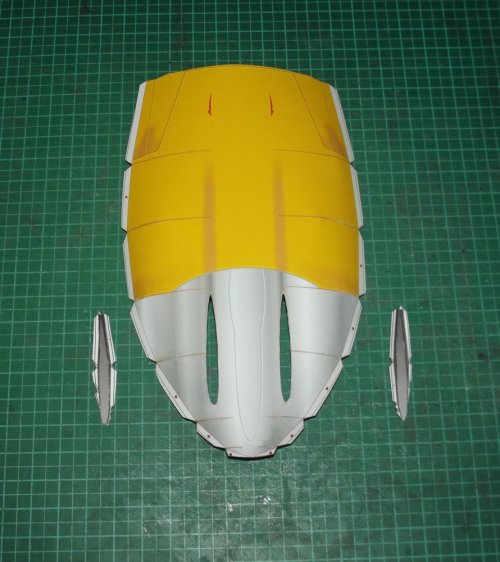
The channels were inserted and the formers attached.
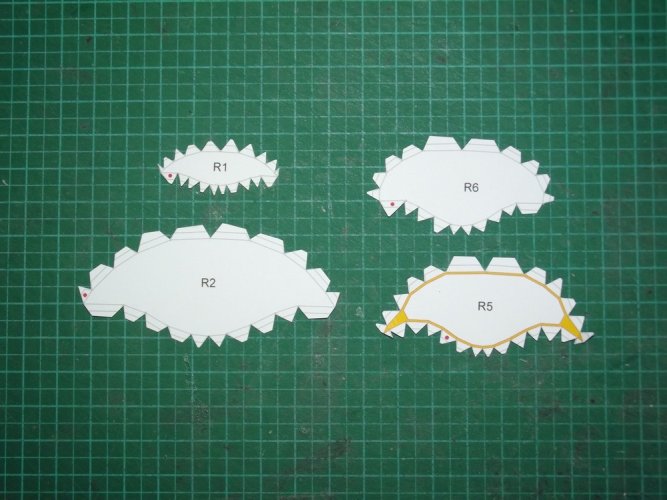
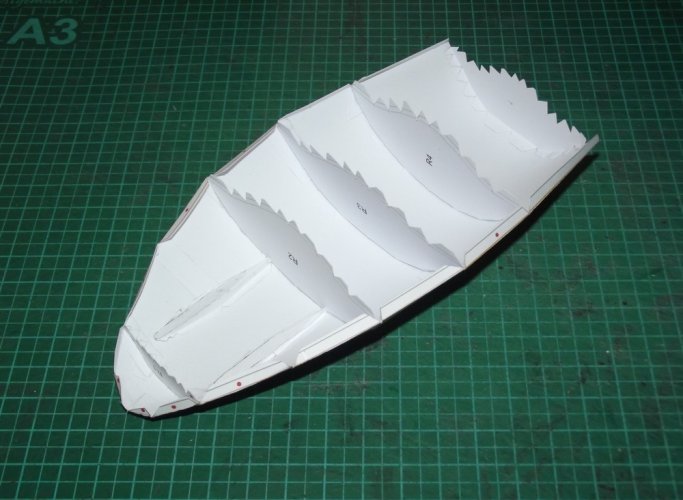
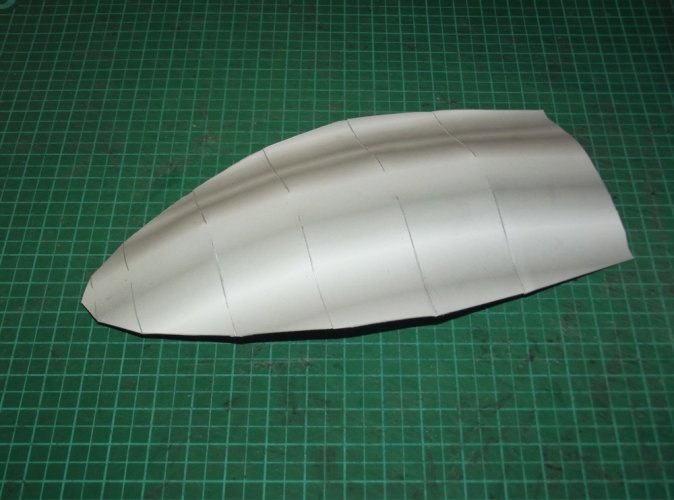
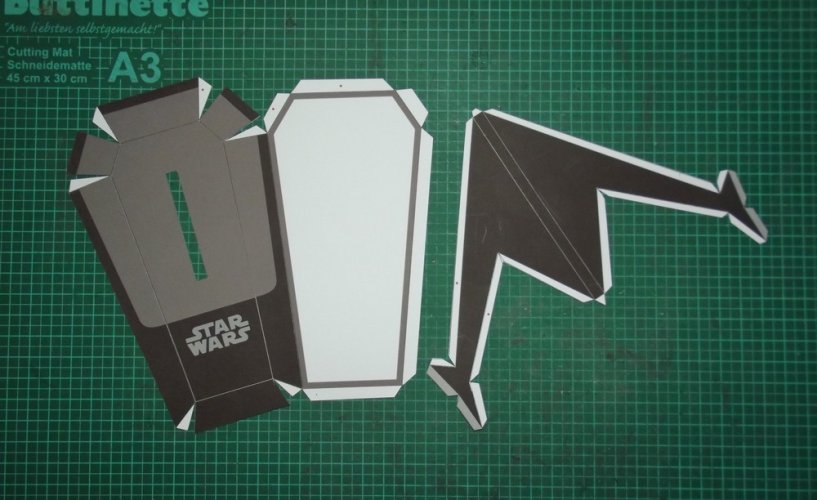
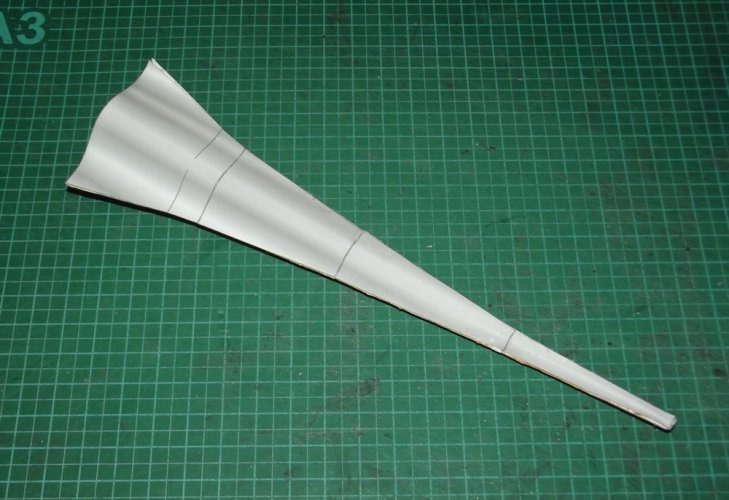
Here you can see the back side of the bottom half with the paper strips attached:
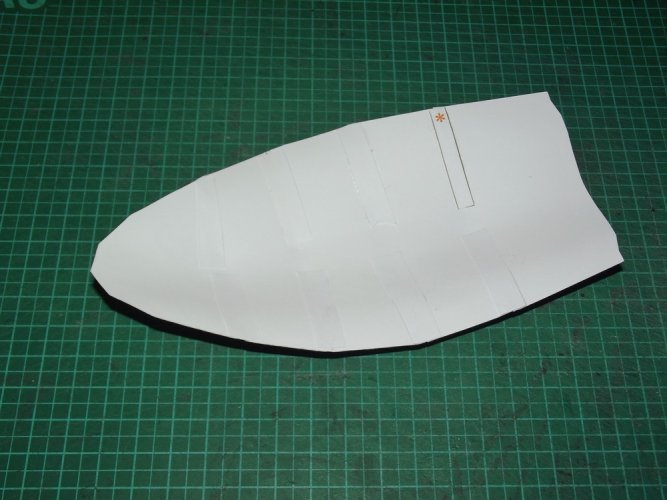
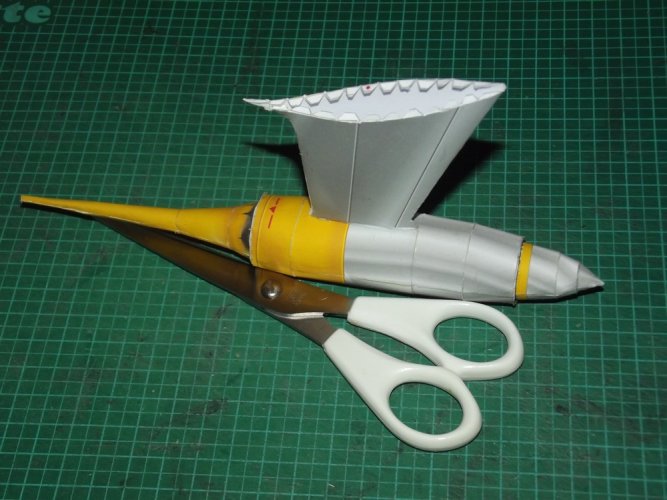
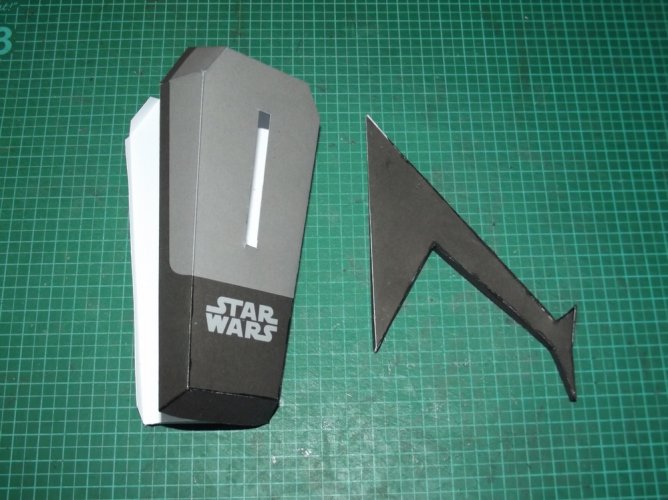
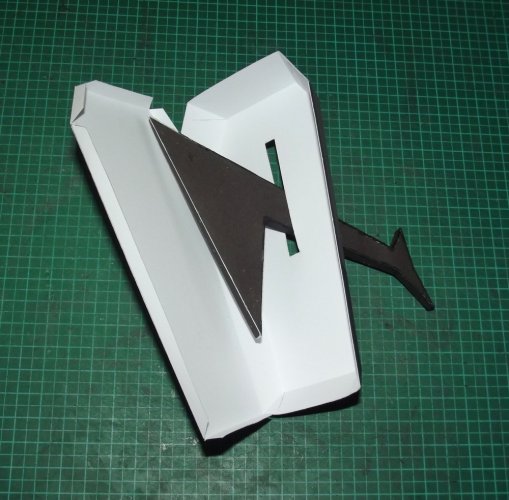
The fin was assembled the same way:
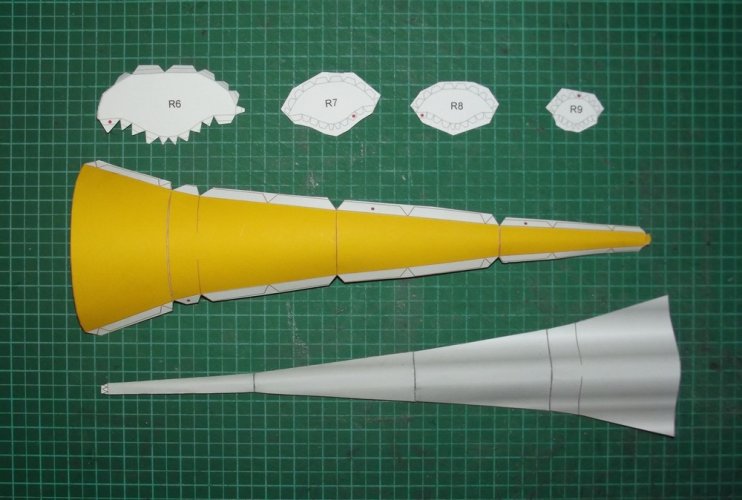
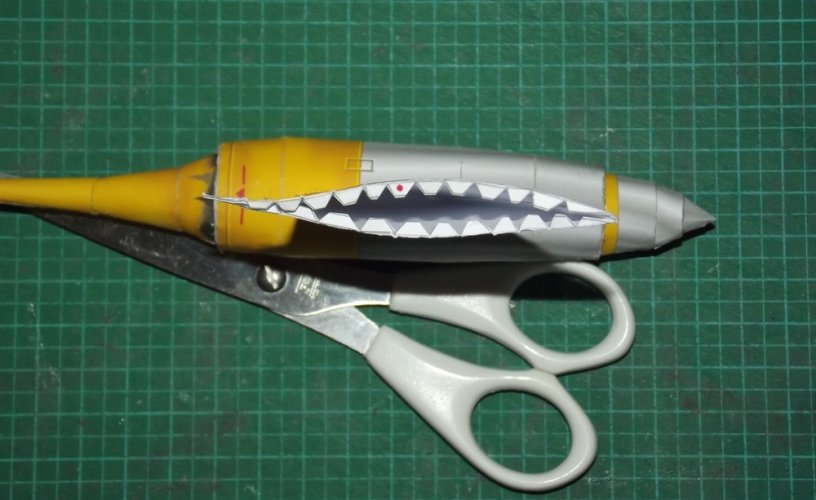
Despite my worries attaching both halves is pretty straight-forward. I recommend glueing one section at a time. Take your time and work carefully to get a clean result.

today is my friend's BD and I was in the mood to build another Star Wars themed model for him as a present. Since this year is the 25th anniversary of "Episode I: The Phantom Menace" I though it would be a great fit to choose the Naboo N1 Starfighter. I would have love to make Mando's upgraded version but the only template I found is too simplistic and needs a little clean-up. So I chose Julius' template which you can find here.
I DLed the template several years ago, right after release. When I checked it before printing I noticed that the wing parts were white except for the panel lines. I re-downloaded the PDF last week and saw that Julius had updated the file and added the missing texture. So I advise you to check your file. If you too have the old one in your archive you may go and DL it again.

Now then. The colours turned out splendidly. The yellow is vibrant and rich, the metallic gradient really looks like metal in pictures.
I began with the fuselage.

I pre-shaped the big top part and glued it together using paper strips on the back side.

Please note that I did not cut out the holes for the cannon channels yet. That way I was able to pre-shape the edges of the channels properly. If I had cut the out before the edges might be very tricky to curve. This is a trick I learned from the cones of the Thunderfighter.

The channels were inserted and the formers attached.


Here you can see the back side of the bottom half with the paper strips attached:

The fin was assembled the same way:

Despite my worries attaching both halves is pretty straight-forward. I recommend glueing one section at a time. Take your time and work carefully to get a clean result.


