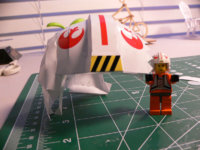
Project: LEGO Luke X-Wing Pilot
Date: 2/23/2014
Designed by: NINJATOES
Pages: 12
Why: The LEGO Movie / Star Wars / Movable!
Tools:
Scissors and an X-ACTO knife if needed
Metal wire (from clothes hanger) for holding down glued flaps inside the model
Epson R320 Printer
Materials:
Elmer's Craft-Bond Paper Craft Glue Gel
Kodak Photo Paper (kinda glossy - the cheap thin one - good for buttons)
Silver/Mirror/Metallic card stock/inkjet paper
Clear or Blue transparency sheet
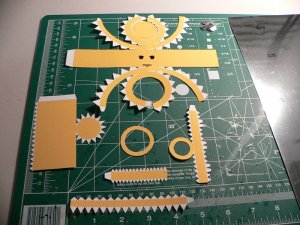
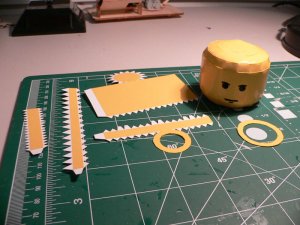
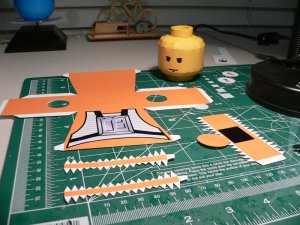
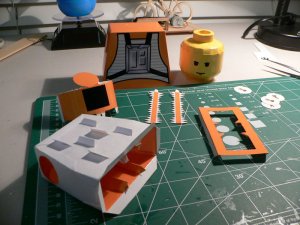
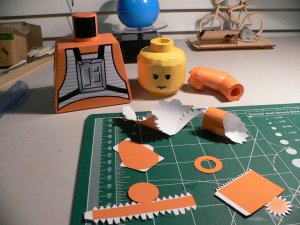
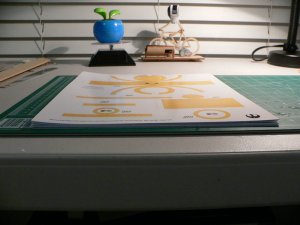
Printed the first couple of pages and will start with them. Once I purchase some silver/mirror paper for the chrome light saber handle and a transparent sheet for the “light” part of the saber, the rest of the pages will be printed.
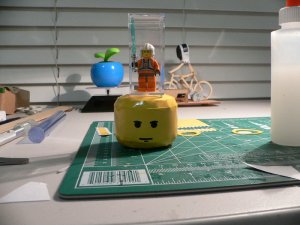
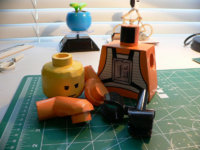
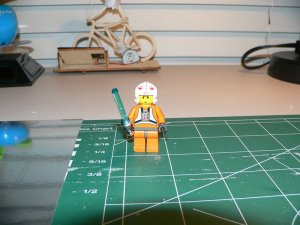
Ordered a Lego Luke pilot - got one but it came with a gray light saber handle – so I ordered a chrome light saber handle. Yes the postage was more than the little piece – but it matches the model now – it is not in mint condition so it’s not for collecting – just wanted one to compliment the model. (OK truth time - got it to have at least something if the model does not work out... )
)
According to the designer, this is the first version of Luke that LEGO made (1999).
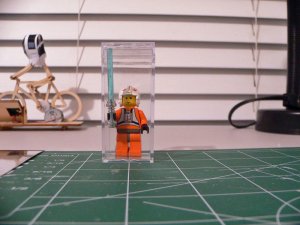
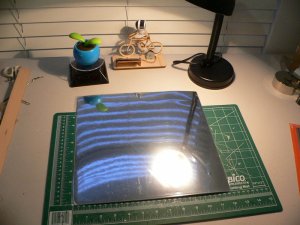
Finally found some silver/mirror card stock, it is 12” x 12” so had to cut it down to 8.5 x 11 to fit in the printer. It is kind of thick so I thought for sure it would not feed or jam – but it worked fine.
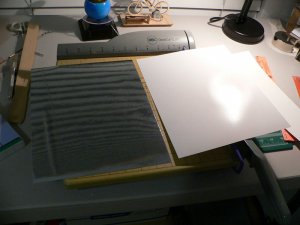
Unfortunately, the ink even after several hours of drying just wipes off – it won’t stick. I suppose I can still try to cut it out without wiping the ink off. If that does not work I could print on regular paper and place it on top and cut it like that – the ink on these parts are for cut/fold lines only – no color or art work.
Any suggestions from the masters out there would be appreciated!
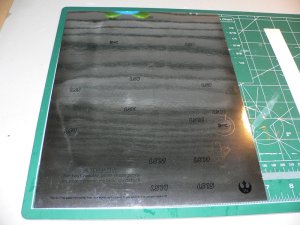
Another issue may be gluing this stuff to itself – it is glossy and in trying to glue some scraps I noticed it does not bond well. May need to score the gluing surfaces with the X-Acto to help adhesion.
Update: Found that if you cut the "mirror" layer off to the bare paper it works. (Made a new sword handle cover for the Fencer model.) This will be tough on the smaller parts. The "mirror" finish does not crack when it is folded.
Found some “window decal” transparency paper – but, while it is clear – one side is sticky – it is not a static cling type of decal. Seems to have printed well but it will be interesting to assemble since one entire side is sticky – the saber is a tube so it might even help. If it does not work, I’ll have to buy the real thing.
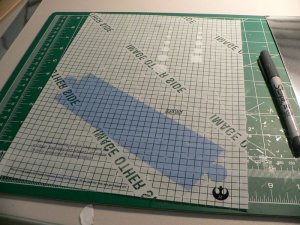
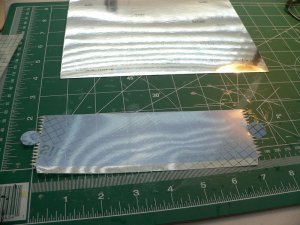
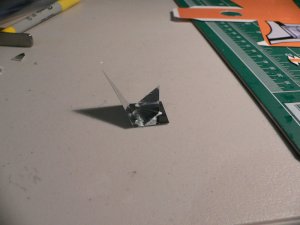
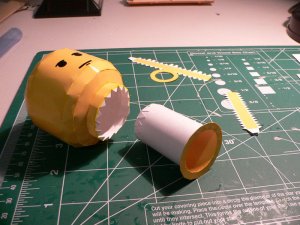
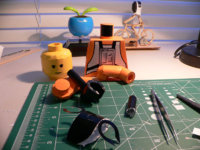
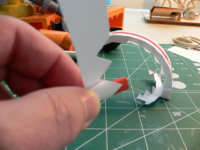
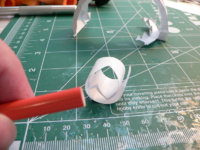
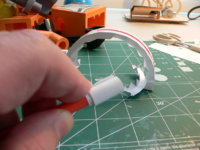
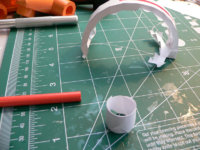
Here is the first attempt. The sticky backside picked up smudges and finger prints and made them plainly visible. The adhesive on the backside was not strong enough to keep the top and bottom caps flat so here I am experimenting with regular Elmer's Glue. I'm not liking the look, so I may end up trying real inkjet transparency paper or colored transparency paper. Would really hate to give in and use printed paper.
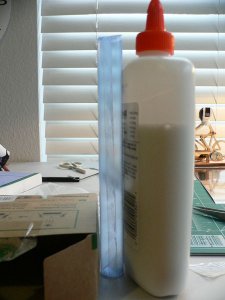
The saber is looking to be the most difficult part due to the materials.
More to come, thanks for following along...
Date: 2/23/2014
Designed by: NINJATOES
Pages: 12
Why: The LEGO Movie / Star Wars / Movable!
Tools:
Scissors and an X-ACTO knife if needed
Metal wire (from clothes hanger) for holding down glued flaps inside the model
Epson R320 Printer
Materials:
Elmer's Craft-Bond Paper Craft Glue Gel
Kodak Photo Paper (kinda glossy - the cheap thin one - good for buttons)
Silver/Mirror/Metallic card stock/inkjet paper
Clear or Blue transparency sheet
Printed the first couple of pages and will start with them. Once I purchase some silver/mirror paper for the chrome light saber handle and a transparent sheet for the “light” part of the saber, the rest of the pages will be printed.

Ordered a Lego Luke pilot - got one but it came with a gray light saber handle – so I ordered a chrome light saber handle. Yes the postage was more than the little piece – but it matches the model now – it is not in mint condition so it’s not for collecting – just wanted one to compliment the model. (OK truth time - got it to have at least something if the model does not work out...
According to the designer, this is the first version of Luke that LEGO made (1999).


Finally found some silver/mirror card stock, it is 12” x 12” so had to cut it down to 8.5 x 11 to fit in the printer. It is kind of thick so I thought for sure it would not feed or jam – but it worked fine.


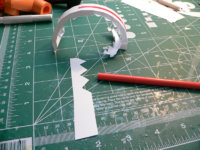
Unfortunately, the ink even after several hours of drying just wipes off – it won’t stick. I suppose I can still try to cut it out without wiping the ink off. If that does not work I could print on regular paper and place it on top and cut it like that – the ink on these parts are for cut/fold lines only – no color or art work.
Any suggestions from the masters out there would be appreciated!

Another issue may be gluing this stuff to itself – it is glossy and in trying to glue some scraps I noticed it does not bond well. May need to score the gluing surfaces with the X-Acto to help adhesion.
Update: Found that if you cut the "mirror" layer off to the bare paper it works. (Made a new sword handle cover for the Fencer model.) This will be tough on the smaller parts. The "mirror" finish does not crack when it is folded.
Found some “window decal” transparency paper – but, while it is clear – one side is sticky – it is not a static cling type of decal. Seems to have printed well but it will be interesting to assemble since one entire side is sticky – the saber is a tube so it might even help. If it does not work, I’ll have to buy the real thing.


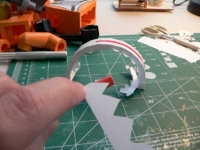
Here is the first attempt. The sticky backside picked up smudges and finger prints and made them plainly visible. The adhesive on the backside was not strong enough to keep the top and bottom caps flat so here I am experimenting with regular Elmer's Glue. I'm not liking the look, so I may end up trying real inkjet transparency paper or colored transparency paper. Would really hate to give in and use printed paper.

The saber is looking to be the most difficult part due to the materials.
More to come, thanks for following along...


