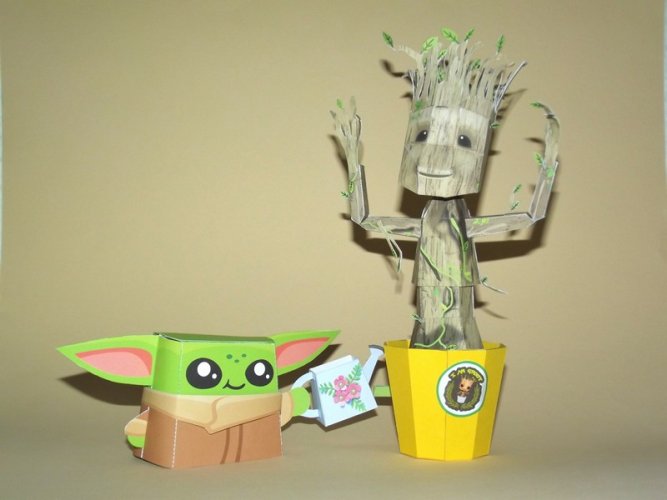
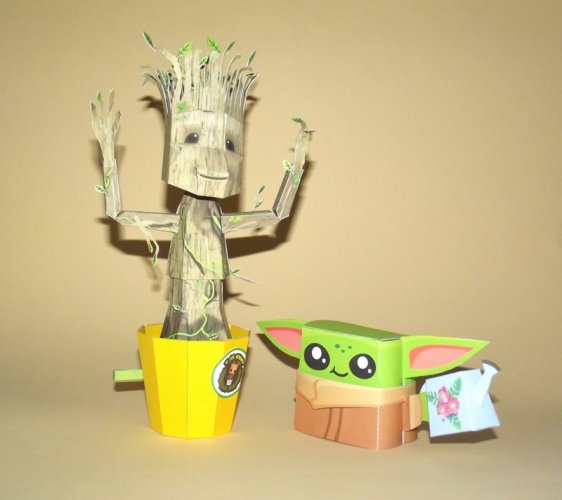
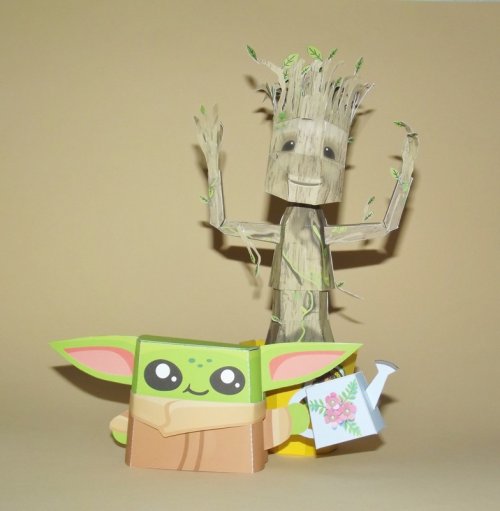
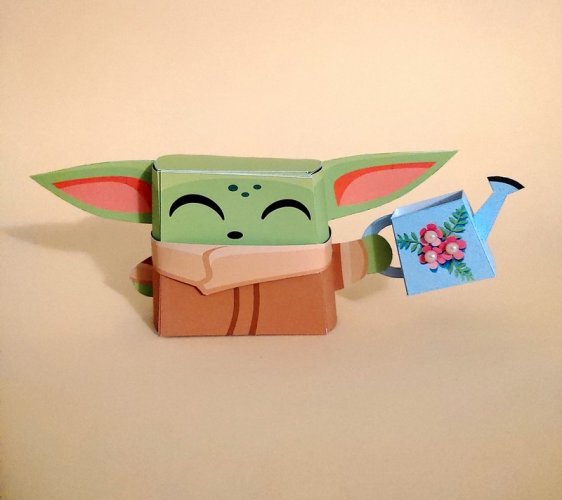
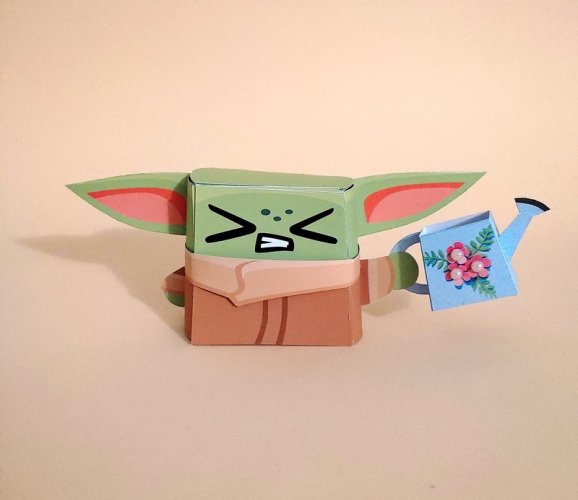
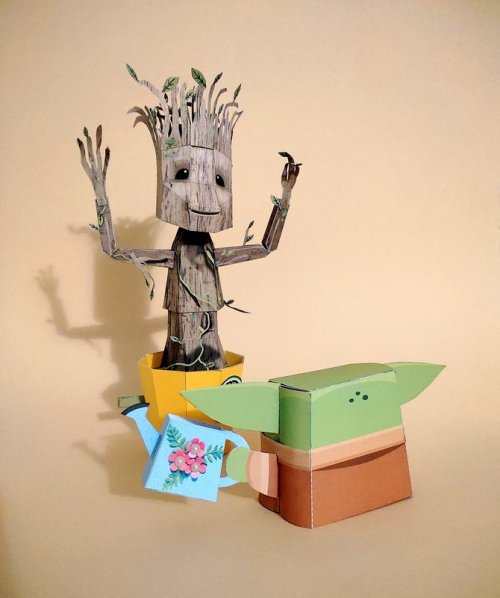
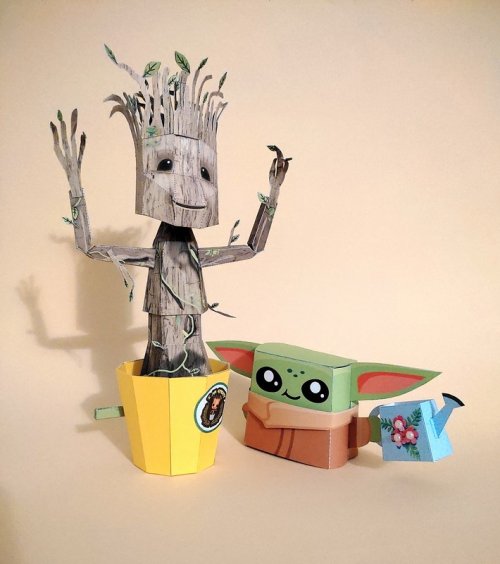
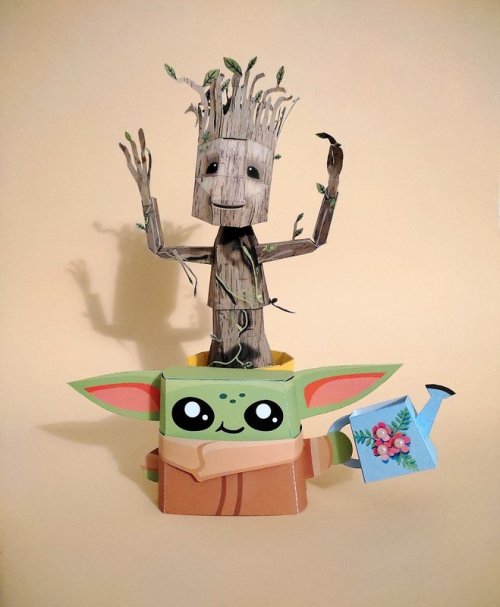
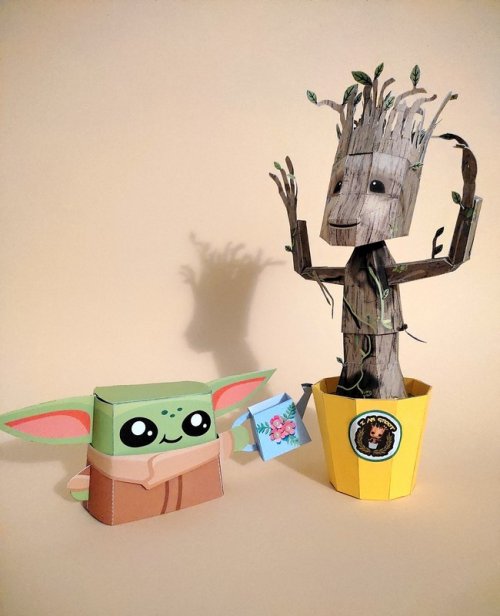
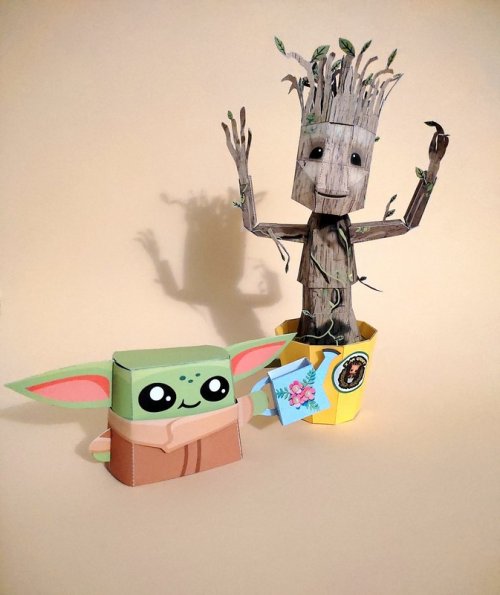
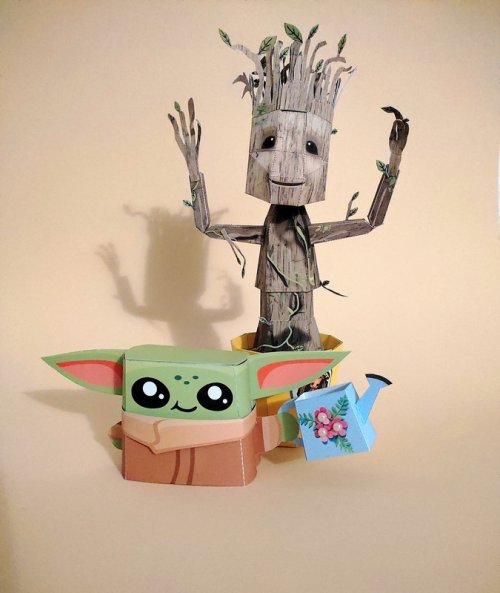
A colleague of mine is leaving us and what would be the best way to say goodbye by giving her a flower, or even a tree - in a flower pot. 
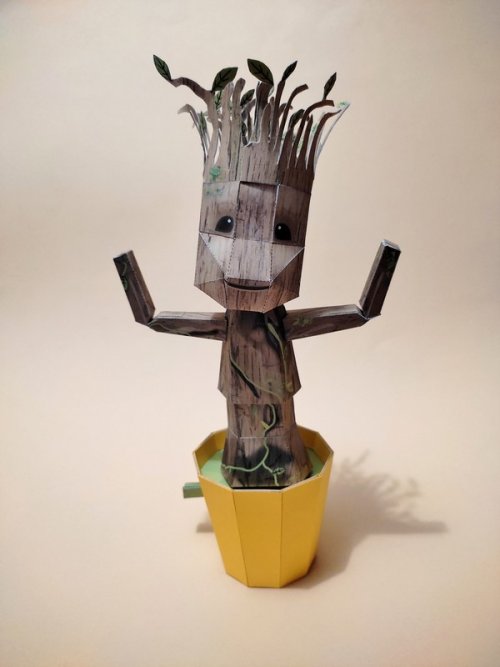
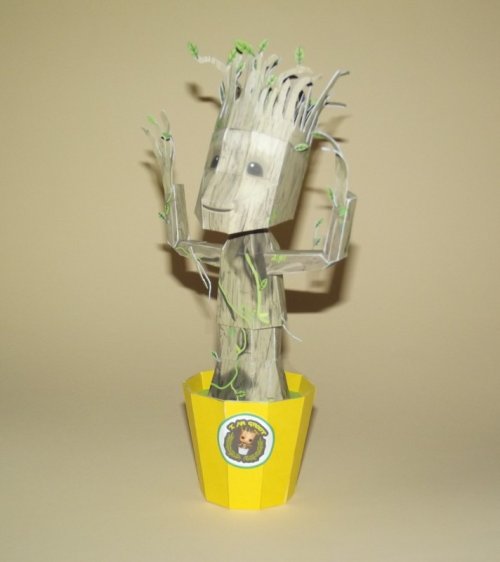
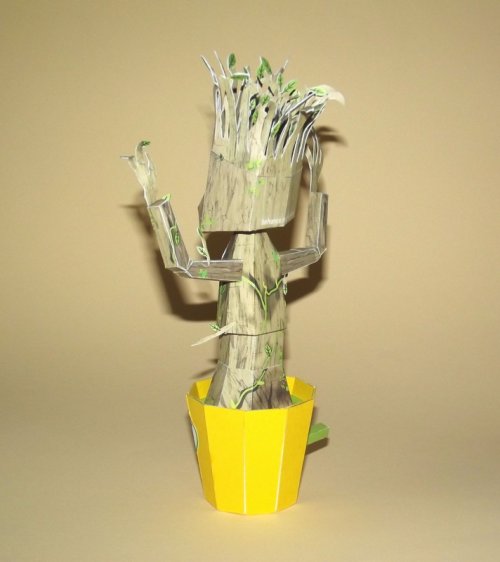
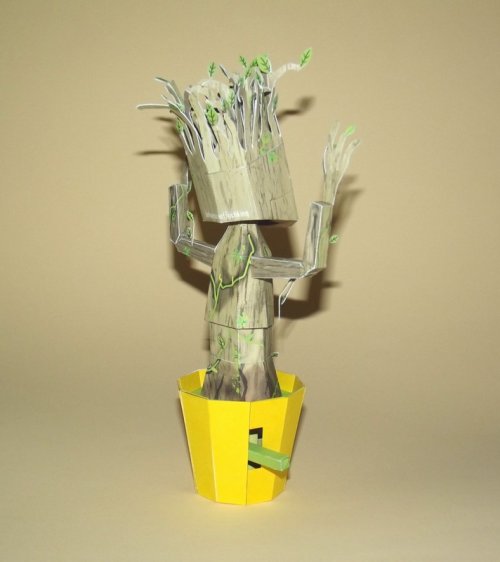
The Dancing Groot papercraft on Behance was the perfect item.
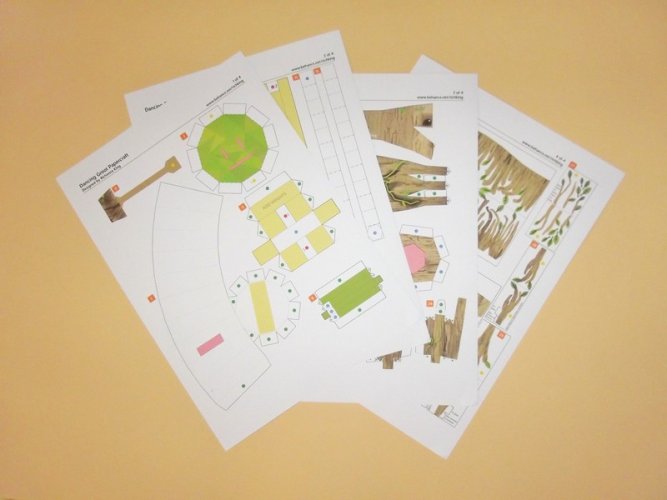
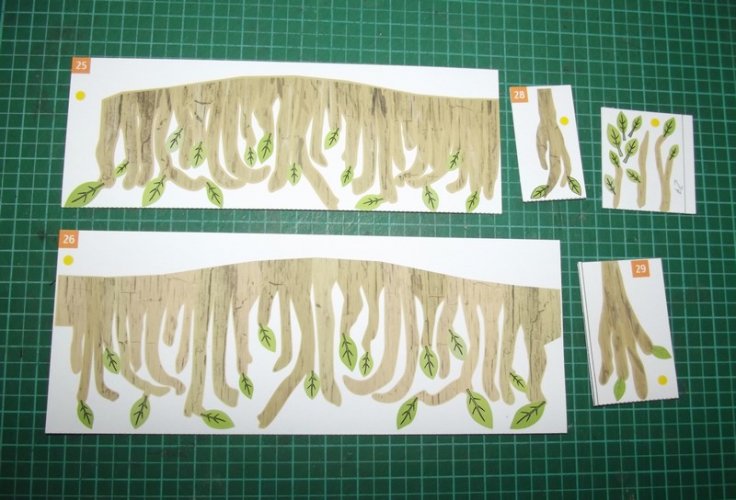
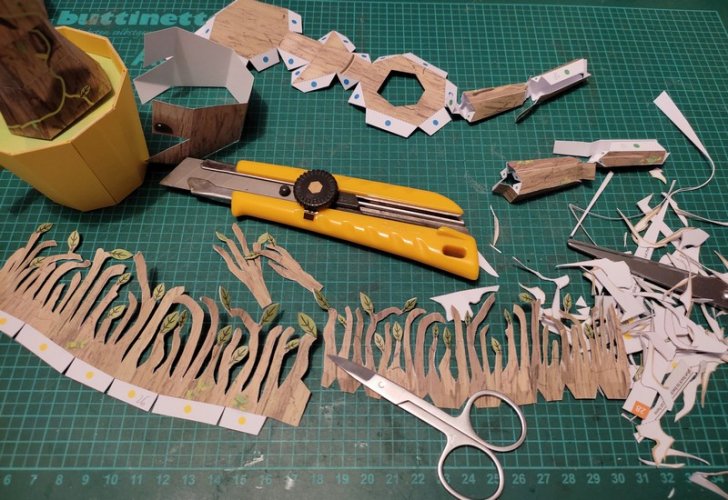
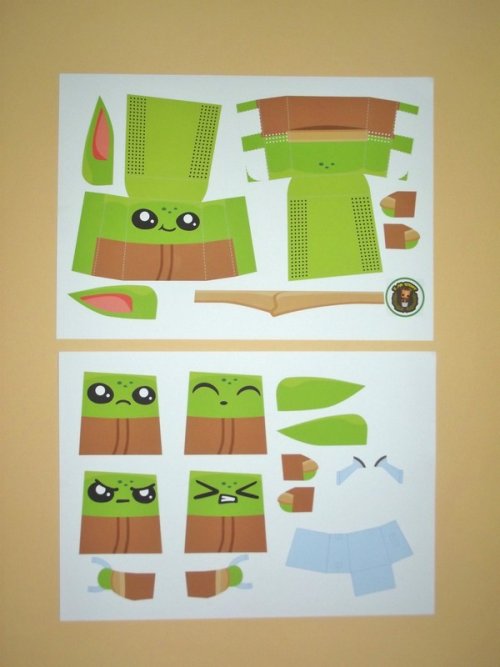
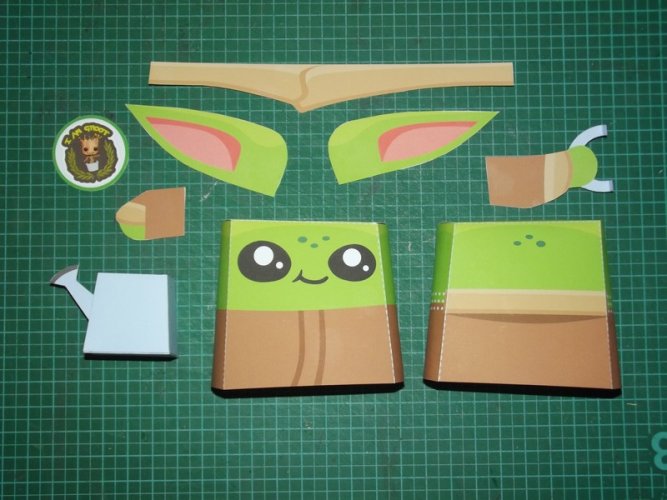
The kit has some big parts which are easily identifiable. So I spent another evening with cutting and scoring.
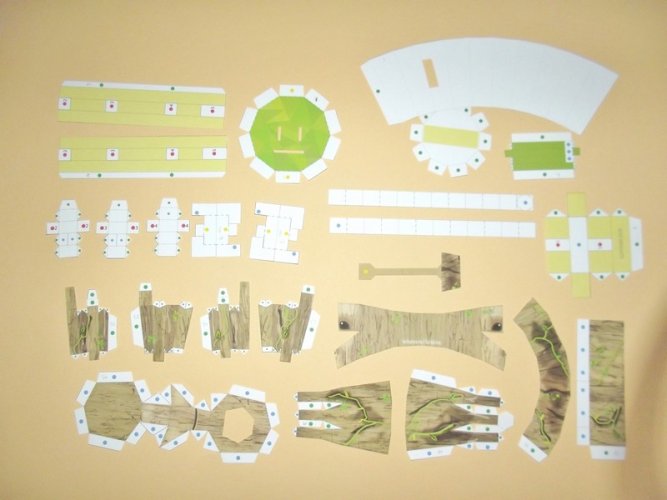
The instructions are straight forward. The assembly is very well thought-out but unconventional at times because there are overlapping pieces on neighbouring parts. Once you have gotten accustomed to this you will see that the bonds are very strong. They have to because the model is articulated and has to withstand some stress.
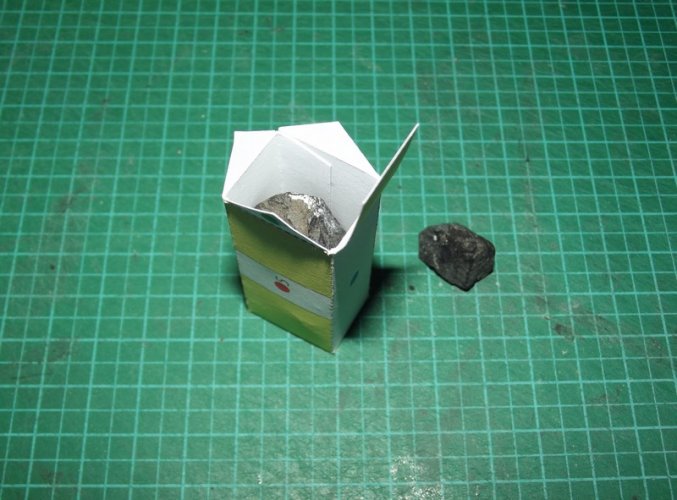
The instructions recommend to add some weight to the base part 5. I inserted some small stones which fit like a glove.
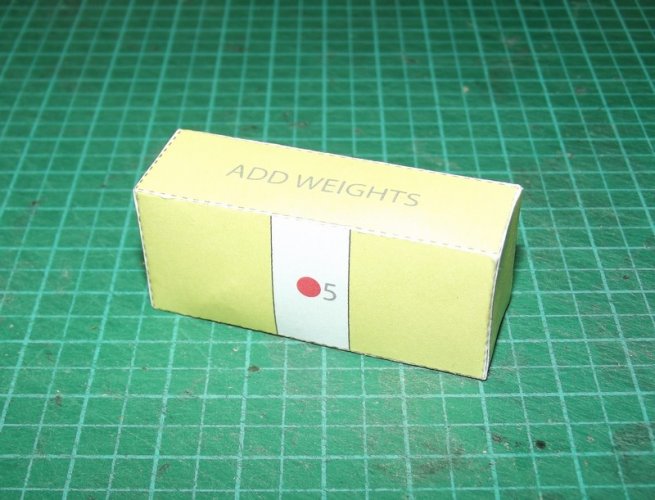
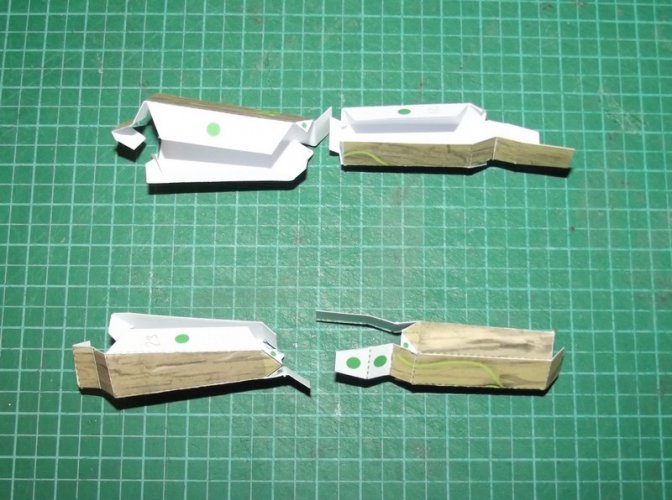
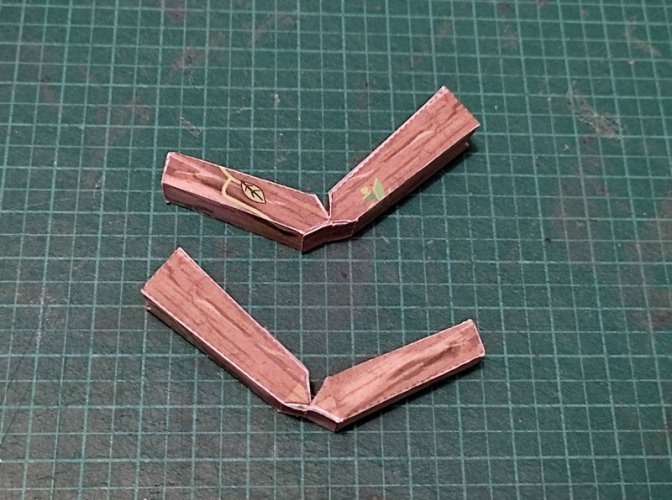
Parts 9 & 10 are wrapped and glued together to form some struts.
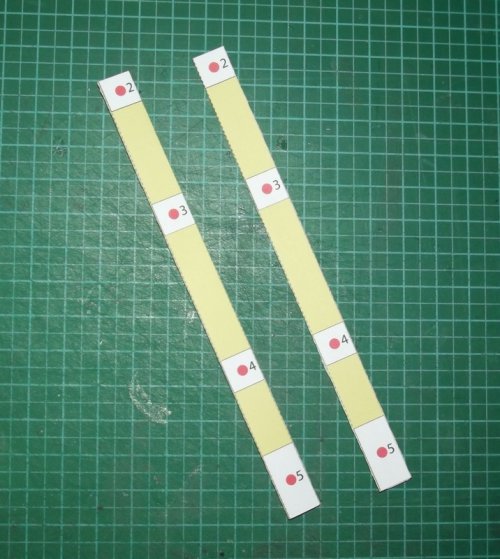
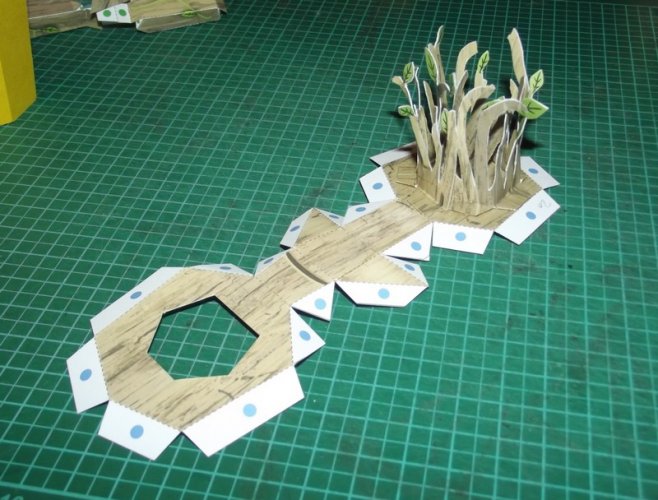
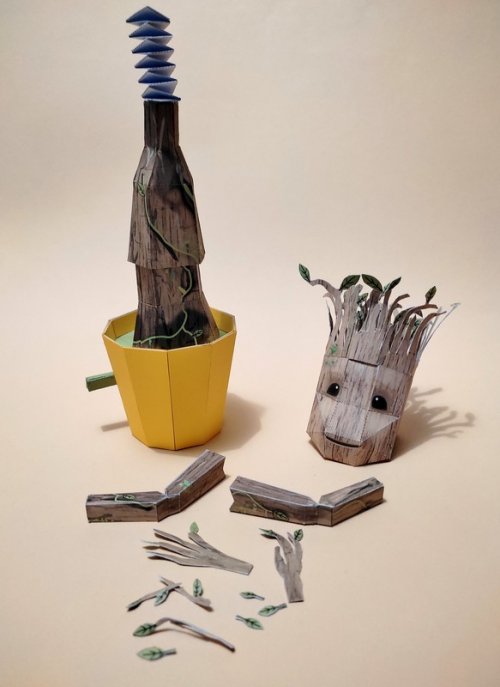
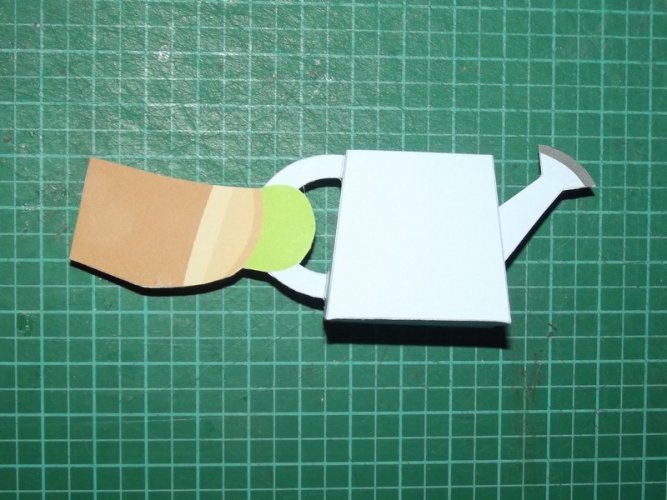
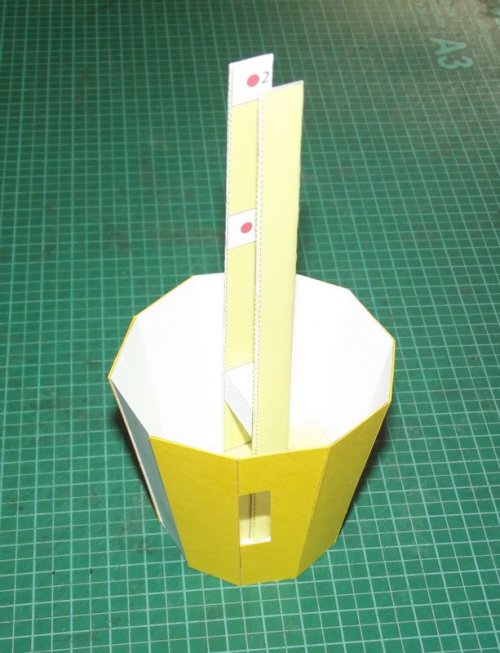
The "wiggle components" are assembled.
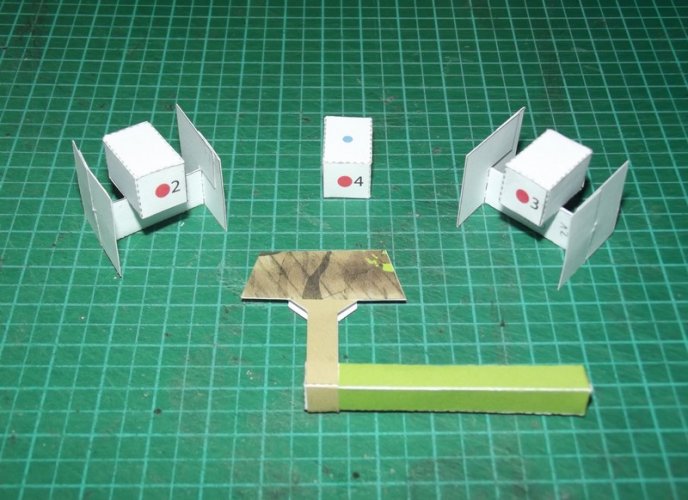
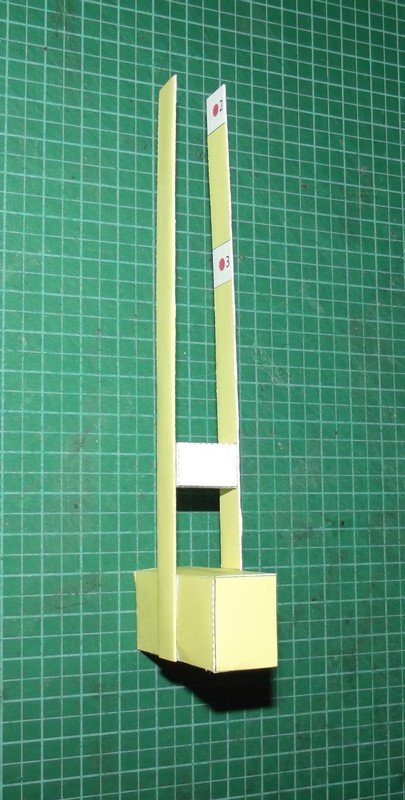
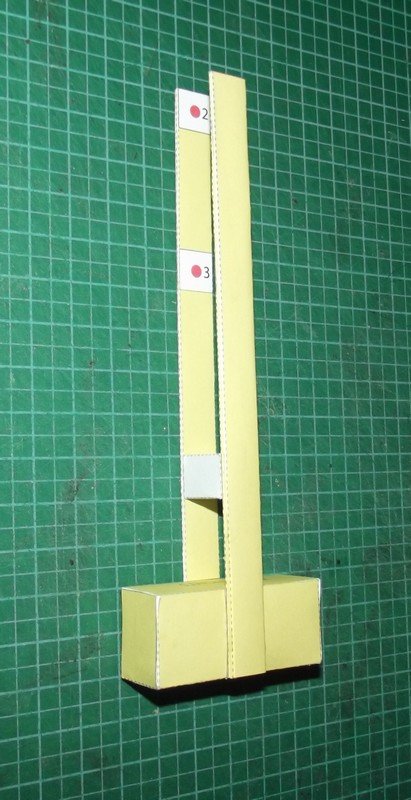
The "wiggle lever" part 6 has two very big strips which are glued to each other. They form a diagonal strut which reinforces the part. A very interesting construction.
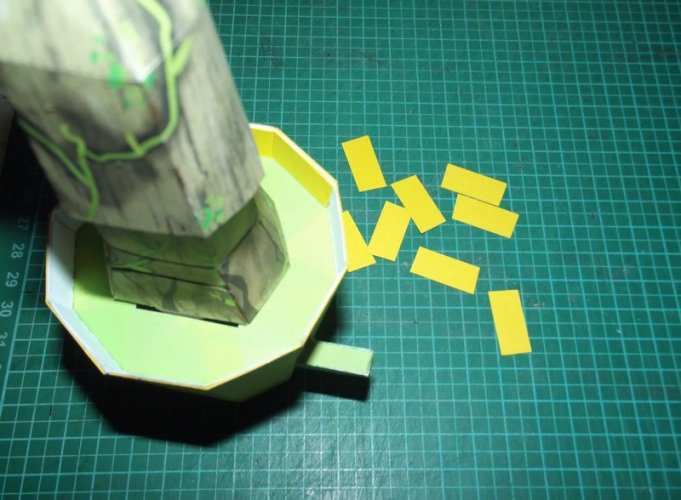
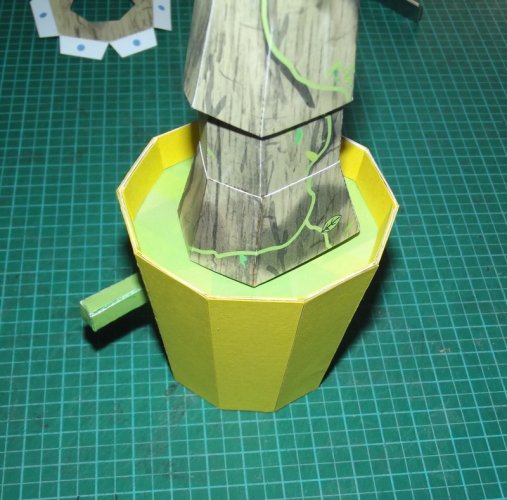
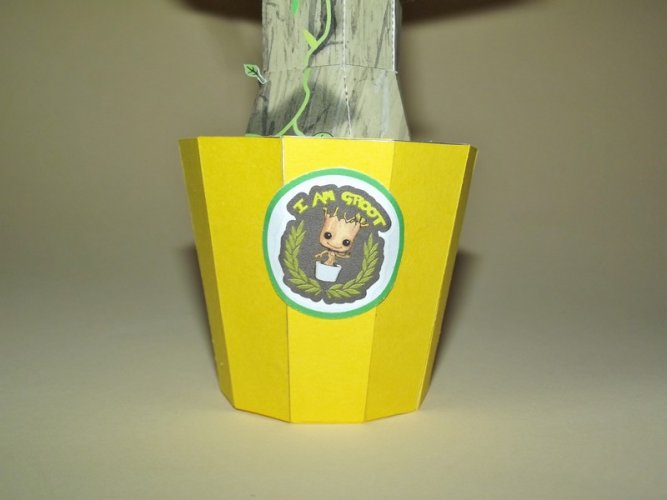
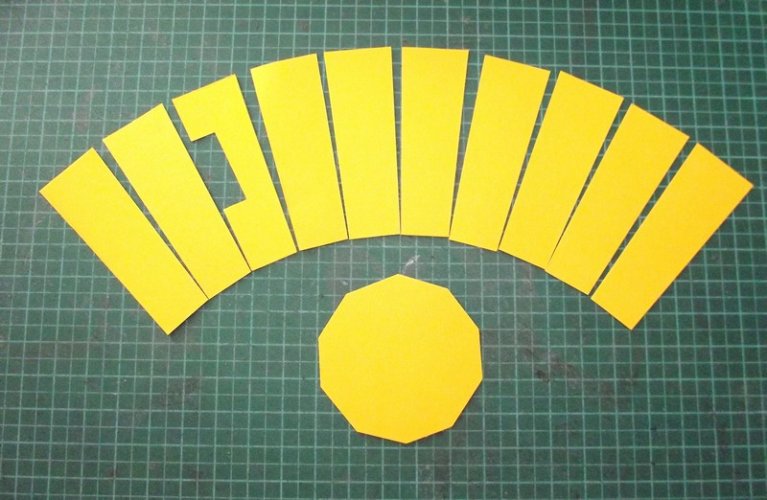
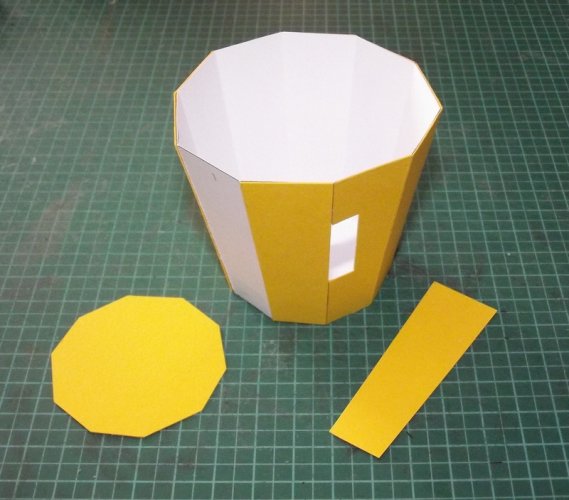
At this stage I noticed that there are a few marking on the flower pot which would be visible on the final model. To conceal them I laminated several pieces of coloured card to it.
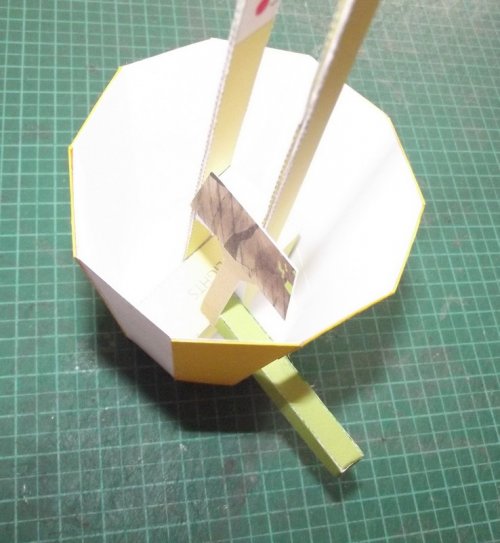
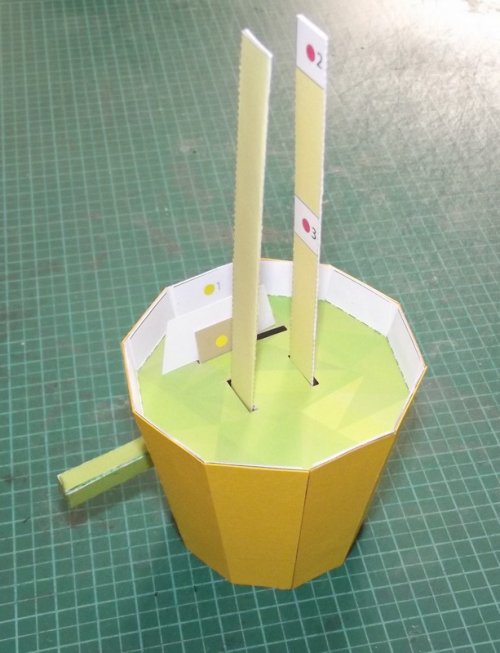
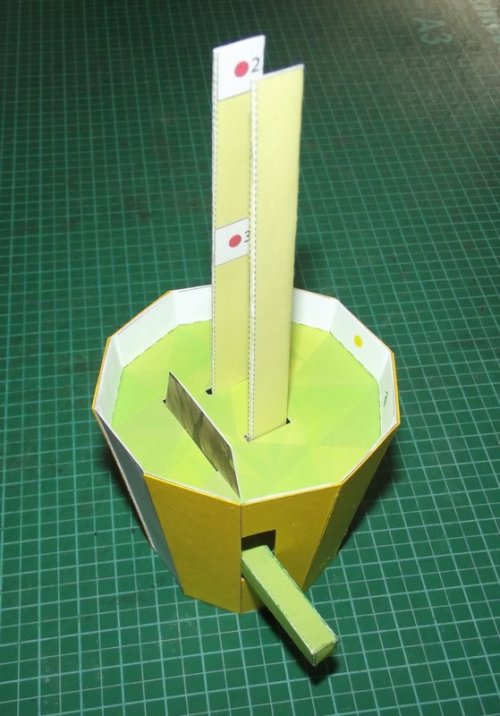
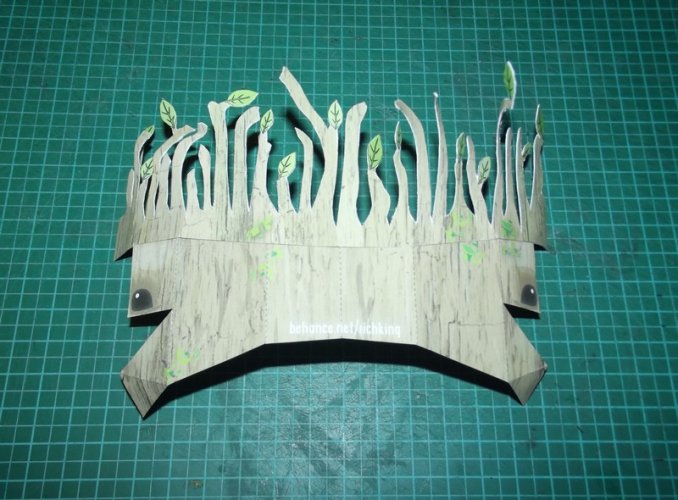
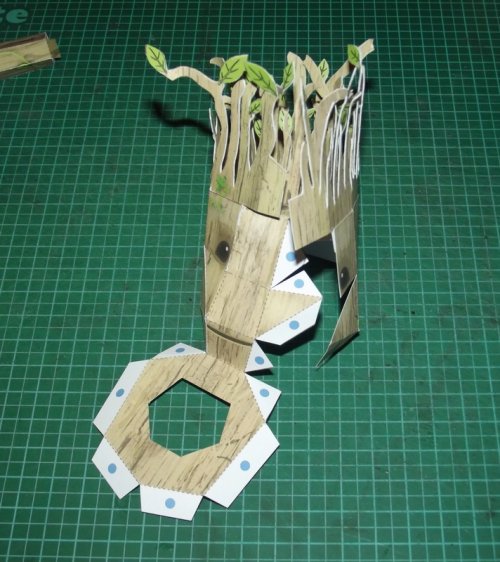
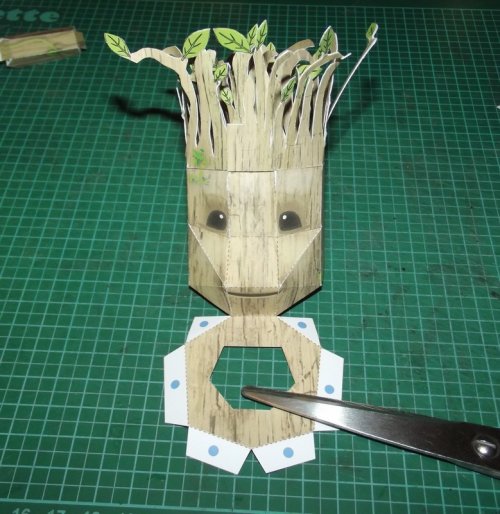
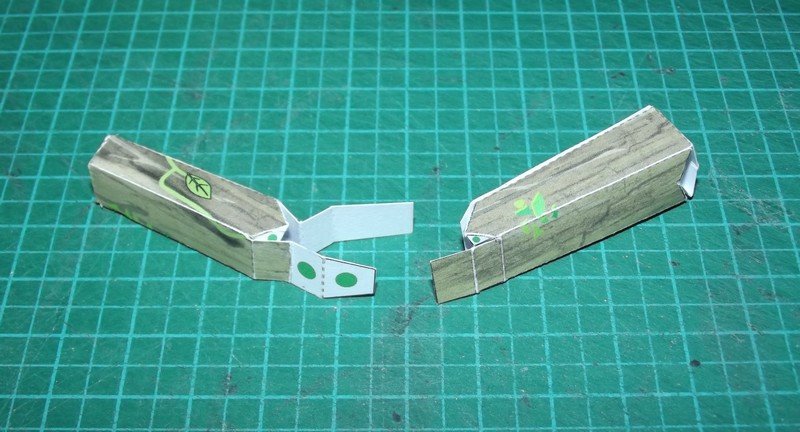
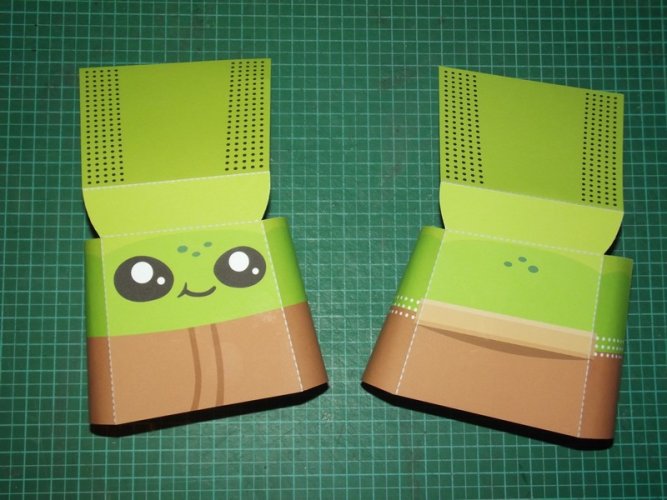
The two parts of the body are very straight-forward.
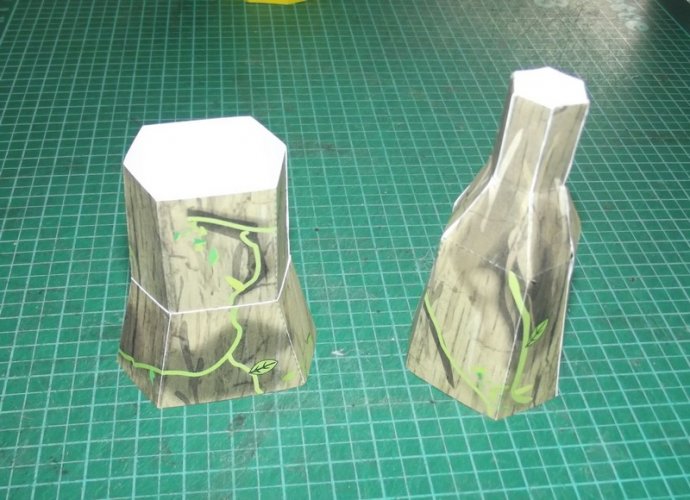
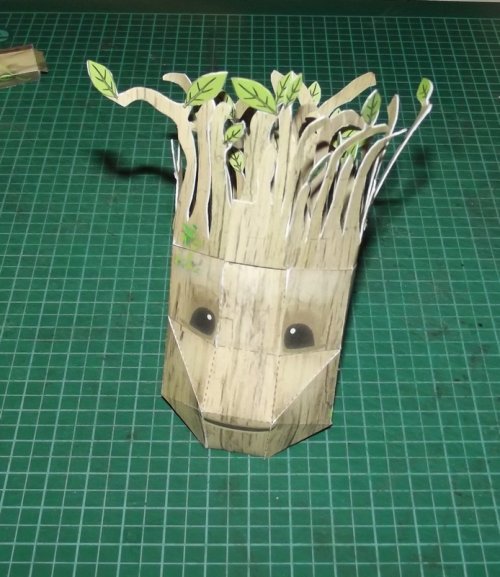
The texture is very nice and gives the model a very life-like appearance.
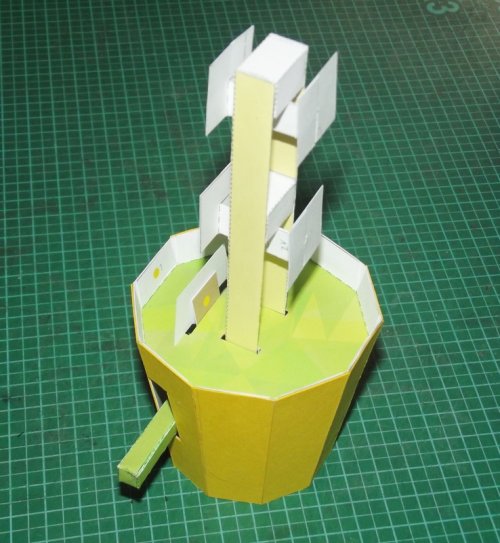
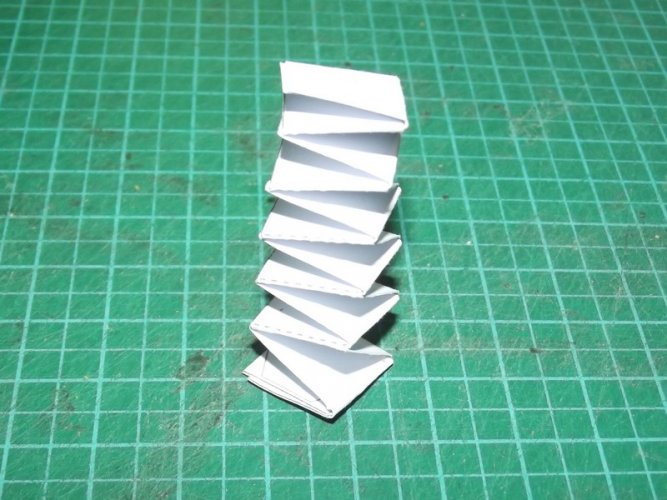
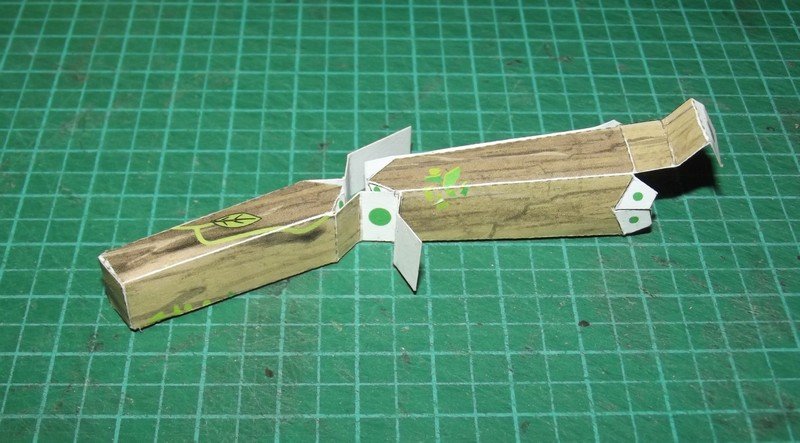
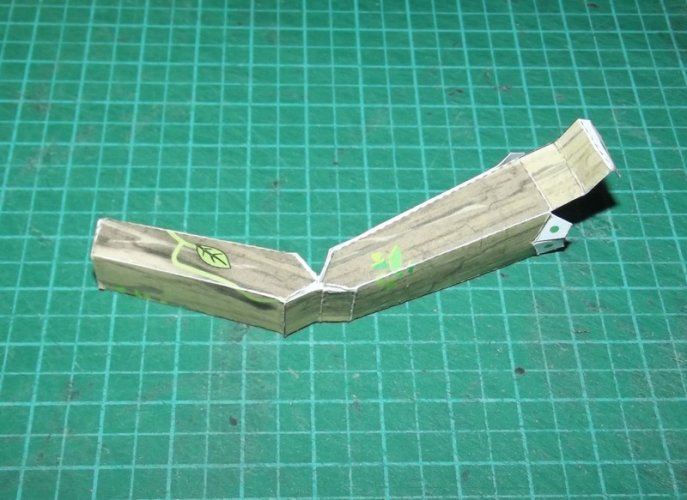
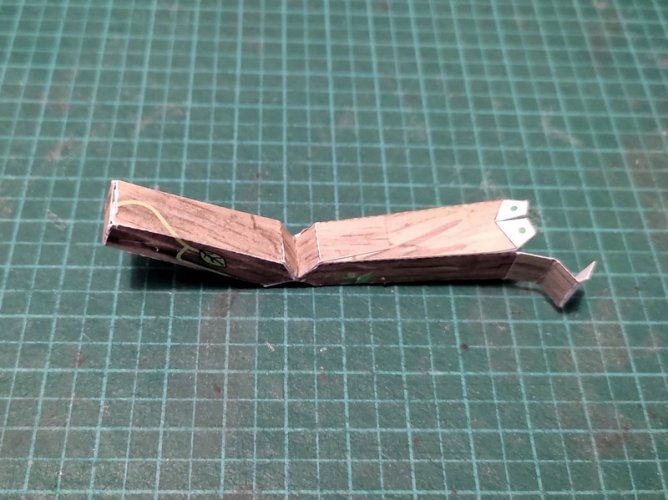
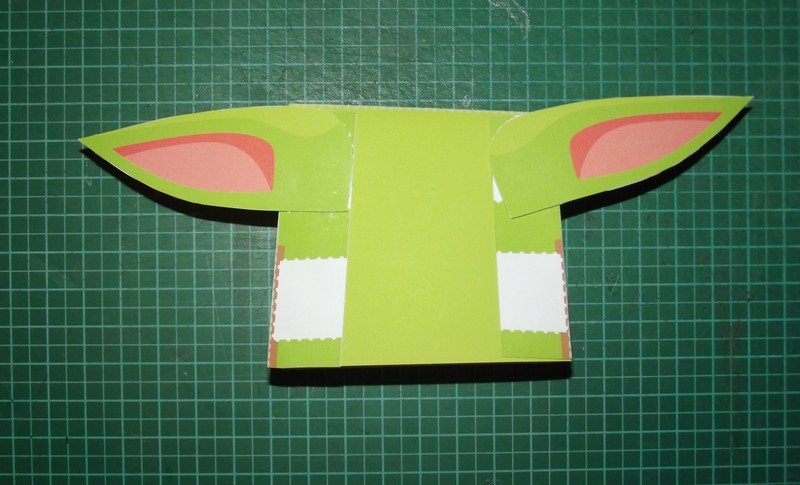
This is the "wiggle spine".
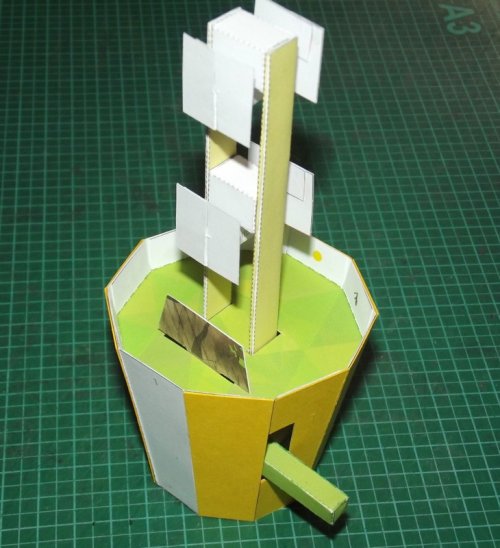
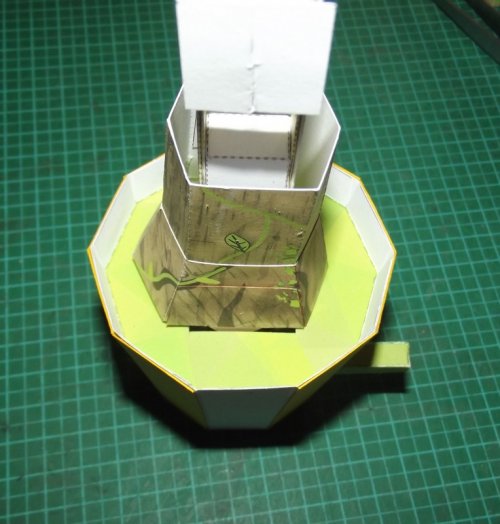
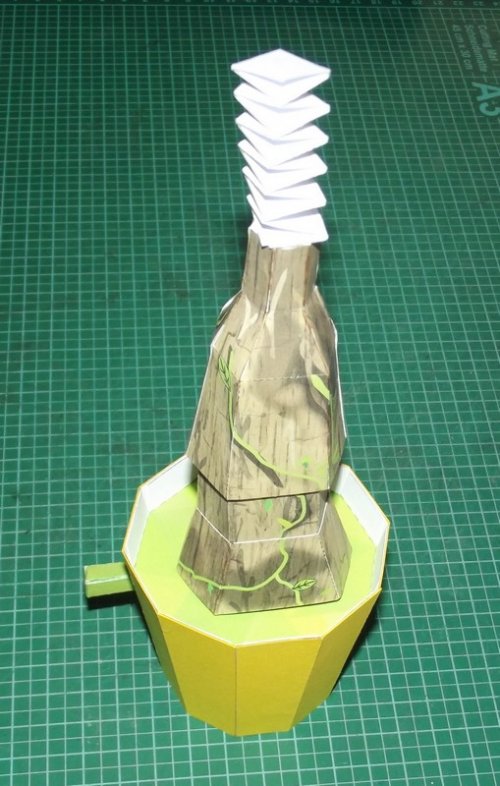
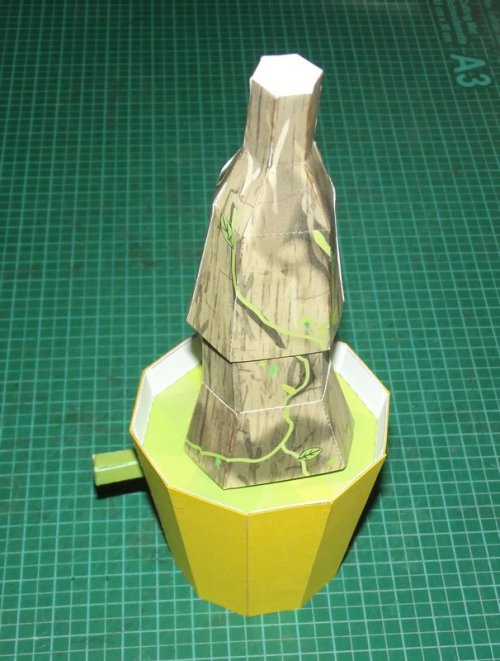
The body hull pieces are attached to it as described in the instructions. I left a bit of leeway on the bottom to make sure that the model was able to move freely.
The Dancing Groot papercraft on Behance was the perfect item.

The kit has some big parts which are easily identifiable. So I spent another evening with cutting and scoring.

The instructions are straight forward. The assembly is very well thought-out but unconventional at times because there are overlapping pieces on neighbouring parts. Once you have gotten accustomed to this you will see that the bonds are very strong. They have to because the model is articulated and has to withstand some stress.
The instructions recommend to add some weight to the base part 5. I inserted some small stones which fit like a glove.


Parts 9 & 10 are wrapped and glued together to form some struts.

The "wiggle components" are assembled.

The "wiggle lever" part 6 has two very big strips which are glued to each other. They form a diagonal strut which reinforces the part. A very interesting construction.


At this stage I noticed that there are a few marking on the flower pot which would be visible on the final model. To conceal them I laminated several pieces of coloured card to it.


The two parts of the body are very straight-forward.

The texture is very nice and gives the model a very life-like appearance.

This is the "wiggle spine".


The body hull pieces are attached to it as described in the instructions. I left a bit of leeway on the bottom to make sure that the model was able to move freely.

Last edited:


