

Guess whos back......back again.....
- Thread starter seraphim
- Start date
You are using an out of date browser. It may not display this or other websites correctly.
You should upgrade or use an alternative browser.
You should upgrade or use an alternative browser.

this is very true - i think when it comes to builds we all have our own little mods/hacks that we use to make the models strong and stable lol - tbh when so much effort goes into design, refinement and ofc the builds that people create, its a shame to lose something when its all done - everyone's work deserves long lasting homes and appreciationWhatever works!")

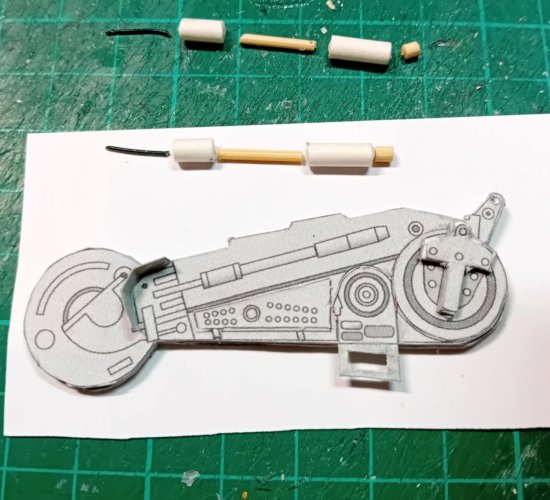
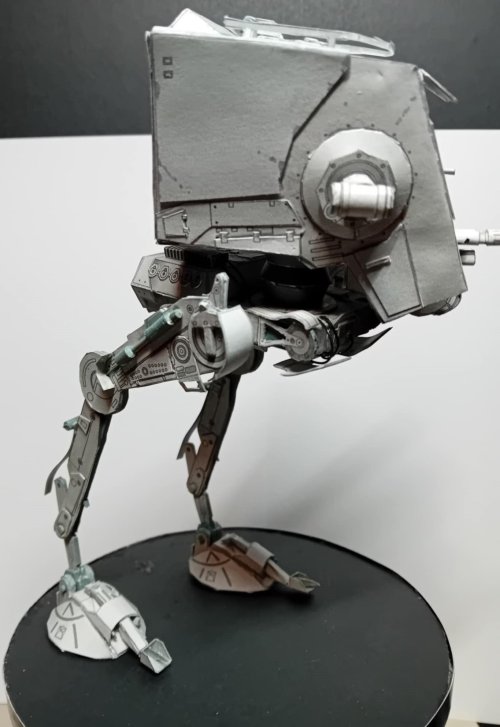
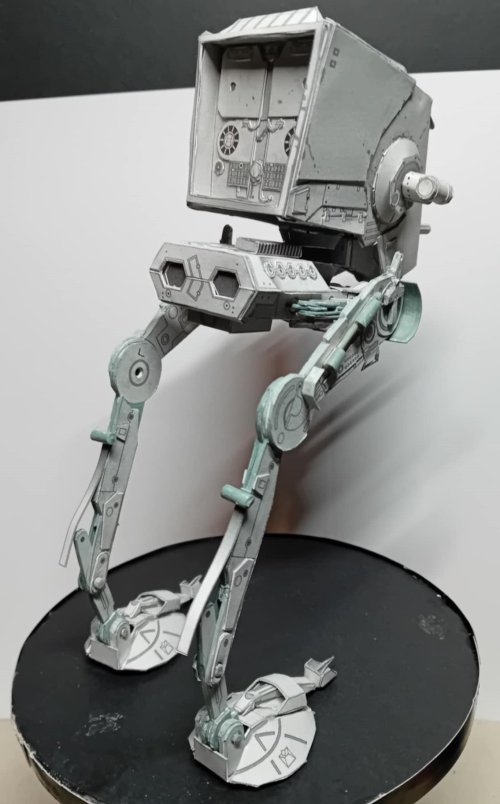
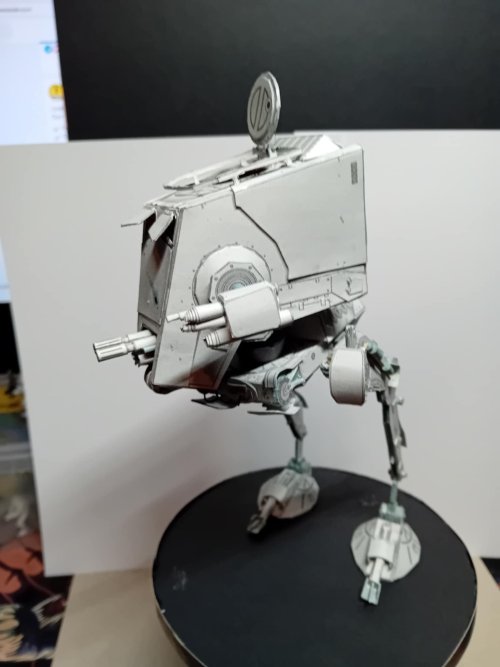
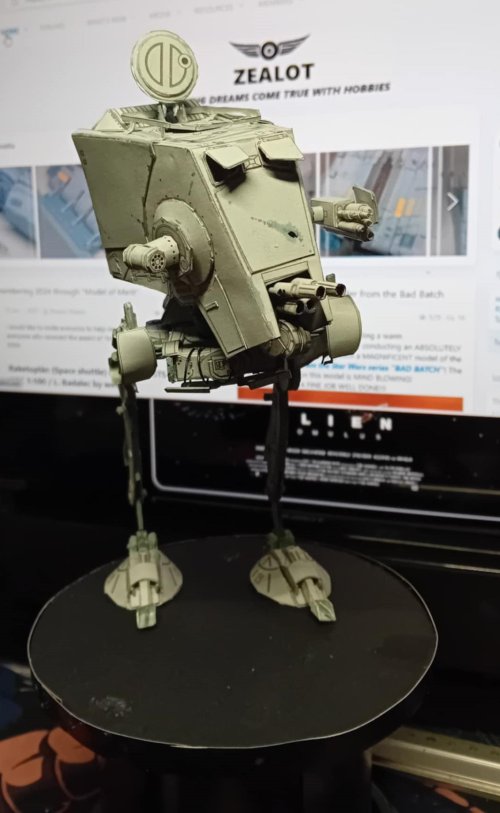
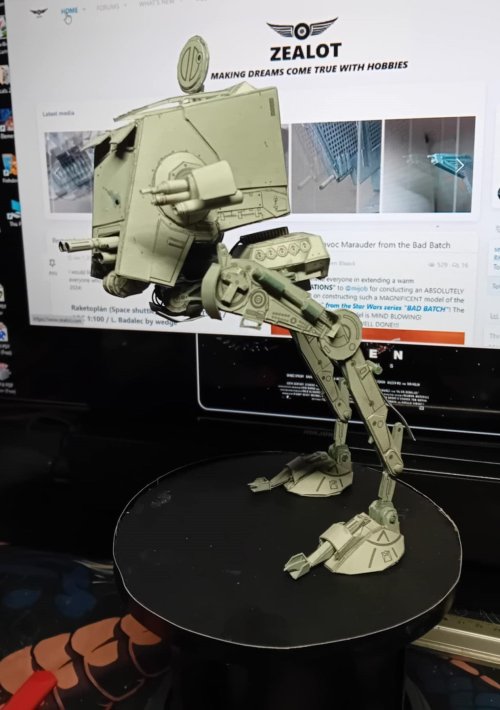
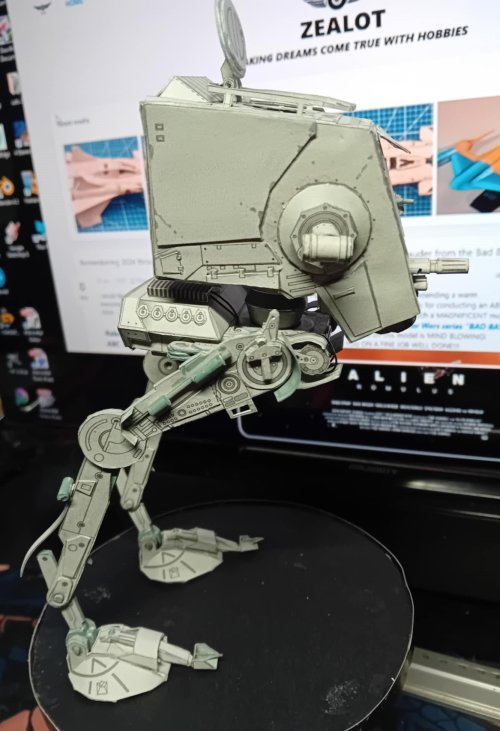
Well, here we are, after a final push the ATST is pretty much done, ready to move on to part 2 of this build. BUT before that happens, heres a few pics of the finished article - 1st pic is to show some of the detailing put onto the leg tops to flesh them out a bit. i used laminating from spare copies, to add some extra detail to the the top end of the legs then used a cpl straws, small cocktail sticks and wire for the 'piston/rods' running down to the leg joint. Again bits of tidying, painting over with acrylic markers and its pretty much done - im sure theres more to add yet but as it stands the main work is done. SO with that out of the way ive prepared the basic display base that the diorama is going on, using an emulsion paint lid, card and foam board. I fixed the AT ST to the base so i could take a few pics of the finished thing. Overall the build was great, theres numerous options for greeblying up as much as you like - the pose choices are amazing and you could be forgiven for thinking this is an animators model. Awesome stuff  RF knocked it out of the park. So enjoy the pics, ill be posting up part 2 (the diorama build) soon.
RF knocked it out of the park. So enjoy the pics, ill be posting up part 2 (the diorama build) soon. Attachments
-
 59bb594a-b51d-4ffe-9cc7-157a9ad5d5c2.jpeg262.3 KB · Views: 5
 -
 771ccbb8-b37e-45e5-87ff-ddcee4ee92b3.jpeg208 KB · Views: 5
 -
 134c85a6-80ba-4bc3-9633-b8317b483f46.jpeg128.9 KB · Views: 5
 -
 c9806eca-4253-414a-b5ff-d04372a07c60.jpeg140.4 KB · Views: 5
 -
 0235ce8c-a439-451d-a961-e4bd53208172.jpeg188.1 KB · Views: 5
 -
 fa5b8cc2-6633-4924-87bb-b65261e13661.jpeg92.8 KB · Views: 5
 -
 c71d4fc3-b5c1-49e9-bc0d-7fbafdd0bc7e.jpeg107 KB · Views: 5

That looks AMAIZNG! You have done a FATNASTIC JOB on this project!
This AT-ST rocks! You did a PHENOMENAL job on it! It really looks like a movie miniature!!!
Great work and nice to see your addons. I have put the AT-ST on my building list.
The AT-ST Raider from Mando is still on my todo list.
Last edited:
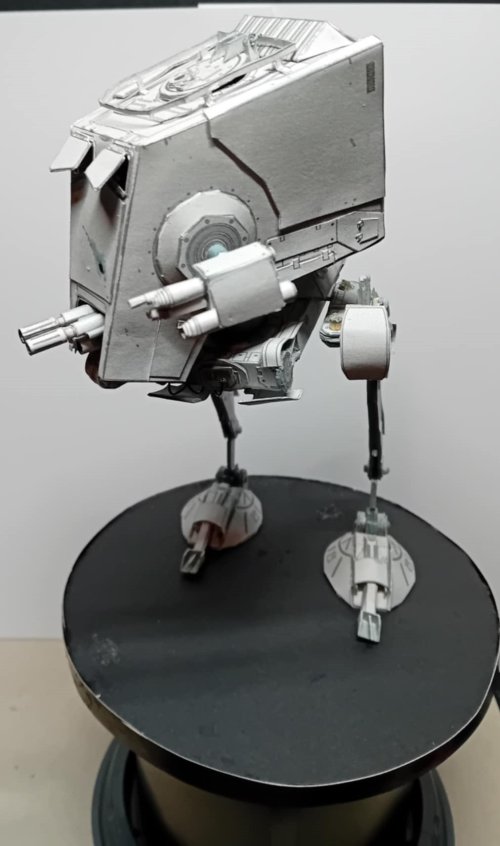
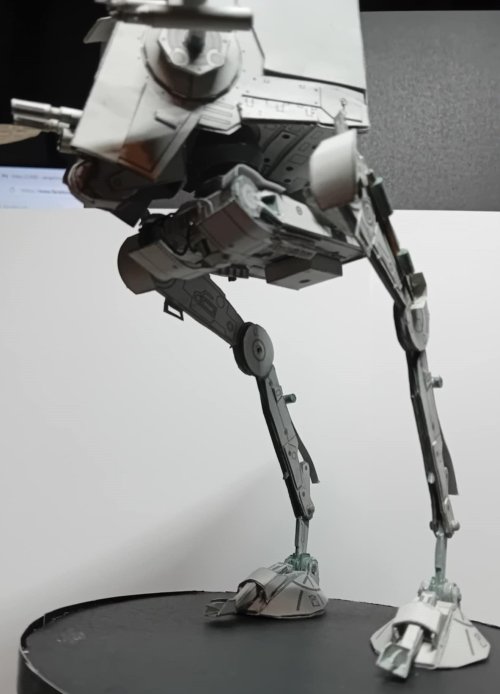
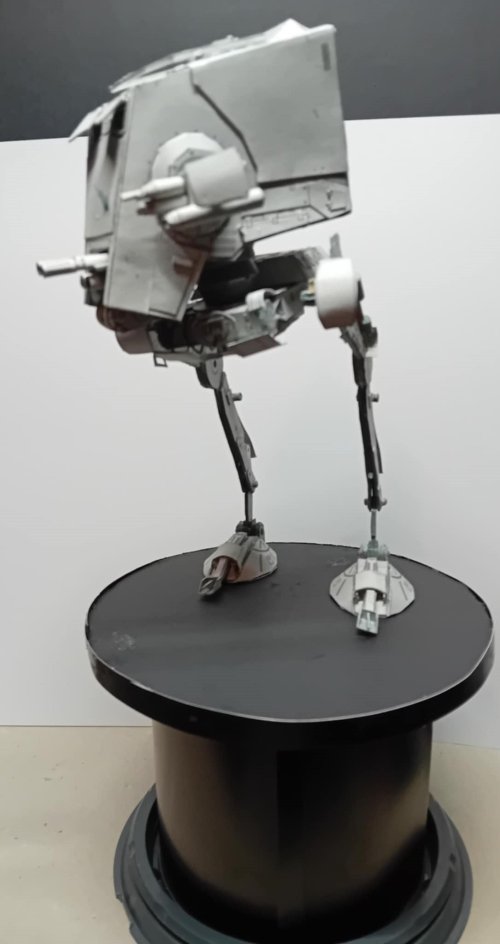
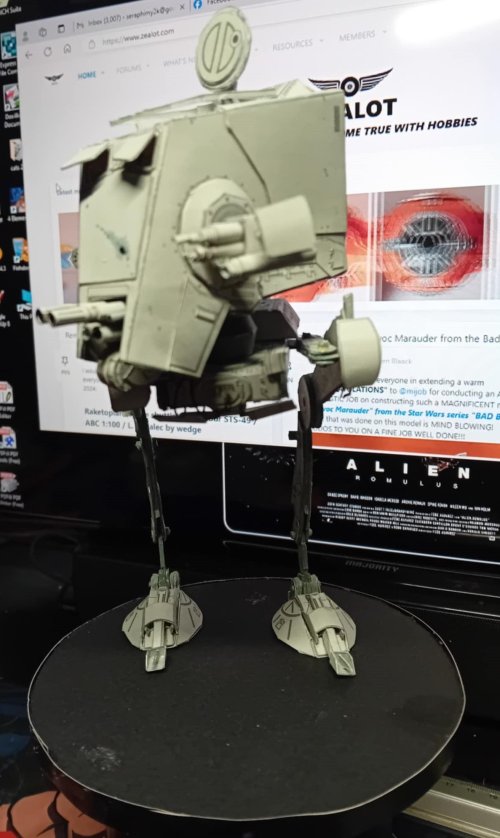
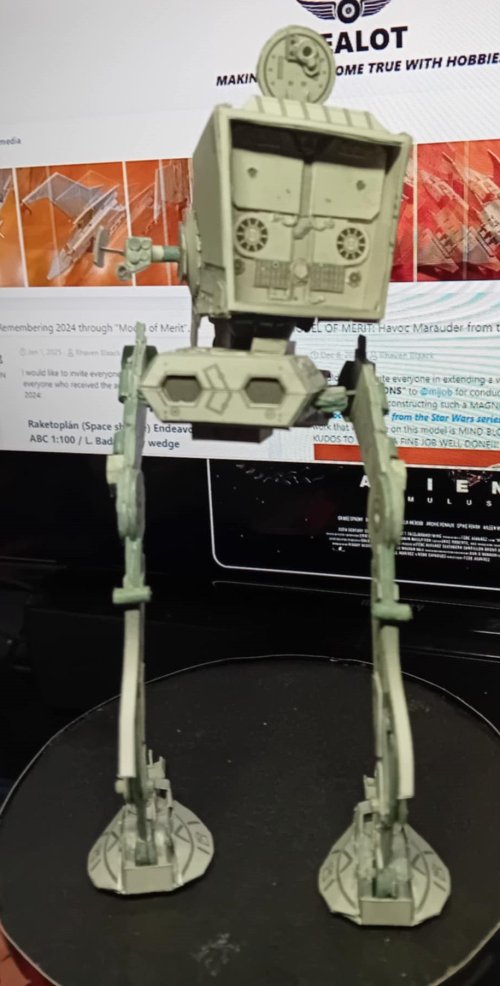
Thanks all for your kind words, the build turned out really well, but it was a great kit to put together even without the greeblification - a nice model all round that you can do loads with if you really wanted to. Now its all done and dried its just bits of house keeping and on to the diorama (which will be a new thread) so more to come yet. Heres a last few gratuitous ATST pics.
Cheers all for the encouragement!
Cheers all for the encouragement!
Attachments
-
 2b56c656-f92d-4f7f-9cae-734e4abb3529.jpeg250 KB · Views: 2
 -
 3d123902-d32b-4f86-b1d2-93c2c4f22bcc.jpeg171 KB · Views: 2
 -
 1c0214d1-3e07-433d-ac09-652d198cbdcd.jpeg221.1 KB · Views: 2
 -
 12ddbc72-ed2b-42d3-97fe-5cd8148cc8ac.jpeg177.6 KB · Views: 1
 -
 070e75a6-0c17-45a1-a5f4-5cbbc1bb1338.jpeg189.4 KB · Views: 2
That looks AMAZING You have done a FANTASTIC JOB on this project!