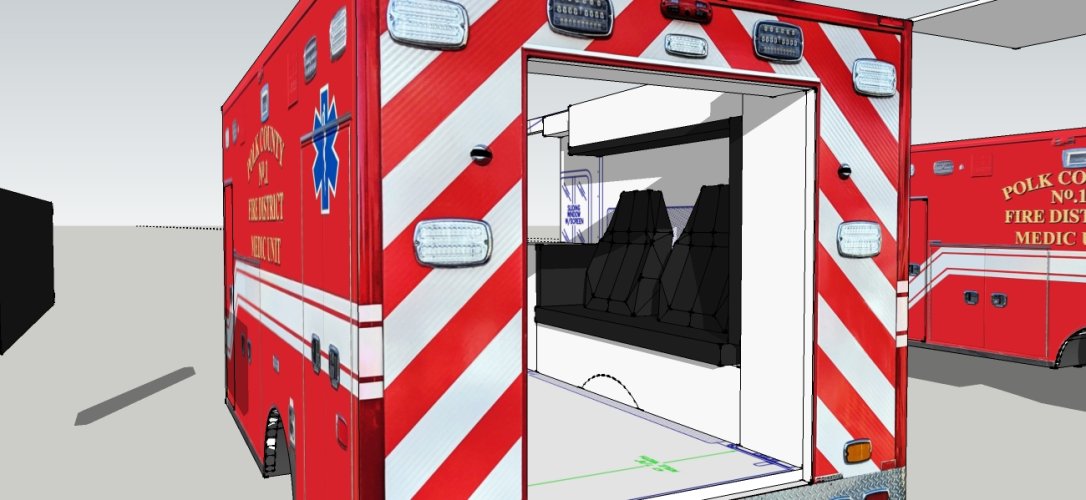
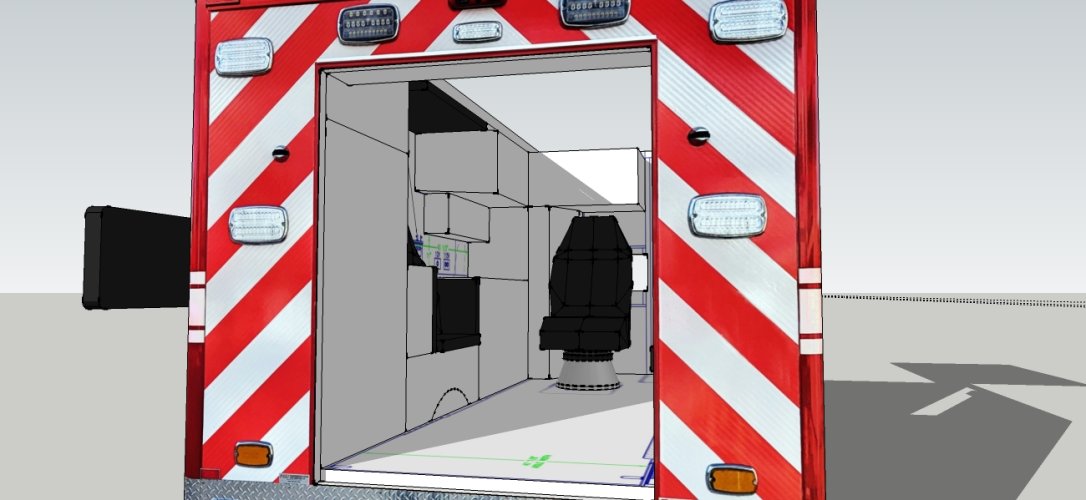
Ford F550 Super Duty Ambulance (Polk County)
- Thread starter Revell-Fan
- Start date
You are using an out of date browser. It may not display this or other websites correctly.
You should upgrade or use an alternative browser.
You should upgrade or use an alternative browser.
Your detailing work is amazing to watch!
Keep it up master!!
Keep it up master!!
I am glad to see that you are including a detailed undercarriage.
These are just flat graphics, added for cosmetic reasons only. They are not intended to be fleshed out in 3D. You may laminate some pieces but you have to do it at your own risk. The detail is completely made up. There is no reference material of the real vehicle available which I could use as a base. You would have to recess the bottom which may require an extensive rework of the internal skeleton. There are several tubes which run from the front to the aft of the vehicle. Since the bottom is uneven there is no way to add those tubes without cutting holes into the protrusions of the floor.I am glad to see that you are including a detailed undercarriage.
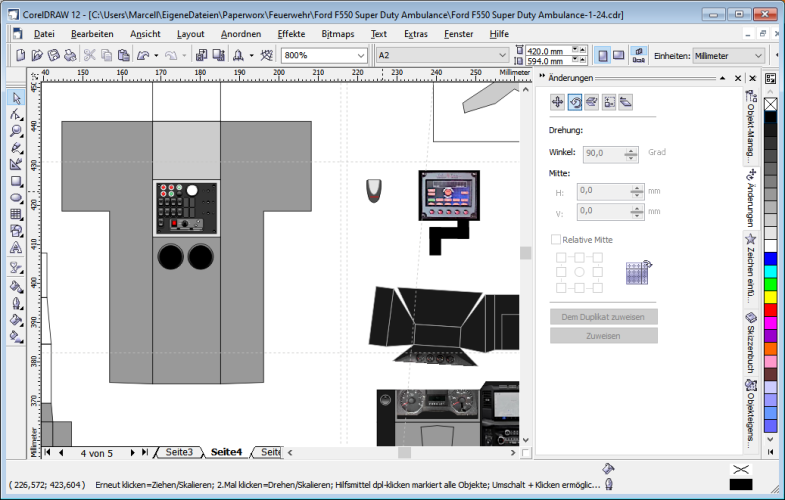
Now then. I have found several nice pictures of the center console of the Ford ambulances. They vary from model to model which made me go with a mix of what I like best. The most surprising thing is that EVERY model seems to come with two cupholders, so these will be there. A radio intercom is important and I think a tablet might be handy for the job, too.
- Apr 5, 2013
- 13,876
- 10,214
- 228
There are tons of pics. Here's a great place to start. The 2nd link is a Google Image search link. That being said, it would more than likely take twice as much time as this model would take to make a complete frame. So the links I have are provided for those who may just wish to greeble a bit more. 
 embed-3dwarehouse-classic.sketchup.com
Ford F 550 XL 2017 chassis | 3D Warehouse
Last edited:
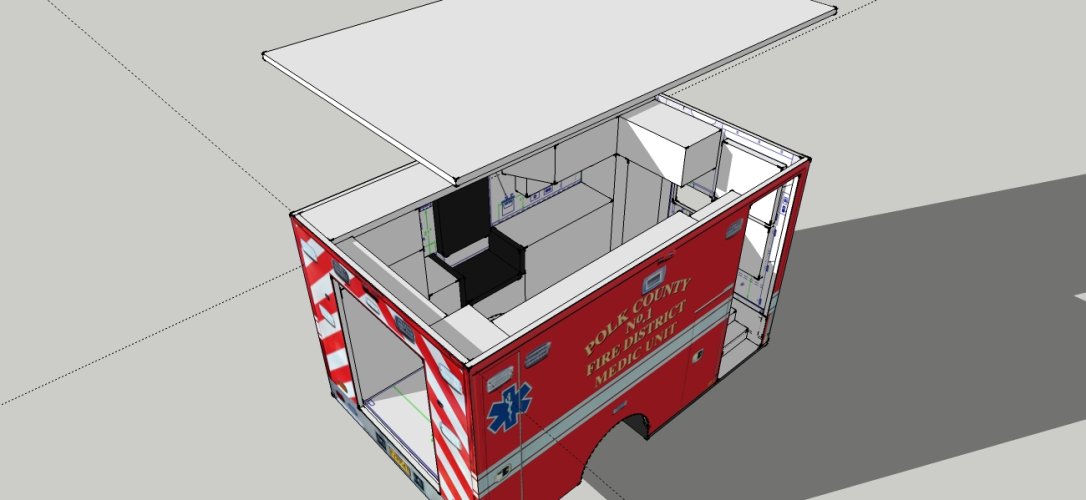
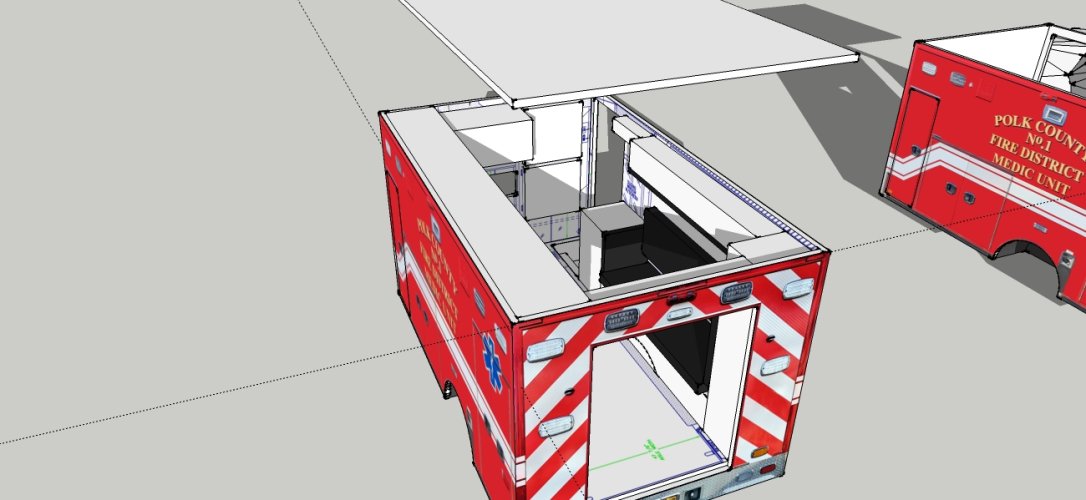
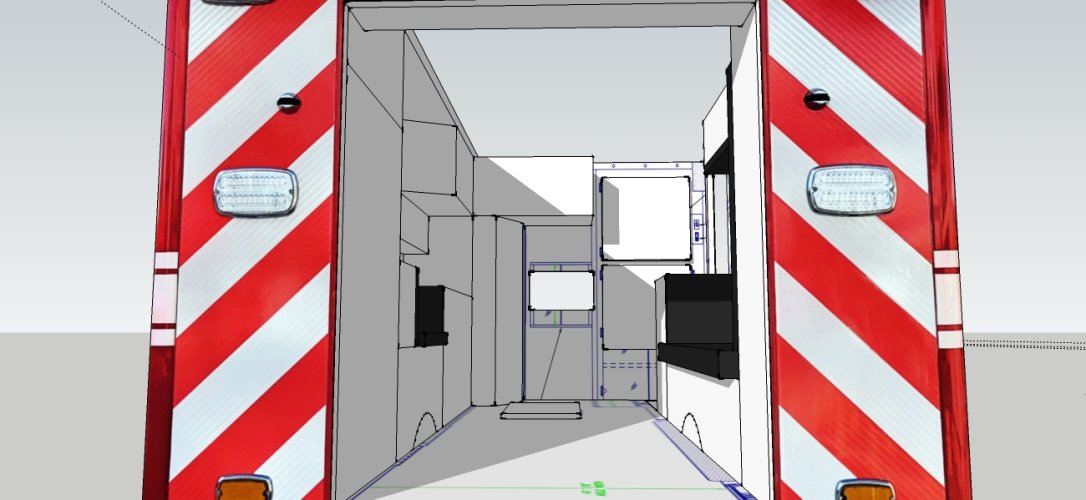
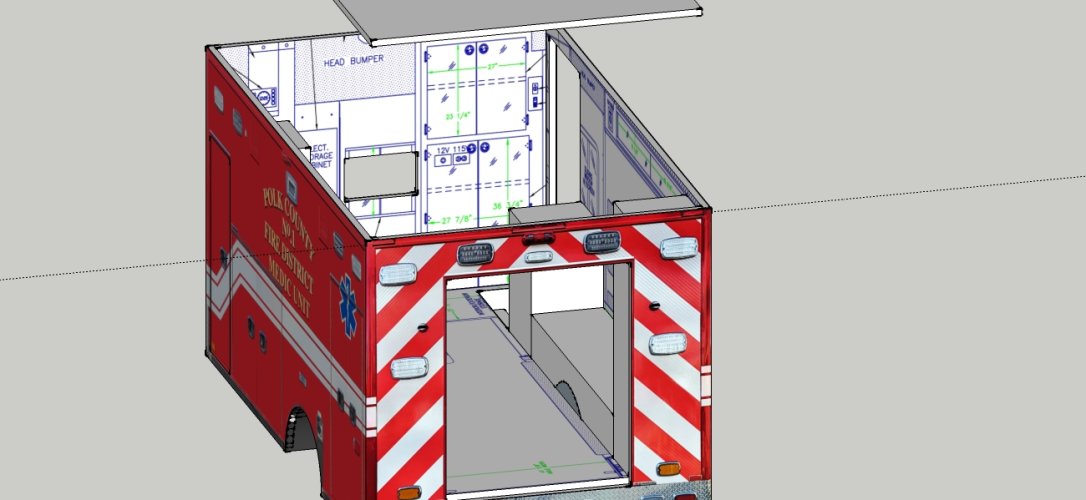
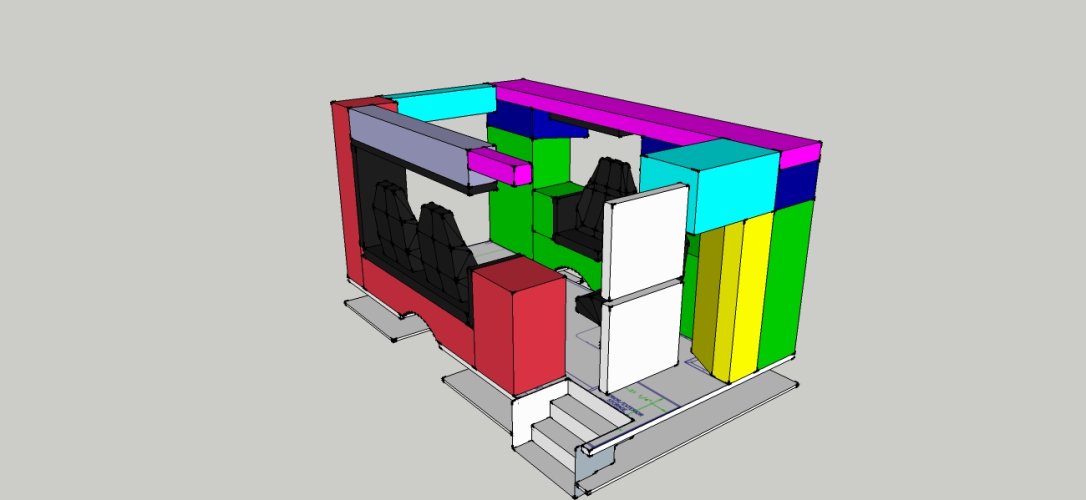
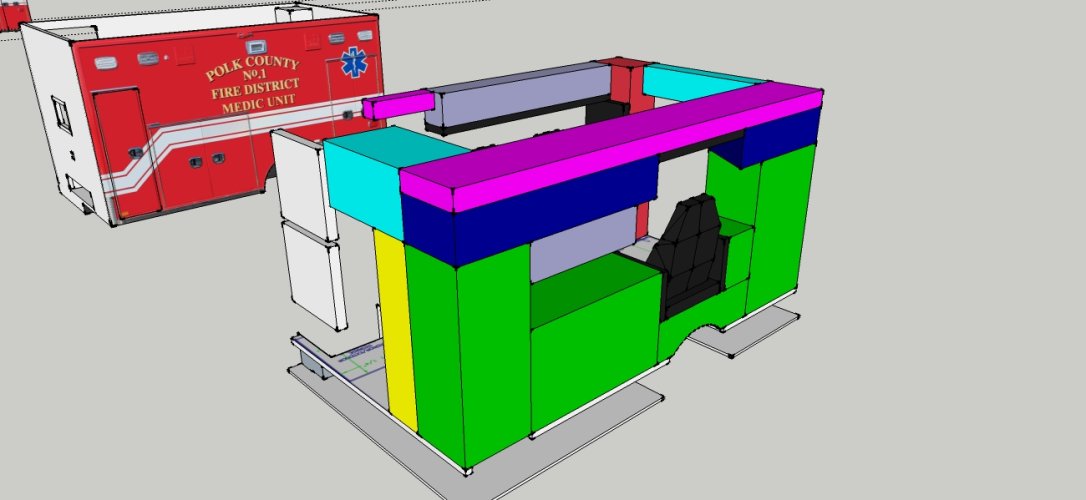
Using a setup blueprint we found in the web I'm rigging up a fitting interior for the box. It will not be a complete match since we were unable to find ANY pictures of the Polk model. However, since all vehicles are highly customized I'm using the blueprints as a guide to build "our" dream car which follows the real-life logic to a high extent. To make orientation easier I pulled out the storage areas as they are on the real vehicle and then applied the blueprints to the walls. Since the main components are the same on all of the models the guys from the fire department should feel pretty much "at home" later. 
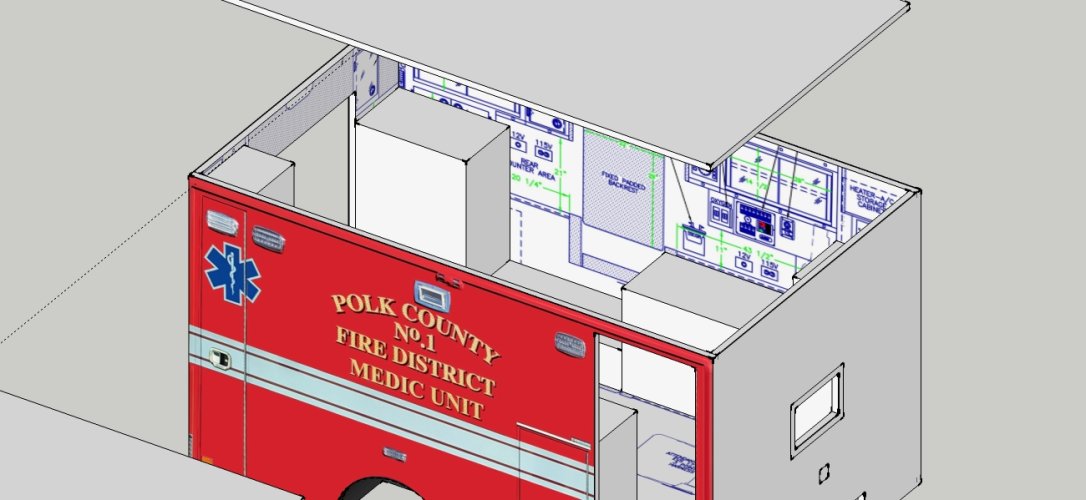
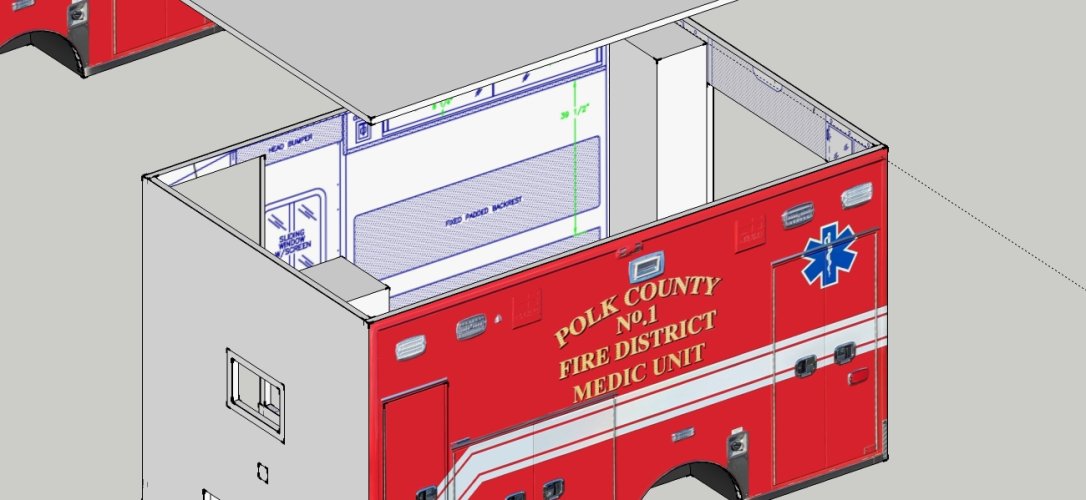


 WOW!!!


You are currently setting an EXTREMELY HIGH BAR with this model!
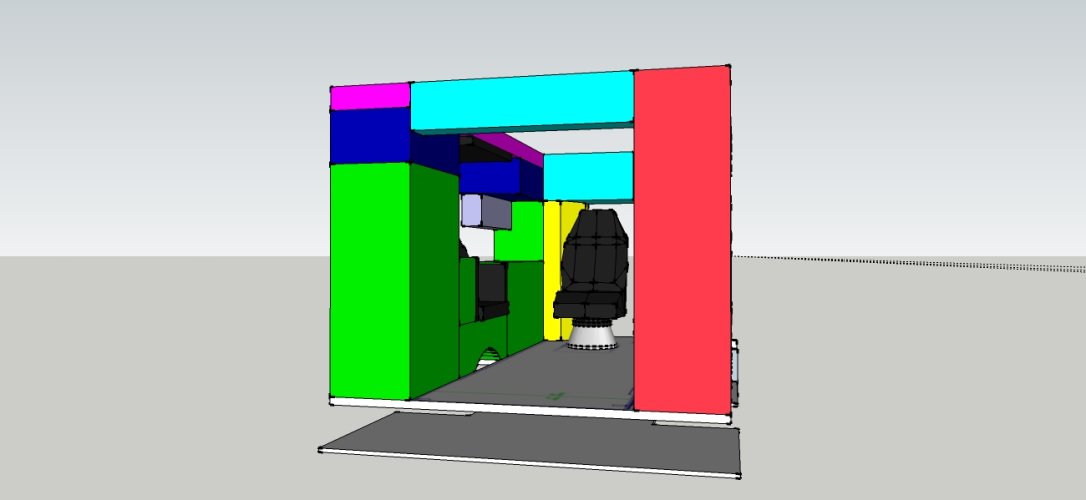
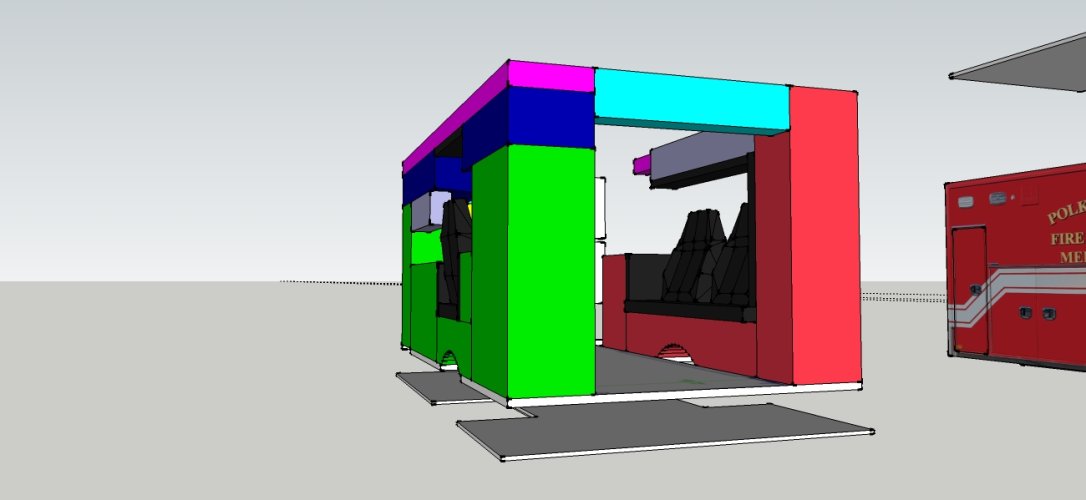
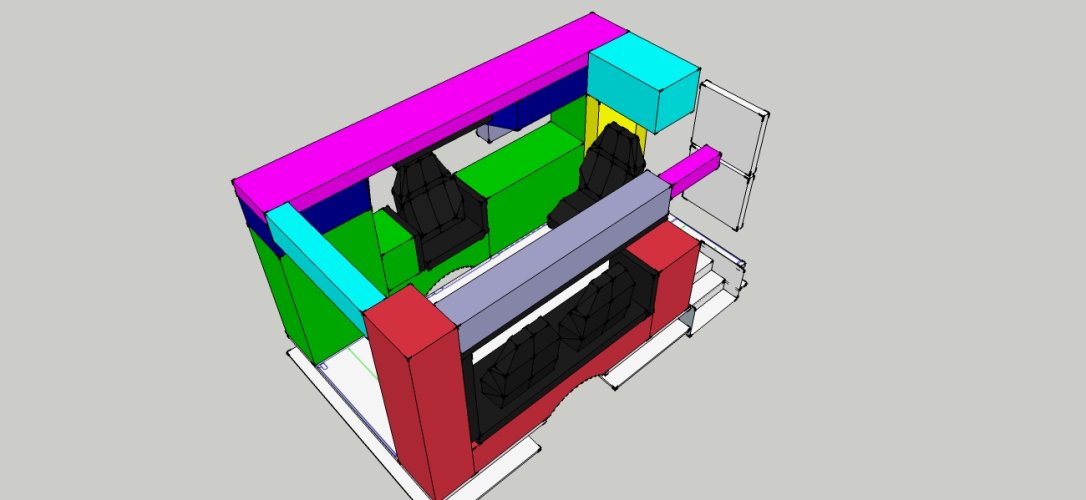
I have rigged up all interior components and have colour-coded them for easy reference. All neighbouring elements with the same colour will be unfolded as one piece. This minimizes the parts count and reduces the margin of error caused by paper thickness. One of the main issues with interiors is that a 3D model deals with absolutely ZERO tolerances. All walls have the thickness of "0". However, in reality the paper increases this by 0.22 - 0.25mm in all directions. If you use flaps this amount may even double. I have run into pretty tight fits on my builds, so to avoid the walls of the box being bulged outwards by the interior I'm making each component a tad smaller. The fit should be snug but not too tight. If my calculations are incorrect and produce a gap you will be able to close it with a simple paper strip. The main advantage here is that I'm dealing with pretty easy geometric shapes, mostly boxes. The tricky part is to determine which value should be taken as a base: Shall I use a single paper thickness or twice the thickness because the components have two walls? I don't want to tinker too much with it, so for the time being I'm working with a single paper thickness. If the test build shows that this is not enough I can increase the tolerances and fix the parts on-the-fly. 


......and cry......i cry alot.
i now know having been on this forum for a bit, what the students of Da Vinci, Galileo, Gaugin, Van Gogh etc would have been saying were there such a forum for them lmao
this carries on i think you guys may need someone to throw flowers at your feet as you walk lol
amazing work dude
.......*note to self: steal shrinkray from somewhere.....shrink something awesome.....look like one of the cool kids......*.........ahem


