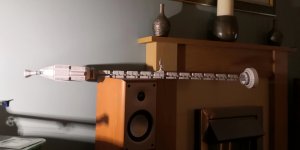
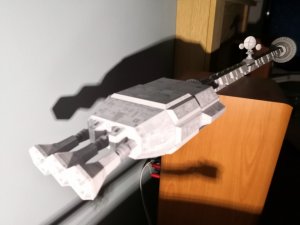
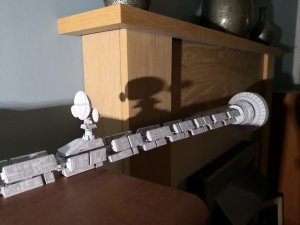
Just to be clear - I was joking about the yellow, I just hope it looks OK without the lighting. In fact - I just hope it will look OK when it's done!i'll have to get all the pics back up for you and all to see. lighting not the best, but looks good.
painting it yellow? hummm..
could even have a large picture of Jupiter in the back ground and have it slowly spinning..
food for thought..
")

")