Colonial Landram from Battlestar Galactica
- Thread starter Revell-Fan
- Start date
You are using an out of date browser. It may not display this or other websites correctly.
You should upgrade or use an alternative browser.
You should upgrade or use an alternative browser.
... All kits except for the A-Team Ram version: I find the old one more appropriate since it looks more like the GMC Van wheels, so that one will stay. 
Second revision:
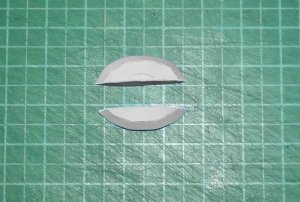
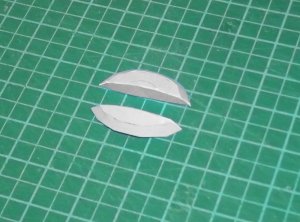
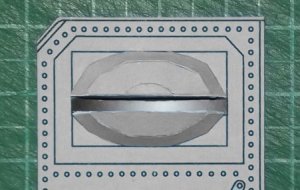
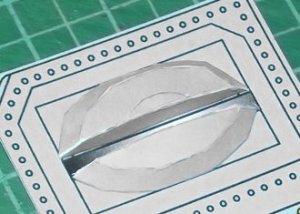
When I assembled the driver's cabin I noticed that a hole is important to press the flap of part 1 to the inside of part 2. I think I already mentioned that somewhere a looong time ago but it has never been an actual part of the template. This has changed and part 2 looks like this now:
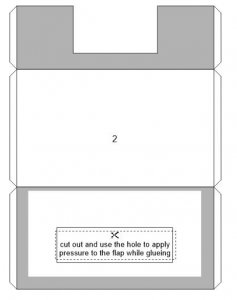
This will make assembly much easier.
When I assembled the driver's cabin I noticed that a hole is important to press the flap of part 1 to the inside of part 2. I think I already mentioned that somewhere a looong time ago but it has never been an actual part of the template. This has changed and part 2 looks like this now:

This will make assembly much easier.
Sooo, I have drawn the final part in Corel and printed the last two pages for the test build.
My nose is speeding things down at the moment but I have set an ETA for the model. If everything fits it will be in the Resources in approximately one week for everyone to enjoy!
My nose is speeding things down at the moment but I have set an ETA for the model. If everything fits it will be in the Resources in approximately one week for everyone to enjoy!
THANK YOU! 
What's even better: The parts are much easier to assemble than their predecessors.
I was a bit hesistant to tell you more about the new Landram version because I wasn't sure if everything would proceed as planned. Now as the test build is progressing so fluidly I can tell you what this new Landram is all about. This will be a special Ram in a dessert camo paint scheme, with many new parts for @Rhaven Blaack to greeble out.
I'm still tweaking the texture of the hull but I can already show you some detail parts.
First of all, a dessert version needs a cooling unit or airconditioning. I therefore retextured part 37a and added cooling vents and a few "holes" at the rear:
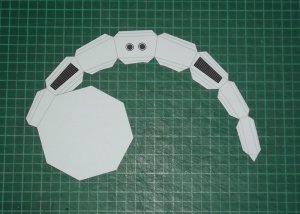
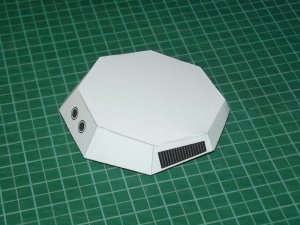
However, this looked a bit "empty", so I added some graphics:
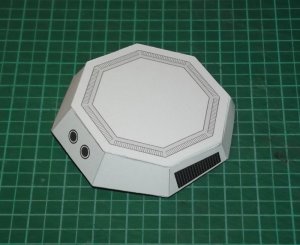
Not too bad, methinks
What's even better: The parts are much easier to assemble than their predecessors.
I was a bit hesistant to tell you more about the new Landram version because I wasn't sure if everything would proceed as planned. Now as the test build is progressing so fluidly I can tell you what this new Landram is all about. This will be a special Ram in a dessert camo paint scheme, with many new parts for @Rhaven Blaack to greeble out.
I'm still tweaking the texture of the hull but I can already show you some detail parts.
First of all, a dessert version needs a cooling unit or airconditioning. I therefore retextured part 37a and added cooling vents and a few "holes" at the rear:


However, this looked a bit "empty", so I added some graphics:

Not too bad, methinks
OK, that component looks good!
As for greebling; PLEASE, MORE GREEBLES! I LIVE FOR GREEBLING!!!
As for greebling; PLEASE, MORE GREEBLES! I LIVE FOR GREEBLING!!!
This project was supposed to be a small fun project but it is more and more becoming an essential part of the revision of the Landram files as a whole.
While digging through old folders I found a project Rhaven and I started a year ago: An interior for the Landram. We were comparing different Snowcat versions to see how the interior for the Landram could have been like. All versions had one thing in common: angled front windows. I mistakenly chose to model windows that go straight down.
Old straight windows version:
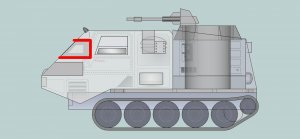
New angled windows version:
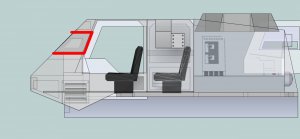
In the first model the straight down windows were okay but in a version with interior these would be in the way for the driver and co-pilot and would look odd compared to the screenshots of the Ram with open doors. So I changed the construction accordingly to match the original vehicle. The Dessert Ram will be the first to contain the new parts.
A quick comparison of the unfolds:
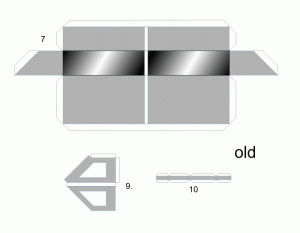
I missed to add some flaps and scissors in the graphics but you get the meaning. This way I'm thinking ahead and make sure that the Dessert Ram is ready to be equipped with a full cabin interior later-on (if someone wants to build it this way - OK, I know someone who will do it! ).
).
BTW, I think it is time for a new LAUNCH COUNTDOWN:
ETA T-7 Days!
While digging through old folders I found a project Rhaven and I started a year ago: An interior for the Landram. We were comparing different Snowcat versions to see how the interior for the Landram could have been like. All versions had one thing in common: angled front windows. I mistakenly chose to model windows that go straight down.
Old straight windows version:

New angled windows version:

In the first model the straight down windows were okay but in a version with interior these would be in the way for the driver and co-pilot and would look odd compared to the screenshots of the Ram with open doors. So I changed the construction accordingly to match the original vehicle. The Dessert Ram will be the first to contain the new parts.
A quick comparison of the unfolds:

I missed to add some flaps and scissors in the graphics but you get the meaning. This way I'm thinking ahead and make sure that the Dessert Ram is ready to be equipped with a full cabin interior later-on (if someone wants to build it this way - OK, I know someone who will do it!
BTW, I think it is time for a new LAUNCH COUNTDOWN:
ETA T-7 Days!
Last edited:
Yesterday I spent the whole evening designing new parts for this special version. Among them is THIS:
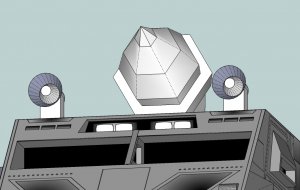
OK, you can also see this will be a very horny Ram..!
This is the big cahoona on top of the driver's cabin. I figured that it would need a counterbalance on the back, so I added a dish on top of the cooling unit that actually rotates!
T-6 days!

OK, you can also see this will be a very horny Ram..!
This is the big cahoona on top of the driver's cabin. I figured that it would need a counterbalance on the back, so I added a dish on top of the cooling unit that actually rotates!
T-6 days!
Last edited:
I have just completed the paint scheme of the big cahoona. It is pretty sophisticated. It will have many different shades of brown, some cream and a dip of red. I like it very much. It will be very "lifelike". 
And the test build continues!
These are some parts of the interior:

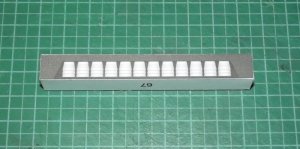
This is some kind of fuse box. I found out that it needs refinement: It was supposed to be placed in the upper corner of the compartment section but since this has an angled roof it did not fit properly. Small fix on-the-fly, BTW.
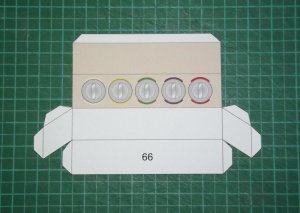
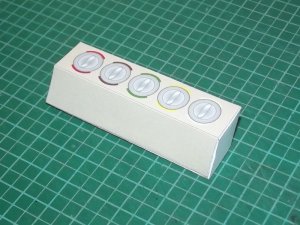
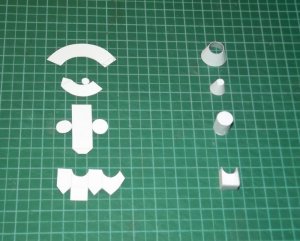
Now we have a control panel consisting of three parts which are laminated to each other. It looks great!
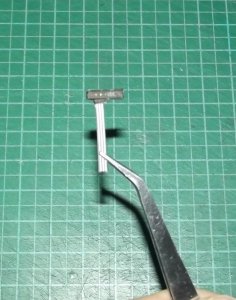

And this is what I call the "kitchen sink". It is also part of the ceiling and belongs to the cooling unit.
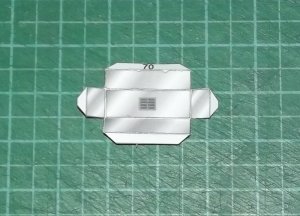
Last but not least a wall computron.
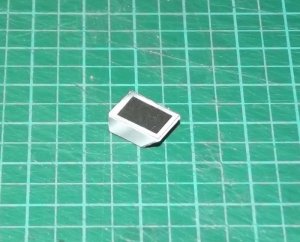
T-5 days!
These are some parts of the interior:


This is some kind of fuse box. I found out that it needs refinement: It was supposed to be placed in the upper corner of the compartment section but since this has an angled roof it did not fit properly. Small fix on-the-fly, BTW.
Now we have a control panel consisting of three parts which are laminated to each other. It looks great!


And this is what I call the "kitchen sink". It is also part of the ceiling and belongs to the cooling unit.

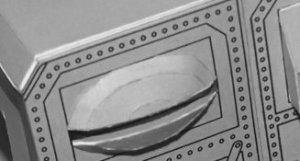
Last but not least a wall computron.

T-5 days!
Last edited:
One question: Do you want me to release the "wheels for dummies" I posted here? Is there any interest in it?
When I build this, I will be using the original tracks. So will not need the "dummy track".One question: Do you want me to release the "wheels for dummies" I posted here? Is there any interest in it?
Last edited:
Those components look GREAT!
On the control panel, I would raise the outer circles and the inner rounded rectangles.
On the control panel, I would raise the outer circles and the inner rounded rectangles.
You can do that. The bars are supposed to be raised since these are some kind of handles. You could see this as a maintenance or storage unit as well, similar to the apparatus that stored the self-destruct containers in "Alien" (the ones Ripley pulled out and in again at the end of the movie). I could have gone all-out by adding a structure beneath and turn the circles into removable lids but that would have required too much time. 
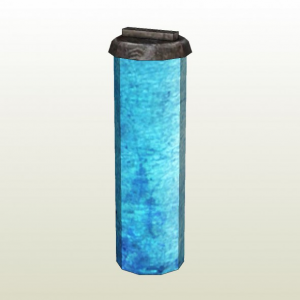
So, these could be power cells.You can do that. The bars are supposed to be raised since these are some kind of handles. You could see this as a maintenance or storage unit as well, similar to the apparatus that stored the self-destruct containers in "Alien" (the ones Ripley pulled out and in again at the end of the movie). I could have gone all-out by adding a structure beneath and turn the circles into removable lids but that would have required too much time.
