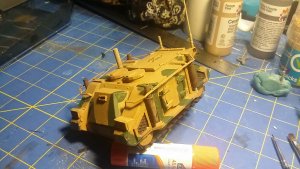
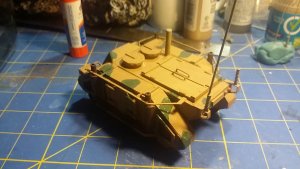
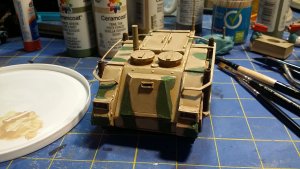
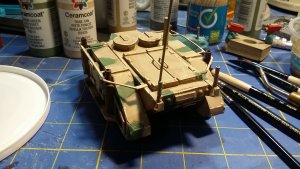
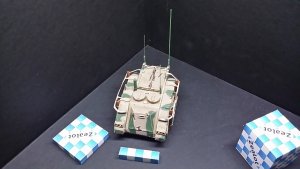
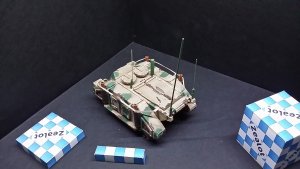
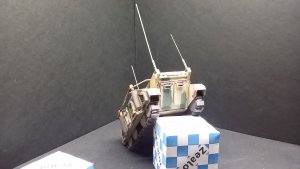
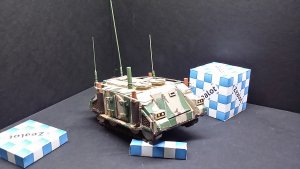
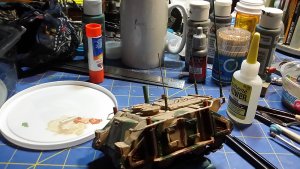
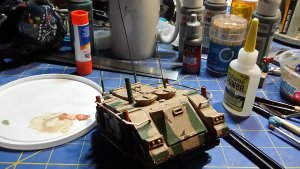
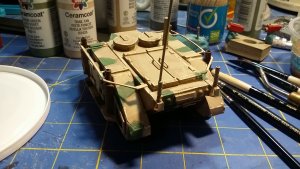
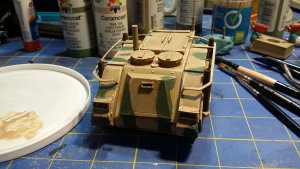
Classic Rhino build (Patoroch design)

Sudsy

Well-Known Member
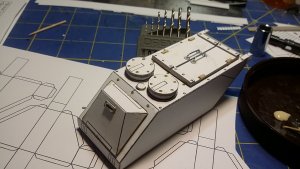
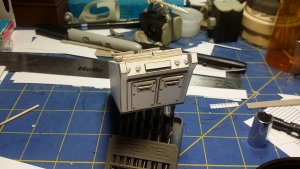
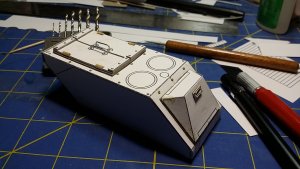
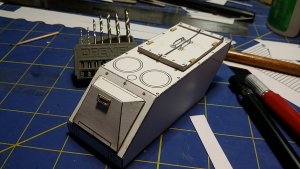
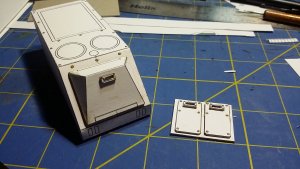
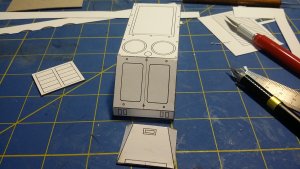
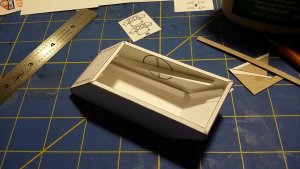
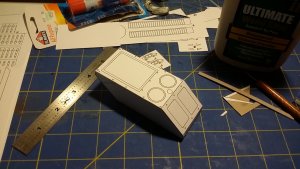
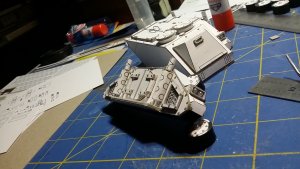
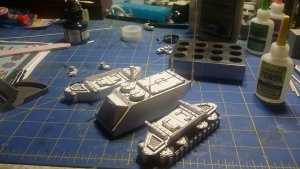
So, for the last couple of months, I've been working slowly on a Rogue Trader era Space Marine Rhino (so, design is crica 1987-ish) using a Patoroch template for a Rhino Mark I.

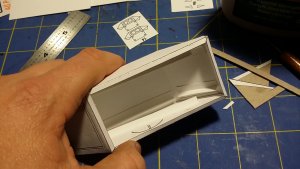
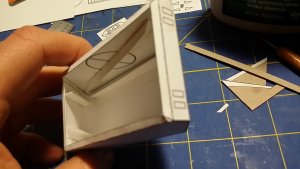
Given how stretched the build process is for this one at this point, this will mostly be a 'photo dump' type build!
20210417_212242.jpg20210410_212525.jpg20210320_214722.jpg20210320_214713.jpg20210319_230306.jpg20210319_230300.jpg20210319_220106.jpg20210319_172744.jpg20210314_202234.jpg20210314_202220.jpg20210314_202213.jpg20210314_202206.jpg

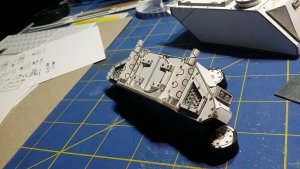
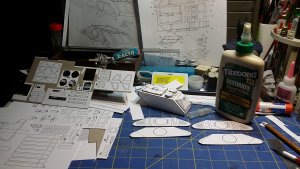
Having found a PDF file of the Compendium from the 80's, I read a few articles from old White Dwarf magazines about how the Rhino kits of that era were designed and took some liberties with which details to include for the front, and rear ramp doors (they were intended to be interchangable). This build, it will be enclosed. Someday, I do intend to build one opened up more... When I get some miniatures to crew it!

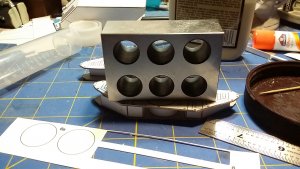
I am happy to finally use my 123 blocks (they are A2 tool steel blocks I made when I atteneded my trade school in community college; they measure 1.0000" x 2.0000" by 3.0000" on each side; yes, four decimal places as they were machined then ground to those dimensions....). They help me obtain a solid 90 degree angle on some bends, as well as being very nice weights to keep things flat.
 

Sudsy

Well-Known Member
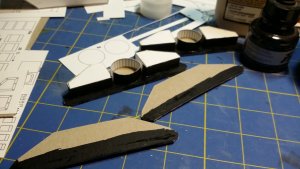
As of this posting, I got my sides started with the road wheels and such.

20210417_213848.jpg20210418_221616.jpg20210418_215352.jpg20210417_225841.jpg

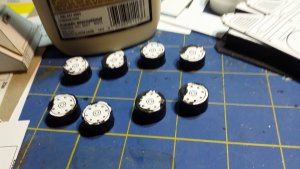
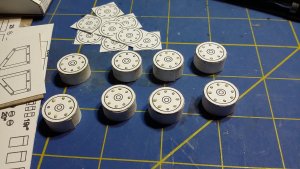
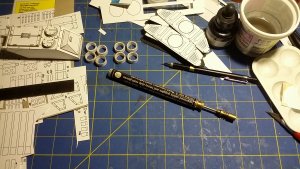
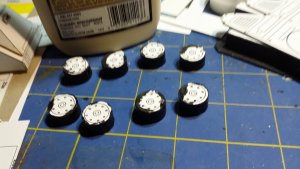
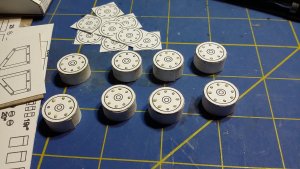
I never used that butane pencile torch from Harbor Freight Tools for it's intended purpose in the last almost decade, but it turned out to the be the perfect size for my road wheels! As usual, these were modified from the original design but cutting the same width strips from scrap paper and wrapped around a mandrel (the pen torch in this case) until the desired outer diameter was achieved. Black acrylic ink was applied where primer might not land, and then things were assembled. More greblies here forthcoming!
 

Sudsy

Well-Known Member
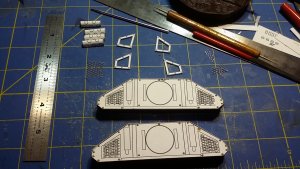
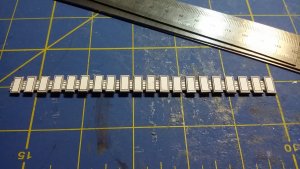
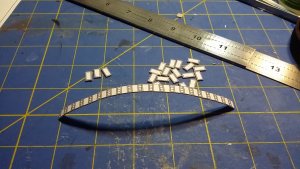
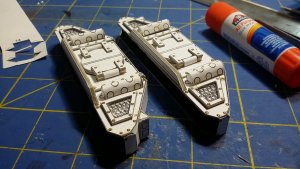
On to finishing the road wheels and starting to greeblie the tread sections. I used a mesh called "Wireform" which comes in aluminum (shown) and copper (not shown) that I have had lying round for years (from the days I tried sculpting with polymer clay and such...). These go where there are grates on the classic design, about where the drive gear and idle sprocket would be on a real tracked vehicle. I am tempted to add another road wheel, but I see why the omitted a fifth in the first place; the side doors to the crew compartment sit right over the center where a road wheel would logically be placed. Given the diameter of the wheel, and the diameter of the side door, there would be an interference (and very thin armor if not). Good design compromise on the part of Games Workshop on their first plastic vehicle kit ever.

20210423_224819.jpg20210418_221616.jpg20210418_215352.jpg
 

Sudsy

Well-Known Member
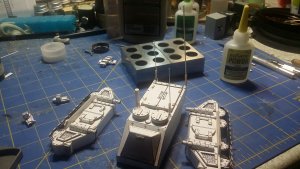
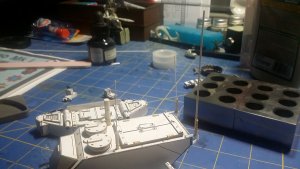
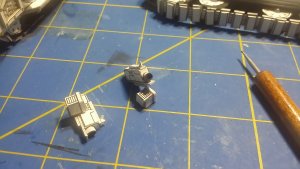
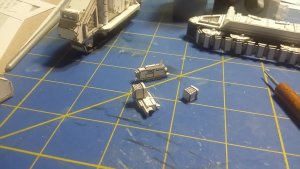
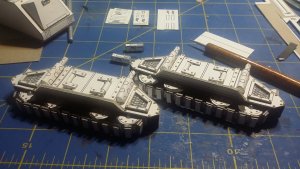
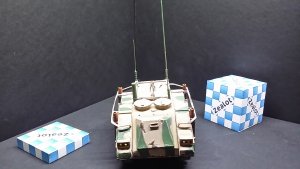
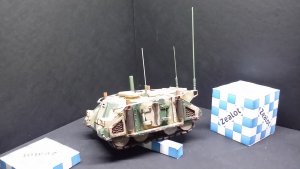
Final stretch has begun! Treads are mounted on the sides. Bolters have been built and ready for priming. Finally, and probably to my regret here in a few days when I prime and finally assemble all the major sub-assemblies, I've mounted a variety of antennas. If any enemy has any sense, they will ignore tanks and concentrate fire on this APC... This is a most worthy mount for the Officer of the Fleet in any Imperial Commander's HQ.

20210508_215854.jpg20210508_215843.jpg20210508_215829.jpg20210508_205921.jpg20210508_205909.jpg20210508_193630.jpg20210508_193621.jpg
 

Sudsy

Well-Known Member
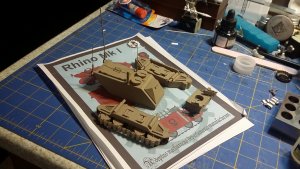
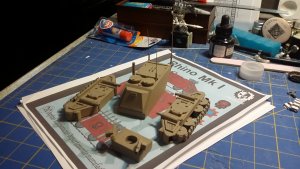
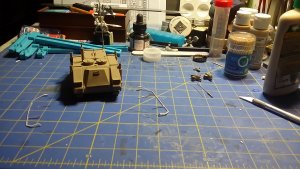
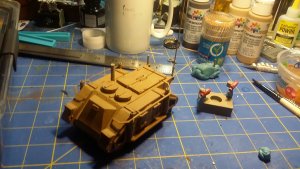
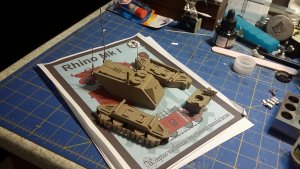
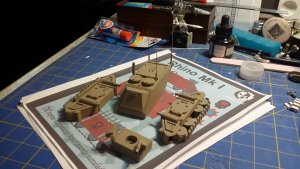
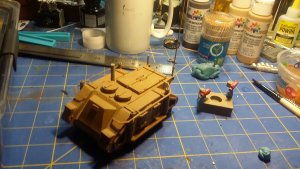
Primer really makes these paper models pop! Then on to base coating.

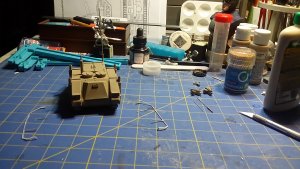
I forgot to add the massive hand rails to either side at first, but @dr_tetrode reminded me of how I can cut them out of paper and use a thin CA glue to reinforce them... At frst I was considering making them from paper sticks, but hesitated because none of the paper stick material I had really made sense.... Yeah, total brainfart on my part. Thanks @dr_tetrode for the reminder! But then, last time I did that, it was my Abrams style tank last year. yeah, a year ago....
20210509_131951.jpg20210509_132007.jpg20210509_183306.jpg20210509_222628.jpg
 

Rhaven Blaack

!!!THE MAN BEHIND THE CURTAIN!!!
Staff member
Administrator
Moderator
The primer really seals everything. I am looking forward to seeing how this turns out!
 

mijob

Tie designer
Staff member
Moderator
That's a great looking model and that painting is lovely. Job well done thumbsup
 
Top