Build: Modelart F117 American Flag 1/72 scale

flpaperguy

Active Member
Nov 9, 2023
84
305
40
66
Central Florida, USA
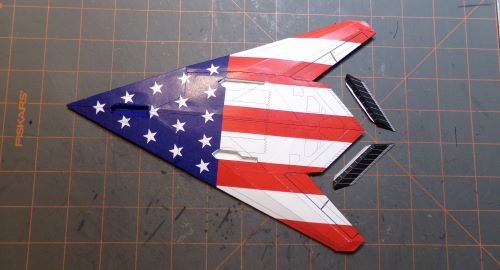
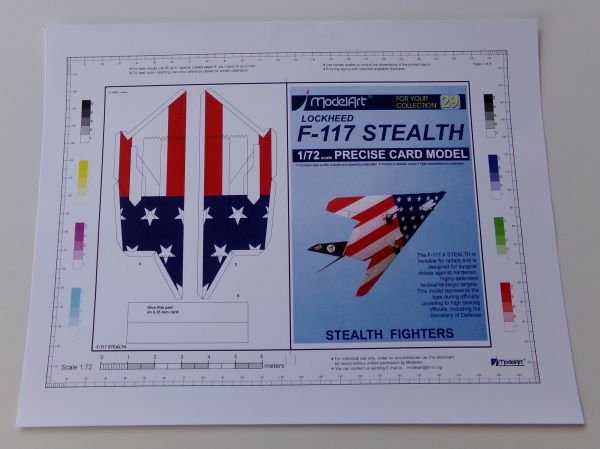
ModelArt offers 2 versions of their 1/72 scale F117: the Desert Storm version, which is mostly gray, and the American Flag version.
f117-img1.jpg


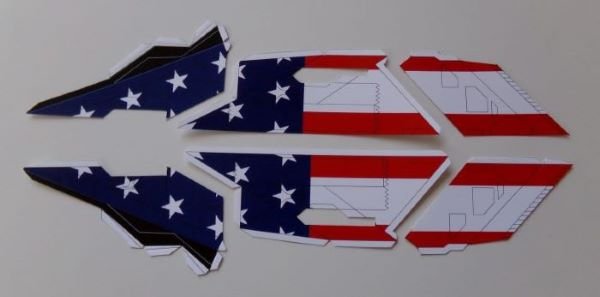
This 1/72 scale model has 4 1/2 pages of parts, 5 diagrams, and 1 page of assembly instructions (in English). I don't think this model will require any great feats of craftsmanship, but I expect putting together all the angled surfaces will be a challenge.

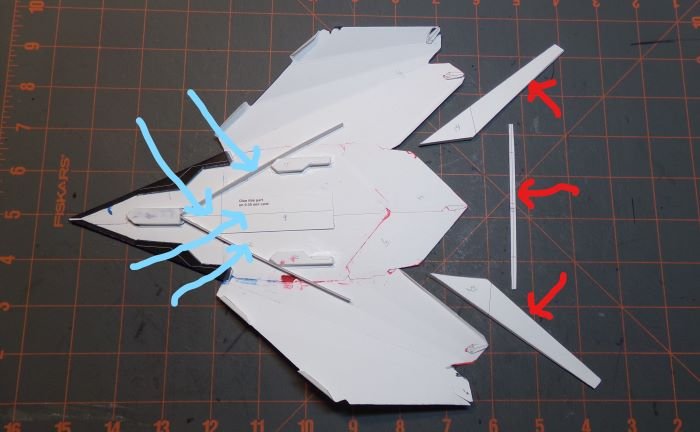
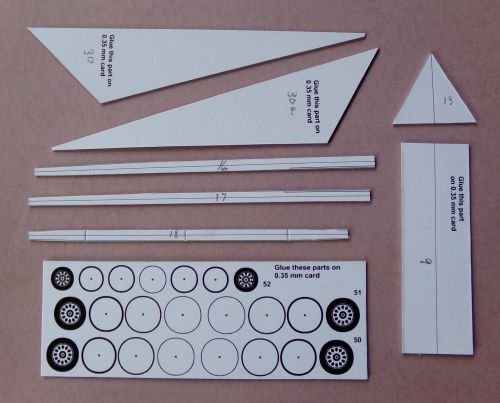
The instructions state there are some parts that need to be glued to 0.35 mm card. So, I laminated them to 1 layer of poster board, using Krylon Spray Adhesive. These parts are formers, stiffeners and landing gear tires.
f117-img2.jpg


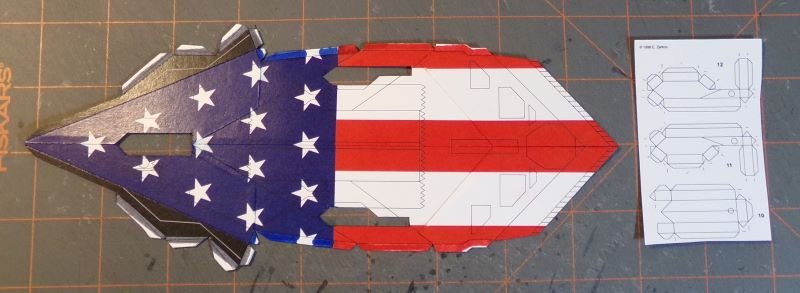
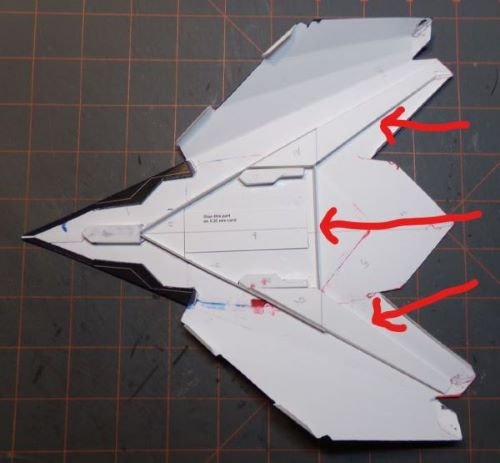
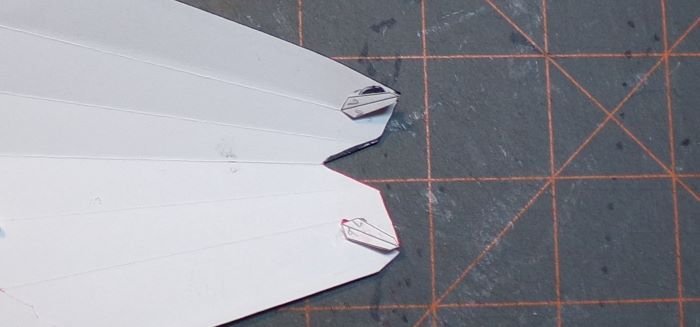
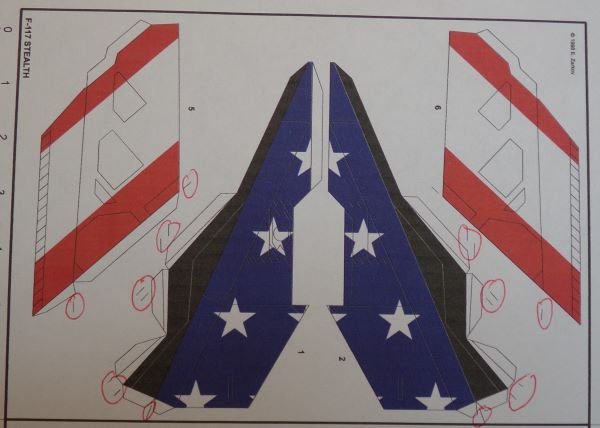
Assembling this model requires a good scoring tool. There are a lot of score lines because the model is mostly straight lines. Where to score is indicated by short black lines on the outer border of the parts. I circled score indicator lines in red in the accompanying photo.
f117-img3.jpg
 
Last edited:

Chuffy70

Well-Known Member
Jun 5, 2022
842
1,708
75
Norwich UK
This kind of aircraft really suits card modelling, good start

The Typhoon had a similar patriotic motif over here for awhile whilst doing the display circuit


CON-OFFICIAL-20210528-0421-0247-768x539.jpg
 

Revell-Fan

Co-Administrator
Staff member
Administrator
Moderator
Aug 1, 2009
11,613
12,353
228
Vreden
That looks cool! I'm looking forward to seeing how it turns out. :)

BTW, there is a version of the Canon eagle with stars and stripes. It looks awesome, too. :)

 
  • Like
Reactions: flpaperguy

flpaperguy

Active Member
Nov 9, 2023
84
305
40
66
Central Florida, USA
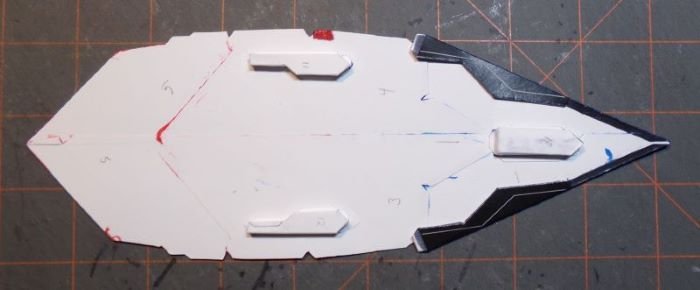
All 3 landing gear bays are constructed and glued to the unprinted side of the fuselage's bottom. The front edges of parts 1 and 2, which are black in color, are folded over and glued to the unprinted side of the bottom. The front portion of the fold over lays flat and the back portion is raised a little by 3 glue tabs.

f117-img6.jpg


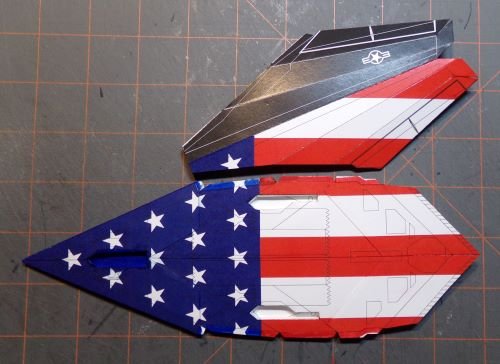
Next step is to glue the bottom of each wing to the bottom of the fuselage.

f117-img7.jpg
 

flpaperguy

Active Member
Nov 9, 2023
84
305
40
66
Central Florida, USA
Once the underside of the wings were dry, it was time to add several strengthening parts (which I previously laminated to post board) to the unprinted side of the fuselage's bottom. The positions for parts 9, 13, 16 and 17 (indicated by the green arrows the photo) were apparent after studying the diagrams for a couple minutes. However, the diagrams weren't detailed enough to show exactly where parts 14, 15 and 18 (indicated by the red arrows the photo) should be placed. It was obvious the larger parts (14 and 15) were wing supports, but I was puzzled where to put part 18.

f117-img-8.jpg


After some experimentation, I realized these 3 parts were designed to fit together into subassembly.

f117-img9.jpg


Identifying the positioning of the subassembly was fairly obvious.

f117-img10.jpg
 

Rhaven Blaack

!!!THE MAN BEHIND THE CURTAIN!!!
Staff member
Administrator
Moderator
Jun 12, 2009
12,529
9,911
228
Oregon
www.deviantart.com
This model was printed by a laser printer at my local Office Depot store.
I would like to print all my models that way, but I found the printing has a tendency to crack and/or flake off when the parts are scored and/or bent.
I too have had very bad experiences with laser printing. I have heard that if you spray the parts sheets with a clear coat of lacquer to seal the print, it will not crack or flake. Unfortunately, I have not attempted this yet.
 

zathros

*****SENIOR ADMINISTRATOR*****
Staff member
Administrator
Moderator
Apr 5, 2013
13,498
9,549
228
Stock to inkjet Pigment Ink printers. The Ink is archival (100 years +). Dye ink Inkjet printers run when wet, Pigment ink does not., and fade in the UV. rays, fading into a white model.

You will find most people use InkJet printers.

www.inkproducts.com is a great source of O.E.M. ink, and a great place to find which printer you may want to get. They buy ink from the O.E.M. suppliers, which means they get their Ink from the distributors of Dupont, who owns the patent for all ink. I use only Inkjet Pigment Ink products, they must be used at least once a week to keep the nozzles clean, it's in the nature that they work. That being said, if you buy a complete kit, it will come with a head cleaning solution kit, and more printer ink, and two sets of refillable cartridges that are also already filled.

Check out the website and go from there. If you aren't in the U.S., well, then this post is useless to you (as far as supply, not the technical aspect). You can call this company, they will pick up the phone. ;)
 

flpaperguy

Active Member
Nov 9, 2023
84
305
40
66
Central Florida, USA
Here's what the printed side of the bottom of the fuselage looks like. Note the wings have a faceted shape with several flat surfaces, which is created by scoring the lines printed on the top and bottom of the wings. The engines vents (parts 19 and 20 - the 2 black parts to the right of the fuselage) will be attached to the unprinted side of the fuselage's bottom.

f117-img14.jpg


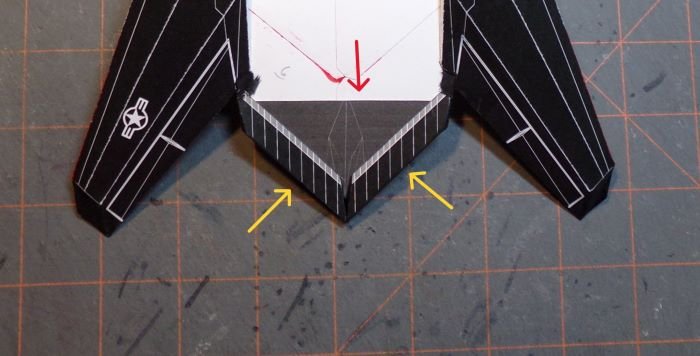
Here is the correct orientation for the engine vents (as indicated by the yellow arrows in the photo). The glue tabs on the back of each vent are at the rear of the fuselage.

I covered the unprinted back portion of the fuselage with a piece of black cardstock to prevent white from showing through any gaps in the parts (indicated by the red arrow). Coloring that area with a marker would have been easier, but I didn't want to take the chance that the ink would bleed through to the colored side.

f117-img16.JPG
 

flpaperguy

Active Member
Nov 9, 2023
84
305
40
66
Central Florida, USA
The upper portion of the fuselage is constructed by gluing together parts 21-29 in numerical order (from front to back). Doing so was easier than I expected.

f117-img15.jpg


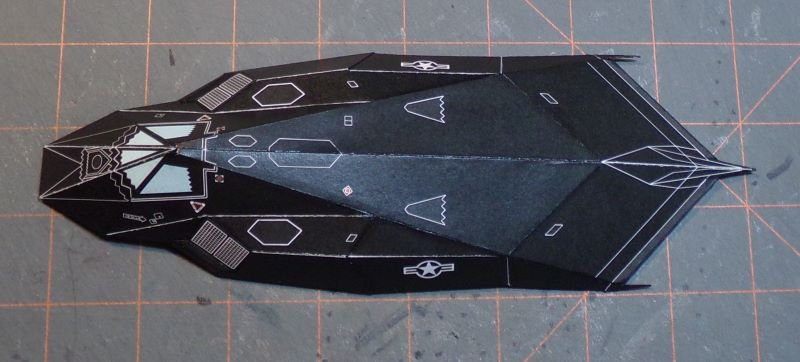
The next step is to mate the upper and lower halves of the fuselage together. There is a white line that runs from the front of the lower fuselage and across the inner edge of the wing. This is a guide line to show where the edge of the upper fuselage should be glued down.

f117-img17.jpg
 

zathros

*****SENIOR ADMINISTRATOR*****
Staff member
Administrator
Moderator
Apr 5, 2013
13,498
9,549
228
Nice and straight, I've seen some of these come out kind of wonky. You've made sure every part was the way it should be, nice! :)
 
  • Like
Reactions: flpaperguy

flpaperguy

Active Member
Nov 9, 2023
84
305
40
66
Central Florida, USA
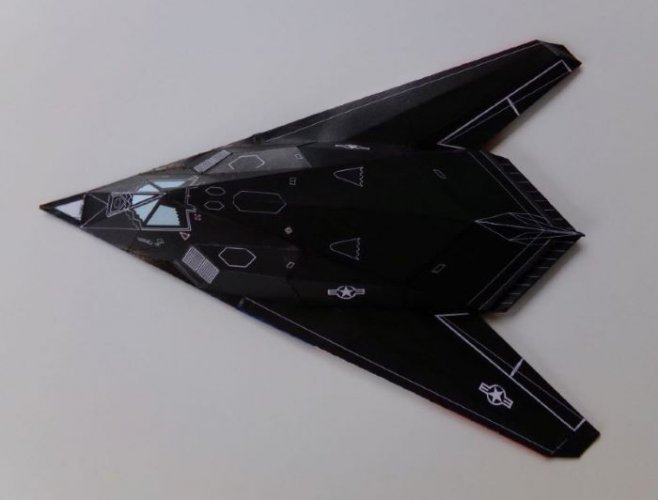
Dry fitting the upper and lower halves of the fuselage is highly recommended before gluing them together. I started at the front. I positioned and glued the front edge of the upper about 17 cm from the tip of the lower. After the front was thoroughly dry, I glued down the first tab on the right. After that was dry, I did the first tab on the left. I worked my way down the sides, alternating to the left and right. There were 6 glue tabs on each side of the upper fuselage. The rear end didn't have glue tabs so I edge glued it together.

f117-img18.jpg