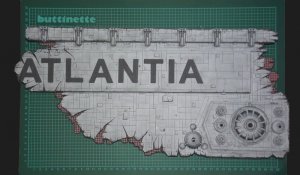
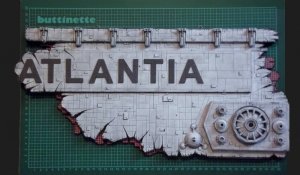
Battlestar Atlantia Wall Plaque (by Klaus Schaeftner)

Revell-Fan

Co-Administrator
Staff member
Administrator
Moderator
Hi fans!

I just received word from Klaus. He gave me his permission to release the kit when it is ready.

So everyone of you may enjoy building this cool piece of art! :)
 

Rhaven Blaack

!!!THE MAN BEHIND THE CURTAIN!!!
Staff member
Administrator
Moderator
These parts look better each time I look i
Hi fans!

I just received word from Klaus. He gave me his permission to release the kit when it is ready.

So everyone of you may enjoy building this cool piece of art! :)

thumbsupOUT(FRAKKING)STANDING!!!thumbsup
This is GREAT NEWS!!!:Bravo:
I am looking forward to building it and mounting it on my wall!!!
 

Revell-Fan

Co-Administrator
Staff member
Administrator
Moderator
OK folks, here we go again! ;)

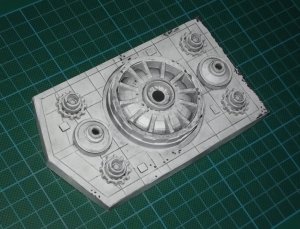
While looking at the templates and the original model I noticed some problems. The alpha test revealed a few glitches in the design which in theory was supposed to be OK but which in reality proved weird. The middle wheel of the Moerser Karl piece was sitting too low; in addition, it was extremely difficult to align the two parts. I corrected this. Now both pieces have been joined into one part which is much easier to handle.

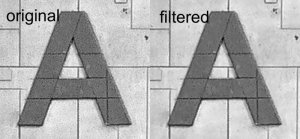
The results of the G'MIC filter are gorgeous! I definitely recommend this plugin. I have it run twice over the templates and the results are like night and day. The noise has almost completely vanished. I could have run it a third time but I didn't want to risk anything (the original source shall be recognizable).

AtlantiaBasefilter.jpg

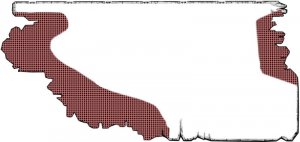
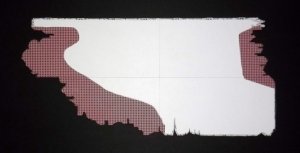
I changed the texture of the base layer and added much more of the grid pattern.

AtlantiaBasePlate-level1-wiresk.jpg

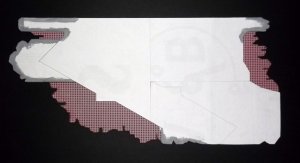
The reason for this is obvious: Now the layer containing the outer hull of the ship doesn't need to be laminated to the background completely. The outer rim is "floating" above the base layer and can be manipulated to create an additional 3D-effect.

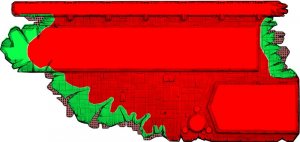
AtlantiaBasePlate-level1-wireks.jpg

The red areas are glued to corrugated card which then is attached to the base layer, the green areas remain unattached and can be shaped, deformed, rolled up or down according to your needs. That way you are able to look behind the outer hull and see the grid underneath. This gives a very nice effect, especially when you walk around the plate. :)
 

Rhaven Blaack

!!!THE MAN BEHIND THE CURTAIN!!!
Staff member
Administrator
Moderator
The last "film" camera was Polariod.
polaroid-340-3-sm.jpg

No, I am not joking. this was the last camera that I owned that took film.
It took GREAT photos as well.
I lasted me for decades. Right now, I think that it is in my brothers garage collecting dust.
 

Revell-Fan

Co-Administrator
Staff member
Administrator
Moderator
FYI: The build will be finished this weekend! All major plates have been attached and the pattern of the damaged clamp is ready for testing (the final part). I'm concentrating on getting everything done; the letters and the small plates still have to be laminated and the hangers attached. I'll post some pics asap, so please stay tuned! :)
 

Maverick65

Member
They say it's the details that make things pop. Now I don't know who "They" are but I do know that I like this. It is so cool, I'm really glad that Klaus let you use his design and that you're sharing it with us.

I'll stay tuned to flleetcom for your next transmission. Thanks for sharing.
Best Regards,
Rick
 

Maverick65

Member
Thank you! Than you! Thank you! That video was way cool, one of my favorite episodes, and those new cgi scenes were fantastic. Man i wish Universal would redo all the episodes like that, or are they? Paramount did it with ST:TOS & TNG and they turned out great too.

Thanks again for sharing it and yor build.

Regards,
Rick
 

Revell-Fan

Co-Administrator
Staff member
Administrator
Moderator
Yes, that would be awesome, wouldn't it. However, I doubt this will ever come, at least not from Universal. Universal's DVD releases in Germany are more than poor since they have split up into regional departments. Before that their releases were top-notch, with lots of bonus material, remastered picture and sound quality and - most of all - the episodes were complete. The final fine box sets were Kinght Rider seasons 1 & 2 and The A-Team seasons 1 & 2. After that everything went down the hill. Almost every TV classic from the 1980s is cut (A-Team, Knight Rider: they cut the chapter breaks!; Miami Vice, Airwolf etc., even the final ep of the New BSG is cut!). Universal still refuses to release the original BSG on BluRay (even in the US; because they are not sure, who will ever buy THAT? ). If it wasn't for Koch Media we wouldn't even have a BD version of TOS BSG (OK, it is region 2 and available only in Germany, but at least there is one). It is certain that this company has a heart for BSG and Buck (they also released the theatrical version of the pilot film with the original dubbing intact which alone has become a classic to every German fan). I was a HUGE fan of Universal once, however, that has changed. I rather pick up the English editions because they tend to be uncut (albeit they screwed up Knight Rider seasons 3 & 4 because they "forgot" to include many sound effects; so half the episodes turn into silent movies... At least they kept the chapter breaks intact which was the main reason for me to buy the sets).
 

Revell-Fan

Co-Administrator
Staff member
Administrator
Moderator
OK folks, time to fasten your seatbelts! Finally I have got some time to post the final pics of the build..! ;)

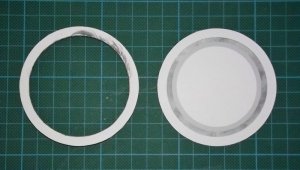
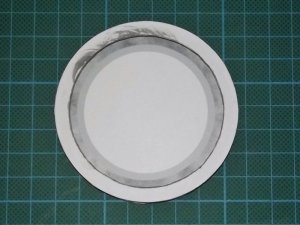
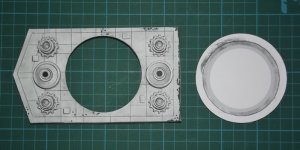
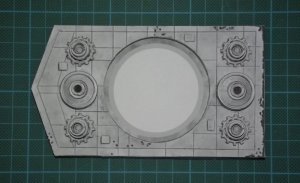
First of all I fixed an error in the design of the Moerser Karl piece.

The inner ring was carefully cut off and replaced with a new ring laminated to 2 mm cardboard.

DSCF8184.jpg

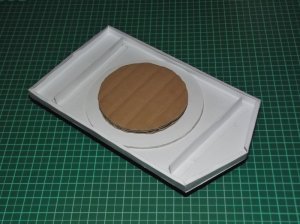
This is glued to a new back piece.

DSCF8186.jpg

DSCF8187.jpg

New backing attached to the main part.

DSCF8188.jpg

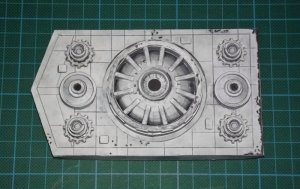
And center wheel attached.

DSCF8189.jpg

The new construction ensures that the big wheel doesn't sit too deep and it is centered.

DSCF8190.jpg

DSCF8191.jpg

Some flat stripes will be added to the rim later. I used some cardboard pieces to the back (mainly to get rid of left-over pieces but they will serve as additional formers now ;) ).

DSCF8192.jpg
 

Revell-Fan

Co-Administrator
Staff member
Administrator
Moderator
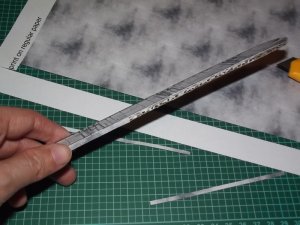
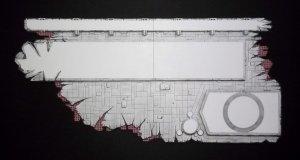
The single plates were laminated to corrugated card. To cover up the rim I prepared a sheet with a random cloud pattern which is printed on regular 80 gsm paper. This sheet is supposed to be cut to small strips which then are glued to the rim(s).

DSCF8171.jpg

Please note that not all rims are covered with these strips. The areas which are supposed to look scorched and melted are painted with water colours. The corrugated structure will show at these areas and give the illusion of a layered hull piece. Water colours are also used to blend the end parts of the strips and the corrugated card.

DSCF8174.jpg

Now the stacking may begin. Base plate with the grid pattern:

DSCF8175.jpg

Corrugated card:

DSCF8177.jpg

Steel layer:

DSCF8178.jpg

Name plate, top piece and clamps:

DSCF8179.jpg
 

Revell-Fan

Co-Administrator
Staff member
Administrator
Moderator
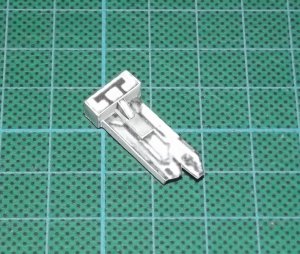
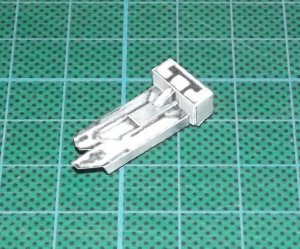
The broken clamp:

DSCF8180.jpg

DSCF8182.jpg

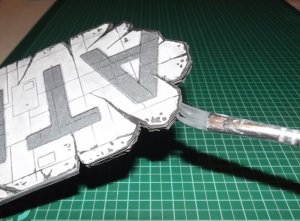
The rim of the whole plate is covered with anpthers trip from the pattern sheet and touched up with water colours:

DSCF8193.jpg

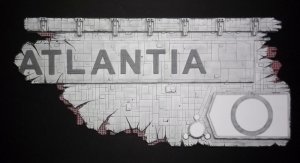
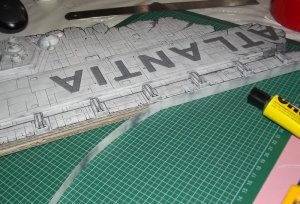
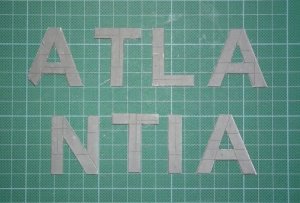
The laminated letters are attached:

DSCF8194.jpg

... and lots of lots of LOTS of small plates attached to the surface..! :skull:skull:skull
 
Last edited:
Top