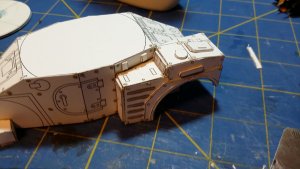
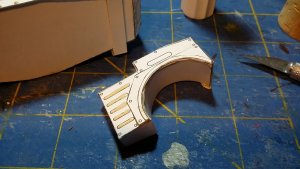
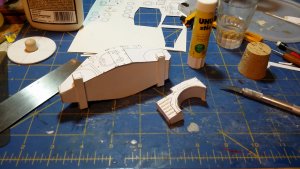
Armored Car - Patoroch T19 Warga

Sudsy

Well-Known Member
I found my next project Zealots!

I decided to create a recon platoon of armored cars. Starting with Eli Patoroch's WH40K Gothic SF version of the French Panhard AML 90 armored car.

It was NOT an easy choice, like reality, it ran right up against the T18 Alvis (Saladin) 6x6 armored car. Which I still printed anyway... But that will be another thread, when I get around to it (ATI).

I picked the AML-90 after some research. For starters, it's inspiration was designed for the desert. It sold well across the globe to African, Middle Eastern, and South American nations. Second, the combat history of this recon armored car is indeed impressive (referring to the real vehicle that inspired the Gothic SF version). For starters: https://en.wikipedia.org/wiki/Panhard_AML#Sub-Saharan_Africa (again, for STARTERS as it is a wiki) they took on T-55 MBT's from the same era of development. Not bad for a recon car! Obviously, that was in the hands of the French Foreign Legion... Or under forces advised by that prestigious unit at any rate. Armored warfare, like any conflict, is certainly best fought by playing dirty and ambushing the foe... Wikipedia is a great start to our research with some good images and deployment notes. From there, the citations lead down many a great armored conflict rabbit hole, be it books to more online databases/photos/blogs, etc. After all, that is about the long and short of any encyclopedia anyway.

So, to document the project from the start, I begin by finding the template. Thank you @ARMORMAN ! Feel free to chime in with a link, I forgot what page exactly you posted this template in your awesome thread documenting just about everything Gothic SF related...

Next, there is research to be gleaned from the real world counter part. This will help with grebles! I found this great series of photos of various hyper detailed 1:35th scale plastic kits I will use: https://www.1999.co.jp/eng/image/10594292

This will assist me with determining what parts need to be double/triple or more laminated. Or at least glued to the cereal box thickness material! Someday, if I get really ambitious, I might take a shot at a detailed scratch built interior... Nah, not this time! I want to deploy this to the game table this decade!

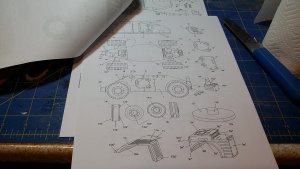
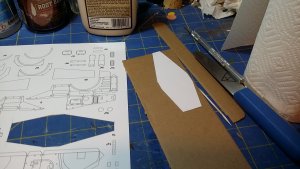
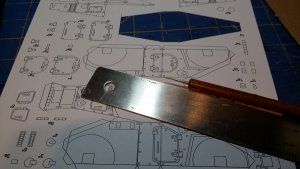
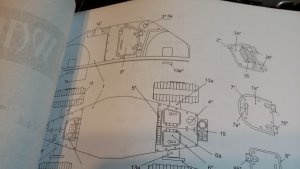
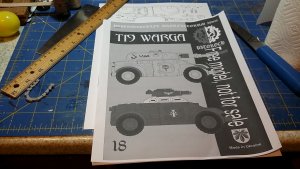
So, we start with the instructions:


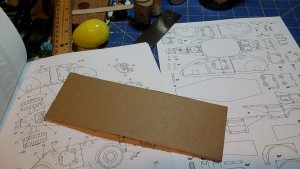
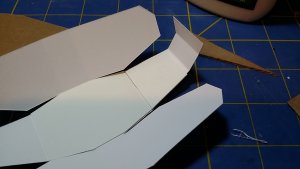
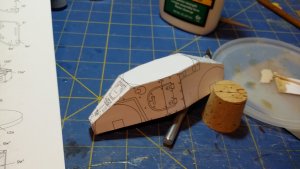
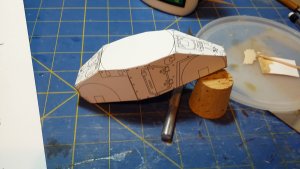
I look at these, and compare them to the references, both Wikipedia and the plastic kits, and make a quick determination of what is going to need the cereal box thickness material. Pretty simple really. The hull at least. This is where I will grab it during games and to take it off the shelf!

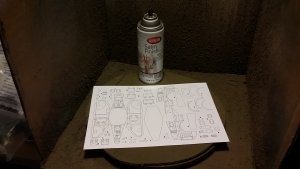
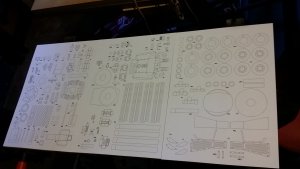
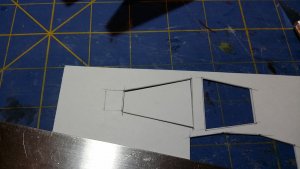
Okay, after I've printed the instructions on normal paper, I use my choice of card stock to print the templates. Now, I cheated. Being the US, I went to Amazon.com and grabbed a pack of A4 index card stock. It was cheaper than I thought! Next, after printing, I hit it with some clear coat, in this case (North American readers), I used Krylon Clear Satin. I spray every page, front and back, with the clear coat. This will seal the paper from the moisture (Omaha NE is in the Missouri river valley, and is 100% humid during the summer months... Yeah, my garage has swamp air 9 months out of the year...).


This will also pay dividends when we get to assembly and painting (sealing in the printed details that tell us where to cut). It means the paper will warp far less as well.

That is all for now!
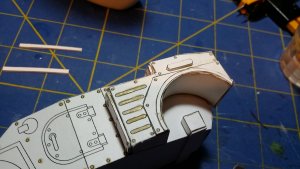
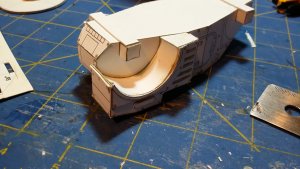
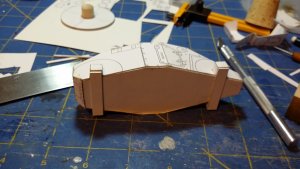
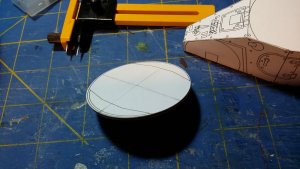
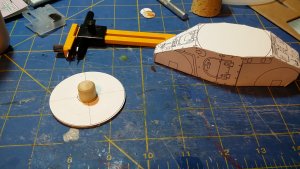
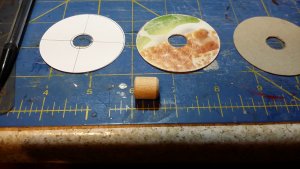
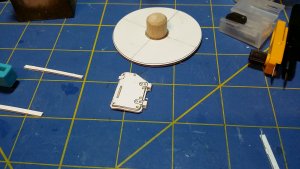
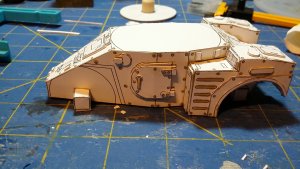
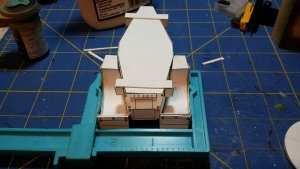
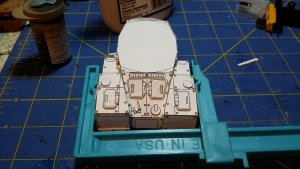
20190607_190505.jpg20190607_190512.jpg20190607_185859.jpg20190607_185906.jpg
 
Last edited:

zathros

*****SENIOR ADMINISTRATOR*****
Staff member
Administrator
Moderator
I really like armored cars. You may know this already, but you can get really wood wheel results by paintings the wheels with Liquid Electrical Tape. It's found everywhere, Google it on Amazon. Flexi-Seal gives even better results, and a much more rubbery feeling and look to it. :)
 

Revell-Fan

Co-Administrator
Staff member
Administrator
Moderator
Very interesting procedure. Does the paper crease after it was sprayed when you are making tubes or rounded shapes or does it stay flexile enough for that?
 

Rhaven Blaack

!!!THE MAN BEHIND THE CURTAIN!!!
Staff member
Administrator
Moderator
This looks like it will be a very interesting build. I have heard about spraying the sheets with some sort of sealant to seal the paper and "lock-in" the printing. I am very curious to see how this works. What kind of glue are you using for this project?
 

Sudsy

Well-Known Member
Very interesting procedure. Does the paper crease after it was sprayed when you are making tubes or rounded shapes or does it stay flexile enough for that?

I've never had bend issues with the sealant sprayed card stock. Rolling, it just depends upon the diameter. For some of the barrels, I'm likely to go to regular printer paper instead of card stock to achieve the flexibility and desired diameter. For example, small tubes like gun barrels, smoke grenade launchers, etc. If the diameter is larger, like artillery tubes, wheels, or las-cannon barrels, I'll use the card stock. It will roll just fine even with sealant.

This looks like it will be a very interesting build. I have heard about spraying the sheets with some sort of sealant to seal the paper and "lock-in" the printing. I am very curious to see how this works. What kind of glue are you using for this project?

Typically, I use wood glue for this kind of project. I have a lot of it laying around. In the United States, I use a type called Tite Bond II or Tite Bond III. It is a pretty good wood glue used in cutting boards, bowls, and other general purpose projects. Tite Bond III is listed as food safe, therefore that is why it used in kitchen item wood working. Since paper is just wood pulp anyway, it makes sense to use that kind of glue to me.

Sealant thus far has not impacted gluing. Nor has the the spray paint used as primer (on the BMPs). Seems to hold together nicely. Now, they haven't gone through a gaming session yet to fully battle test them though!
 

Rhaven Blaack

!!!THE MAN BEHIND THE CURTAIN!!!
Staff member
Administrator
Moderator
Typically, I use wood glue for this kind of project. I have a lot of it laying around. In the United States, I use a type called Tite Bond II or Tite Bond III. It is a pretty good wood glue used in cutting boards, bowls, and other general purpose projects. Tite Bond III is listed as food safe, therefore that is why it used in kitchen item wood working. Since paper is just wood pulp anyway, it makes sense to use that kind of glue to me.

Sealant thus far has not impacted gluing. Nor has the the spray paint used as primer (on the BMPs). Seems to hold together nicely. Now, they haven't gone through a gaming session yet to fully battle test them though!
Thank you for the clarification. Reason why I asked, is that I use Aleene's Tacky Glue for most everything that I build (in paper). I was curious if you had to use something like Super glue with the sealed parts or if regular white glue would work just as well. I am going to have to give this sealant a go and see what I can do with it.
I will continue to follow this thread!
 

zathros

*****SENIOR ADMINISTRATOR*****
Staff member
Administrator
Moderator
I believe the sealing of paper is on the top layer of the matrix, thus allowing for sharper and less "hairy" edges. This has been my experience. Unless you were to saturate the paper, there should be no problem with any kind of forming, and painting becomes better as the pain adheres to the sealed layer better. IMHO.

Gluing is a mechanical bond between the surface of the part and the glue, not a "true' bond, as there is exchange of electrons. You may get a better bond, as the paper is now able to provide a flat surface area, but I do not use Elmer's Glue, it relies too much on penetrating paper to get a good bite, and eventually weakens the matrix by this penetration. If I do use an Elmer's product, I use, and suggest, the Professional Strength (The Yellow Construction, Elmer's Products), which will hold anything just about anything together.:)
 
Last edited:

Sudsy

Well-Known Member
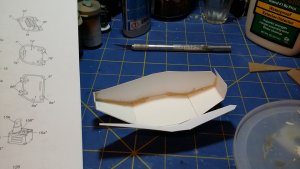
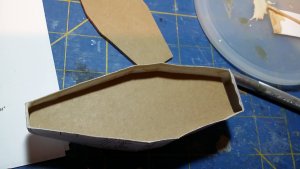
Today's progress. I used some thin corrogated coard board (from a 3d printing filament box) as my bottom stiffener for the main hull of the armored car:


20190608_195425.jpg

20190608_200223.jpg

Then I took my ball tool and ran it along all fold points. I decided I did not need any tabs (@Gandolf50 )...

20190608_200228.jpg

20190608_202120.jpg

I used some food card stock to bolster some armored panels along the front and rear. Folds on the sides should suffice...

20190608_202131.jpg

20190608_203432.jpg


I ran a bead of glue down the corners of the interior. So far so good! See, who needs tabs!

20190608_204155.jpg

I deced to cut another corrogated cardboard stiffener for those side panels. This was glued in only a bit from the base....

20190608_204803.jpg


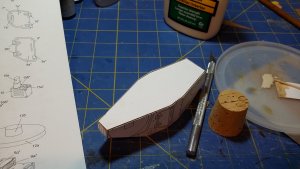
Finally, I got the bottom on. This was a piece of the printed card stock laminated with wood glue to the corrogated cardboard.

20190608_200236.jpg

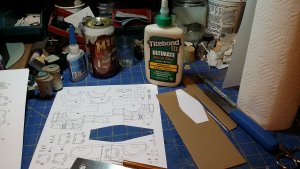
A bit out of order, but I figured I'd show my bench with the glue I use.

Finally, the the main body ready for more work tomorrow:

20190608_204749.jpg

20190608_204811.jpg
 
Last edited:

Revell-Fan

Co-Administrator
Staff member
Administrator
Moderator
With all these reinforcements you are making an armored armored car. :)
 

Sudsy

Well-Known Member
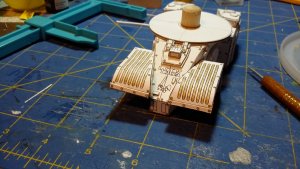
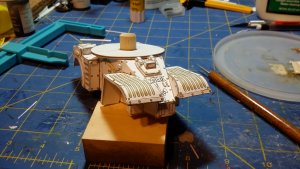
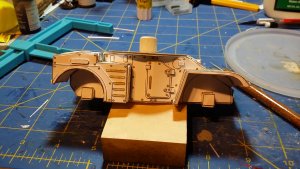
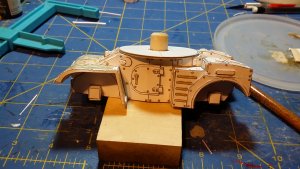
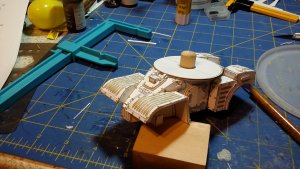
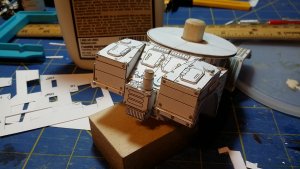
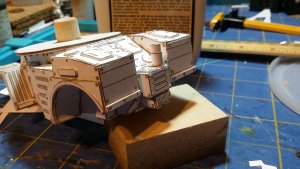
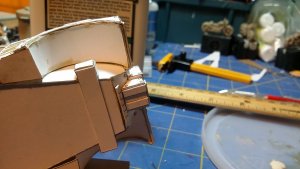
Got some work started on the hull again today, here is progress:

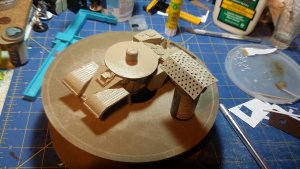
This is the turret base where it will mount to the body. This ring was created by two layers index cart stock with print-out, and two pieces of cereal box. Based on the reference, and nature of the part, I found thickenss of under 3mm to be about right.

That's right folks, I'm skipping the rolled paper tube for the turret pivot shaft on this one! I trued this peg up on my wood lathe from a 1/2" (12.7mm) dowel. This matches the about 9/16" (14.28mm) DIA holes. Switching turrents will be a snap, and standardized across the vehicles of this type now!

Next comes lamination. Thicker grebles were glued to the food card stock I used earlier, thinner ones to some 110# bristol scrap from my Genet 4x4 build a couple months ago.

On to the wheel wells!

First, square axels... Because round ones are a pain to make in paper? Well, they will be covered exensively at any rate!

Axles added, and you will want the part running across thicker than normal...

Wheel well

This one comes with quite a few parts worth grebling! Tank your time! Many do not exist at all on the real vehicle (especially those a-spalling rivets). Wood glue makes raised parts on the back of sheet metal look pretty good. We'll see if it translates into paint!


Wheel well with grebles and rivets complete!

Until the next rivetting chapter, greble on!

EDIT 28SEP19: All the photos in one big dump, thanks for nothing Tapatalk! Now I can't be clever and put commentary to an exact picture because re-uploading sucks!

20190609_222044.jpg20190609_222035.jpg20190609_222025.jpg20190609_204041.jpg20190609_204036.jpg20190609_162902.jpg20190609_162856.jpg20190609_162322.jpg20190609_162318.jpg20190609_154932.jpg20190609_150846.jpg20190609_150839.jpg20190609_150422.jpg20190609_150414.jpg
 
Last edited:

Gandolf50

Researcher of obscure between war vehicles...
Staff member
Moderator
This looks like it will be a very interesting build. I have heard about spraying the sheets with some sort of sealant to seal the paper and "lock-in" the printing. I am very curious to see how this works. What kind of glue are you using for this project?
Very interesting procedure. Does the paper crease after it was sprayed when you are making tubes or rounded shapes or does it stay flexile enough for that?

I have sprayed all my model pages with an acrylic lacquer, though I use Matte Finish instead of the Satin Finish used here ( just a bit too glossy for my taste) and since I saturate the pages, front and back, just until they start to become translucent it binds the layers together, adds that "tooth" for painting and curling does not crease as badly as without it! Once sprayed and dried, there is NO visual difference other than the matt finish, rather than the slight gloss of the original pages.
 

Sudsy

Well-Known Member
I have sprayed all my model pages with an acrylic lacquer, though I use Matte Finish instead of the Satin Finish used here ( just a bit too glossy for my taste) and since I saturate the pages, front and back, just until they start to become translucent it binds the layers together, adds that "tooth" for painting and curling does not crease as badly as without it! Once sprayed and dried, there is NO visual difference other than the matt finish, rather than the slight gloss of the original pages.

I will have to try this someday... Maybe next armored car in this squadron?
 

Sudsy

Well-Known Member
Tonights progress was the other rear wheel well, and engine compartment grebles for the top panels. Still have a few more details to add to the rear, the gothic steampunk style engine exhaust for example (parts 15 & 16 on the sheet). I've also managed to get the left side door completed. Finally, I got the right side door started with a few grebles left before gluing to the body.

20190611_221858.jpg20190611_221853.jpg20190611_214947.jpg20190611_214938.jpg
 
Last edited:

zathros

*****SENIOR ADMINISTRATOR*****
Staff member
Administrator
Moderator
I have had the same results as Gandolf, though maybe I don't use as much, but it does allow for a bit for future painting. Some glues don't like it, but the better ones stick right to it. ;)
 

Sudsy

Well-Known Member
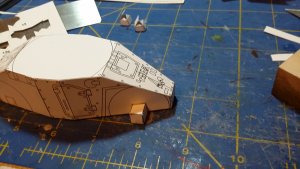
Tonights progress was the front wheel wells. Those alone took up a couple hours. Lots of grebling with the glue on a toothpick to get those channels in the sheet metal (ref. the real world AML).

20190616_000414.jpg

I also got the drivers hatch glued into place along with the turret ring.

20190616_000444.jpg20190616_000436.jpg20190616_000430.jpg

I did find myself having to improvise a bit on some rivets with the wheel well cover along the glacis plate, one of the parts was not mirrored, so the detail guide was on the opposite side (i.e. it is the same part for both left and right, rather than a left hand version and right hand version).

20190616_000459.jpg

Still, since I'm painting it, all that will be covered with paint! So long as the rivets are in about the right spot, it'll look uniform enough for gothic science fiction!
 
Last edited:
Gandolf50

Researcher of obscure between war vehicles...
Staff member
Moderator
I don't see the " same parts" ( do to your fix no doubt ! ) but I have run into the same from time to time... where both parts are the same but you need a right and left...sandwich the parts and hold up to a bright window or led lamp or?? that will shine through the card and mark all the rivets/openings etc on the blank backside...and voila mirrored part! That is if they didn't make the shape mirrored and not the rivets/openings etc mirrored..then, in that case, I just cut a new one and add them as they should be using the light and one of them as a reference...
 

Sudsy

Well-Known Member
Father's Day progress! Part II, because I was up late last night, early this morning working on the front fenders!

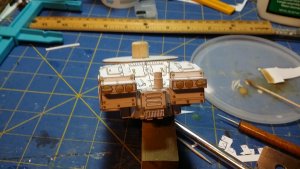
I started off with the gothic engine that brings this armored care into the 40K style.

20190616_160407.jpg20190616_160418.jpg20190616_160431.jpg

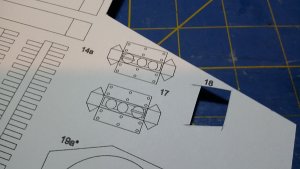
Then I was about to move when I was scratching my head over this mystery part, part 17. All my engine parts were 16's so I know it goes next in sequence (well, most of the time, such is NOT always the case).

20190616_160956.jpg

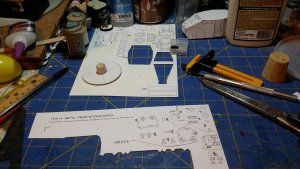
In black and white, it is hard to tell what those. There is not leader with these in the assembly drawings either. Nor is there a view which shows this side of this part in the assembly! So, I was perusing the colored model parts when I finally figured it out. These are tail light assemblies! They go on the rear like so:

20190616_202540.jpg

I took my glue and gave them 3D effect with the wood glue. I'm finding this a rather valuable method for me beyond rivets for this project. First it was the channels in the wheel wells, now its that bar across the tail light on the outboard lights.

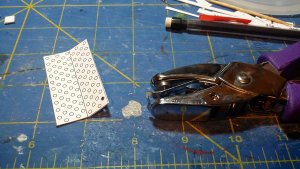
With the tail lights figured out, I have everything I need on the lower hull outside of wheels and the front peforated steel brush guard. I didn't have time to start the wheels, so I started on the brush guard.

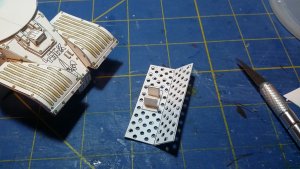
20190616_204435.jpg

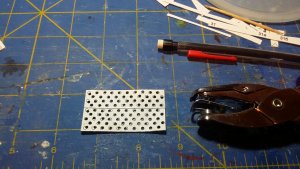
My 1/16" DIA punch was the hero tool of thise piece! My brush guard even looks like it has seen extensive use after I finished punching the holes!

20190616_205149.jpg

I am not too worried about the bends in it right now.

20190616_205222.jpg

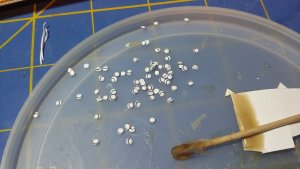
Rivets anyone? For larger rivets of course...

...I still prefer my glue dots thank you!

20190616_210105.jpg


So, like I said, the warping wouldn't last too long. After bending and assembly. The lower body and brush guard are my first two sub-assemblies to put together after painting!

I couldn't wait for the paint to dry to snap this shot of the base coat!

20190616_212228.jpg


Even wet primer looks great (well, wet camo paint used as primer at any rate...).
 
Last edited:
zathros

*****SENIOR ADMINISTRATOR*****
Staff member
Administrator
Moderator
Talk about bring to lige with greebling!! Wow!!

note...You may wish to use the Thumbnail options, as the pages take a long time to load with larger pictures, especially for those of us in rural areas, the piegeons aren't fast enough in carrying the bits of info. ;)
 
Top