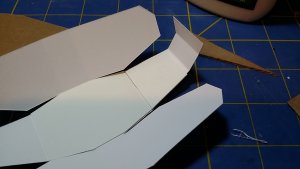
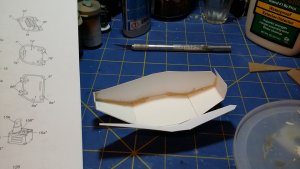
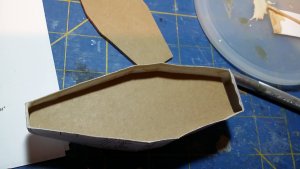
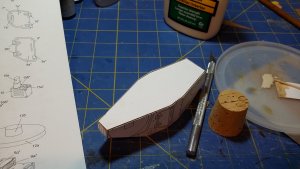
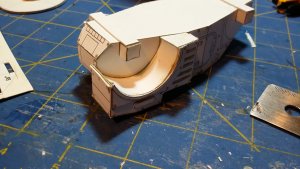
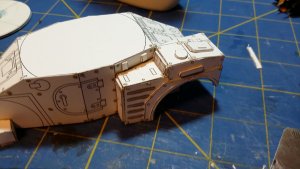
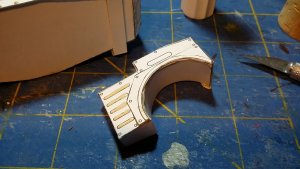
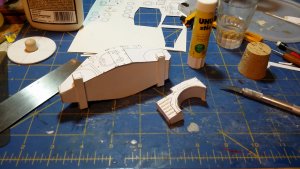
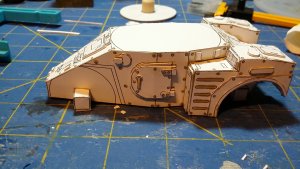
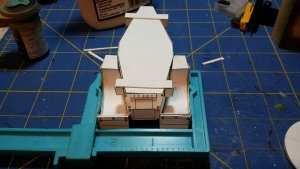
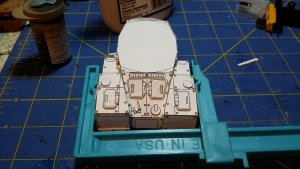
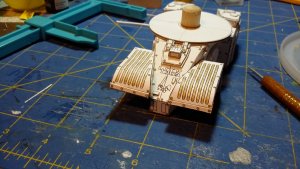
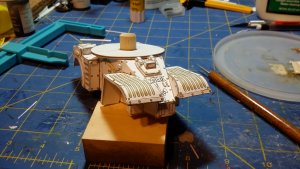
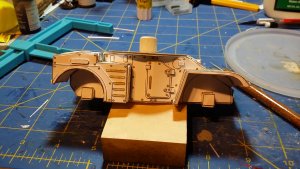
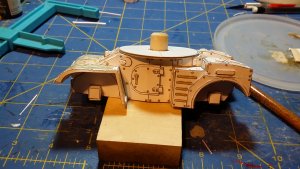
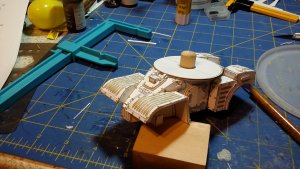
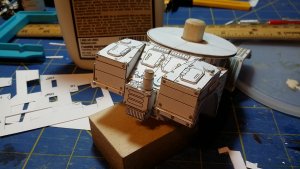
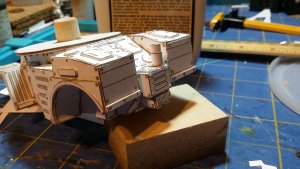
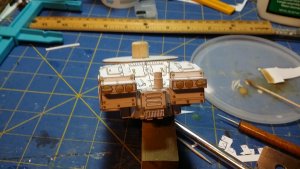
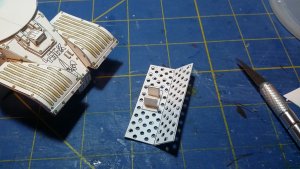
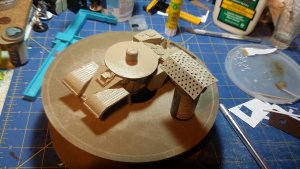
I found my next project Zealots!
I decided to create a recon platoon of armored cars. Starting with Eli Patoroch's WH40K Gothic SF version of the French Panhard AML 90 armored car.
It was NOT an easy choice, like reality, it ran right up against the T18 Alvis (Saladin) 6x6 armored car. Which I still printed anyway... But that will be another thread, when I get around to it (ATI).
I picked the AML-90 after some research. For starters, it's inspiration was designed for the desert. It sold well across the globe to African, Middle Eastern, and South American nations. Second, the combat history of this recon armored car is indeed impressive (referring to the real vehicle that inspired the Gothic SF version). For starters: https://en.wikipedia.org/wiki/Panhard_AML#Sub-Saharan_Africa (again, for STARTERS as it is a wiki) they took on T-55 MBT's from the same era of development. Not bad for a recon car! Obviously, that was in the hands of the French Foreign Legion... Or under forces advised by that prestigious unit at any rate. Armored warfare, like any conflict, is certainly best fought by playing dirty and ambushing the foe... Wikipedia is a great start to our research with some good images and deployment notes. From there, the citations lead down many a great armored conflict rabbit hole, be it books to more online databases/photos/blogs, etc. After all, that is about the long and short of any encyclopedia anyway.
So, to document the project from the start, I begin by finding the template. Thank you @ARMORMAN ! Feel free to chime in with a link, I forgot what page exactly you posted this template in your awesome thread documenting just about everything Gothic SF related...
Next, there is research to be gleaned from the real world counter part. This will help with grebles! I found this great series of photos of various hyper detailed 1:35th scale plastic kits I will use: https://www.1999.co.jp/eng/image/10594292
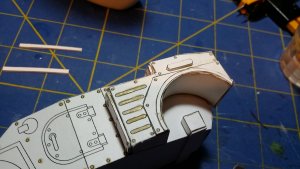
This will assist me with determining what parts need to be double/triple or more laminated. Or at least glued to the cereal box thickness material! Someday, if I get really ambitious, I might take a shot at a detailed scratch built interior... Nah, not this time! I want to deploy this to the game table this decade!
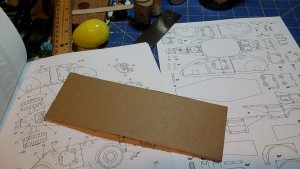
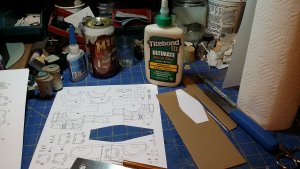
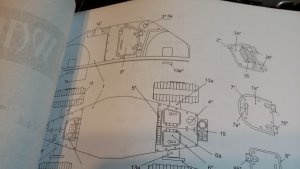
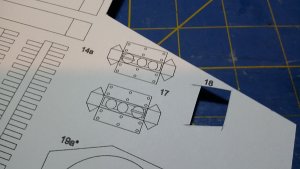
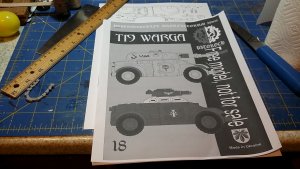
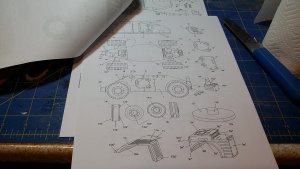
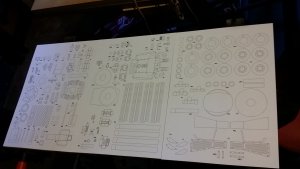
So, we start with the instructions:
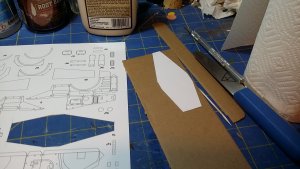
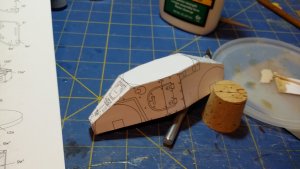
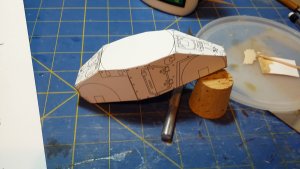
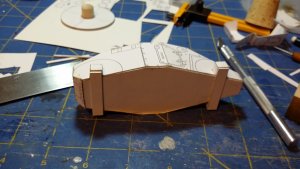
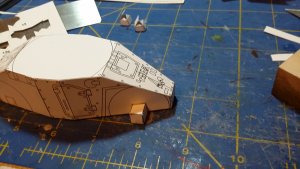
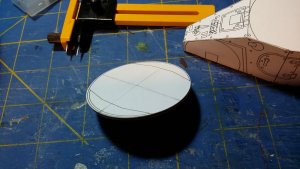
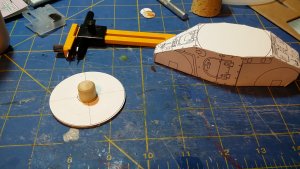
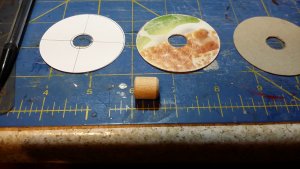
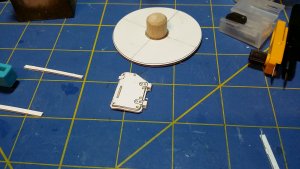
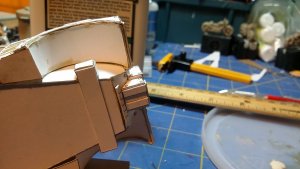
I look at these, and compare them to the references, both Wikipedia and the plastic kits, and make a quick determination of what is going to need the cereal box thickness material. Pretty simple really. The hull at least. This is where I will grab it during games and to take it off the shelf!
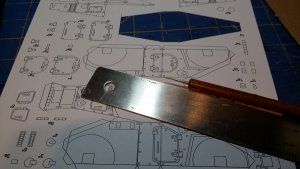
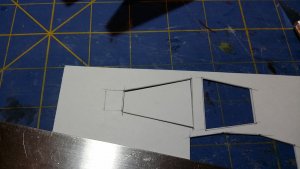
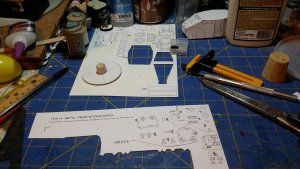
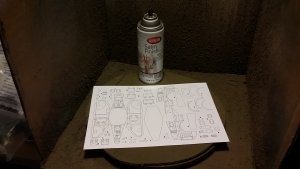
Okay, after I've printed the instructions on normal paper, I use my choice of card stock to print the templates. Now, I cheated. Being the US, I went to Amazon.com and grabbed a pack of A4 index card stock. It was cheaper than I thought! Next, after printing, I hit it with some clear coat, in this case (North American readers), I used Krylon Clear Satin. I spray every page, front and back, with the clear coat. This will seal the paper from the moisture (Omaha NE is in the Missouri river valley, and is 100% humid during the summer months... Yeah, my garage has swamp air 9 months out of the year...).
This will also pay dividends when we get to assembly and painting (sealing in the printed details that tell us where to cut). It means the paper will warp far less as well.
That is all for now!


Last edited:


