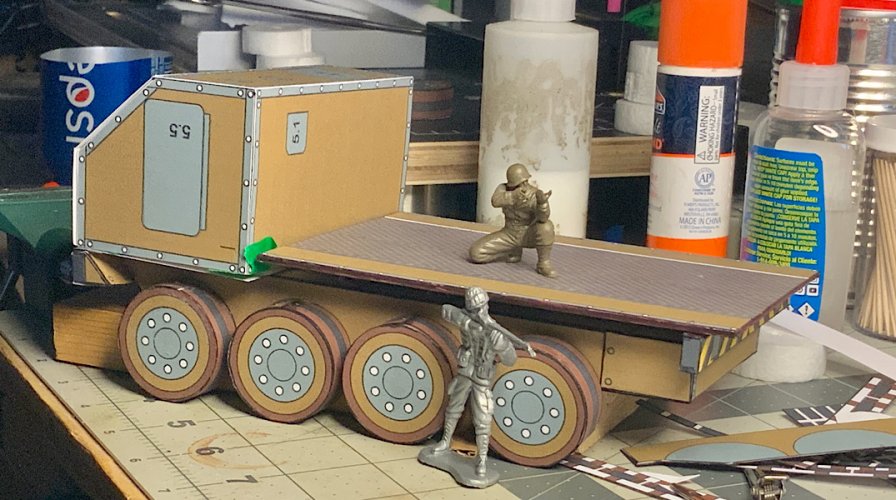
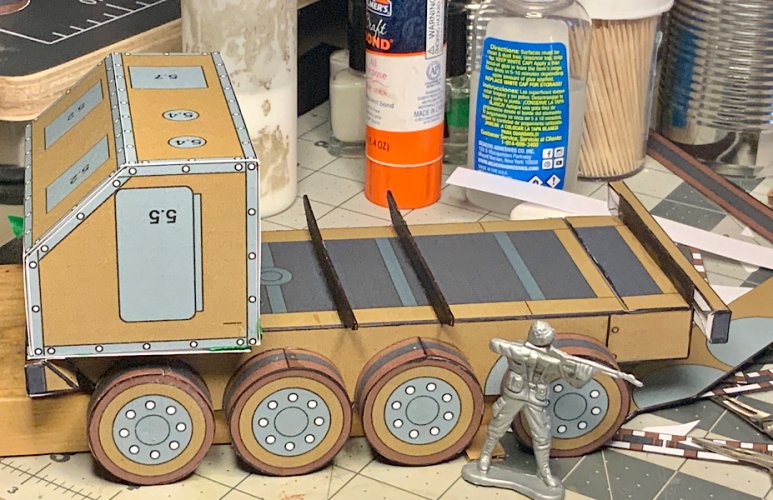
An Anti-aircraft gun carrier.

OldMiner

Well-Known Member
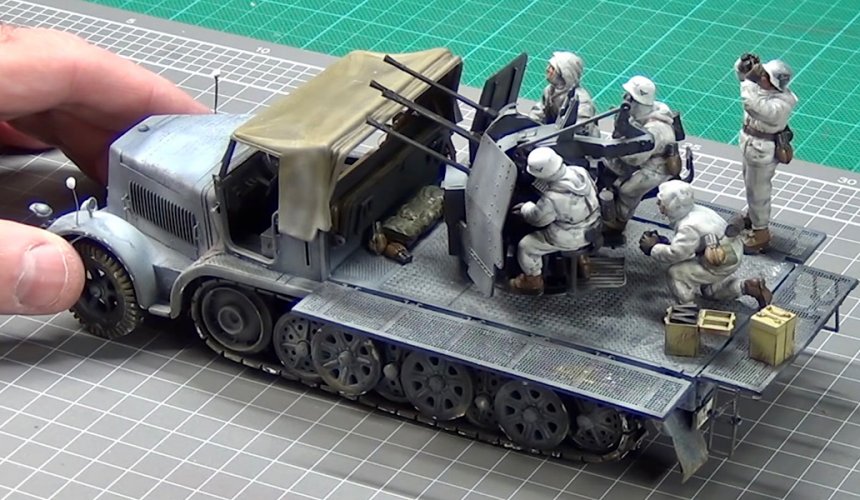
I am planning on using one of the @ARMORMAN ’s provided models to build a carrier for the WWII German 20mm anti-aircraft gun.
This is the model:

satir-truck-jpg.143532


And I hope to come up with something on this order by mounting the Tamiya gun kit and Tamiya gun crew kit on the back of the truck. Hopefully it will work. I like the drop sides on the bed, making a large work area for the crew.

17F782CF-BB16-426E-BCED-87714D52DEB2.jpeg

Thanks again to @ARMORMAN for posting the model.
 

OldMiner

Well-Known Member
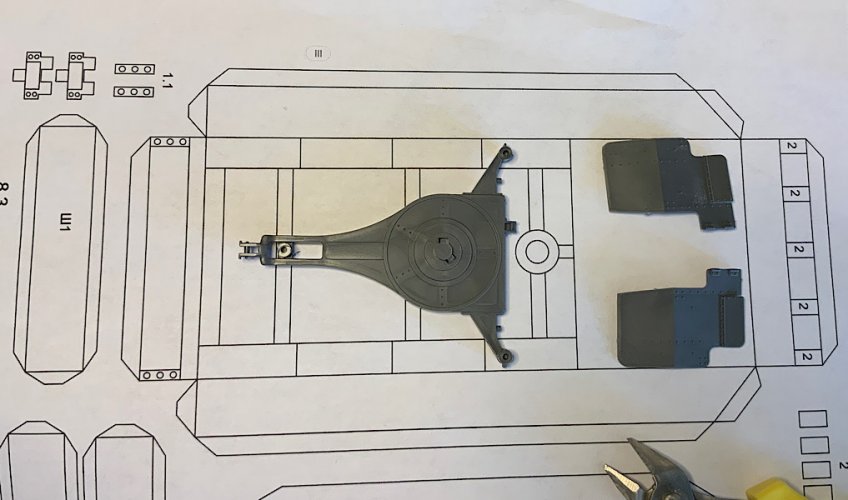
OK, here goes. After looking at that pic above again, and posing the base and shields from the gun kit on the test print of the Satir, I decided to go for it. I printed the frame page and compared it to the test print. I found that allowing the PDF file to print at “100%” size, it came out the same width and slightly longer than my test print, which I had used an app called “Print to size” to print. So…

After cutting out the frame and side pieces from the test page, I finally figured out how the frame goes together. This is a nice kit, it appears, but not having any 3d type views of the assembly makes it hard. For example, some parts of the frame bend UP and some DOWN, with no indication of that on the prints. I finally got it. I’m slow these days… (that frame as shown is displaying the UNDER SIDE of the frame) (the sides bend UP and the ends bend DOWN in that view)

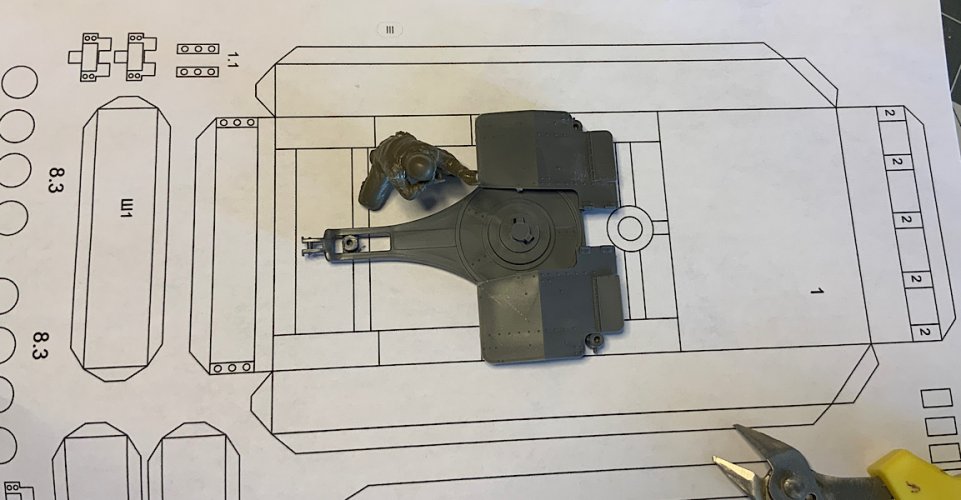
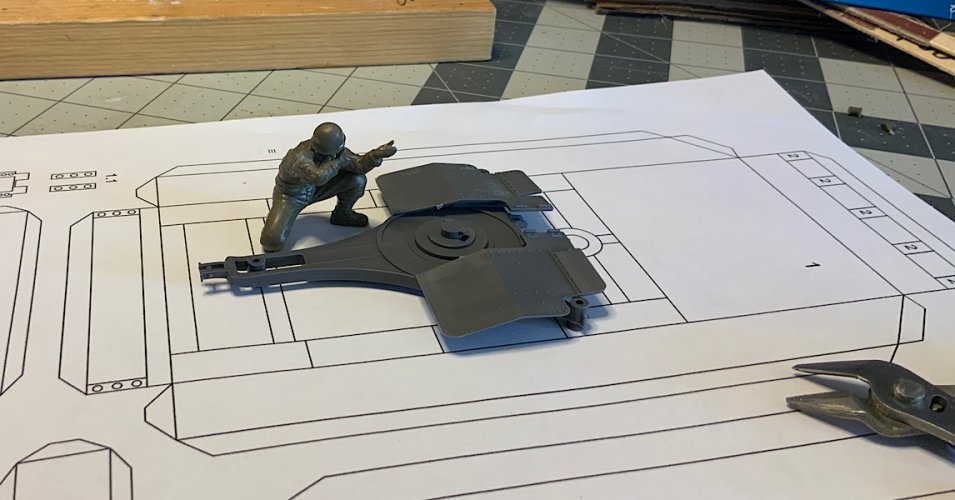
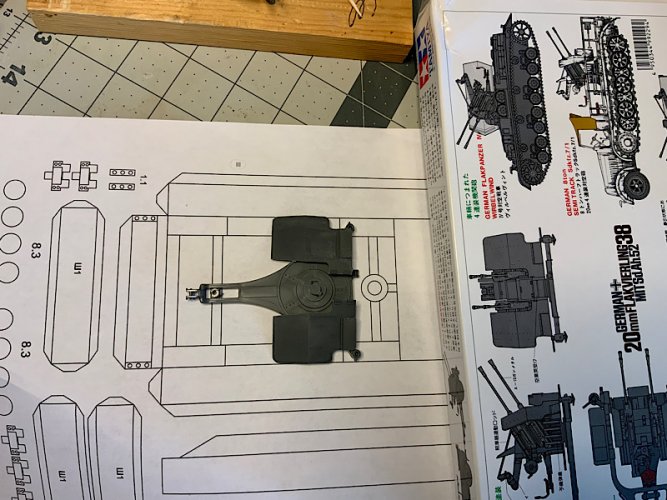
Pics of the test page with posed parts and a kneeling US soldier model from a Tamiya kit. After looking at these pics, I decided to print the kit ‘as is’ and see how it goes. It should work, I think. (IF I can figure out how all the parts go together, LOL)

CF9470C9-3734-4EB5-8119-0EDC63079F5F.jpeg

AB7ECE1E-9853-464E-903D-C7D93E0F62AF.jpeg

AE537CB8-72AA-4C38-B166-2BEBCB7FF4EE.jpeg

5B6ACDF8-D198-46B5-9BC0-546E17203CC7.jpeg
 

OldMiner

Well-Known Member
Disregard what I said above about the folding of the frame… I have been studying the drawings and there seems to be a full belly pan for this thing. If all the sides are folded DOWN in that view, the pan would fit there. It isn’t called out in instructions that I can find.
BUT, for future reference, my iPad photo albums can copy text from a picture. I converted the pages to pictures (from the PDF file) and can copy the text (Russian) and the photo page will TRANSLATE IT. I will now copy that text from the translations and save them. This may help.
:biggrin: :animated:
 
Last edited:

OldMiner

Well-Known Member
Here are the translations for the 4 ‘instruction’ pages. The first page has no title, the last page has only a title.
————————————————————
Satir Armored truck instructions in English with drawings
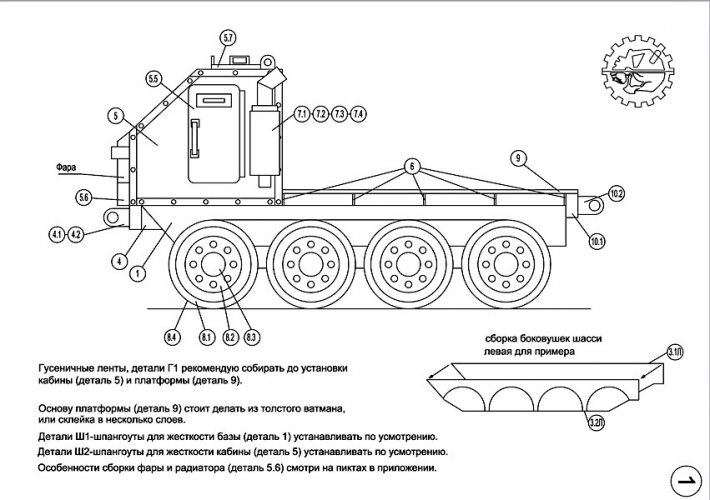
First page of instructions:

536E3752-0800-4E7F-8270-9A08BBF07D74.jpeg

I recommend to assemble tracked belts, G1 parts before installing the cabin (part 5) and platform (part 9).
The basis of the platform (part 9) should be made of thick Whatman, or gluing in several layers.
Parts of the Sh1 frames for the rigidity of the base (part 1) should be installed at discretion.
Parts of the Sh2 frames for cabin stiffness (part 5) should be installed at discretion.
See the features of the headlight and radiator assembly (part 5.6) at the picts in the application.

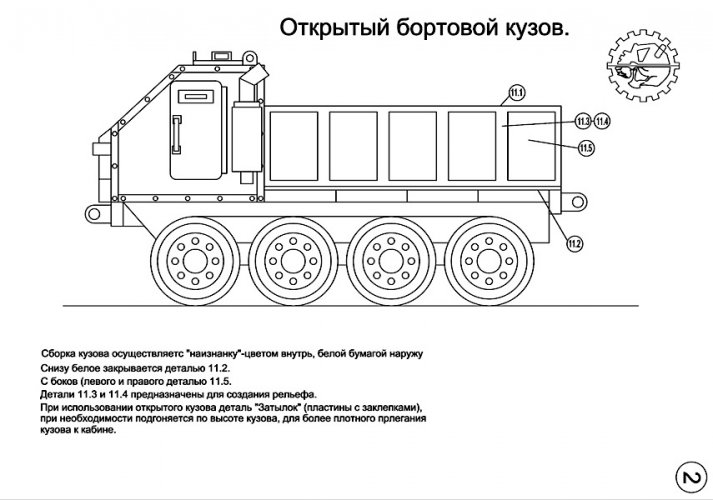
Second page of instructions: (Open side body.)
8C78F292-905D-4AB4-BAFC-93E56FA266B9.jpeg

Body assembly is carried out with "inside out" - color inside, white paper outside
At the bottom, the white is closed with part 11.2.
On the sides (left and right part 11.5.
Parts 11.3 and 11.4 are designed to create relief.
When using an open body, the "Back of the head" part (plates with rivets), if necessary, is adjusted to the height of the body, for tighter fitting of the body to the cabin.

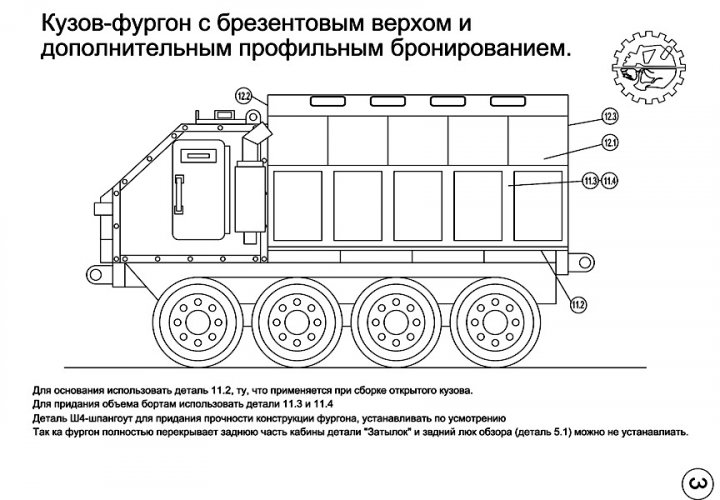
Third page of instructions: (Van body with tarpaulin top and additional profile armor.)
1960DA5A-5681-4064-96DD-6A5C5C7D2DAA.jpeg

For the base, use part 11.2, the one used when assembling an open body.
Use parts 11.3 and 11.4 to volume the sides
Part Sh4 frame to give strength to the van structure, install at discretion
So as the van completely covers the back of the cabin of the "Back of the head" part and the star view hatch (part 5.1) can not be installed.

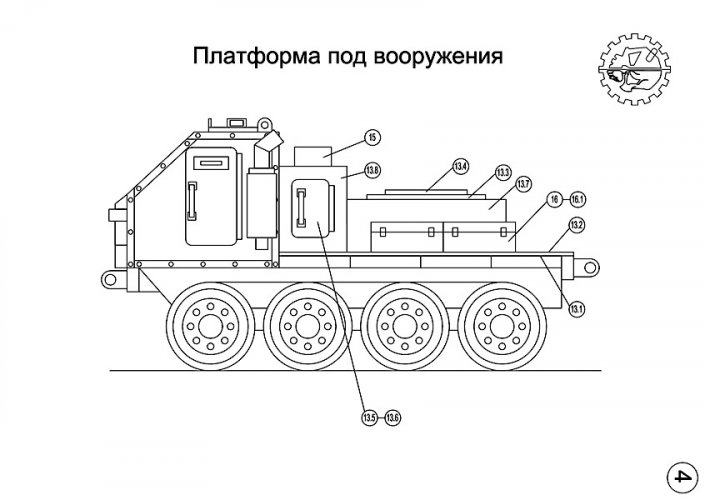
Fourth page of instructions: (Platform for weapons)
497C82A1-C3B0-4341-8111-405CA10A16C4.jpeg
 

OldMiner

Well-Known Member
I will post pics later, but I am struggling with this thing. Essentially no instructions… I have to try to become the designer. Sigh… I’m having fun, but wearing out.
There are all sorts of parts scattered on the pages, and I have no idea what they are or where they go. I guess I will cut them out and start trying to fit them. Right now, I discovered that the front and rear bumpers are a lot wider than the body, but there are open spaces near the ends. I think some of those unnamed parts might cover the holes.
 

mijob

Tie designer
Staff member
Moderator
Sorry to hear there is no good instruction with this model. I'm sure you will find away to deal with it.
 

OldMiner

Well-Known Member
I guess I said that wrong… there are some instructions, but lots of things were not discussed. I am not complaining at all, this is a pretty neat FREE model. I haven’t built a paper model lately and am used to seeing perspective views of where the parts go. That’s me… I will be sure to post build pics as I go.

OK, I have figured out enough about this model so that I’m confident I can build what I want for a gun carrier. Since the model came with 3 different bed options, there is plenty of material to work with. Lots of greebling too, several layers in quite a few parts.
I now have the basic frame and front bumper assembled. The cab is as wide as the front bumper. That hangs out over the tracks, so I will be using the wide bed option, to carry that width front to back. From what the instructions say, the next thing I should do is fabricate the tracks, install the wheels and then the bed. I will probably install the belly pan to stiffen things before putting the wheels on.

8D767549-DFB6-42C3-B20D-95BFC9E9631F.jpeg

A03A82BC-46B1-4B4B-AFA5-B86059187FBC.jpeg

I’m using CA glue for assembly, it works so good for stiffening parts too.
 

OldMiner

Well-Known Member
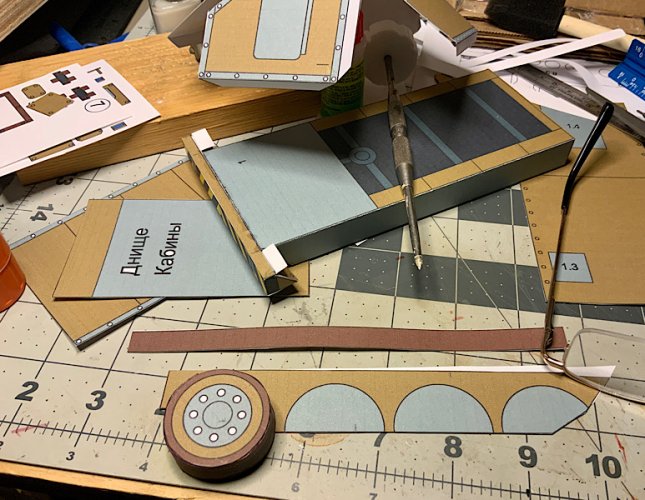
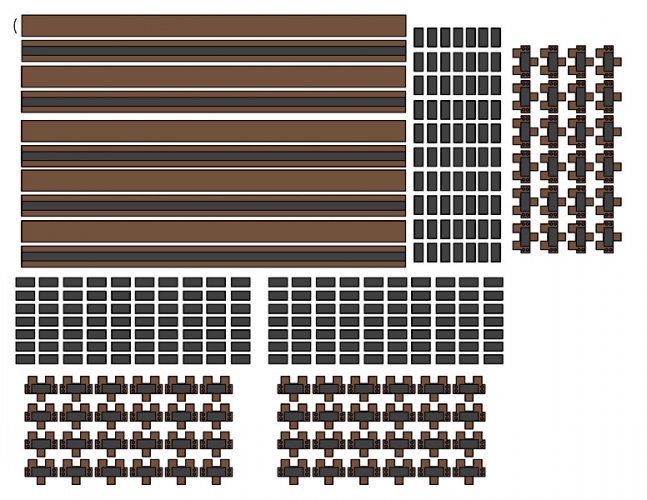
I decided to make the wheels into ‘real’ wheels. I cut styrofoam circles on my hot wire cutter and glued a tire and the sides of the wheels to one. Then I cut out the track parts and discovered that there is only half enough to make a complete belt of track. So, I have created another page of track parts and will print that tomorrow. If it works, I will add it to the PDF file, with all the instructions for the kit. I will have to figure out how the track parts go together.

7046B8DB-96FC-4CF2-8EEE-4436B263C2B2.jpeg

This is what the page looks like. It should give me enough parts plus extras, I hope. This is a reduced size image for the forum. If this thing gets completed, I will make a new PDF with the notes and extras available here.

ED5D64BC-2FC7-4036-82FC-A61EB98018DB.jpeg
 
Last edited:

OldMiner

Well-Known Member
Well, again I got confused. It appears that there ARE enough track parts in the original PDF to make the tracks. For some reason I thought there was only half… whatever.
The tracks are going to take forever. Sigh…
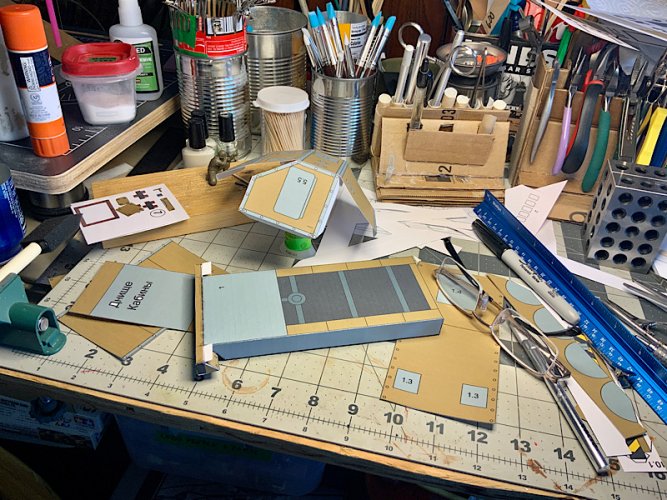
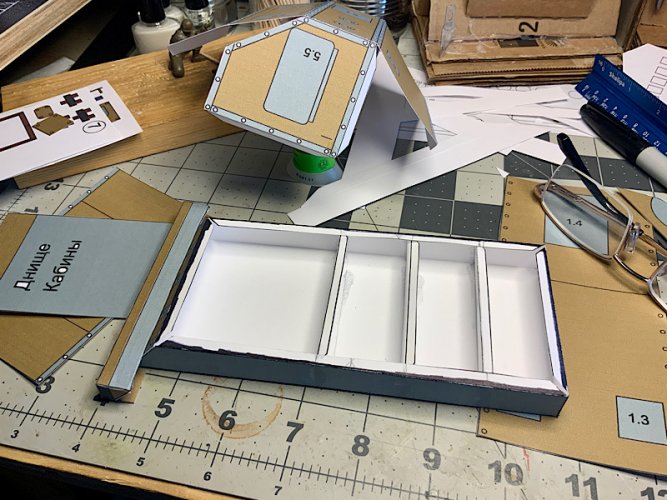
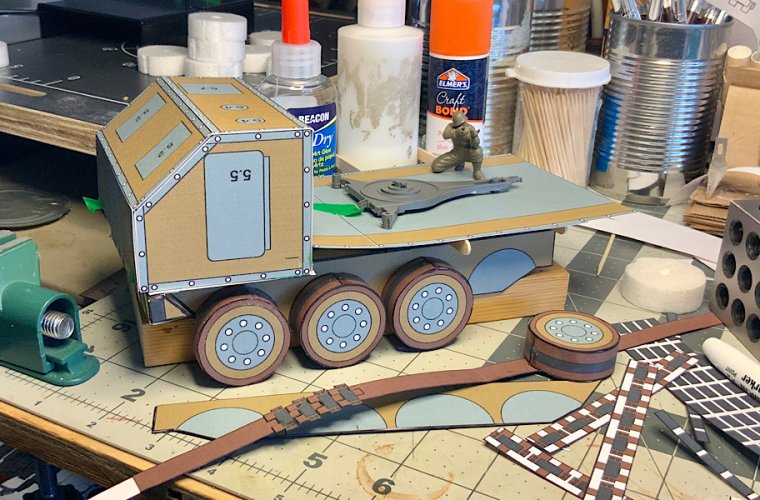
But, I have made good progress. I made and installed two more cross members in the frame and attached the belly pan. One wheel frame with 3 wheels is installed and the track building has started. I decided that instead of the suggested method of installing the track before the bed and cab it would be easier to do it differently, for me anyway. I will build the track loop and form it to fit the 3 wheels and use the 4th wheel to tension the loop, just like on a real track. It can be glued in once the tension is set.
I’ve also temporarily taped the cab together so I can see what this looks like. I will probably also stretch the bed to give the gun crew plenty of space to work. The truck should be perfect, the cab is large enough that the entire gun crew can ride inside.

D13AD600-7B80-43CF-B4C8-57543C085459.jpeg

The pic shows the bed (just the card stock sitting on some temporary cross members, no chipboard in it yet) stretched and the gun base sitting on it.
 

OldMiner

Well-Known Member
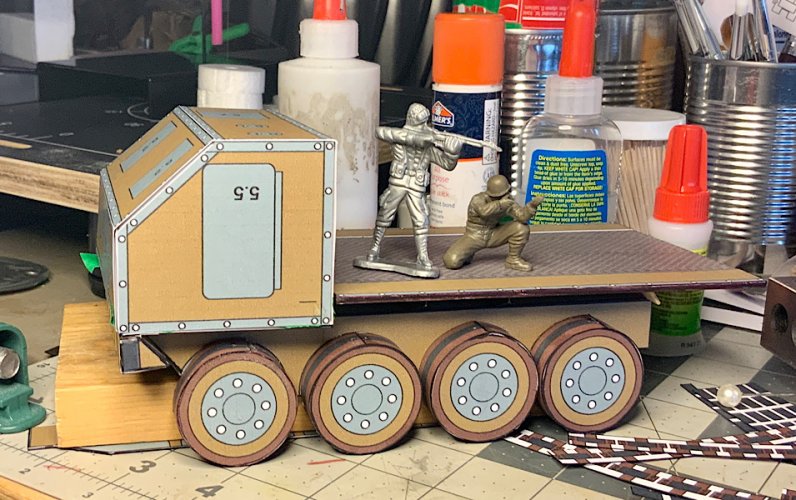
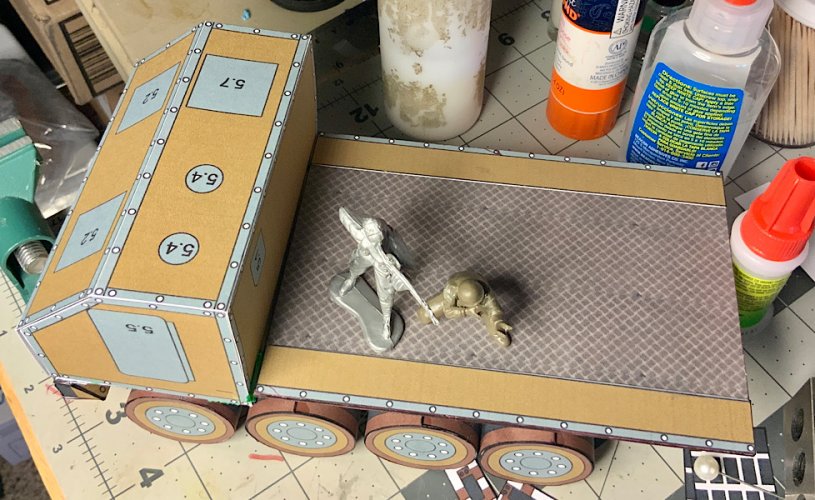
A little more progress. The bed is fabricated and ready to install. I got a couple more wheels done too.

Current status:

50791AB4-4613-4D8E-9CA2-9C344B92D3B3.jpeg

39A32E79-6C1F-47B1-9537-0F75CBA30585.jpeg

The cab is just posed as is the bed. I need to finish the cab and install it, and a couple more support beams for the bed before attaching it to the truck.

This truck could easily be built as an 8 wheel drive truck too, no tracks.
 

OldMiner

Well-Known Member
You're kit bashing, whatever you do is fine! :)
Thanks for that! I now realize that’s what I am doing and that makes it even more fun.

Things have been pretty tense here the last couple of days, we have medical issue with our youngest son. He will be 38 tomorrow. He will be spending his birthday in the hospital 250 miles away from us. Prayers would be appreciated if anyone is so inclined.

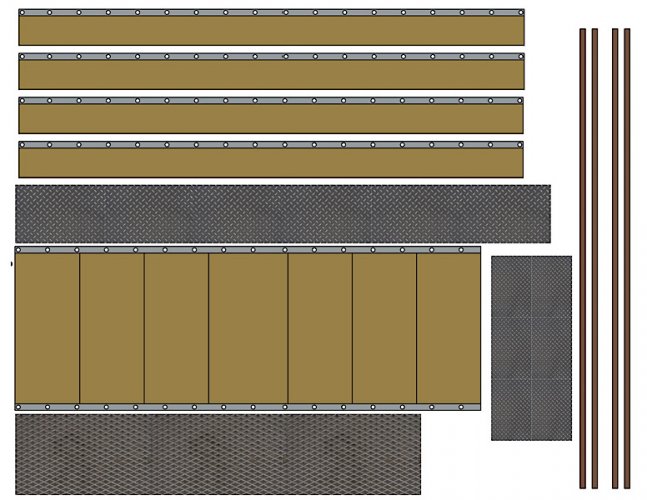
I use the modeling as an escape and have been thinking about the little truck. So, it was quiet this evening and I decided to extend the frame to support the extended bed. This looks much better. I used a printing app I have (print to size it is called) to take bits and pieces of the kit and place them on one page. That saves a lot of ink, by printing only the extra parts that are required.

I think this looks good. Oh, I will also be adding ‘mud deflectors’ in front of the track and behind it. For some reason the front bumper was designed as a mud trap… LOL

7667E316-B7C9-4E38-8902-139D0C6229F5.jpeg

8ECAF431-8867-45F7-A97E-6D9FCB876804.jpeg
 

micahrogers

Moderator "Where am I, and how did I get here?"
Staff member
Moderator
I'll keep you, and your family in my prayers, and Great work on the gun tractor.
 

OldMiner

Well-Known Member
Thanks! ;) There is a nice gift shop in the hospital next to the one where he is now and my wife called them and arranged to have some things delivered to him. There are still good people in this world. The lady in the gift shop said they normally don’t deliver to the other hospital, but she personally would take the things to him.

Here is an example of what my image printing software can do. I load the images of the pages into the frame, size them properly then crop and cut what I want. This is an assembly of ‘stuff’ from the kit and the textures site. These will become the mud guard/fender things and just be spare parts.

25967194-40A6-4D9E-AF40-59BD0F1208A0.jpeg
 

Rhaven Blaack

!!!THE MAN BEHIND THE CURTAIN!!!
Staff member
Administrator
Moderator
You and your family are in my thoughts and prayers.
Keep up the great work on this project!!!
 
Top