AMT's Eagle 1 from Space 1999
- Thread starter micahrogers
- Start date
You are using an out of date browser. It may not display this or other websites correctly.
You should upgrade or use an alternative browser.
You should upgrade or use an alternative browser.
and another update.
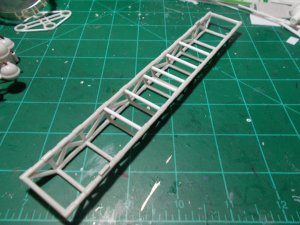
I've got the base coat of Vallejo Model Color Offwhite on all the pieces.
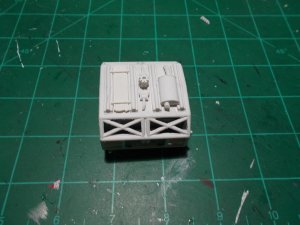
Started detail painting on the spine,
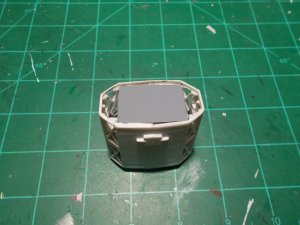
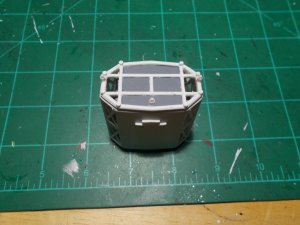
and scratch built an interior for the command pod.
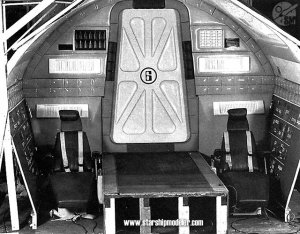
here is a Black and White reference pic of the command pod interior set.
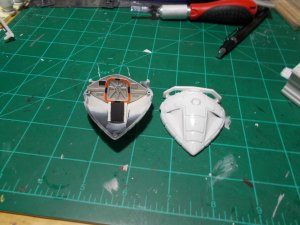
and my scratch built interior,
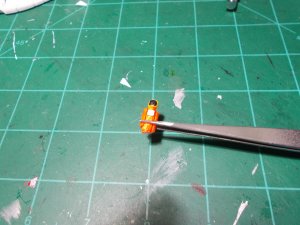
and my scratch built pilot,
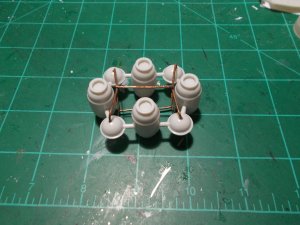
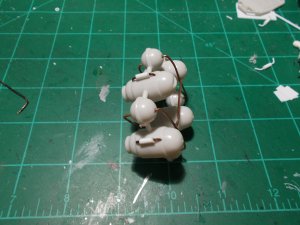
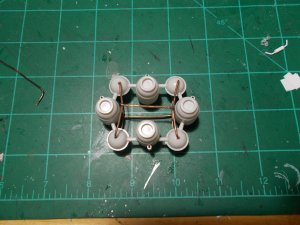
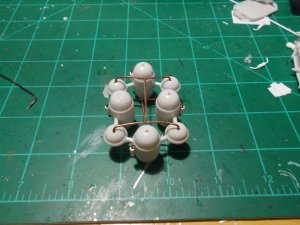
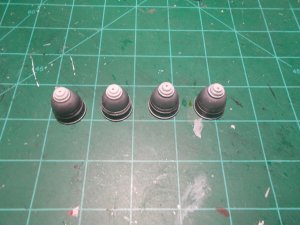
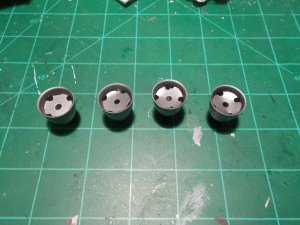
and the engine bells finished.
and more to come
I've got the base coat of Vallejo Model Color Offwhite on all the pieces.


Started detail painting on the spine,
and scratch built an interior for the command pod.
here is a Black and White reference pic of the command pod interior set.

and my scratch built interior,

and my scratch built pilot,

and the engine bells finished.


and more to come
Attachments
You are doing a FANTASTIC JOB on this project!
I like how you are scratch building all of these extra components to inject more detail, which is really making this model come to life.
KEEP UP THE GREAT WORK!!!
I like how you are scratch building all of these extra components to inject more detail, which is really making this model come to life.
KEEP UP THE GREAT WORK!!!
Thank's Rhaven, to be honest it is the feed back I have been getting from this group that has given me the courage to take the extra steps to make this model stand out. Before I joined this group I hadn't even thought about a model in 12 years. It's a steep relearning curve to get these skills back. Just the little scratch built pilot I made is something that 15 years ago I would have been scared to attempt. You can see in my post above how I messed up the baffles in the engine bells, but even messed up they look better than the stock ones.
More updates to come as the build moves onward.
More updates to come as the build moves onward.
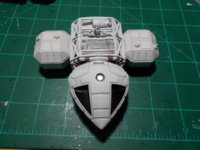
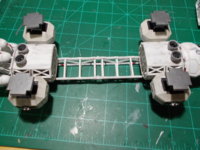
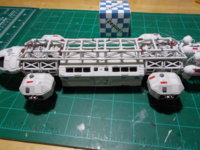
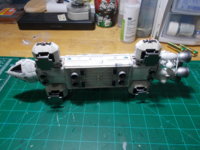
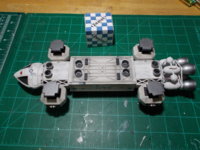
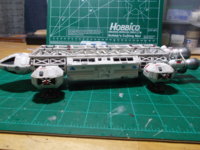
major sub assemblies done and detail painting continues.all that work on the command pod interior and ya can barely see it
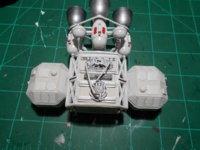
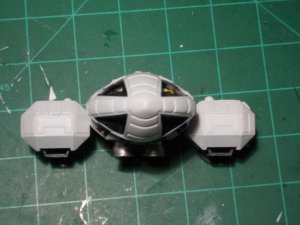 and from above
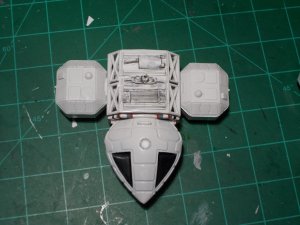
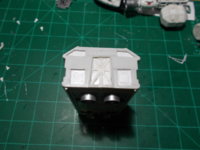
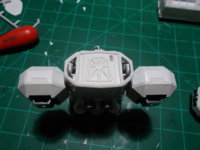
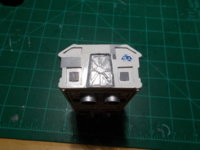
and the engineering pod,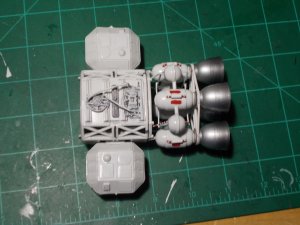 and dead astern
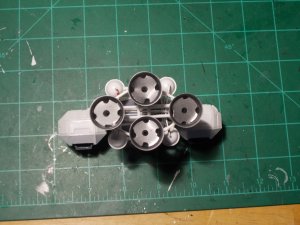
and the spine,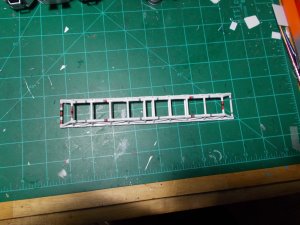 and a quick mock up to this point,
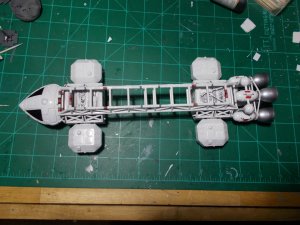
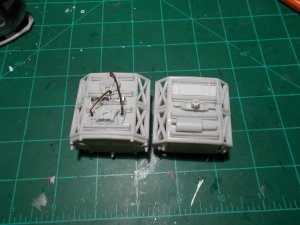
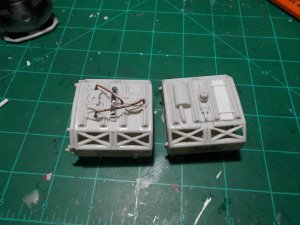
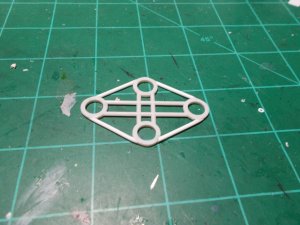
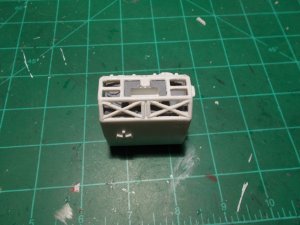
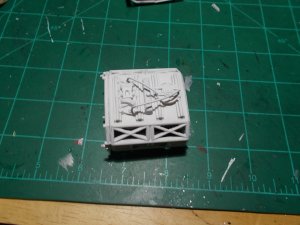
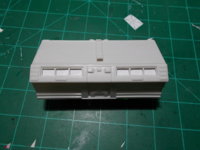
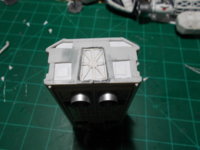
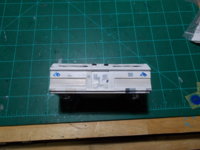
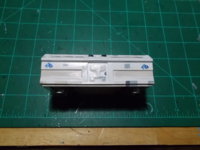
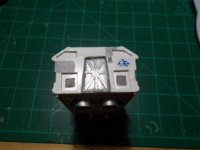
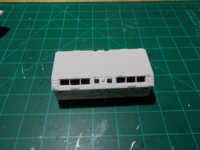
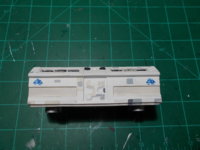
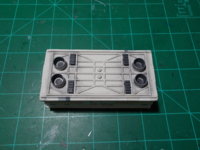
and surgery starts on the transport pod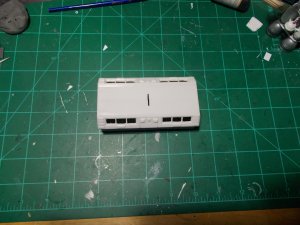
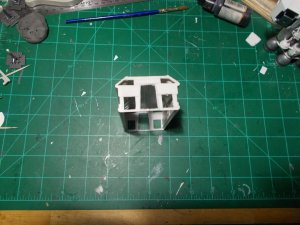
and this is the condition it sits in tonight.
I volunteered to work a half day tomorrow, my normal weekday off, so I'll work on her more after work.
 and from above
and the engineering pod,
 and dead astern
and the spine,
 and a quick mock up to this point,
and surgery starts on the transport pod


and this is the condition it sits in tonight.
I volunteered to work a half day tomorrow, my normal weekday off, so I'll work on her more after work.
Thank's Rhaven, to be honest it is the feed back I have been getting from this group that has given me the courage to take the extra steps to make this model stand out. Before I joined this group I hadn't even thought about a model in 12 years. It's a steep relearning curve to get these skills back. Just the little scratch built pilot I made is something that 15 years ago I would have been scared to attempt. You can see in my post above how I messed up the baffles in the engine bells, but even messed up they look better than the stock ones.
More updates to come as the build moves onward.
That is the one major thing that I like about this forum, the people here really encourage one another to strive to do better and to attempt new things and to broaden their horizons.
In the five years that I have been a member here, I have learned a GREAT deal about this hobby (and there is an even GREATER amount that I still want to learn).
KEEP UP THE GREAT WORK!!!
You are doing a FANTASTIC JOB on the model!!!
I REALLY LIKE the extra detail that you are putting into this model!!!
I am GREATLY ENJOYING watching this thread!!!
I REALLY LIKE the extra detail that you are putting into this model!!!
I am GREATLY ENJOYING watching this thread!!!
The last update for today, I hand drew an Alpha MoonBase logo on Tamiya masking tape and applied it and shot a good blue color.
Post-it note stencils made for detail painting and then color shot with airbrush.
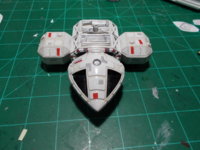
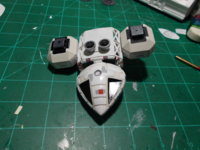
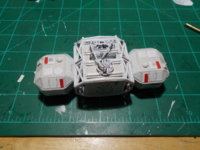

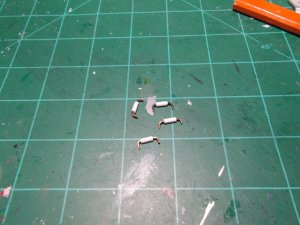
And I added some more stripping to the engine cluster piping.
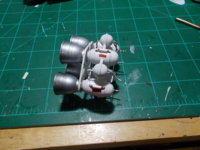
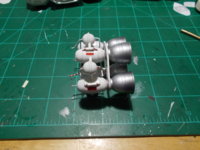
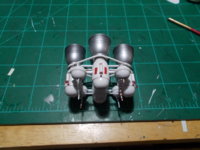
One more session of detail painting then the "Nekked" Eagle will be built, while I finish the transport pod, I'm trying to make up my mind between the regular transport pod and the red striped "rescue" pod.
Anyone want to vote?
Post-it note stencils made for detail painting and then color shot with airbrush.


And I added some more stripping to the engine cluster piping.


One more session of detail painting then the "Nekked" Eagle will be built, while I finish the transport pod, I'm trying to make up my mind between the regular transport pod and the red striped "rescue" pod.
Anyone want to vote?
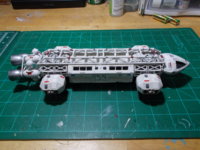
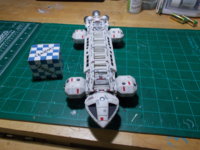
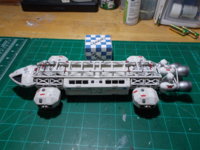
First weekend update on my Eagle 1 build, The basic spine Eagle is complete, all the details painted and the final matte varnish applied..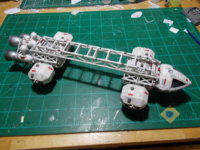
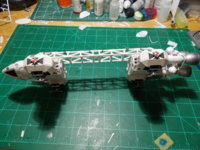
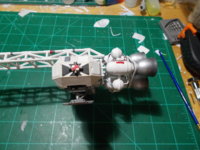
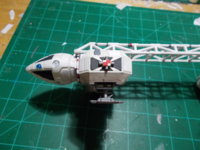
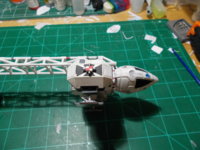
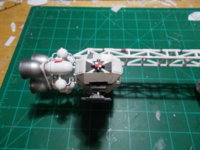
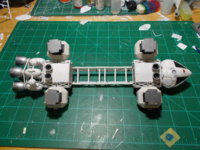
and of course I didn't notice until after the glue had dried that the back pads were a little crooked... Oh well.
next will be the transport pod, still trying to decide if I want to make it the regular or the rescue pod


and of course I didn't notice until after the glue had dried that the back pads were a little crooked... Oh well.
I would have to either buy another kit, or scratch build a whole pod to have both.I would build both so that you can change them out for a diorama.
next will be the transport pod, still trying to decide if I want to make it the regular or the rescue pod
Everything looks GREAT!
As for which pod to make, I would go for the transport pod. It was the most commonly used through out the show.
As for which pod to make, I would go for the transport pod. It was the most commonly used through out the show.
The regular transport pod also has the "easiest" paint job, masking those red stripes on the pod sides would be a challenge. Everything I've done with this build has pushed my modeling skill set, I am leaning toward the rescue pod just because the paint scheme will be a challenge that I don't know if I'm up to.As for which pod to make, I would go for the transport pod. It was the most commonly used through out the show.
Another update on my AMT/Ertl Eagle 1. I've decided to make the "regular" transport pod, and get rid of the friction / snap fit attachment of the pod to the spine.
I removed the "spring" snap piece from the top of the pod,
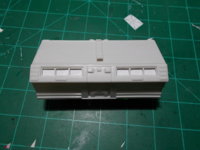 and installed small rare earth magnets in the top of the pod and the underside of the spine.
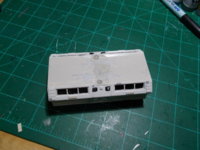
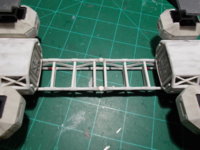
Now the pod just "clicks" into place.
Now I just have to re fill the imperfections in the top of the pod and start final paint.
I removed the "spring" snap piece from the top of the pod,
 and installed small rare earth magnets in the top of the pod and the underside of the spine.

Now the pod just "clicks" into place.
Now I just have to re fill the imperfections in the top of the pod and start final paint.


