Hi everyone!
I woke up one morning in March/April thinking about airplanes, and decided that I want to build one. So What did i chose? The Airbus A380.
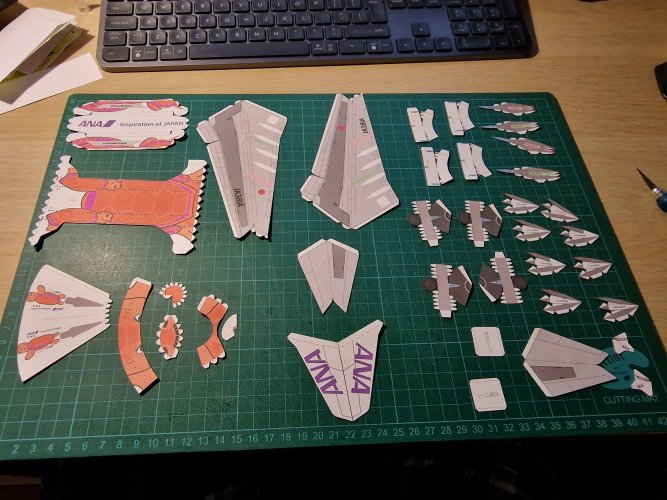
So I googled around some paper templates and found some really cool (and big) models along with youtube vids on how to build them. I spotted some models on a site called "citycraftpapermodels" (which i plan to do next) but I also found this little fella, on ANA's own website and decided to have a go at it, in preparation of building the big version.
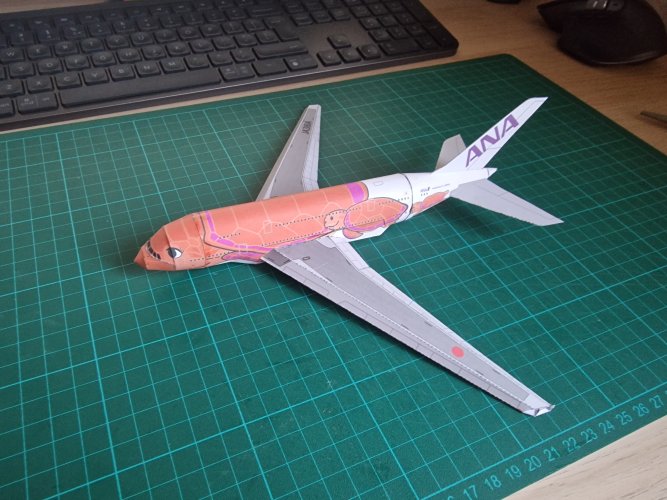
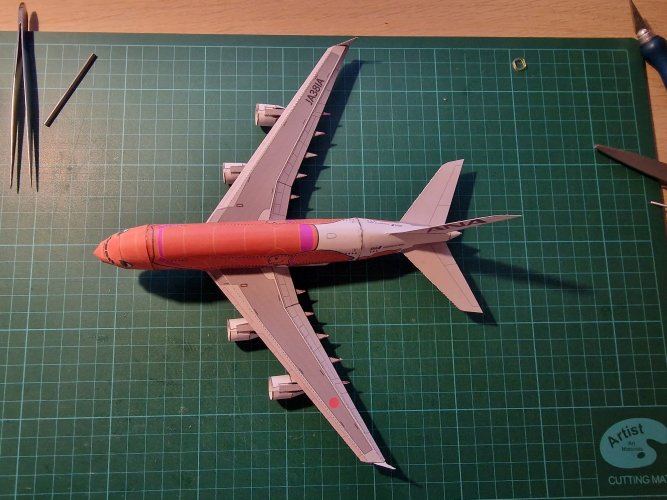
In the mean time, I ordered a new set of printer cartridges but the color one started acting up after just 1 page, and everything blue prints out as violet (you'll see this behaviour on this model as well, where the writing on the tail is not blue, as it should). As ANA has 3 A380s, in blue, green, and orange, I opted for the orange one, as it had he least amount of printing errors.
The model itself was taken from HERE
I don't know how to rate the difficulty as this was my first airplane model, but judging from the number of parts (compared to other models) I assume it is a simpler one. The instructions are in a separate file (in Japanese) and should be carefully checked BEFORE gluing/assembling parts (more on that later).
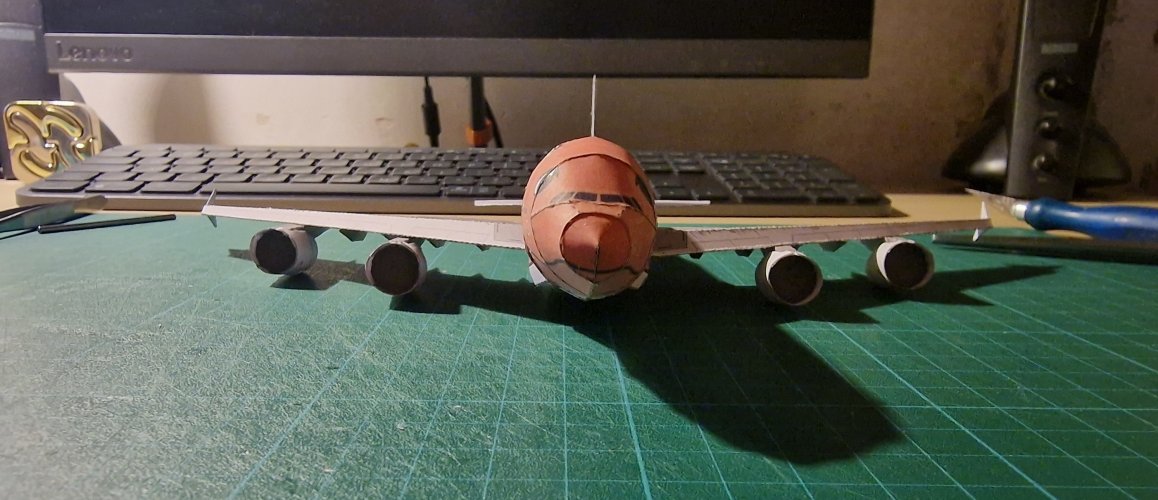
The model itself has no landing gear and no stand, so I guess that it's optimal display would be hanging somewhere - I need to search around on ways to hang airplane models and where exactly to hang this one in my room.
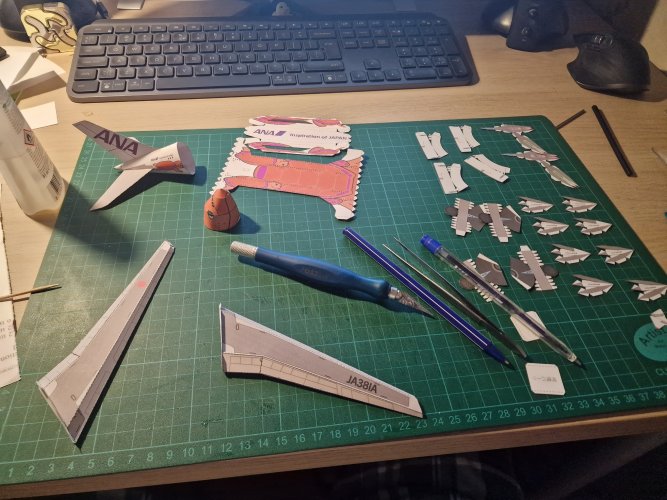
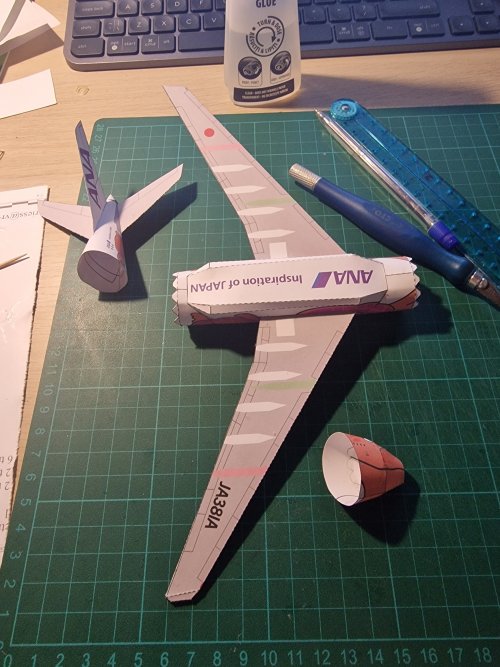
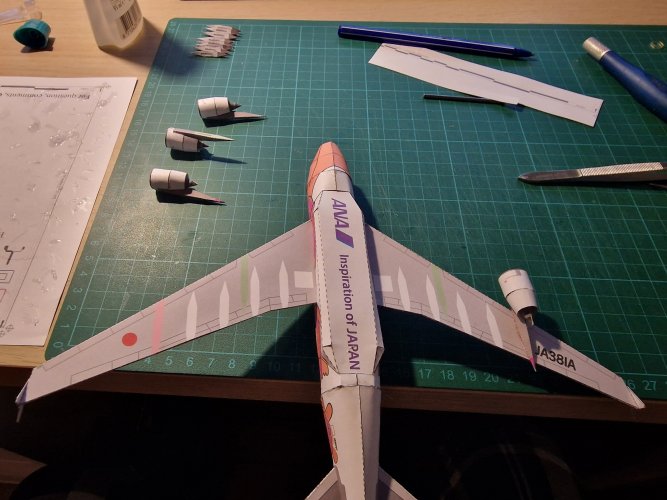
I started by cutting everything out, then gluing the nose, tail, wings and main body. Putting everything together was a bit challenging (for me) but I managed to do it, although with a few glue splotches, here and there.
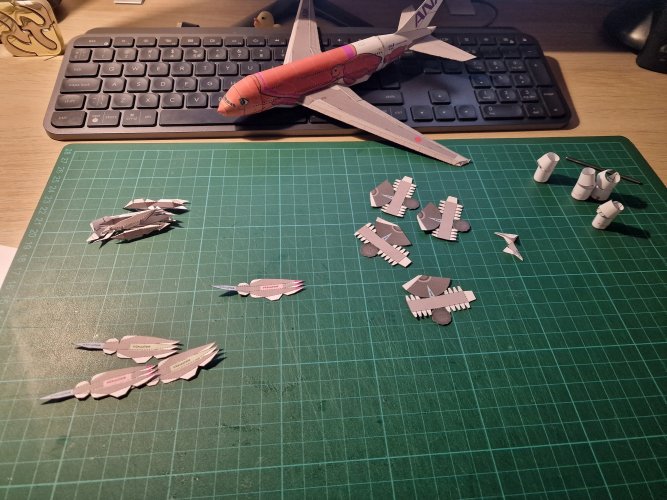
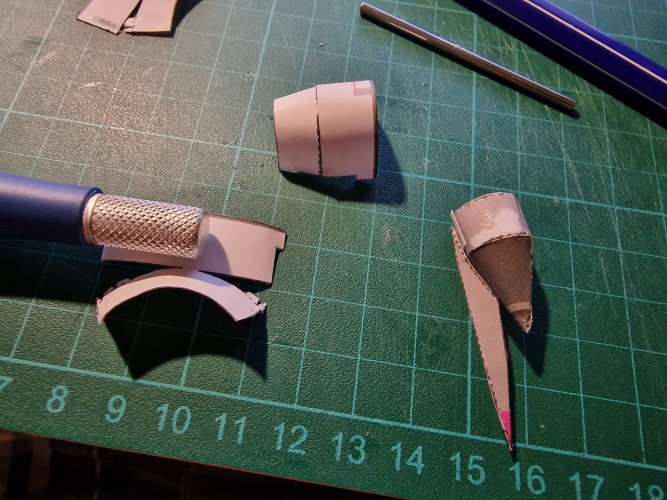
When time came for the engines to be assembled, my initial guess was that the inner cylindrical thingy (representing the engine itself + blades) would be just inserted inside the exterior cowl, but only after trying to assemble one I checked the instruction which (vaguely) showed that the engine struts should be mounted fist on the inner cylindrical thingy, and only after that, the cowl can be wrapped around the whole thing, which doesn't really fit, so I had to add some extra bits of paper, .
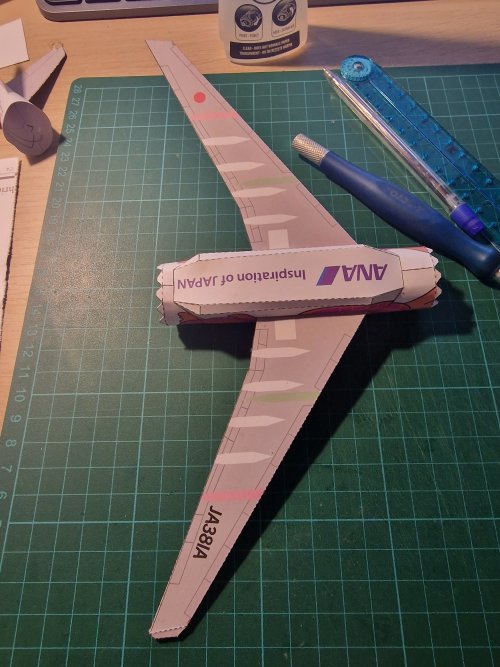
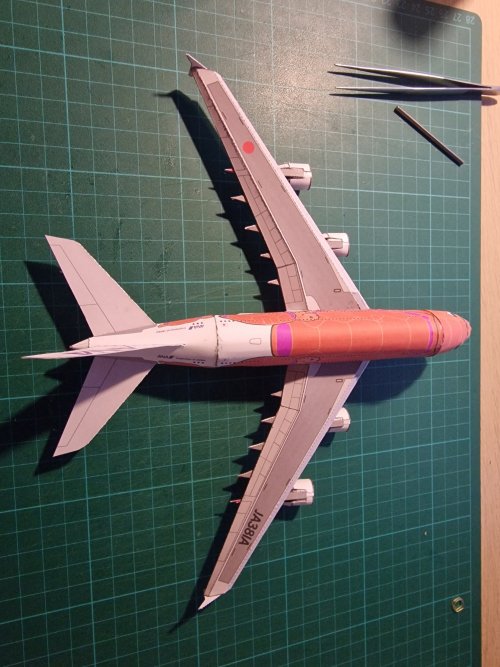
All that remained was to glue everything under the wings and wrap everything up.
Let mw know your thoughts on my build and PLEASE share any secrets on how to best join together the cylindrical parts of the body, so that the inner gluing tabs won't show up, especially when working with narrower segments (like the nose and the tail).
Have a great day/evening!!!
E
I woke up one morning in March/April thinking about airplanes, and decided that I want to build one. So What did i chose? The Airbus A380.
So I googled around some paper templates and found some really cool (and big) models along with youtube vids on how to build them. I spotted some models on a site called "citycraftpapermodels" (which i plan to do next) but I also found this little fella, on ANA's own website and decided to have a go at it, in preparation of building the big version.
In the mean time, I ordered a new set of printer cartridges but the color one started acting up after just 1 page, and everything blue prints out as violet (you'll see this behaviour on this model as well, where the writing on the tail is not blue, as it should). As ANA has 3 A380s, in blue, green, and orange, I opted for the orange one, as it had he least amount of printing errors.
The model itself was taken from HERE
I don't know how to rate the difficulty as this was my first airplane model, but judging from the number of parts (compared to other models) I assume it is a simpler one. The instructions are in a separate file (in Japanese) and should be carefully checked BEFORE gluing/assembling parts (more on that later).
The model itself has no landing gear and no stand, so I guess that it's optimal display would be hanging somewhere - I need to search around on ways to hang airplane models and where exactly to hang this one in my room.
I started by cutting everything out, then gluing the nose, tail, wings and main body. Putting everything together was a bit challenging (for me) but I managed to do it, although with a few glue splotches, here and there.
When time came for the engines to be assembled, my initial guess was that the inner cylindrical thingy (representing the engine itself + blades) would be just inserted inside the exterior cowl, but only after trying to assemble one I checked the instruction which (vaguely) showed that the engine struts should be mounted fist on the inner cylindrical thingy, and only after that, the cowl can be wrapped around the whole thing, which doesn't really fit, so I had to add some extra bits of paper, .
All that remained was to glue everything under the wings and wrap everything up.
Let mw know your thoughts on my build and PLEASE share any secrets on how to best join together the cylindrical parts of the body, so that the inner gluing tabs won't show up, especially when working with narrower segments (like the nose and the tail).
Have a great day/evening!!!
E
Attachments
-
 20230624_212546.jpg1.9 MB · Views: 11
 -
 20230625_211513.jpg1.2 MB · Views: 7
 -
 20230625_221754.jpg1.9 MB · Views: 6
 -
 20230625_221802.jpg1.7 MB · Views: 7
 -
 20230630_205730.jpg1.9 MB · Views: 8
 -
 20230630_212136.jpg1.2 MB · Views: 8
 -
 20230701_010646.jpg1.6 MB · Views: 8
 -
 20230701_015143.jpg1.4 MB · Views: 8
 -
 20230701_015743.jpg1.5 MB · Views: 8
 -
 20230701_020614.jpg1.7 MB · Views: 8
 -
 20230701_020626.jpg1.9 MB · Views: 11
 -
 20230701_020634.jpg1.7 MB · Views: 14
 -
 20230701_020638.jpg1.9 MB · Views: 15
 -
 20230701_020642.jpg1.5 MB · Views: 13
 -
 20230701_020854.jpg1,023.5 KB · Views: 13