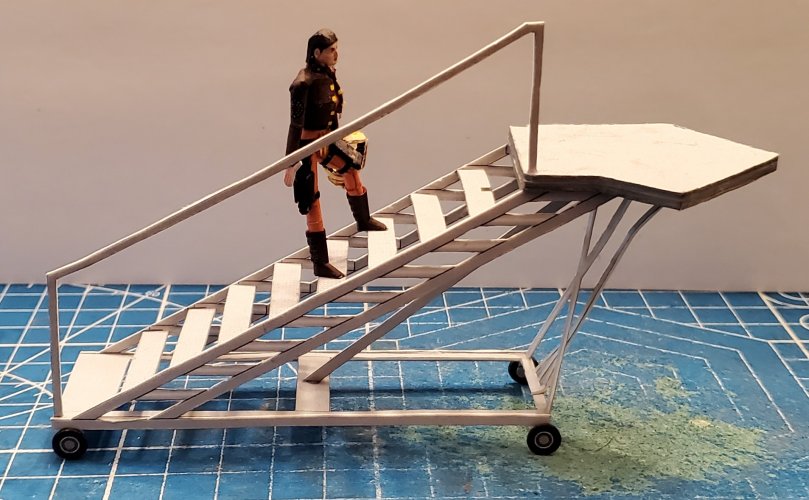
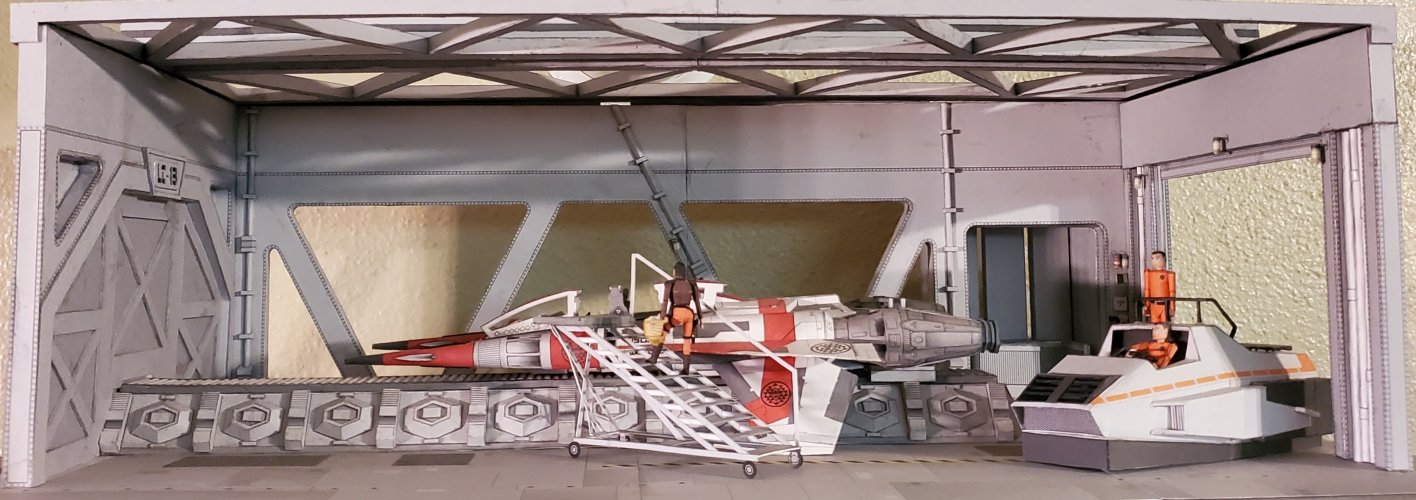
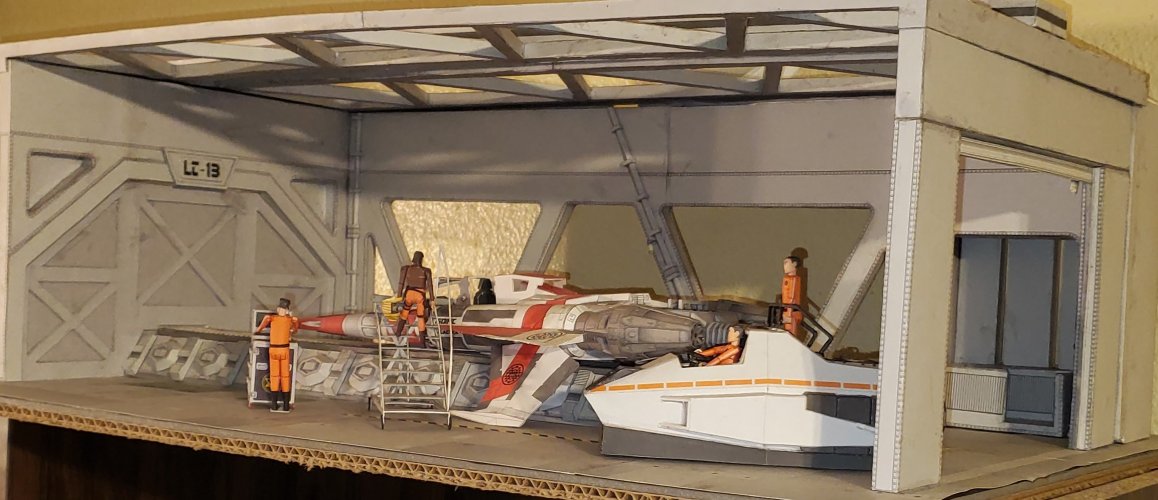
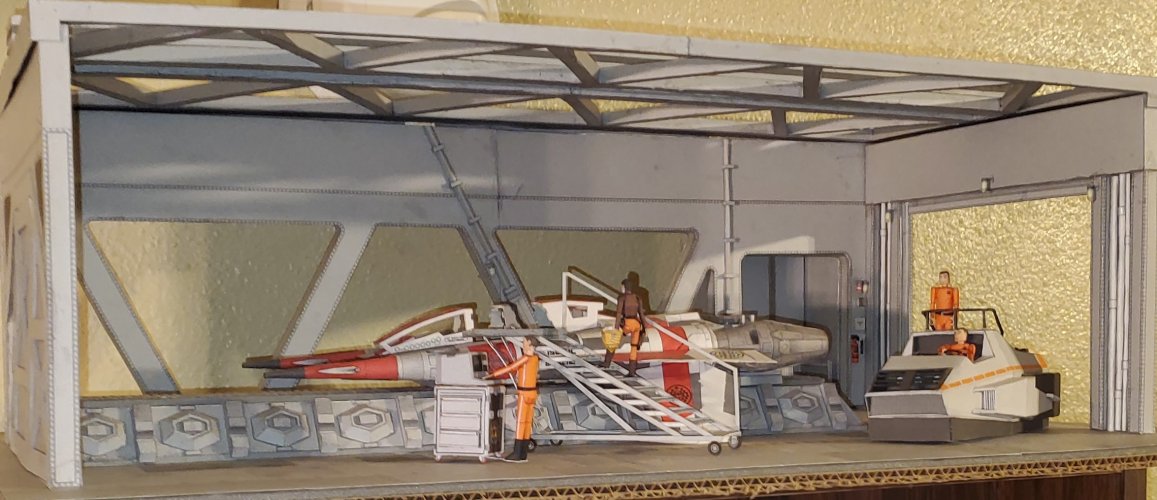
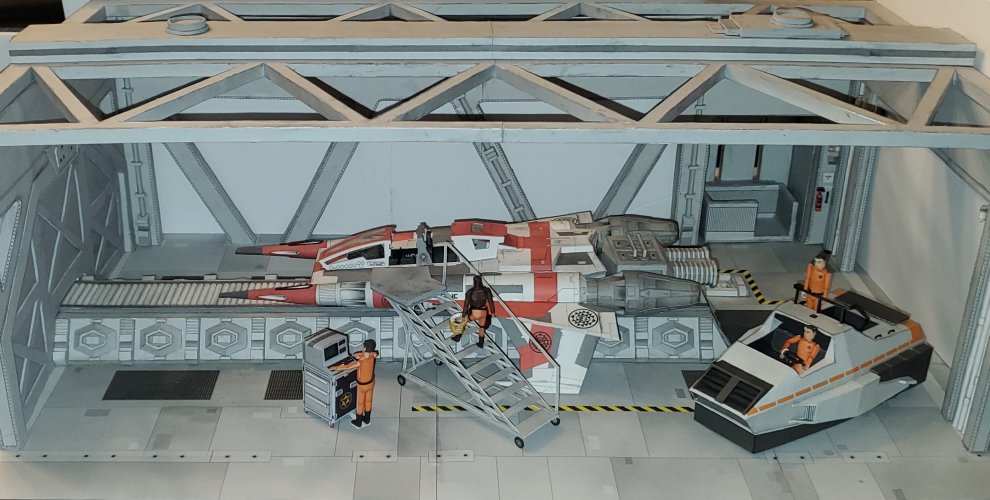
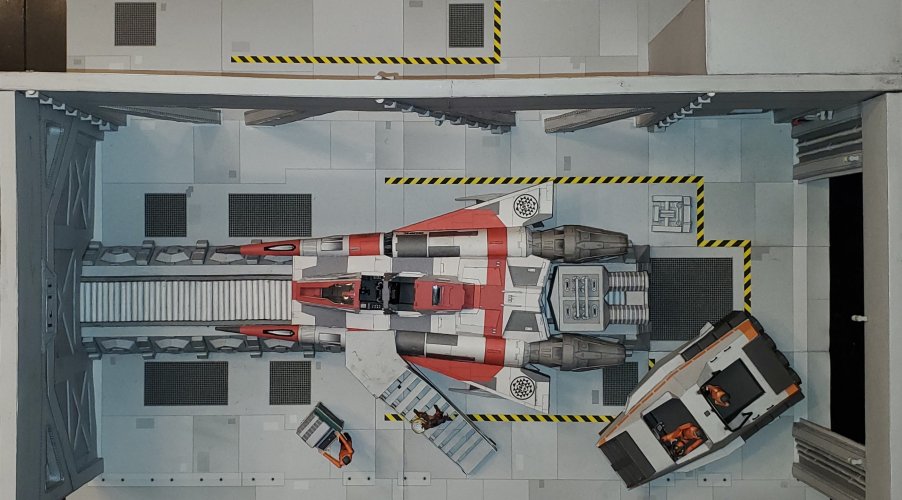
A memorial to my mum (A BRTC25 Thunder Fighter in BSG livery).

Rhaven Blaack

!!!THE MAN BEHIND THE CURTAIN!!!
Staff member
Administrator
Moderator
Jun 12, 2009
12,529
9,912
228
Oregon
www.deviantart.com
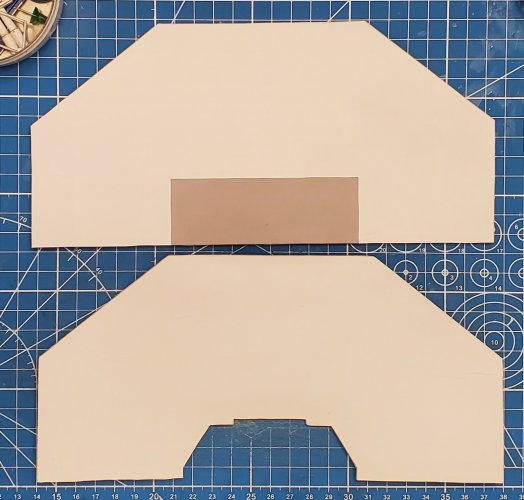
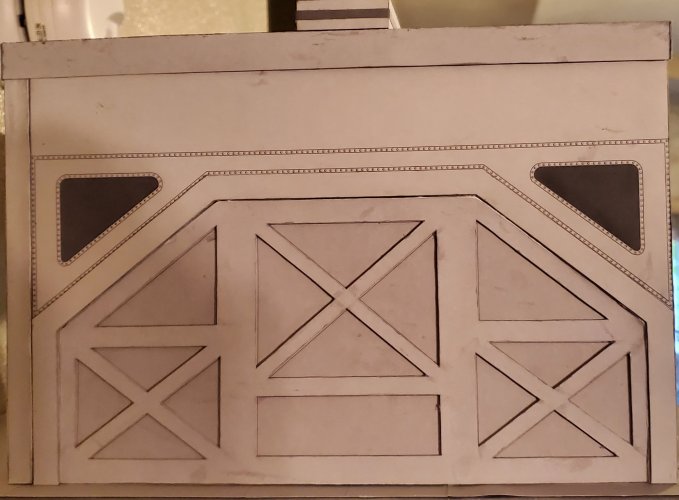
Moving on to the Launch Tube Blast Door. I have to say that @Revell-Fan did a FANTASTIC JOB in designing this door. The design fits perfectly with the rest of the design on the launch bay.

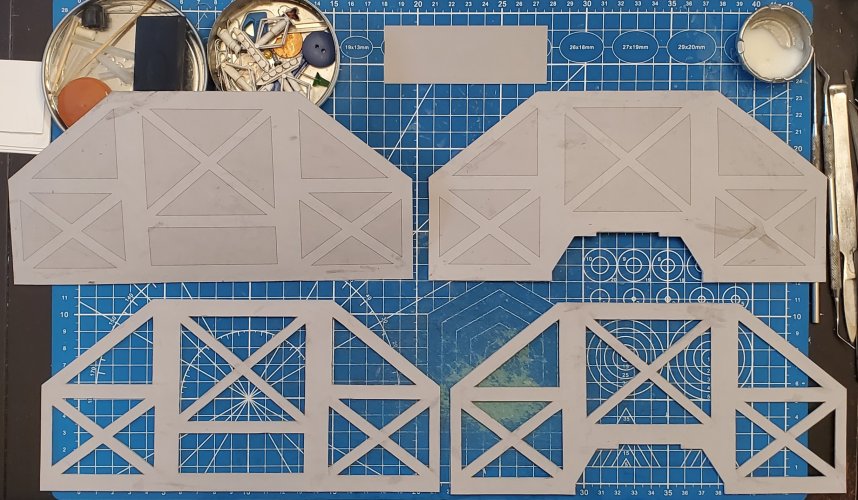
There are five parts in all for the door (two main pieces, two frames and a panel). The parts for the door are very simple and straight forward to assemble. I have laminated all four of the main components of the door to 1mm thick (No, I did not laminate the grey rectangle that is at the top pf the photo).
(*NOTE* The "notch/cutout" at the bottom of the two door pieces is there to accommodate the launch rail that protrudes (slightly) into the door jam.)
20230809_125041.jpg

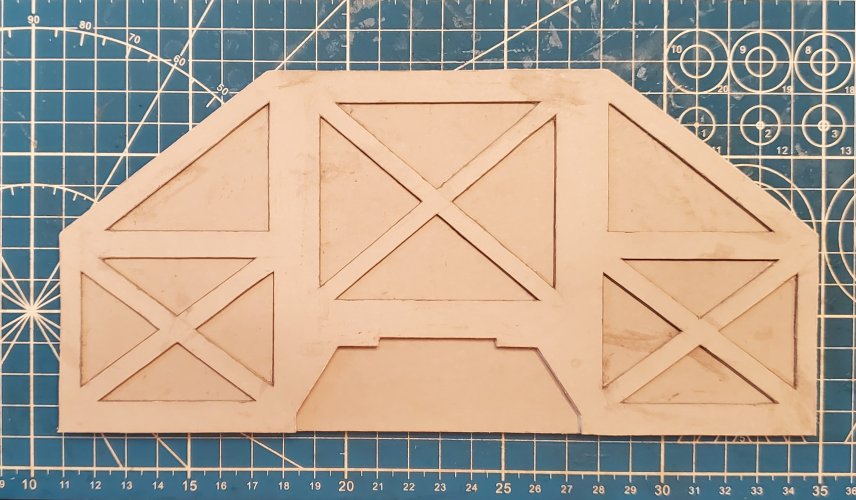
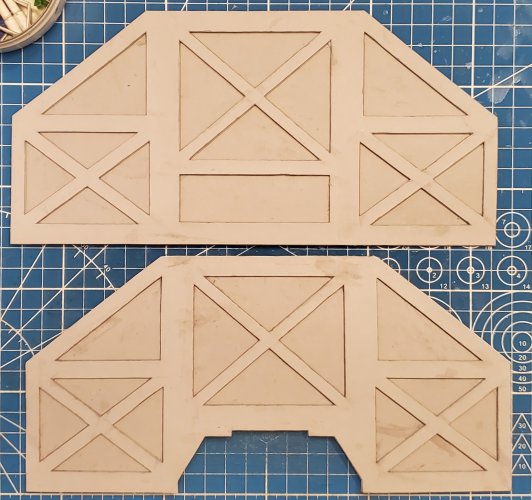
The frame work is attached in place on the main parts of the door.
20230809_141720.jpg

The grey panel is attached in place.
20230809_141738.jpg

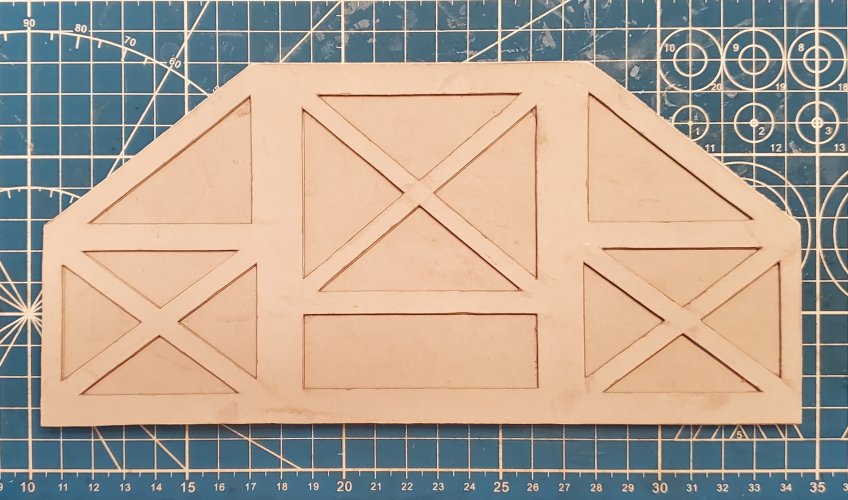
Both halves of the door are attached to one another.
20230809_143447.jpg

20230809_143500.jpg

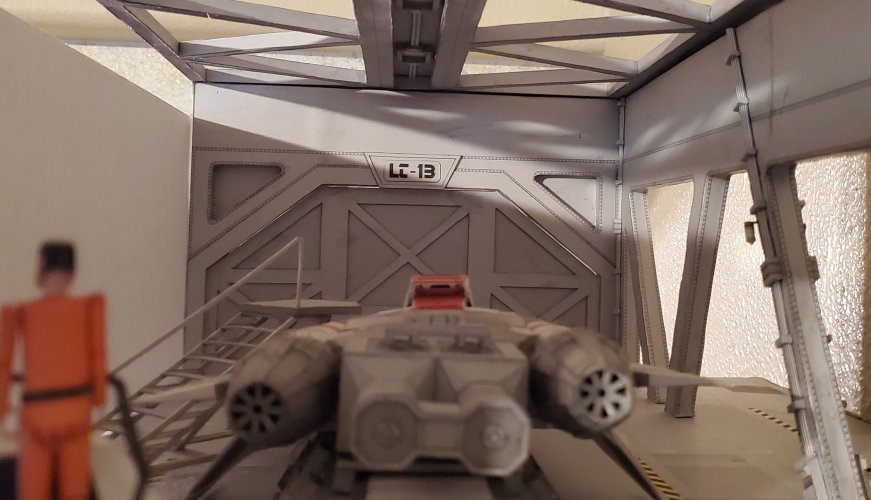
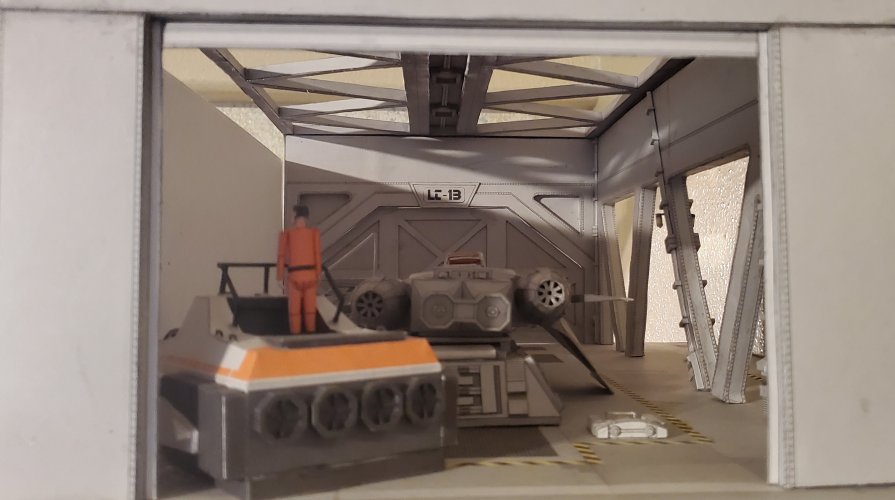
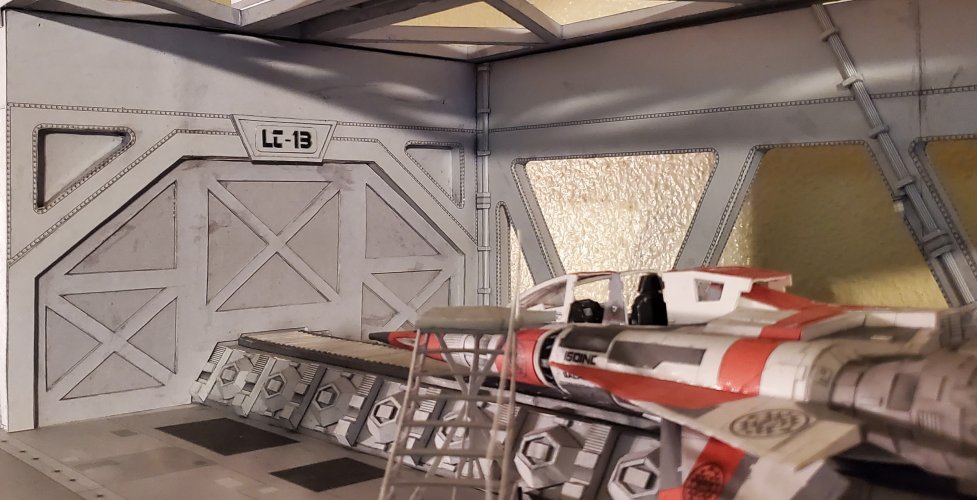
The door is put in place. The door is held in place by friction (I did not glue it in place).
20230809_143746.jpg

Here are a few "glamour shots".
20230809_143834.jpg

20230809_143847.jpg

Here is the backside of the door.
20230809_143904.jpg

Please stay tuned to your local Colonial Broadcast Network for further updates as they occur.
 

Revell-Fan

Co-Administrator
Staff member
Administrator
Moderator
Aug 1, 2009
11,614
12,355
228
Vreden
Fan-FRAKKIN-tastic!!! This looks better than expected, especially the cutout for the launch rail. I have made the insert slightly smaller than the wall cutout to ensure that it does not get stuck.

:CHEERS:
 

Rhaven Blaack

!!!THE MAN BEHIND THE CURTAIN!!!
Staff member
Administrator
Moderator
Jun 12, 2009
12,529
9,912
228
Oregon
www.deviantart.com
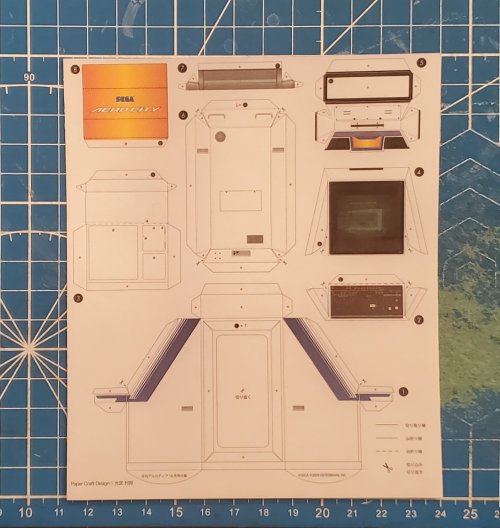
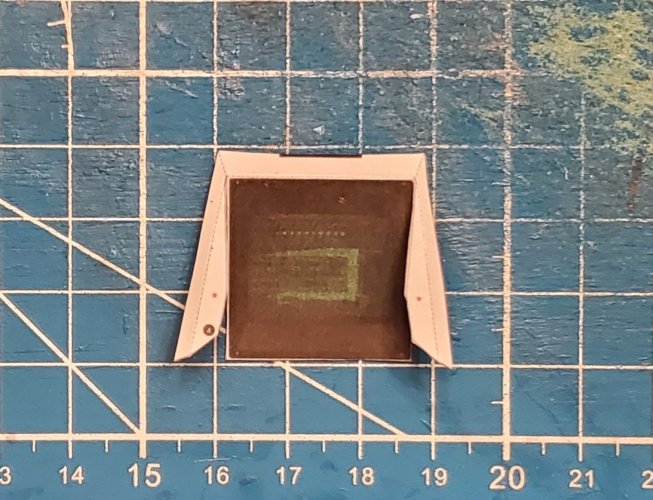
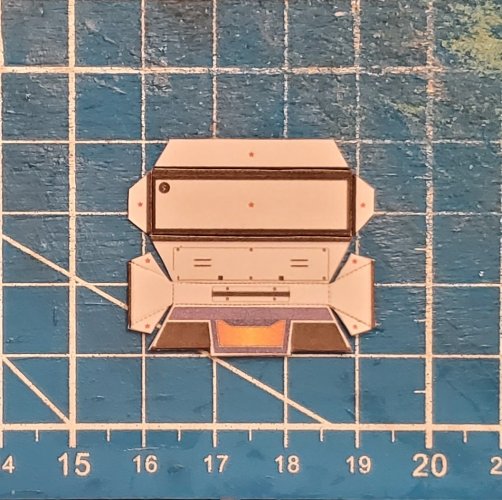
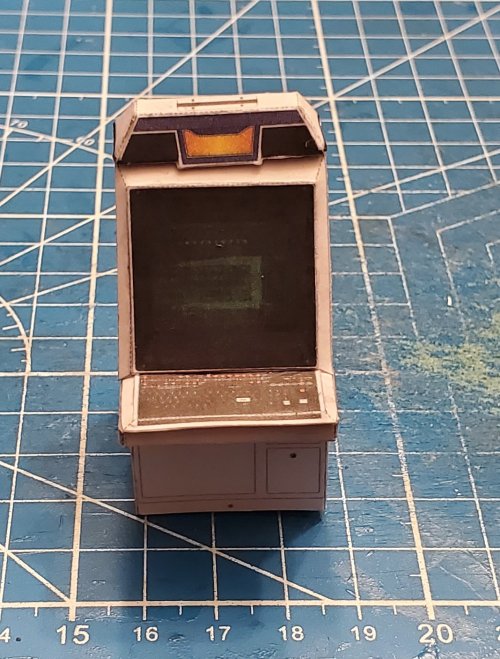
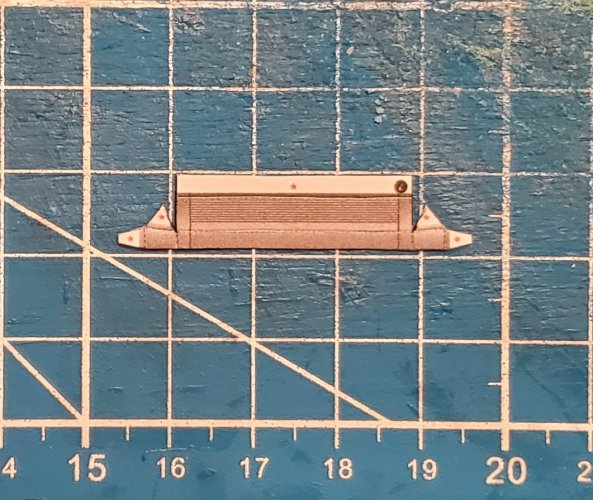
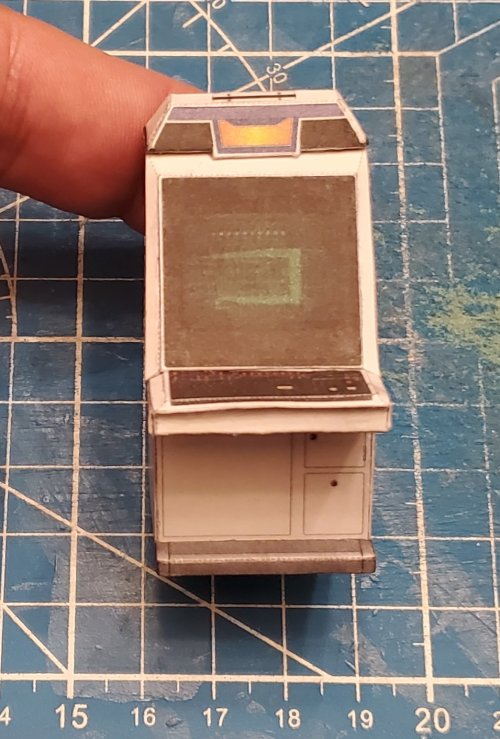
I am currently playing around with ideas for adding a computer console (for diagnostic purposes) to the diorama. Whilst scouring the internet for a suitable paper/cardstock model for a computer (and other possible pieces), I came across this:
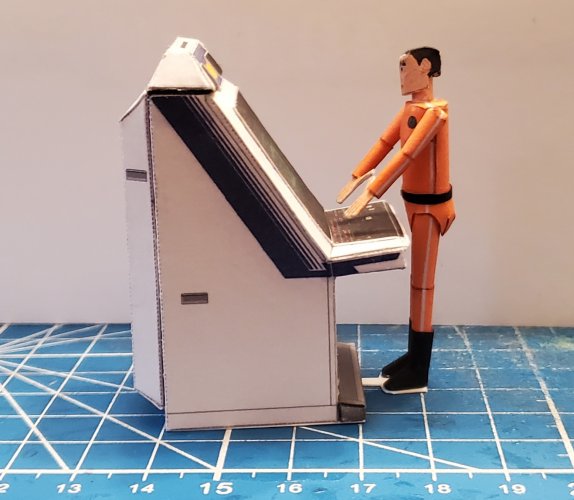
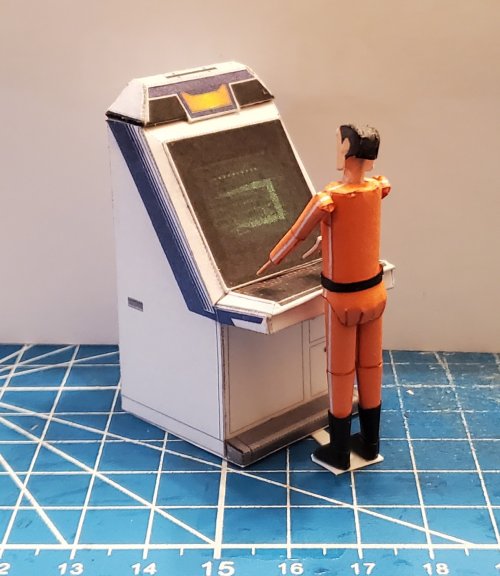
This is a arcade console for "SAGA" gaming. However, I changed out the gaming controls for a keyboard and added a diagnostic screen to it, as well as resized it for my needs.
(*NOTE* I have other ideas in mind as well.)

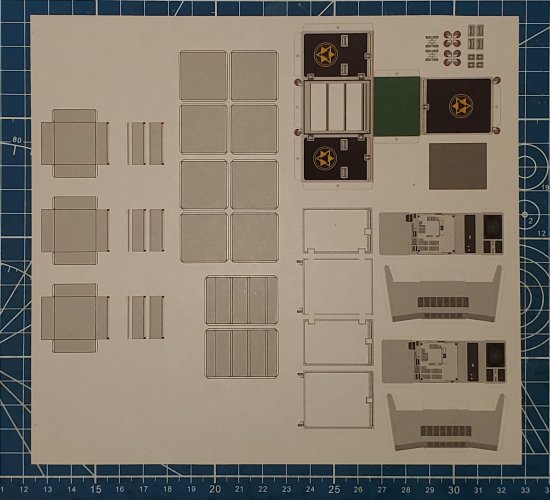
Here is the template. It fairly easy and straight forward.
20230818_190107.jpg

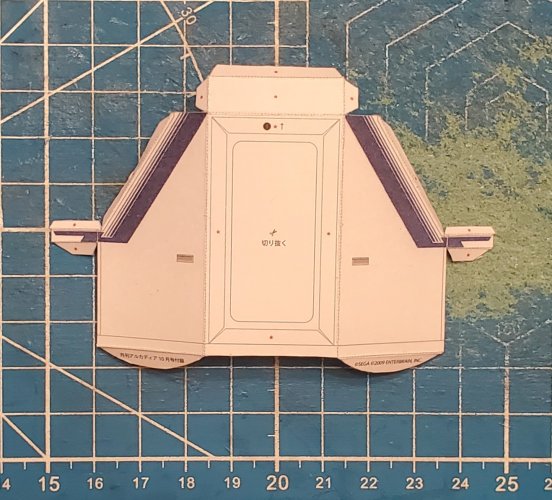
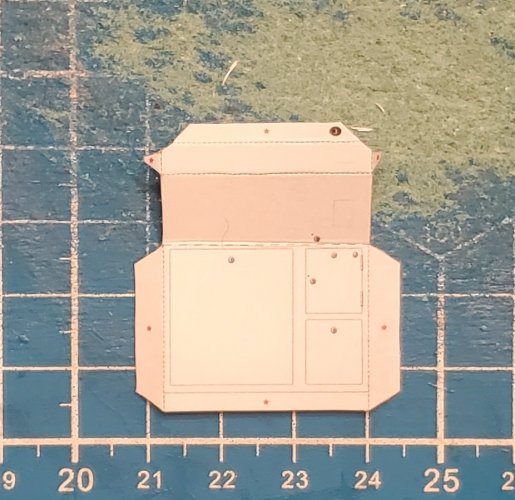
Starting with the main body piece.
20230818_191721.jpg

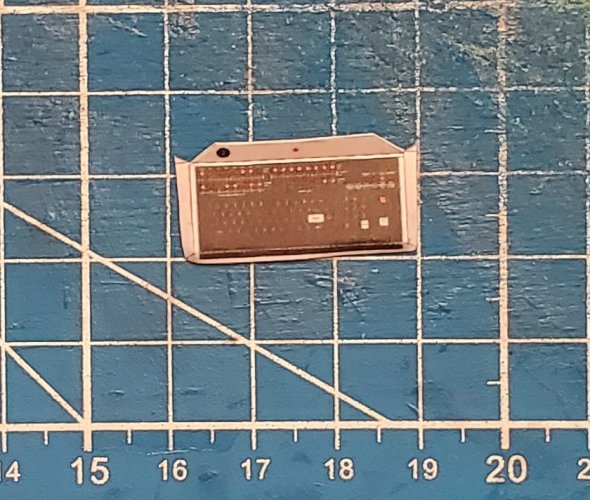
Here is the keyboard.
20230818_191752.jpg

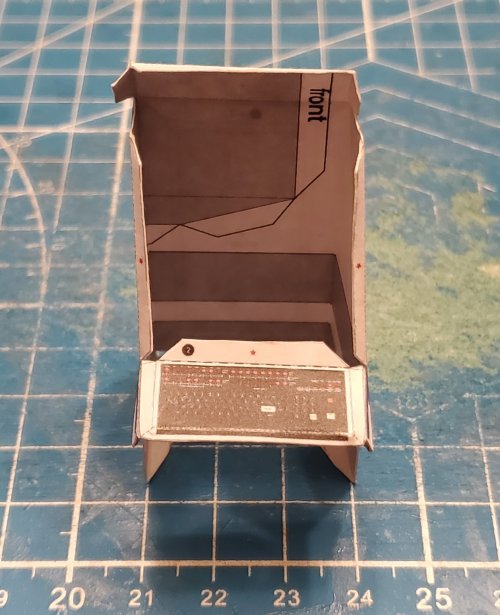
The keyboard is attached to the main body piece.
20230818_192123.jpg

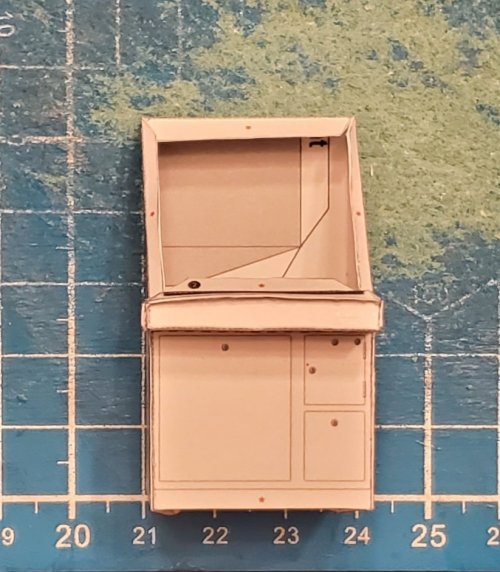
This piece (the lower front panel) attaches to the underside of the keyboard and the bottom front of the main body piece.
20230818_192245.jpg

The lower front panel is attached in place.
20230818_193337.jpg

This is the monitor.
20230818_194000.jpg

The monitor is attached in place.
20230818_195106.jpg

This is the "crown" piece.
20230818_195510.jpg

The "crown" piece is attached in place.
20230818_200812.jpg

This is the foot rest.
20230818_201037.jpg

The foot rest is attached in place.
20230818_202751.jpg

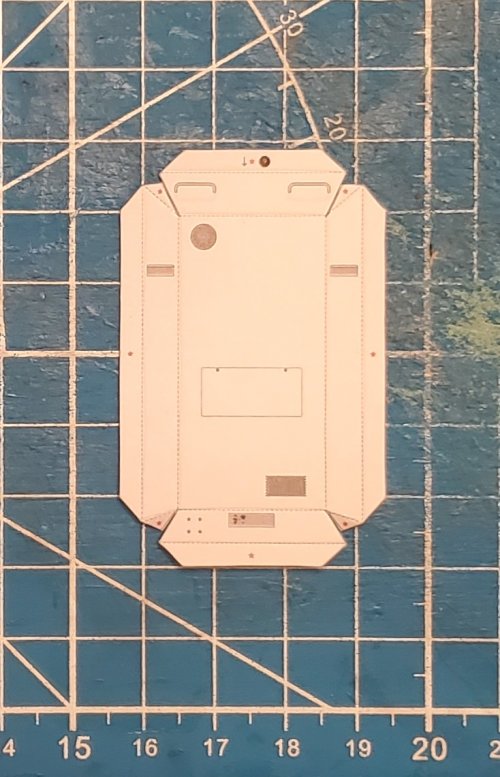
This is the back panel.
20230818_203042.jpg

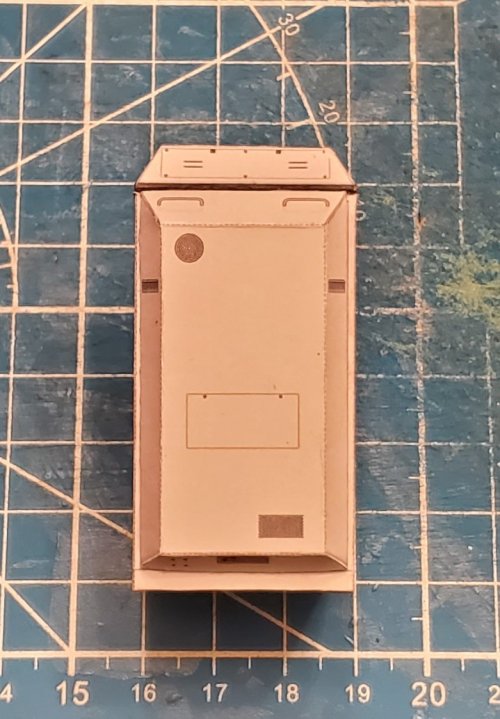
The back panel is attached in place.
20230818_203722.jpg

The console is sitting in place (to see how it looks).
20230818_203851.jpg

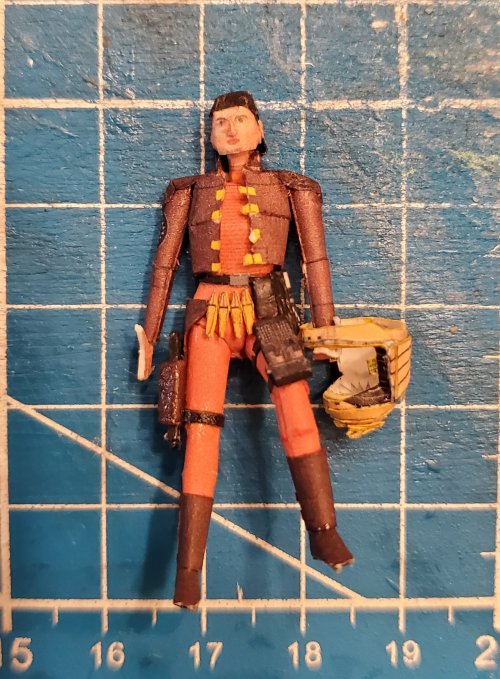
I built a mechanic to operate it.
20230820_121248.jpg

20230820_121309.jpg

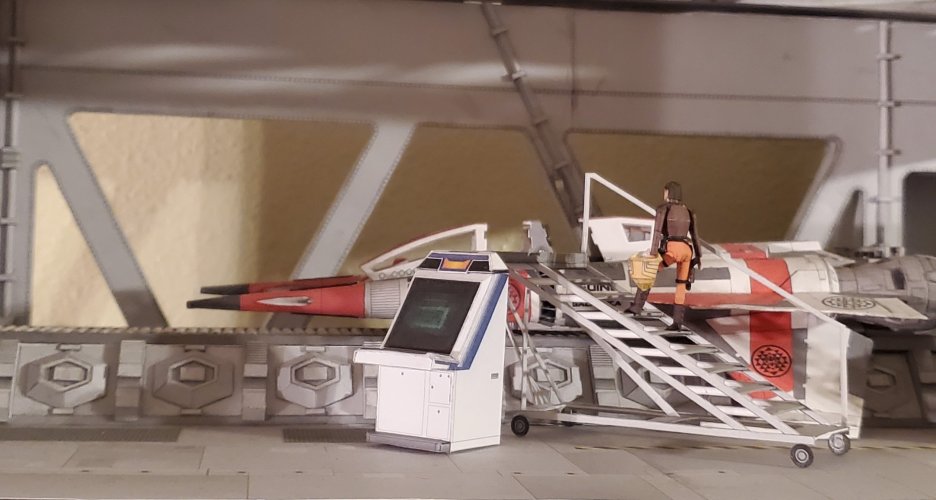
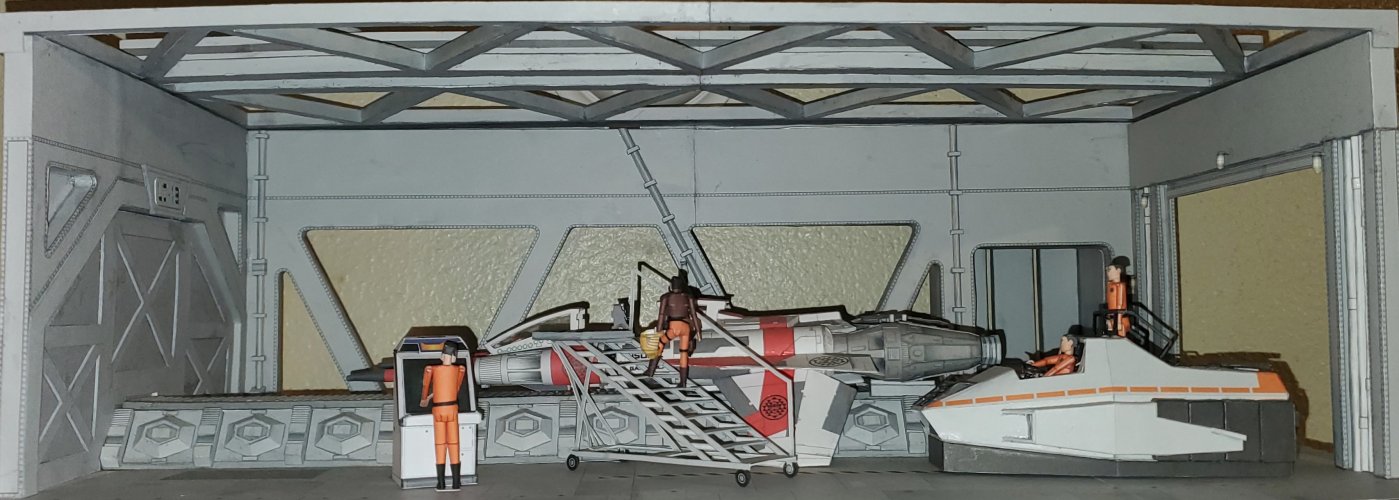
The console and mechanic are placed in the diorama (No, I have not glued it in place).
20230820_121435.jpg

Please stay tuned to your local Colonial Broadcast Network for further updates as they occur.
 

Rhaven Blaack

!!!THE MAN BEHIND THE CURTAIN!!!
Staff member
Administrator
Moderator
Jun 12, 2009
12,529
9,912
228
Oregon
www.deviantart.com
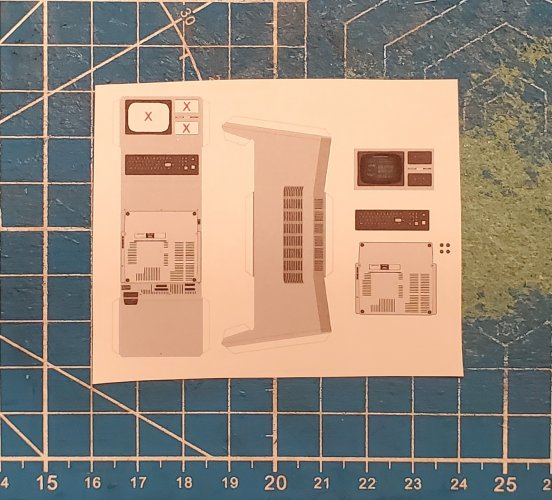
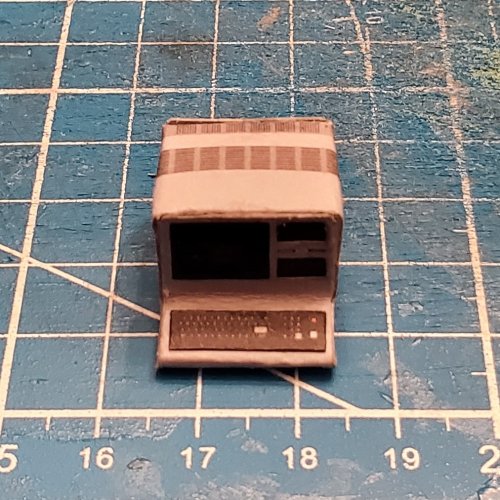
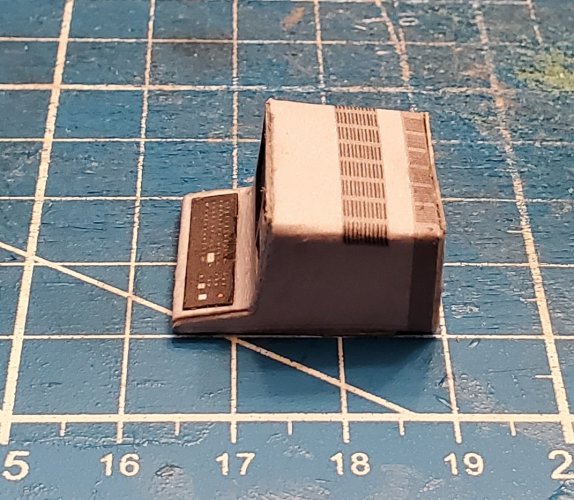
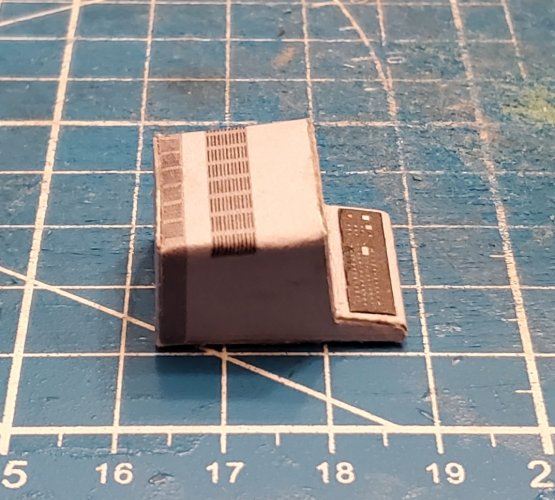
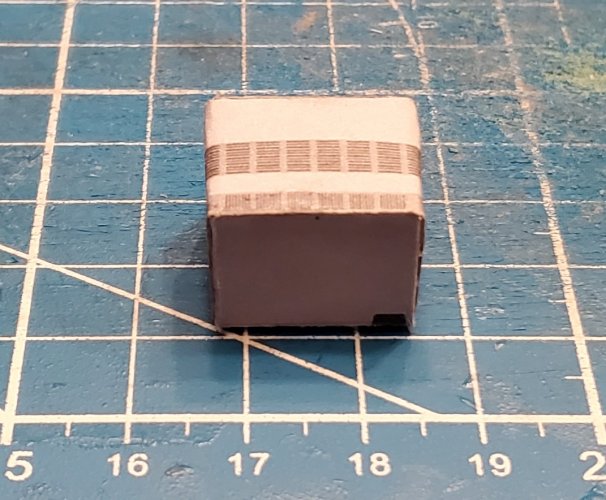
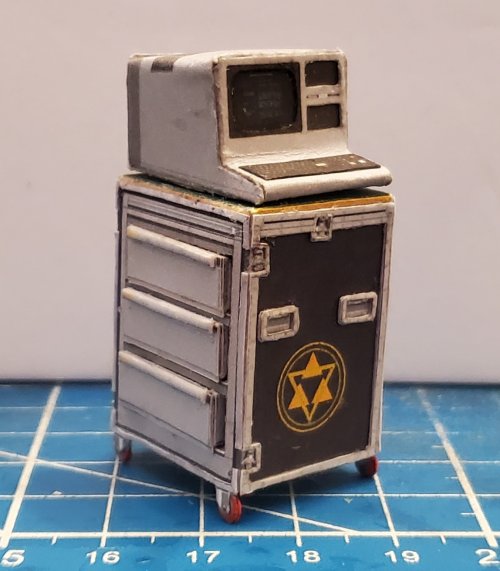
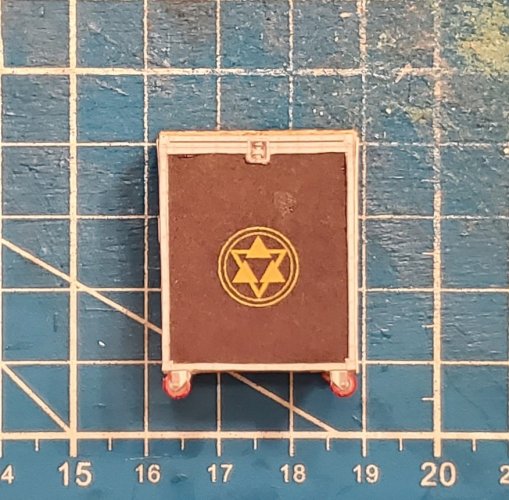
In a (somewhat and albeit brief) moment of insanity, I decided to try another idea that I had for the diagnostic computer. I found a template for the TRS-80 computer (which is the closest one that I could find, that actually looks like the one that was used throughout Battlestar Galactica). The cabinet was a redesign of the tool cabinet from the EPSON RACING TEAM collection (which I had used in my "ANOTHER FRAKKING OVERHAUL" diorama).

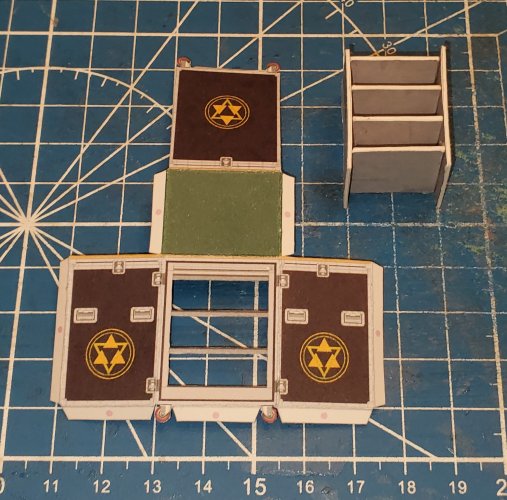
Here are the parts for both the computer and cabinet.
(*NOTE* Yes, the cabinet is a "functional" one. I also have to say "THANK YOU" to @Revell-Fan for helping me with deal with a few issues with the template that I was having).
20230820_200119.jpg

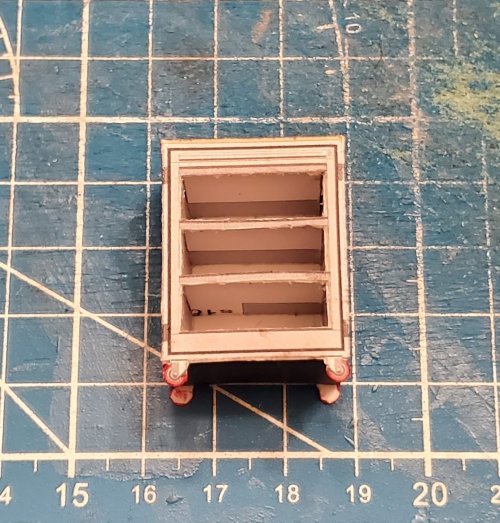
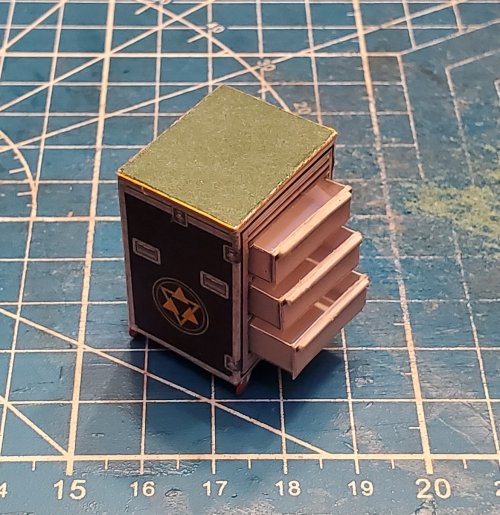
Starting with the cabinet, I laminated the formers to 1mm thick, and assembled them accordingly.
20230820_210649.jpg

I wrapped the "skin" around the formers, and assembled the "main body" of the cabinet.
20230820_212958.jpg

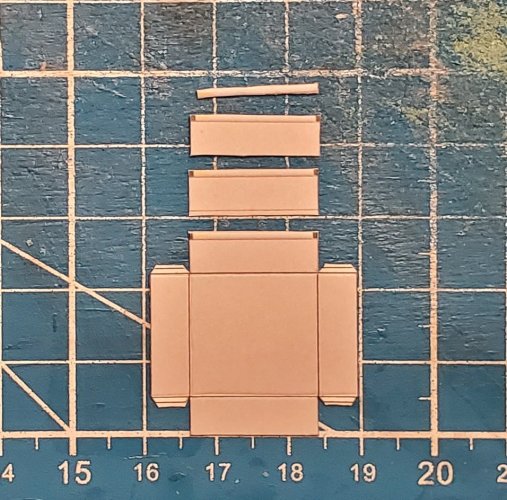
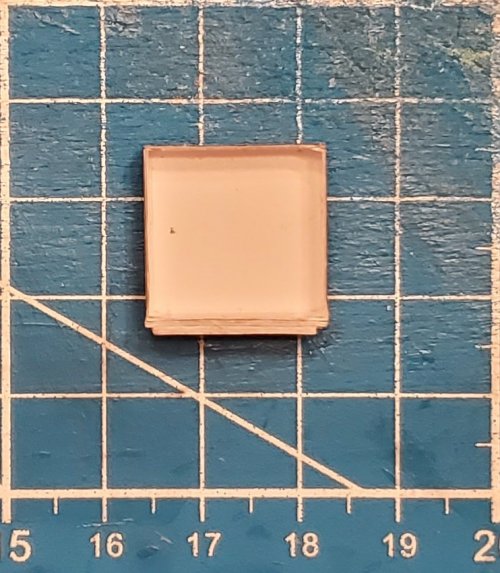
Here are the parts for the drawers.
20230820_220423.jpg

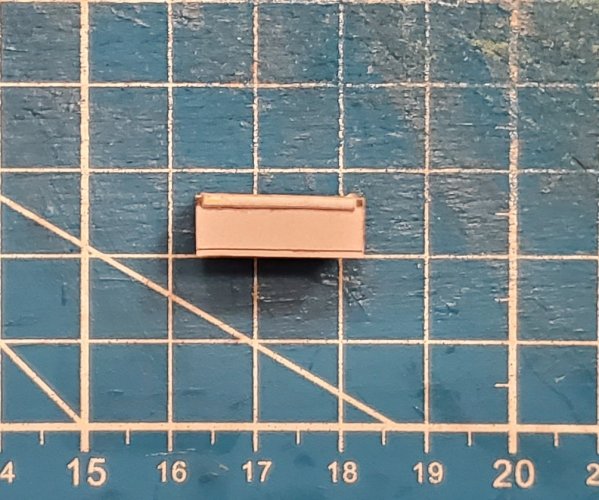
The drawer is assembled.
20230820_220432.jpg

20230820_220453.jpg

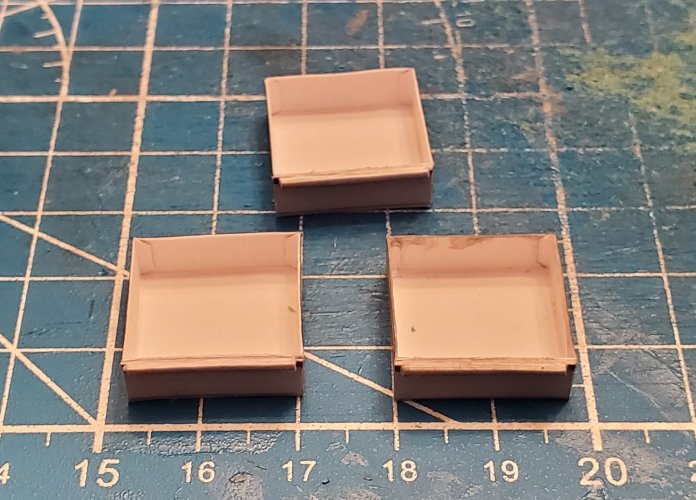
All three drawers are fully assembled.
20230820_225723.jpg

The drawers are put in place.
20230820_225801.jpg

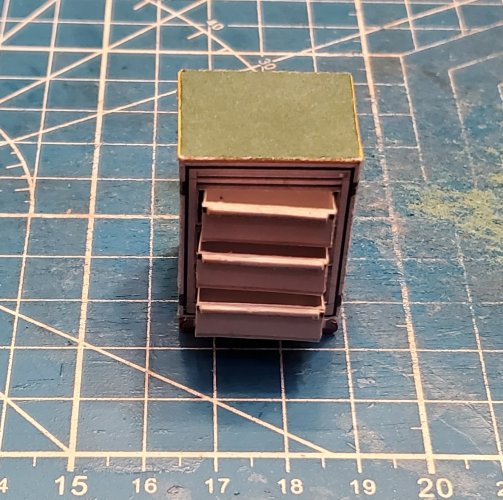
Showing the drawers ability to be pulled out and put back.
20230820_225844.jpg

20230820_225906.jpg

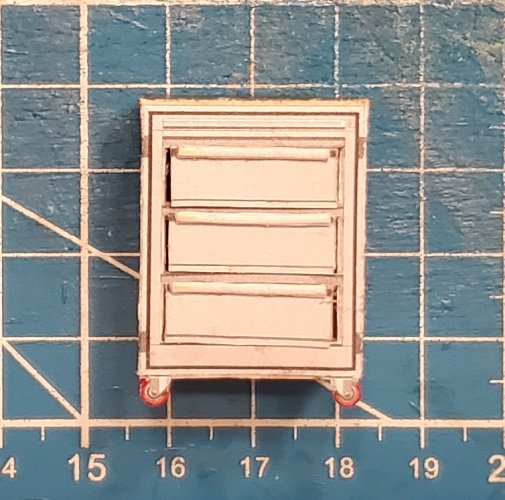
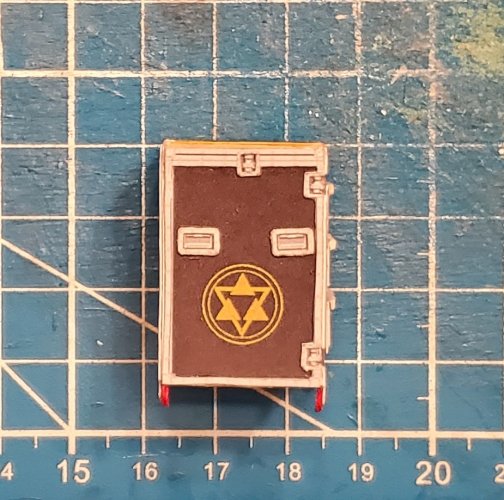
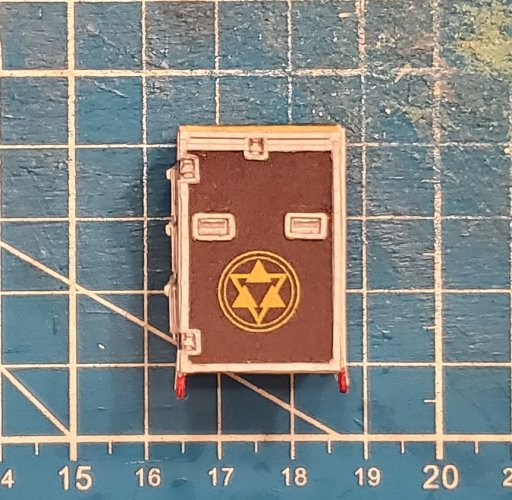
Now, adding the framework and other greebling.
20230820_225914.jpg

20230820_225934.jpg

20230820_225947.jpg

Moving on to the computer. I decided to rework the template so that I can recess the screen and the disc ports, and raise the keyboard and bottom plate.
20230821_215338.jpg

The computer is assembled.
20230822_104128.jpg

20230822_104140.jpg

20230822_163150.jpg

20230822_164000.jpg

The computer sits nicely on the cabinet.
20230822_164036.jpg

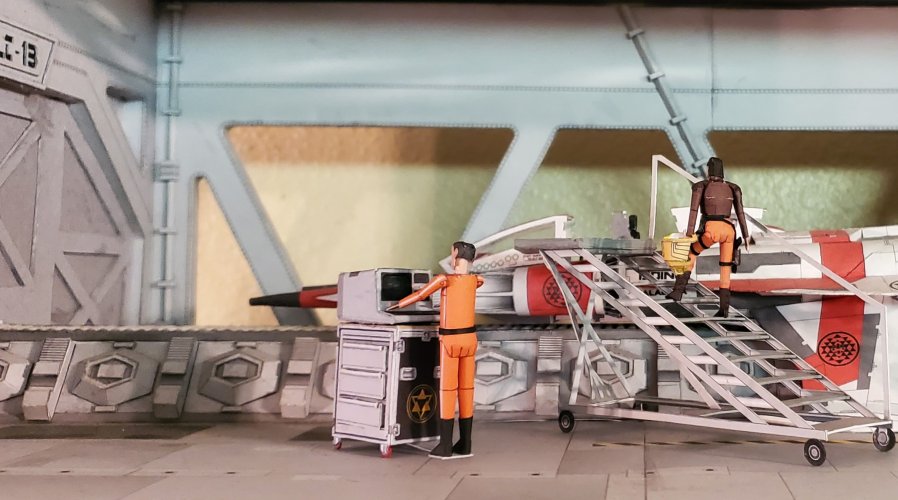
I placed the computer and cabinet in the diorama, to see how well it fit in with the rest of the décor. I have to say that I am rather pleased with how it turned out. I also prefer it over the previous computer console that I had in it.
20230822_164256.jpg

Please stay tuned to your local Colonial Broadcast Network for further updates as they occur.
 
Last edited:

Rhaven Blaack

!!!THE MAN BEHIND THE CURTAIN!!!
Staff member
Administrator
Moderator
Jun 12, 2009
12,529
9,912
228
Oregon
www.deviantart.com
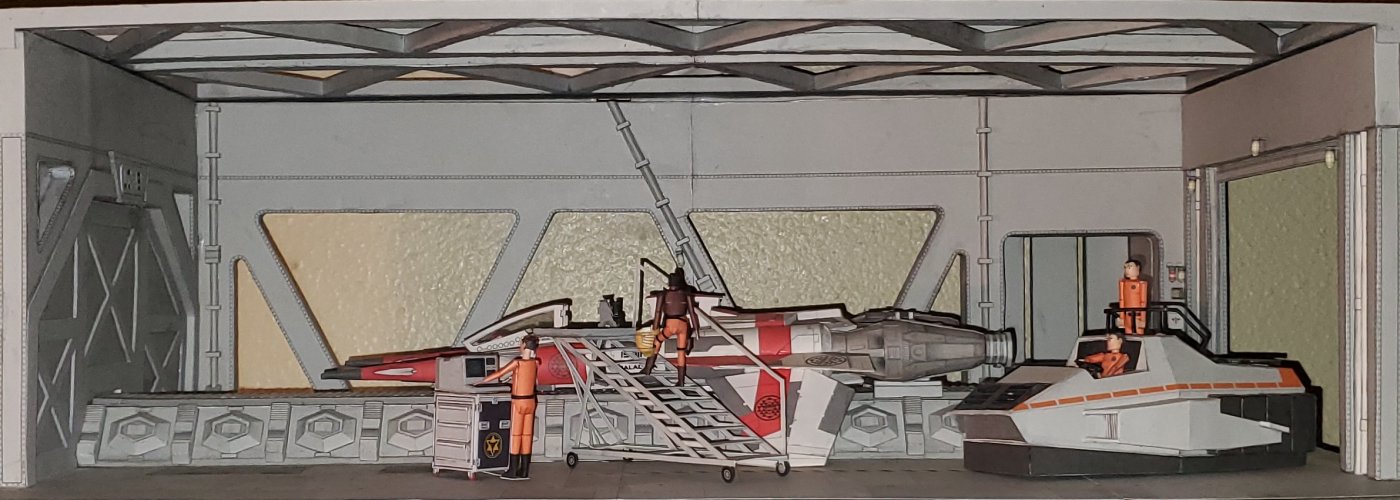
So, after careful consideration, I have decided to consider this project "FINISHED"!
20230822_200036.jpg

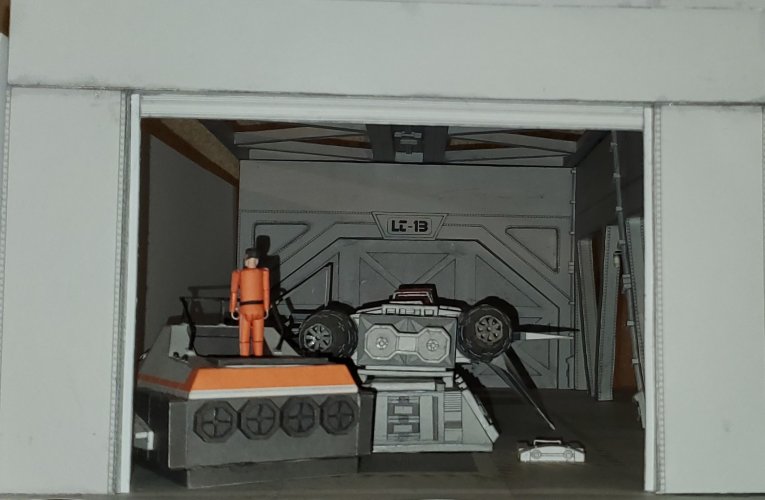
Here are a few more "angled" shots.
20230822_202552.jpg

20230822_202714.jpg

20230822_202736.jpg

20230822_203935.jpg

20230822_204048.jpg
As for the actual title of the diorama, I am thinking of "THE LAST PATROL".

Thank you one and all for following me on this project and as well as all of the words of kindness and encouragement.
 
Last edited: