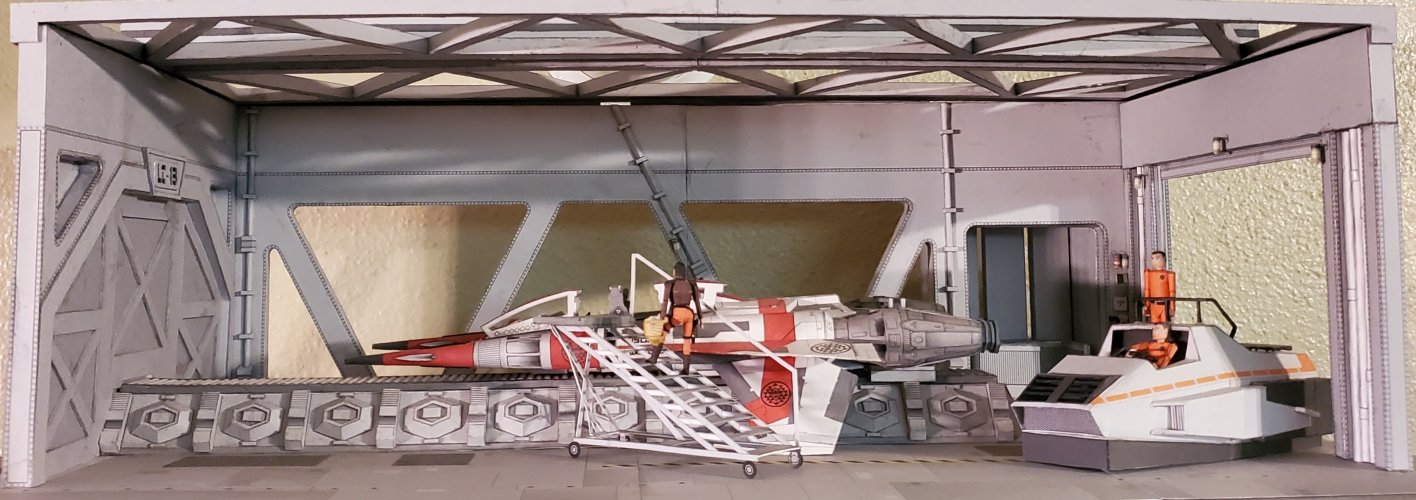
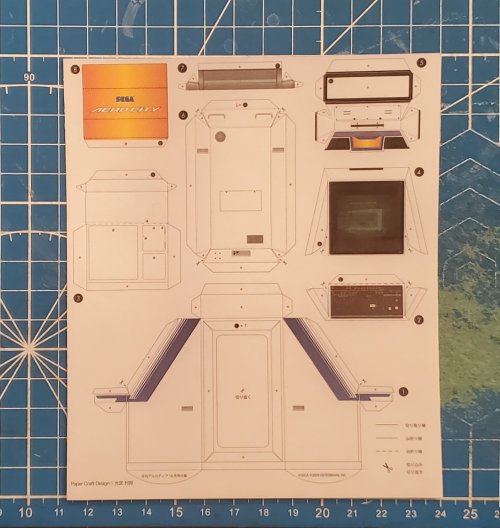
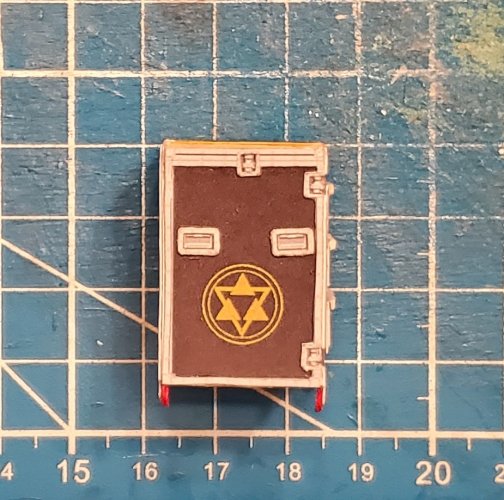
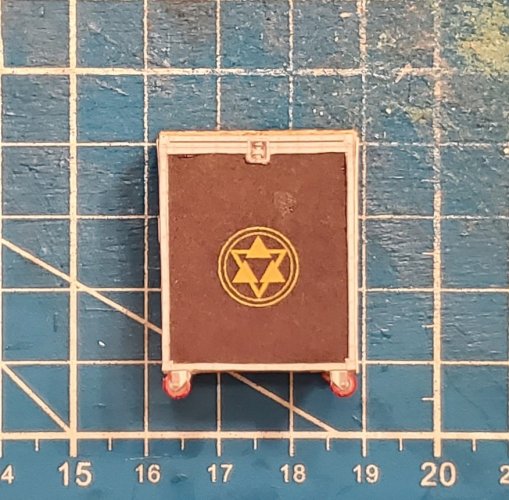
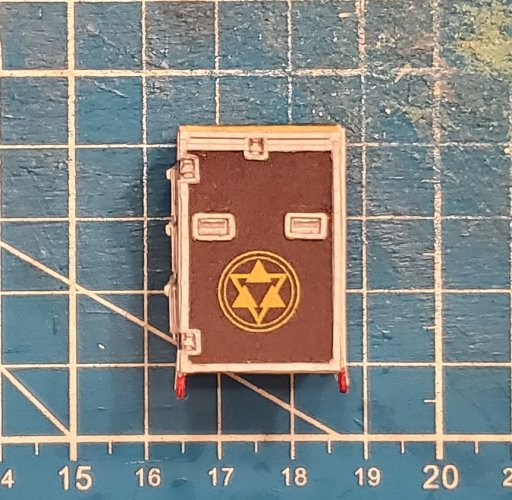
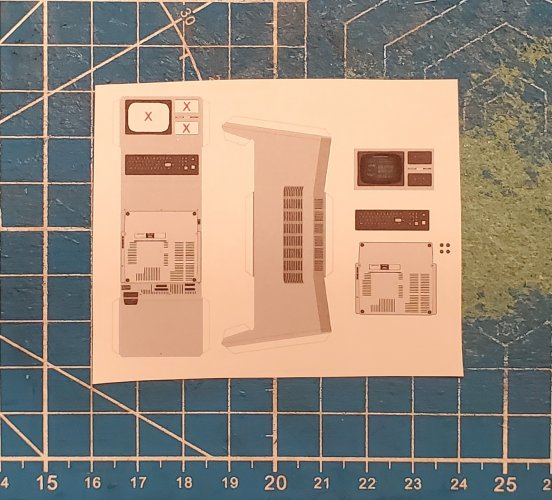
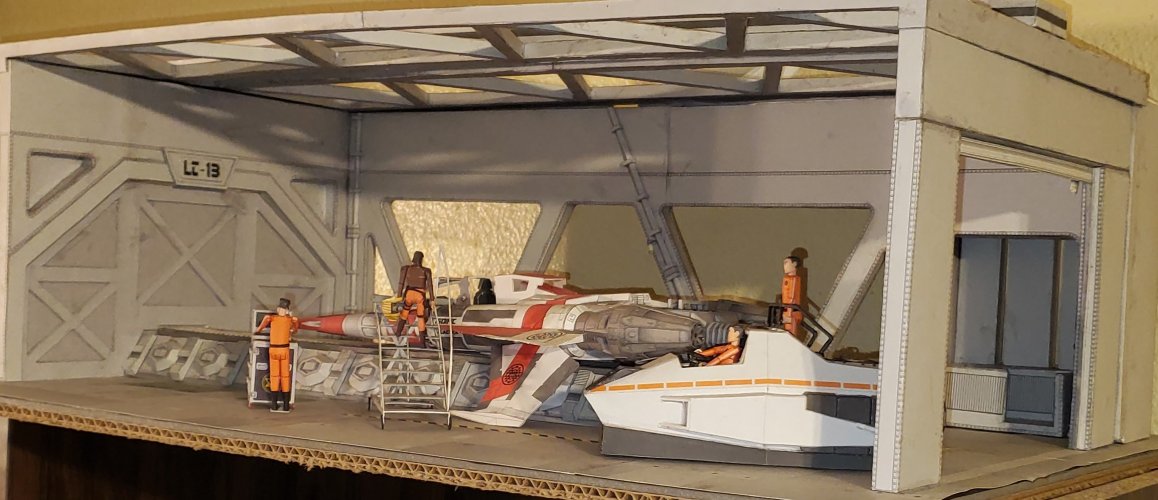
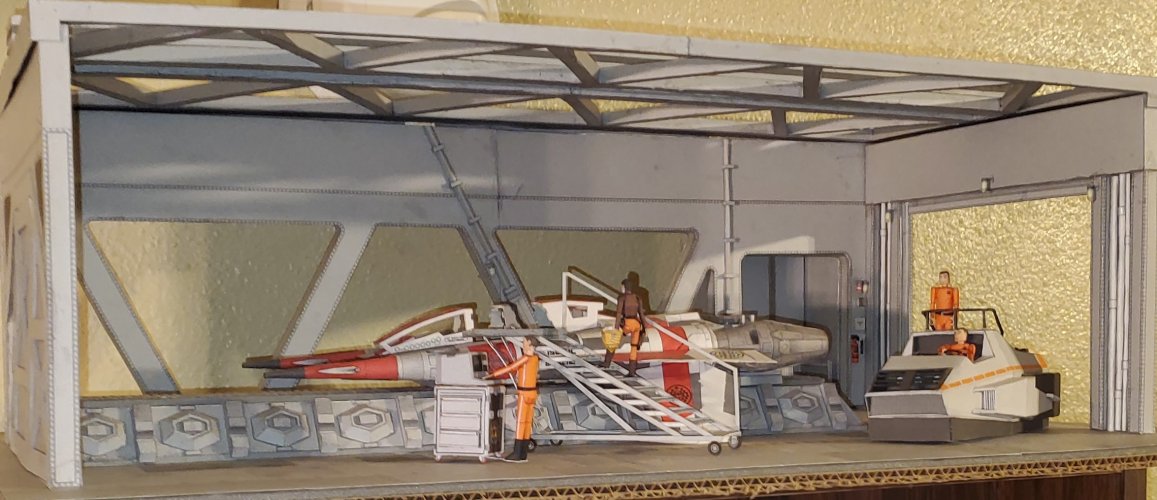
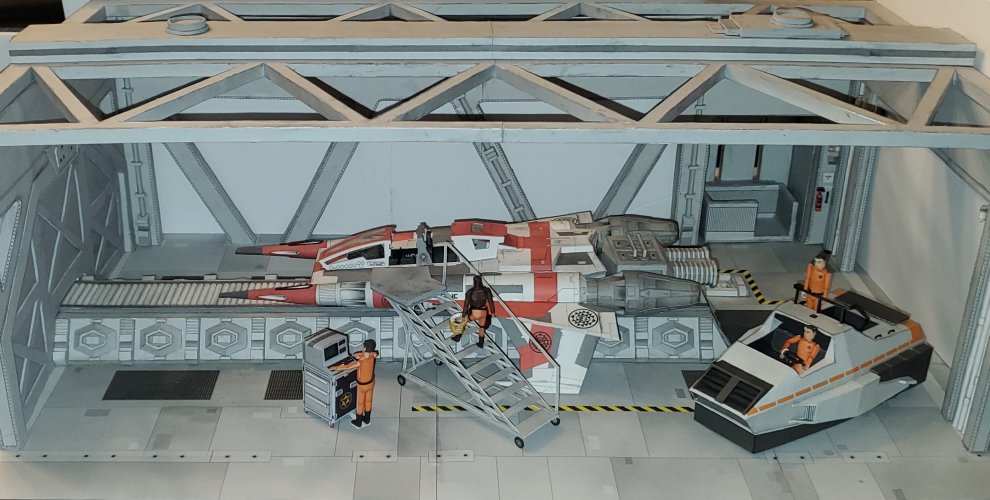
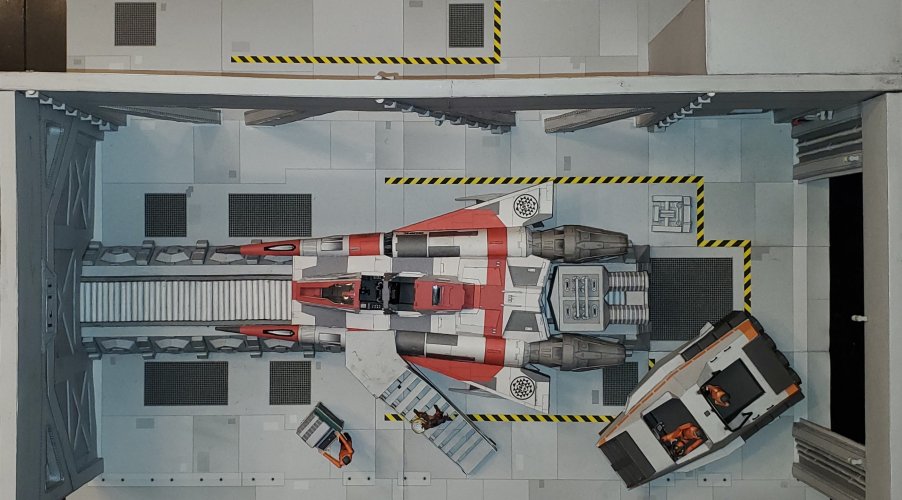
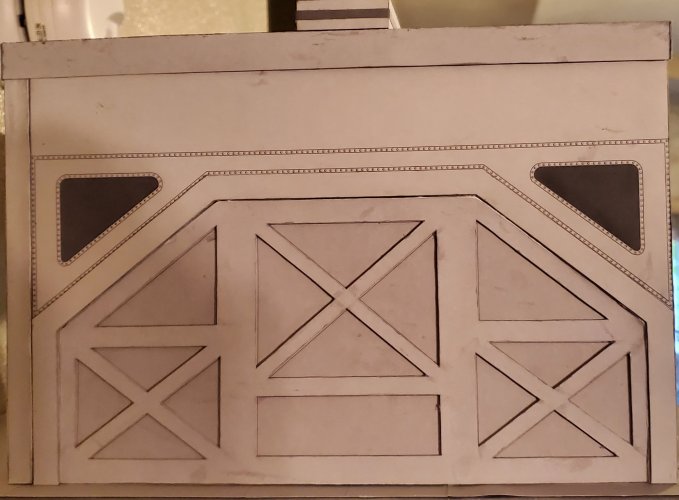
Moving on to the Launch Tube Blast Door. I have to say that @Revell-Fan did a FANTASTIC JOB in designing this door. The design fits perfectly with the rest of the design on the launch bay.
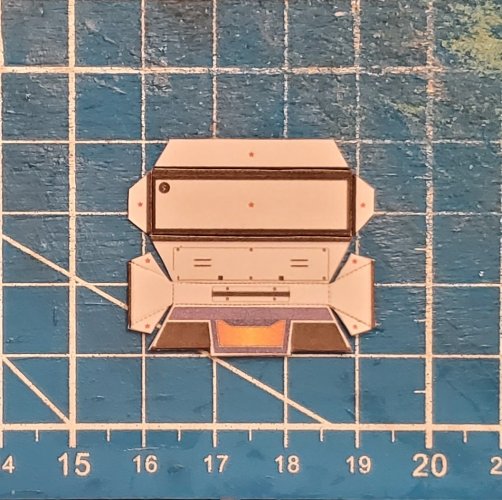
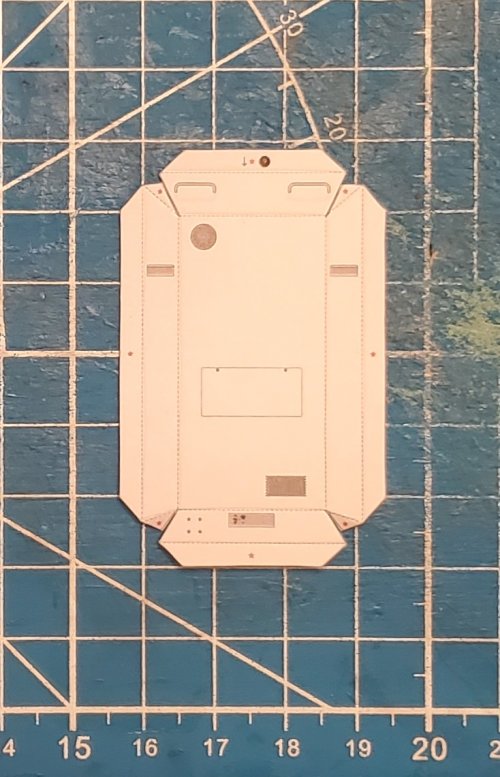
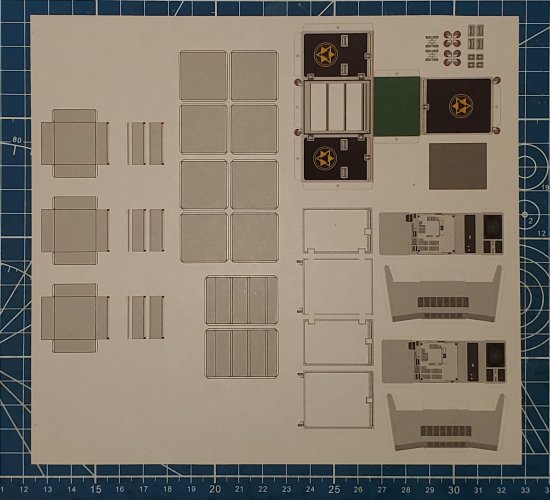
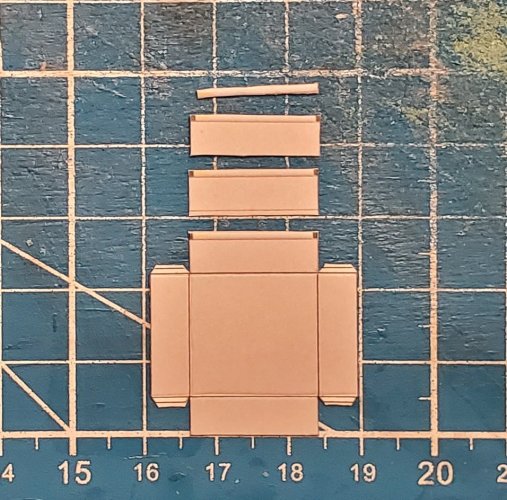
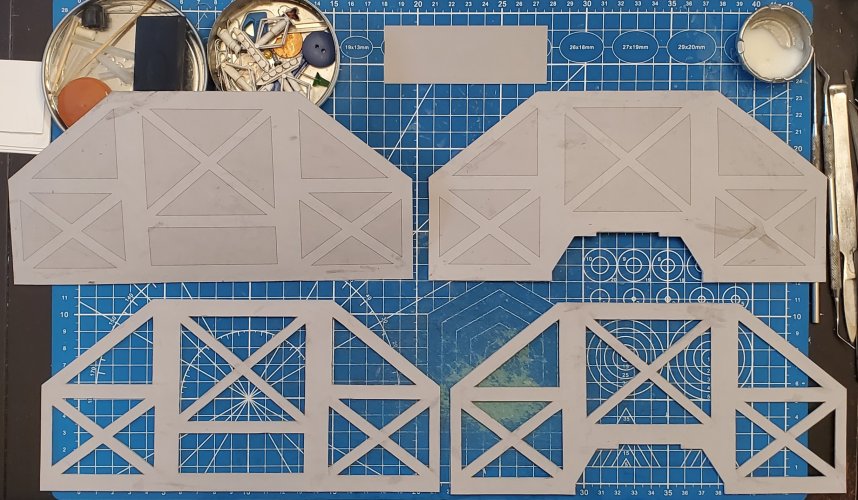
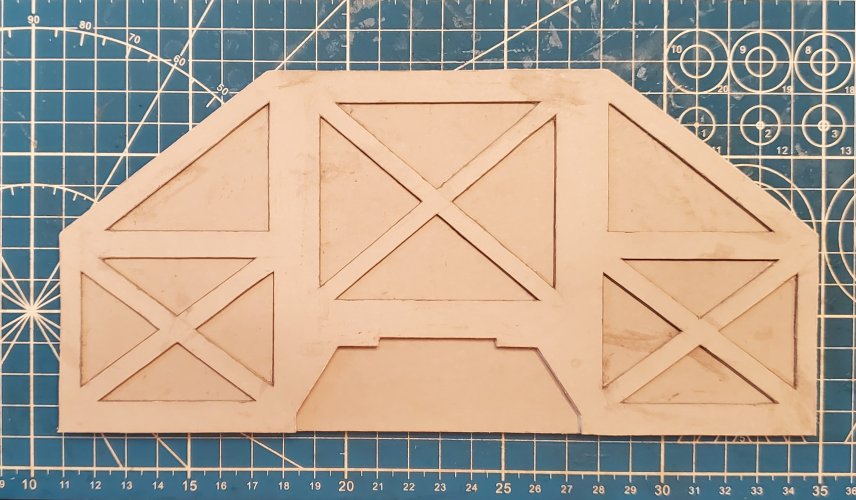
There are five parts in all for the door (two main pieces, two frames and a panel). The parts for the door are very simple and straight forward to assemble. I have laminated all four of the main components of the door to 1mm thick (No, I did not laminate the grey rectangle that is at the top pf the photo).
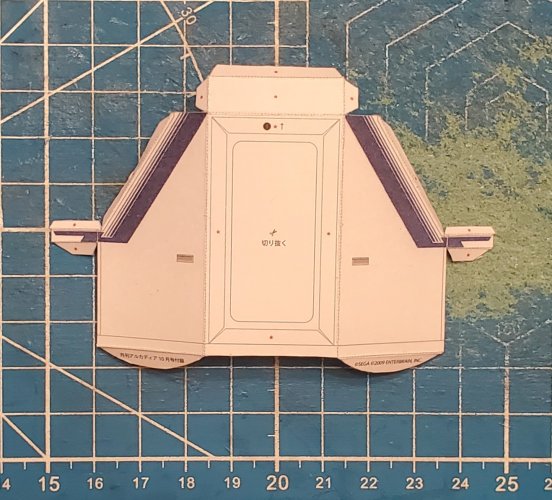
(*NOTE* The "notch/cutout" at the bottom of the two door pieces is there to accommodate the launch rail that protrudes (slightly) into the door jam.)
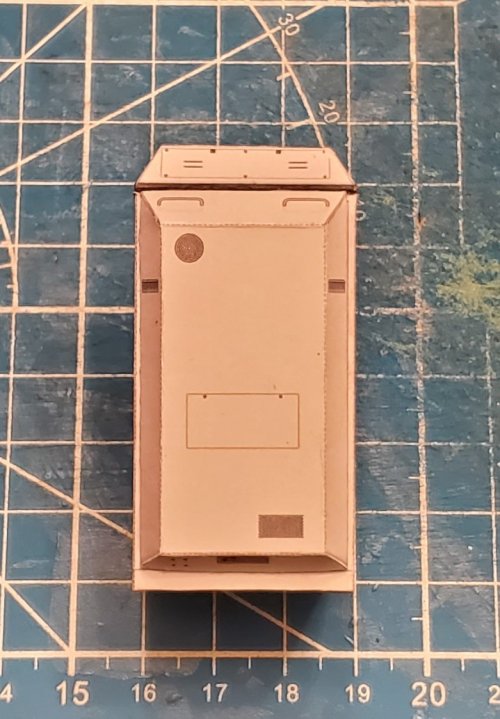
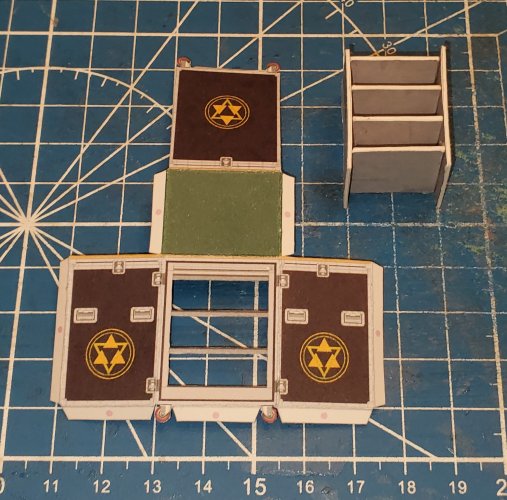
The frame work is attached in place on the main parts of the door.
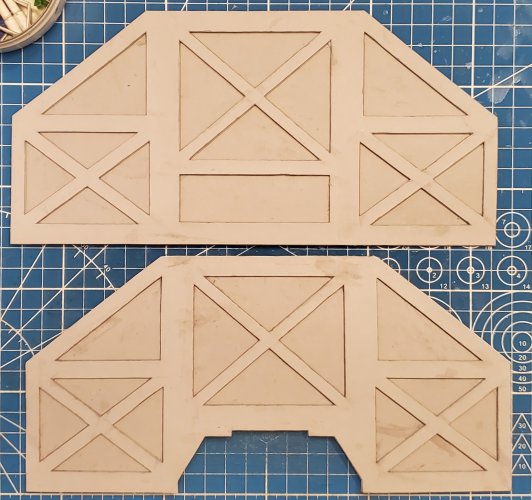
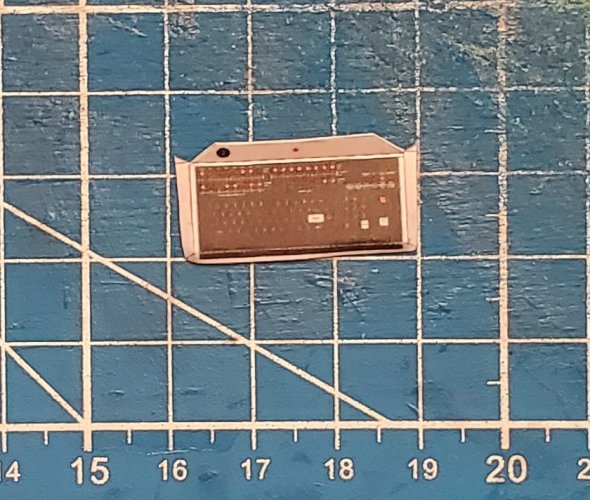
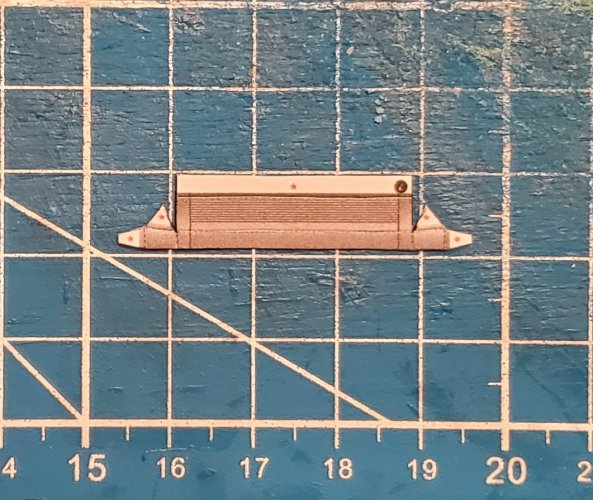
The grey panel is attached in place.
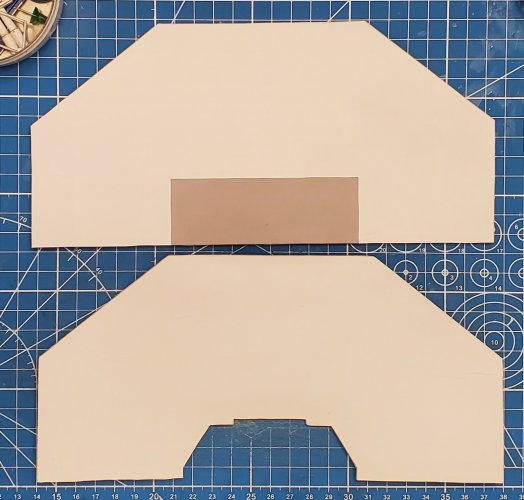
Both halves of the door are attached to one another.
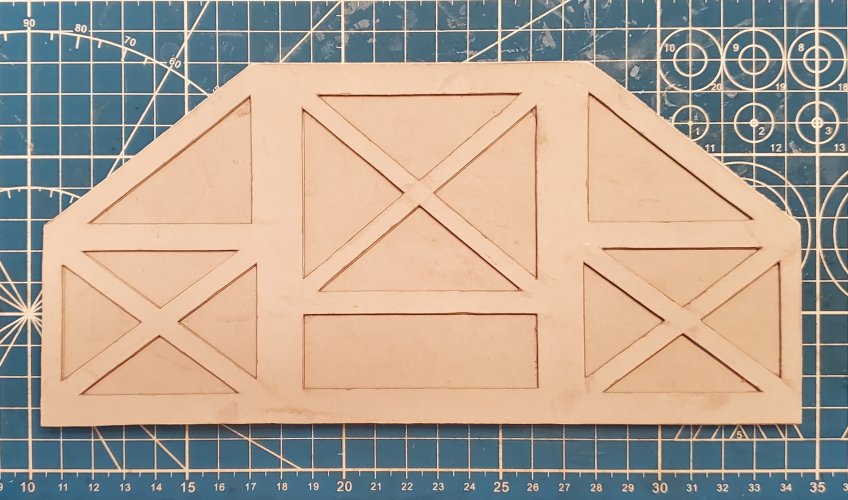
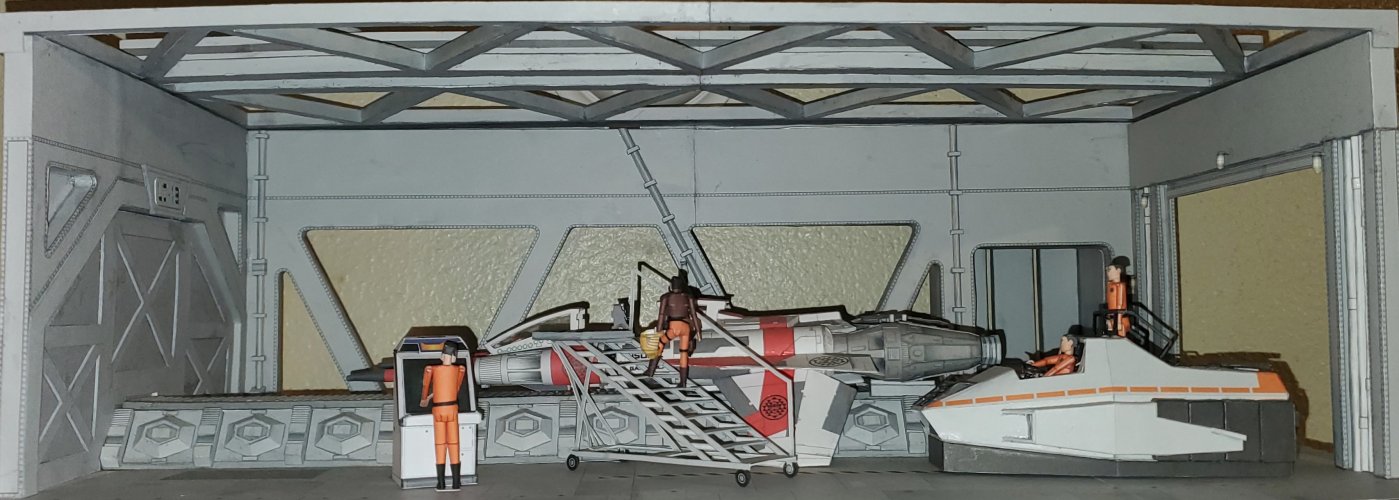
The door is put in place. The door is held in place by friction (I did not glue it in place).
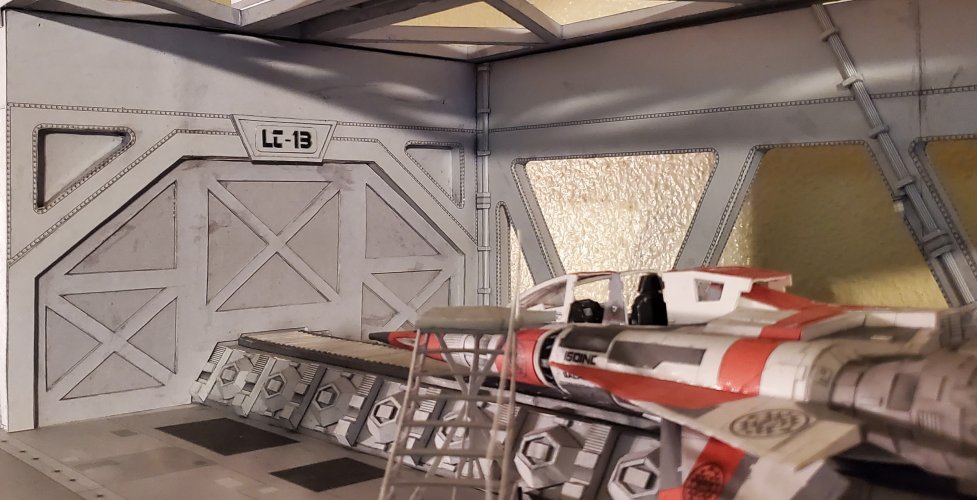
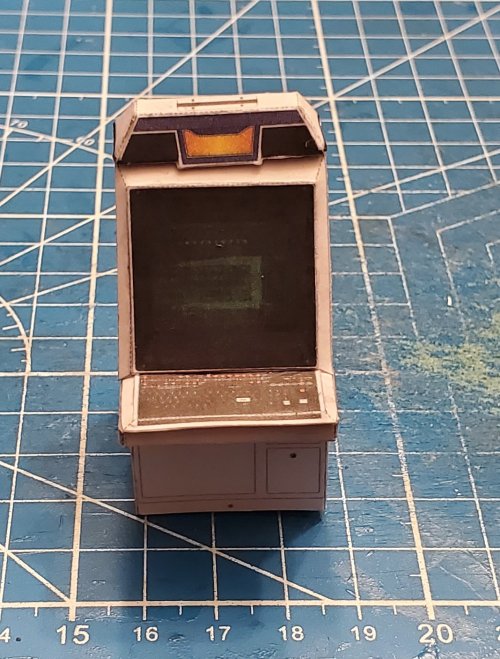
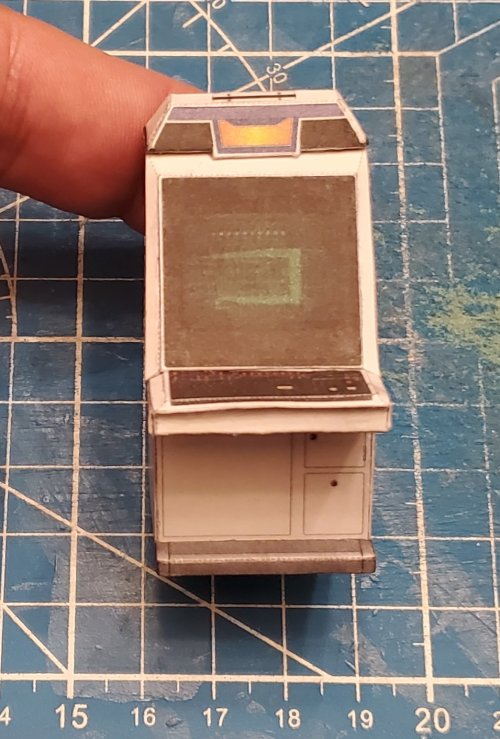
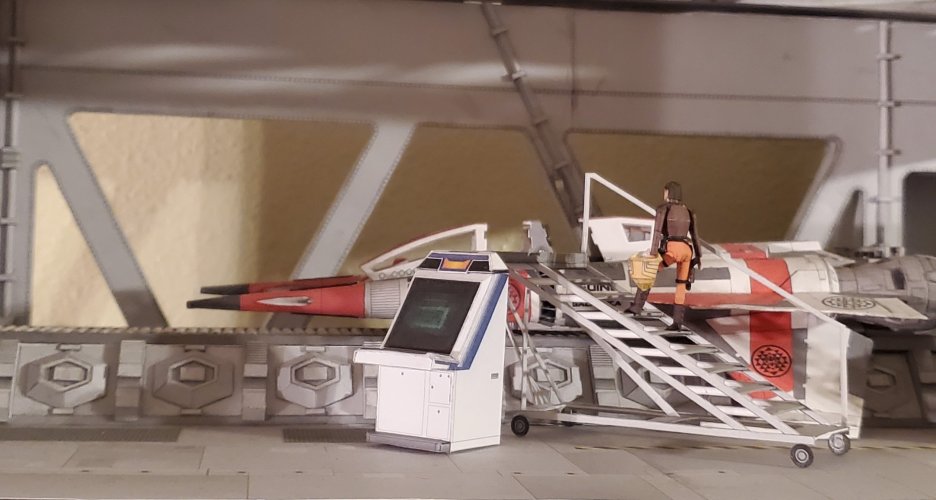
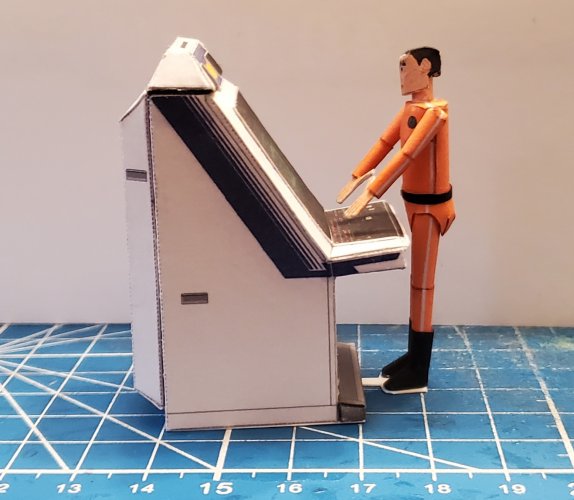
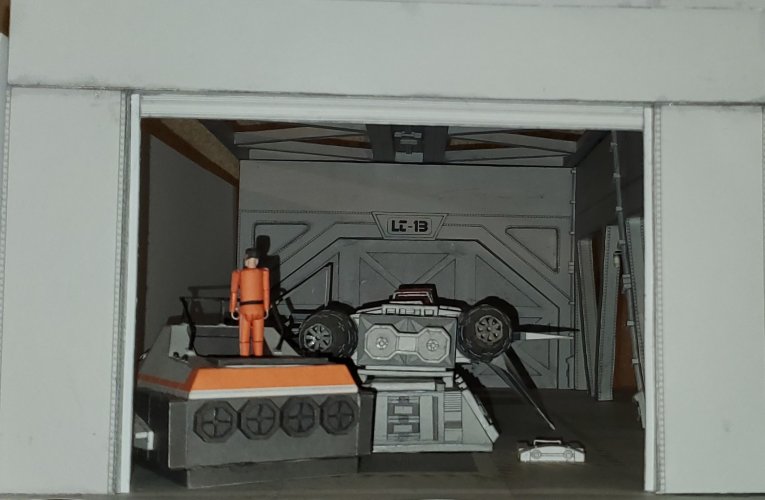
Here are a few "glamour shots".
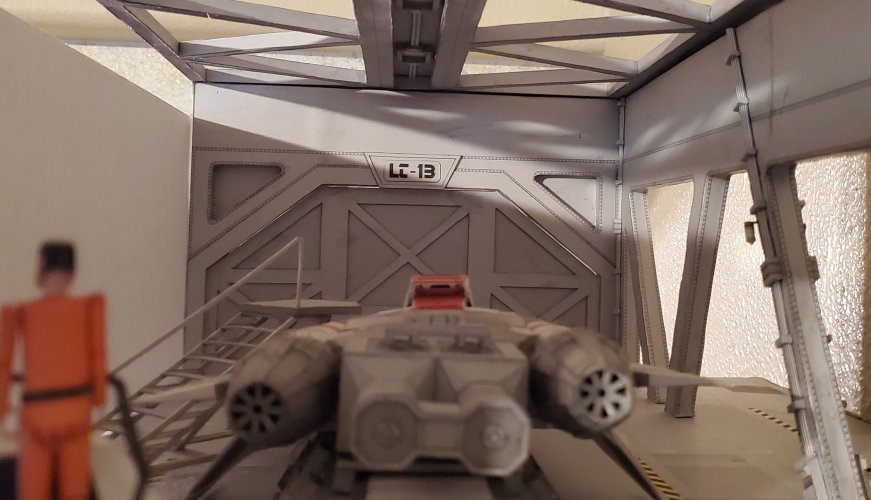
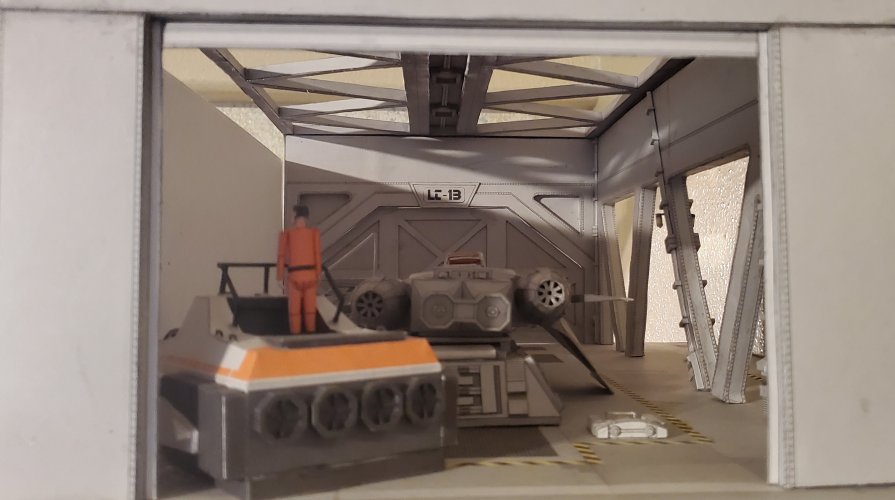
Here is the backside of the door.
Please stay tuned to your local Colonial Broadcast Network for further updates as they occur.
There are five parts in all for the door (two main pieces, two frames and a panel). The parts for the door are very simple and straight forward to assemble. I have laminated all four of the main components of the door to 1mm thick (No, I did not laminate the grey rectangle that is at the top pf the photo).
(*NOTE* The "notch/cutout" at the bottom of the two door pieces is there to accommodate the launch rail that protrudes (slightly) into the door jam.)

The frame work is attached in place on the main parts of the door.

The grey panel is attached in place.

Both halves of the door are attached to one another.


The door is put in place. The door is held in place by friction (I did not glue it in place).

Here are a few "glamour shots".


Here is the backside of the door.

Please stay tuned to your local Colonial Broadcast Network for further updates as they occur.


