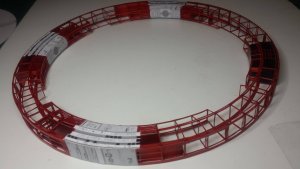
As I think most of you know by now, my favorite film is 2OO1 A Space Odyssey.
I started into paper modelling, (and also finding Zealot in the process,) with the goal of possessing paper models of all the main space craft from the film.
My most favorite ship is the Discovery, so that model began my paper modelling odyssey.
A very close second comes Station V, so I started this project in between other builds, and worked on it on and off for around 2 years so far!
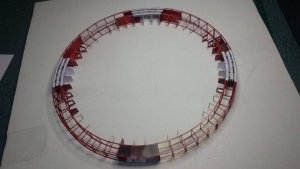
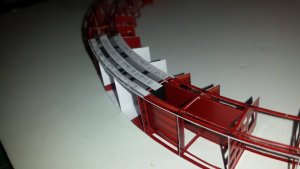
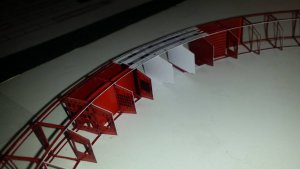
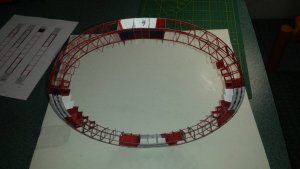
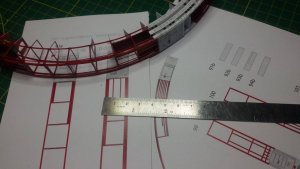
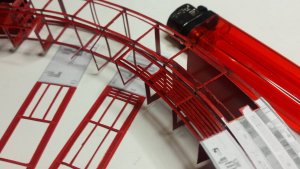
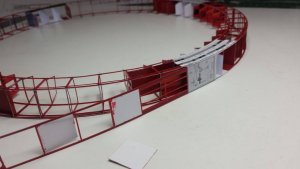
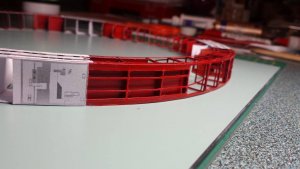
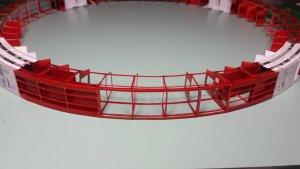
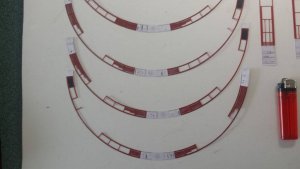
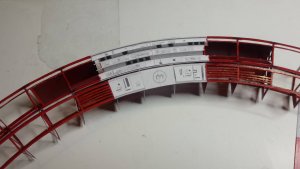
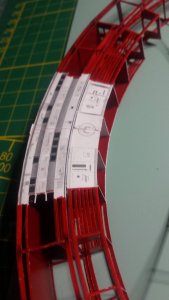
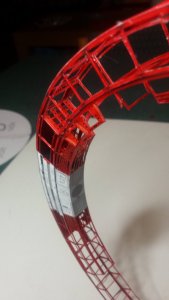
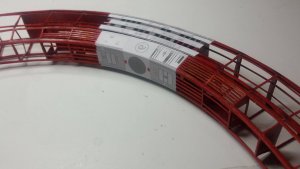
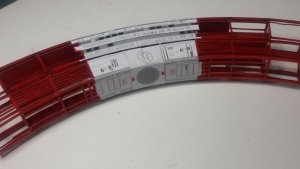
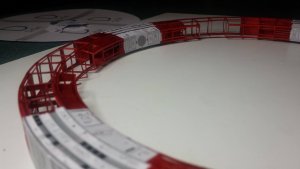
As I managed to recover a good portion of my construction pics of this model, I decided to post a build thread of my process. I will endeavor to make this an entertaining build thread, however it will not be in real modelling time, as most of it will be catch-up! The model as it stands now is 90% complete, I mainly just have to finish the cabling on the spokes to finish her off.
I'll post regular updates to get us quicker to the point where I am now with the model.
But, before we begin, I think we should bow our heads and give a minutes silence to commemorate the fate of the original filming model...............
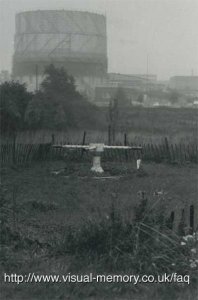
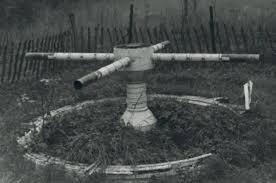
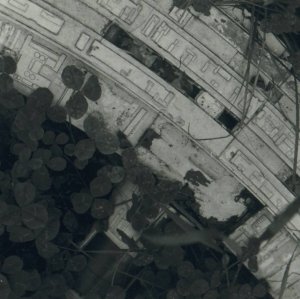
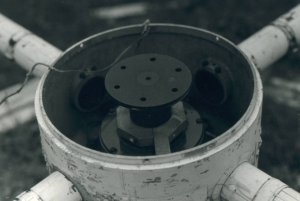
I sad sight indeed.
Let us begin.....!
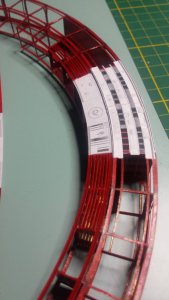
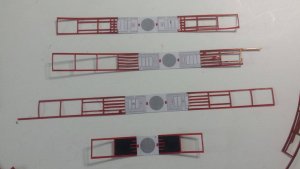
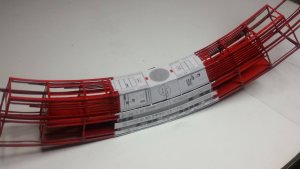
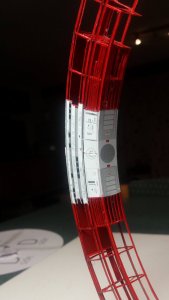
This model by Uhu is a very well engineered template with tight tolerances. As I have learned, there is little room for error or mistakes and thus building accuracy is paramount.
I would not recommend this model for a beginner.
One of the attractive and functional parts of this stations design are the spokes and associated tension cable systems.
For this model, Uhu recommends using stiffened thread, achieved by using glue and weights, for the cables themselves. At first I was not sold on this idea and sought an alternative for the thread. I went out to the shops (pre-Covid times,) and found a white plastic coated wire at 0.35mm diameter.
So, before diving in and starting the model, I decided to build one spoke assembly with one set of cables using the 0.35mm wire as a test bed.
I will explain the build process of these a little later, but for now, I'll show you what I came up with.
I also learned a lot from the build of these, and realized jigs were needed to be made, for accuracy. More on these a little later.
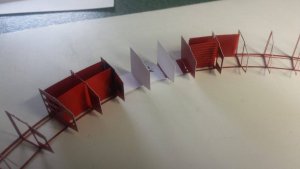
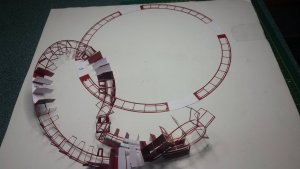
The spoke was rolled, the mounting rail made up and the 0.35mm wire was attached to the cable frames, as per the instructions.
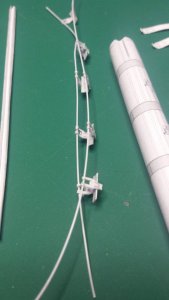
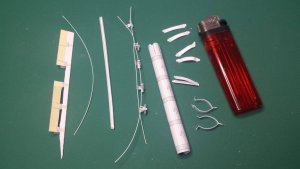
The cable assembly attachment brackets were added to the spoke..
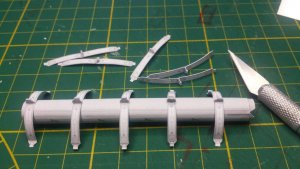
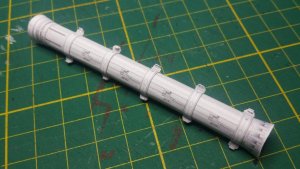
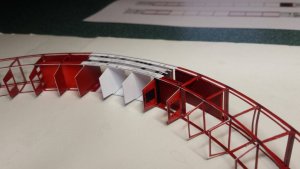
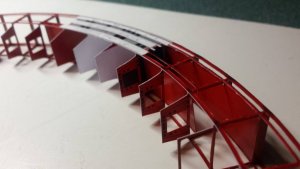
The cable assemblies were attached to the mounting rail .....
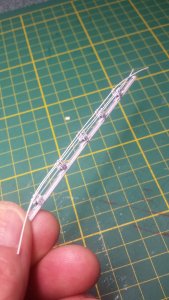
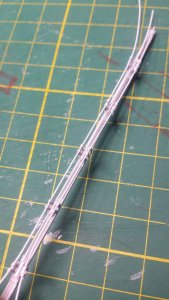
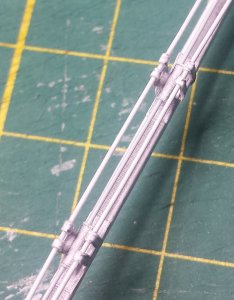
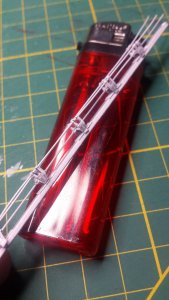
And finally the assembly was attached to the mounting points on the spoke, and not very well, I might add.....
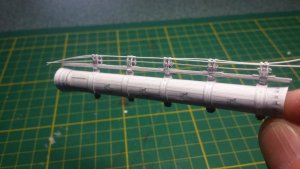
I liked the look of the finish of the cables, but due to the stiffness of the wire, it was difficult to align the mounting frames.
For my feeling the 0.35mm wire looked out of scale and could of been doing with a diameter of between 0.20 mm and 0.25 mm, instead of 0.35 mm.
What do you guys think?

I started into paper modelling, (and also finding Zealot in the process,) with the goal of possessing paper models of all the main space craft from the film.
My most favorite ship is the Discovery, so that model began my paper modelling odyssey.
A very close second comes Station V, so I started this project in between other builds, and worked on it on and off for around 2 years so far!
As I managed to recover a good portion of my construction pics of this model, I decided to post a build thread of my process. I will endeavor to make this an entertaining build thread, however it will not be in real modelling time, as most of it will be catch-up! The model as it stands now is 90% complete, I mainly just have to finish the cabling on the spokes to finish her off.
I'll post regular updates to get us quicker to the point where I am now with the model.
But, before we begin, I think we should bow our heads and give a minutes silence to commemorate the fate of the original filming model...............


I sad sight indeed.

Let us begin.....!
This model by Uhu is a very well engineered template with tight tolerances. As I have learned, there is little room for error or mistakes and thus building accuracy is paramount.
I would not recommend this model for a beginner.
One of the attractive and functional parts of this stations design are the spokes and associated tension cable systems.
For this model, Uhu recommends using stiffened thread, achieved by using glue and weights, for the cables themselves. At first I was not sold on this idea and sought an alternative for the thread. I went out to the shops (pre-Covid times,) and found a white plastic coated wire at 0.35mm diameter.
So, before diving in and starting the model, I decided to build one spoke assembly with one set of cables using the 0.35mm wire as a test bed.
I will explain the build process of these a little later, but for now, I'll show you what I came up with.
I also learned a lot from the build of these, and realized jigs were needed to be made, for accuracy. More on these a little later.
The spoke was rolled, the mounting rail made up and the 0.35mm wire was attached to the cable frames, as per the instructions.


The cable assembly attachment brackets were added to the spoke..


The cable assemblies were attached to the mounting rail .....


And finally the assembly was attached to the mounting points on the spoke, and not very well, I might add.....

I liked the look of the finish of the cables, but due to the stiffness of the wire, it was difficult to align the mounting frames.
For my feeling the 0.35mm wire looked out of scale and could of been doing with a diameter of between 0.20 mm and 0.25 mm, instead of 0.35 mm.
What do you guys think?


