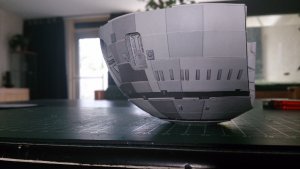
While I am waiting to pick up some LEDs next week, I put the cockpit lighting and the upper dome to one side and continued the build of the lower.
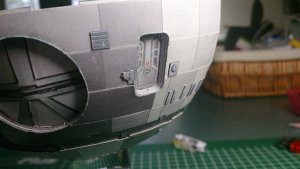
Now that I have got the greebling out of the way, the next major steps are the fitting of the airlock and 3 pod bay doors.
I wanted to ensure that the pod bay doors were perfectly round. This included the recess ring that the actual door fits to.
I had cut out the holes in the lower sphere as accurately as I could, but I wanted to make sure it was perfectly round without any imperfections.
I used a piece of 150 grit sandpaper used on a belt sander. This sandpaper has a stiff backing and when rolled up it tends to want to spring back to flat.
I used this to my advantage. I rolled the sandpaper into a cone shape and put this into the hole for the pod bay door. I released the pressure of my hand on the rolled cone and the paper sprang outwards with enough pressure to sand the paper of the hole. I fully turned the cone in the hole twice, that was enough to smooth things out a bit ........
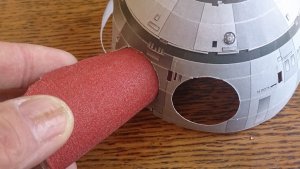
I then used various coloured water pencils to colour the edges of the sanded holes. The damp pencil helped in smoothing out the paper fibres left over from sanding too.
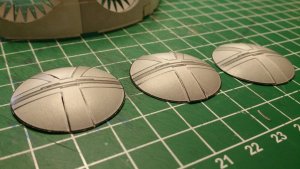
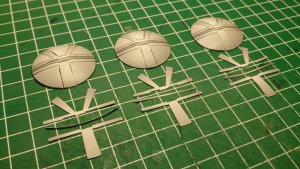
Next up, I made the three recess rings for around the opening of the pod bay doors. This recess strip is only about 3 mm wide and I wanted to make sure I fitted it perfectly.
Now, as I have said a few times in this thread, I am amazed at how many household items I have used as jigs or formers on this build.
And this step of the build has another perfect example. My kitchen, or should I say my drinking habits, produced the next handy item.
A tapered 'shot' glass!!
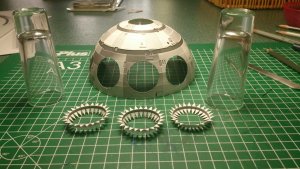
I slid each ring onto the tapered glass and gently pushed it down the taper until the paper ring was 'stretched' perfectly round and the rings circumference was matched on the taper. I then folded over the tabs and applied glue to these with a brush. As the ring was snug to the glass, no glue can get onto the printed part of the ring.
I actually used 2 glasses, 1 as a gluing-up jig and the other as a placement/fitting jig.
I then placed a glass with the bottom facing up, i.e. the smallest part of the taper uppermost, and then placed the dome onto this, through the pod bay door opening from the outside, so that the smallest part of the taper was inside the dome. I then slid the glued-up ring onto the taper ....
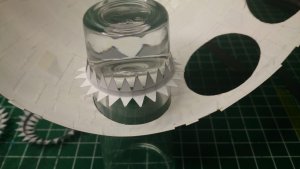
It was then just a case of sliding the ring down snug against the inside of the door opening.....
And because I was working with a glass, I could see everything that was going on from all angles, and I could make sure everything was doing what it should .....
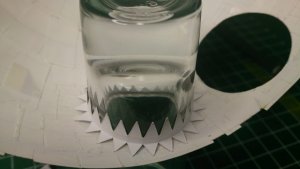
And , unbelievably, the paper ring fitted so perfectly inside the rim of the glass, that it seemed the glass was made specifically for this job!
(Maybe I could sell the glasses to paper modellers as a 'Discovery Pod Bay Door Placement Jig'......)


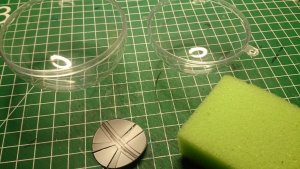
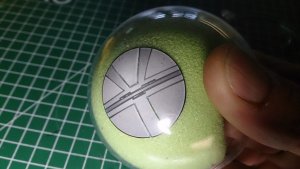
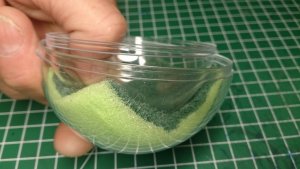
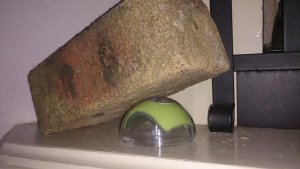
I placed the dome inside my plastic ball jig and then placed the opening of the glass over the ring and pushed down hard to firmly set the ring to the inside of the opening. Using the plastic ball made sure the ring followed the contour of the dome perfectly.
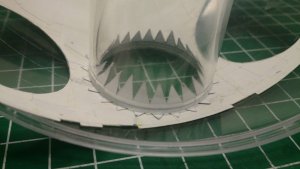
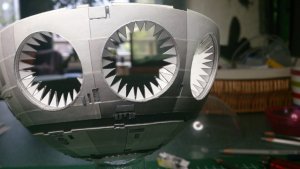
And this is how it turned out! Me VERY pleased!


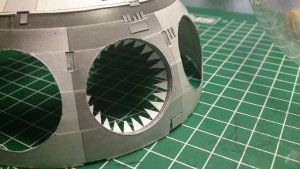
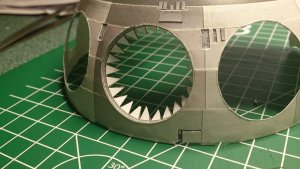
I temporarily placed a pod boy door, that I had made earlier in the thread, into the ring to see how it looks..... I cant complain about that!
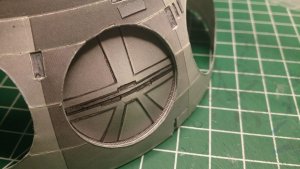
And using the same method, the other two rings were fitted....
See you all soon!!!
(
@Revell-Fan I hope that was better for your bandwidth......


)
 Well, maybe I'll find better conditions, as you suggest.
 )
)


