Ford F550 Super Duty Ambulance (Polk County)
- Thread starter Revell-Fan
- Start date
You are using an out of date browser. It may not display this or other websites correctly.
You should upgrade or use an alternative browser.
You should upgrade or use an alternative browser.
Here we go again!  Because of time constraints the first build will not feature an interior. I have adapted the tunnels and internal skeletons accordingly.
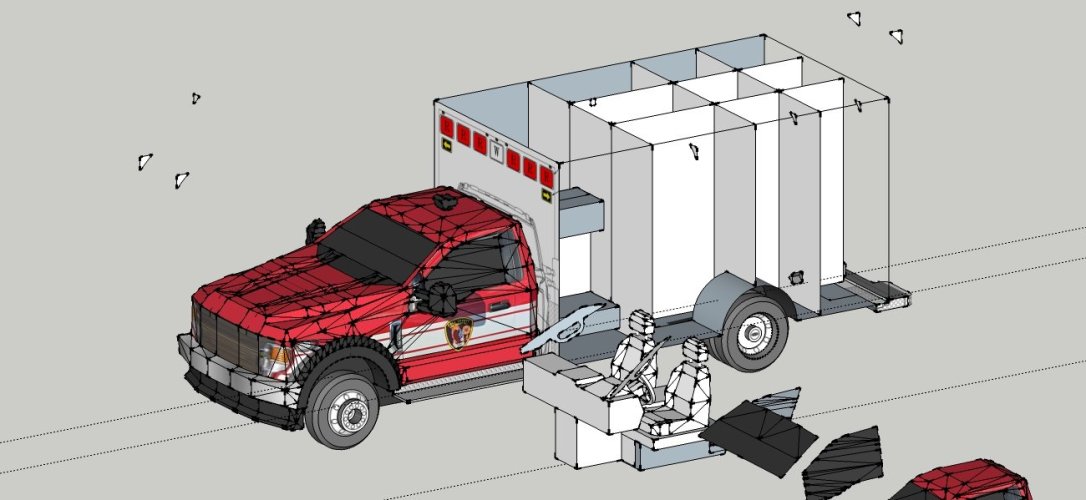
The skeleton for the box will consist of two halves. The first is made of laminated plates which are placed between the tunnels to keep them straight.
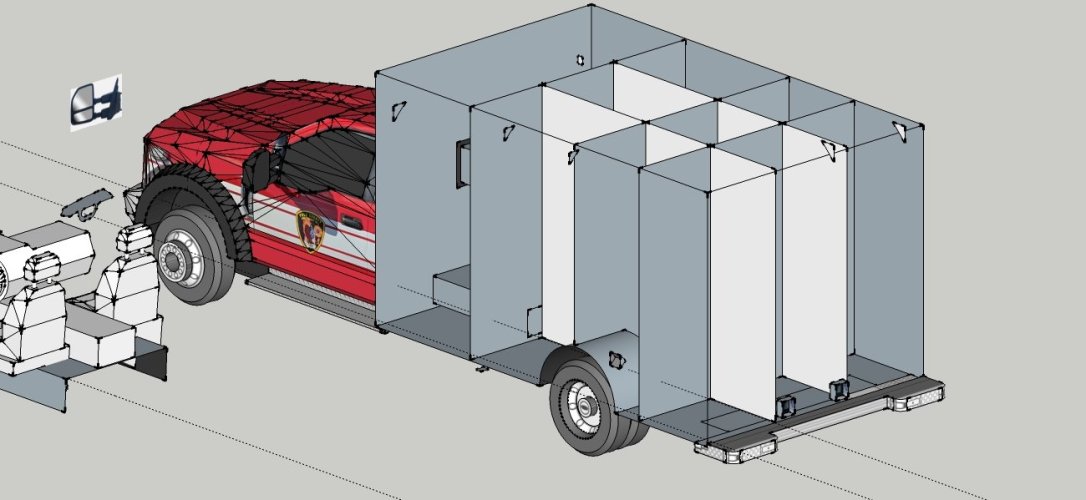
The back half consists of interlocking laminated plates as usual.
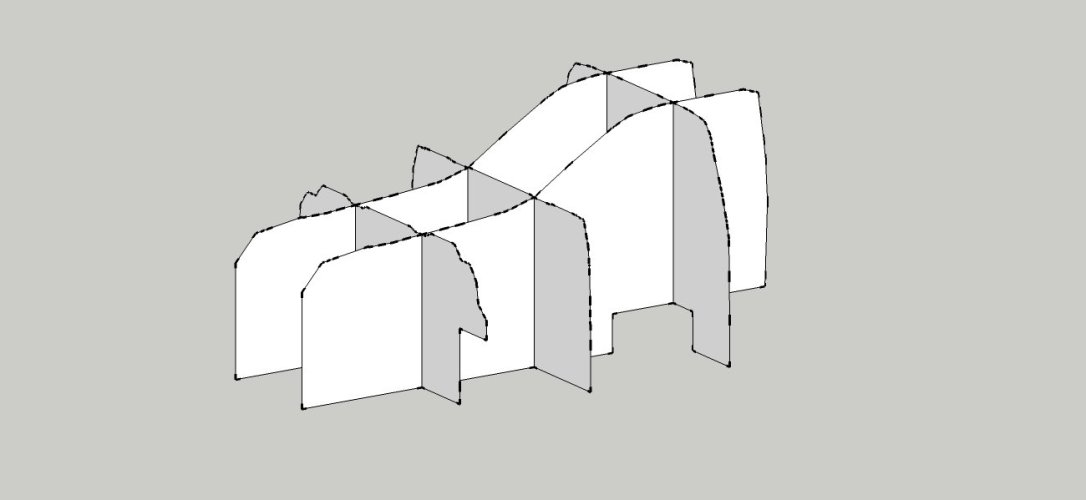
And now the skeleton for the cabin looks like a dino skull.

The skeleton for the box will consist of two halves. The first is made of laminated plates which are placed between the tunnels to keep them straight.

The back half consists of interlocking laminated plates as usual.

And now the skeleton for the cabin looks like a dino skull.
I decided to make a couple of figures for the ambulance. To make these figures, I used the RAF Pilot figure that was designed by @Tirick as a basic guide.
Here is the template. As you can see, I was able to include the badge and the shoulder patches (that were taken from the Polk County Fire Department).
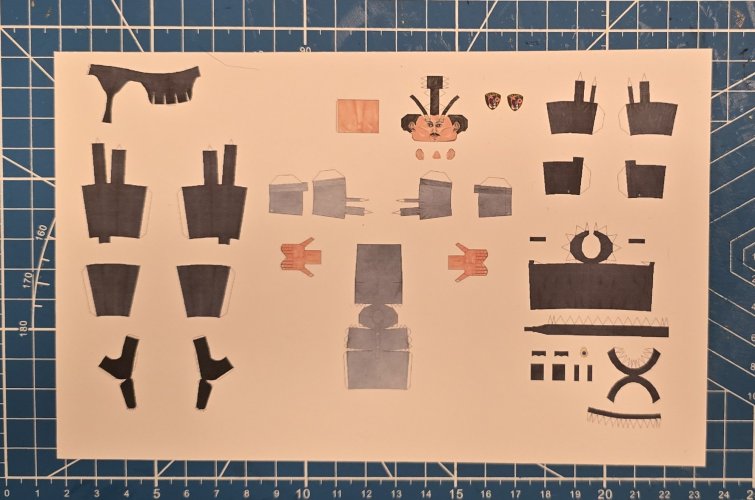
The first figure is complete.
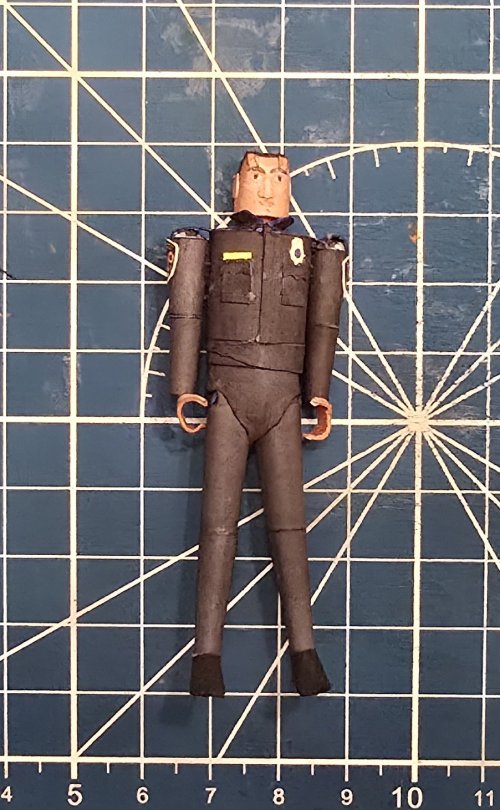
This give you an idea of the actual size of the figure.
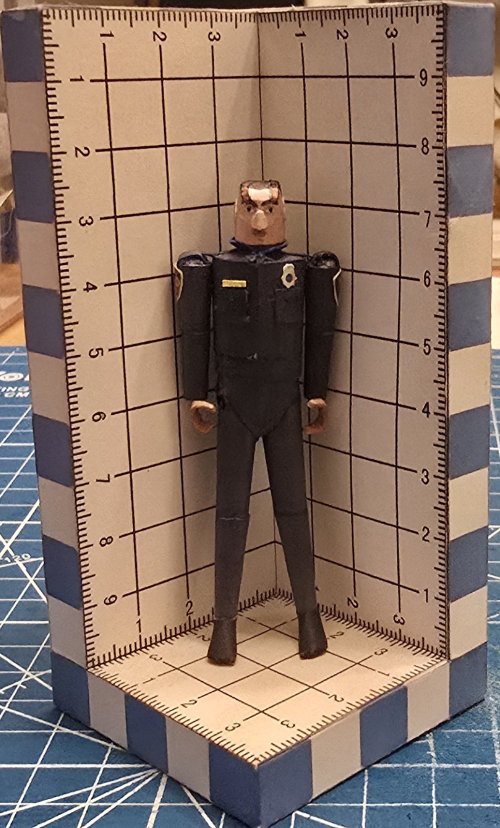
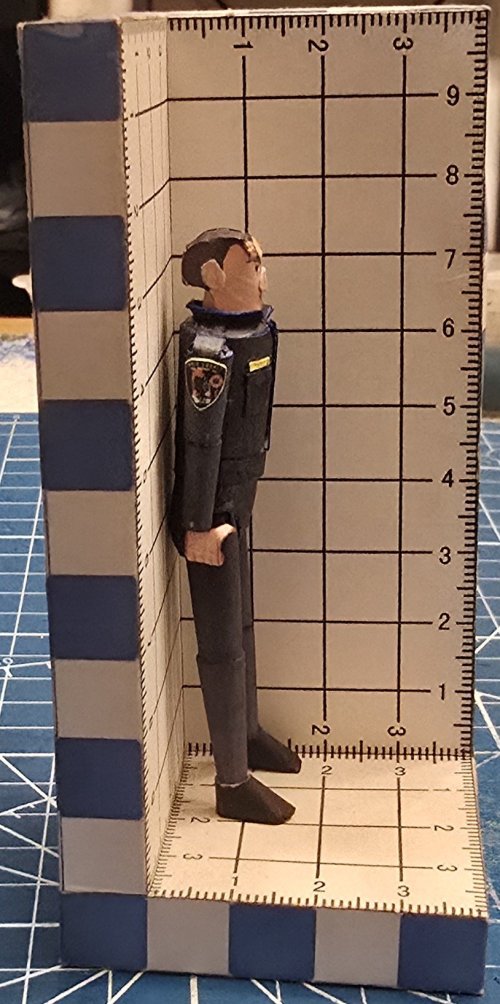
Side views of the figure.

Both figures are complete.
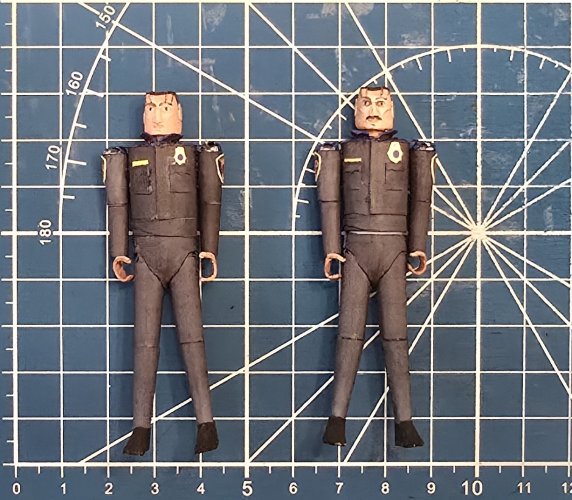
These figures will be standing next tot he cab of the ambulance.
Here is the template. As you can see, I was able to include the badge and the shoulder patches (that were taken from the Polk County Fire Department).

The first figure is complete.

This give you an idea of the actual size of the figure.

Side views of the figure.


Both figures are complete.

These figures will be standing next tot he cab of the ambulance.
Due to certain cercumstanses that are currently going on in my life at present, @Revell-Fan and I have decided that there will be two versions of the templae for the ambulance. One without a detailed interior and one with. @Revell-Fan has finished the template without the interior, and I have started working on it now (whilst he is working on finishing up the interior for the second version).
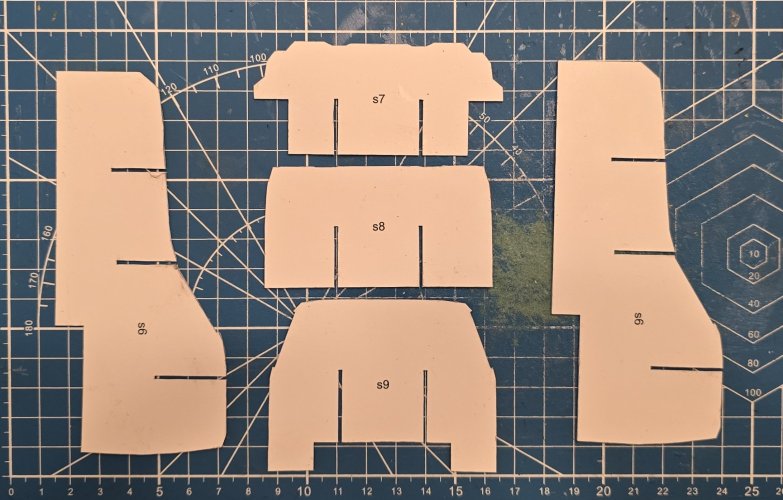
Starting with the formers for the cab. These are laminated to 1mm thick.
The formers are assembled.
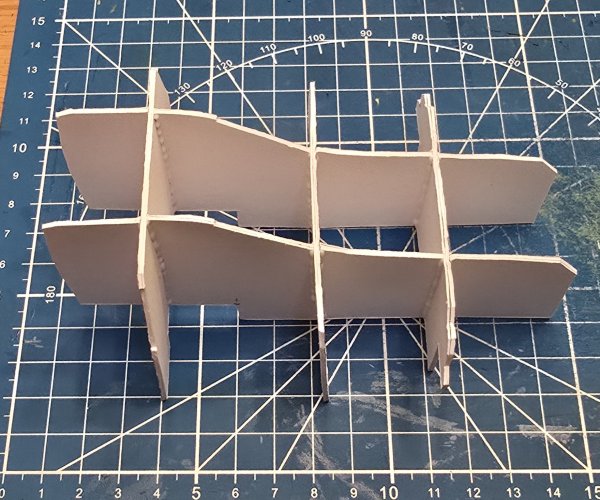
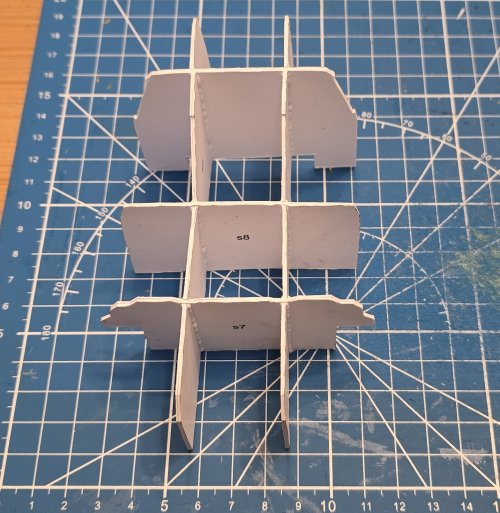
Starting with the formers for the cab. These are laminated to 1mm thick.

The formers are assembled.


Moving to the sides of the cabin.
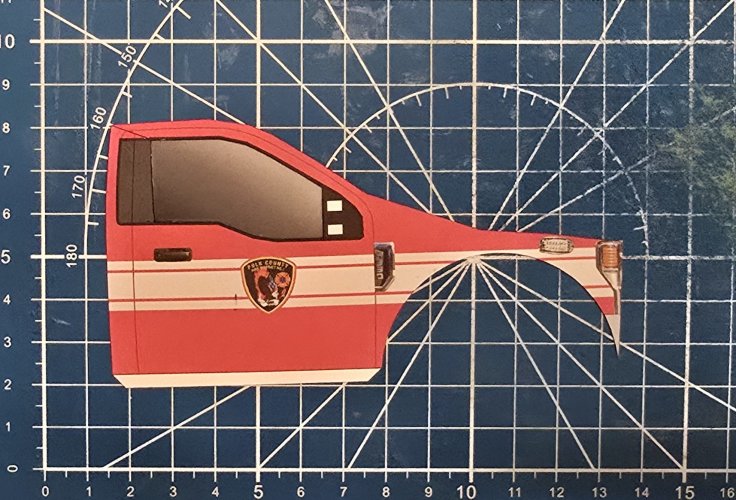
Here are the parts for the sides. As you can see, there are spacers for the door windows.
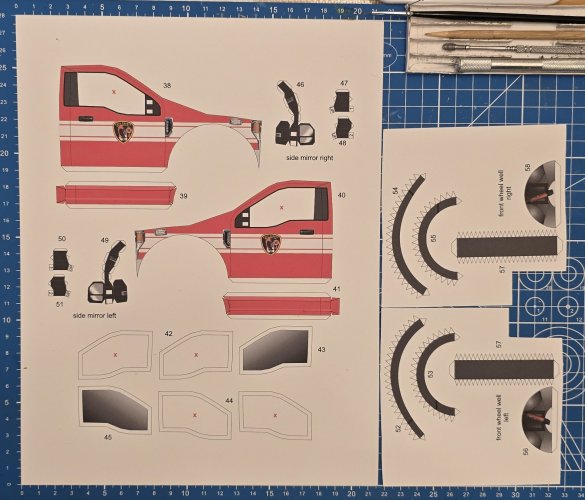
I used just one spacer for the windows,
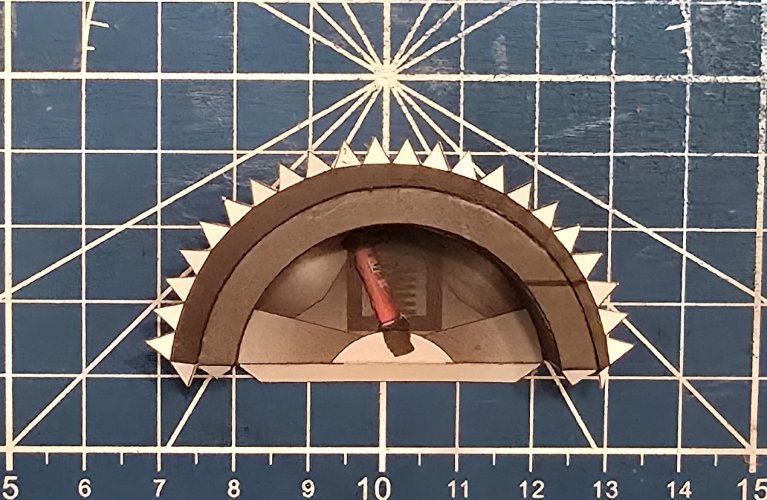
The wheel well is assembled. I also layered the shock absorber in place as well.
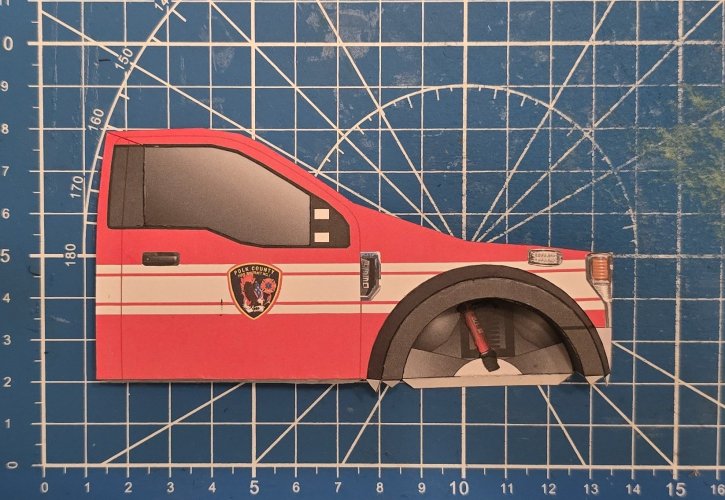
I attached the wheel well in place.
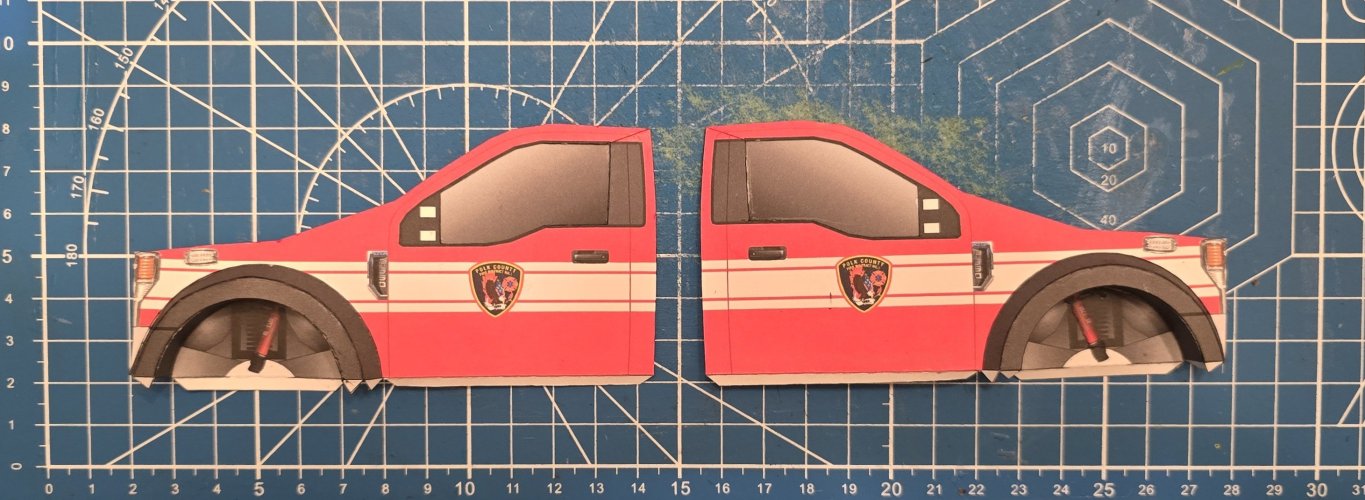
Both cabin sides are assembled.
Here are the parts for the sides. As you can see, there are spacers for the door windows.

I used just one spacer for the windows,

The wheel well is assembled. I also layered the shock absorber in place as well.

I attached the wheel well in place.

Both cabin sides are assembled.

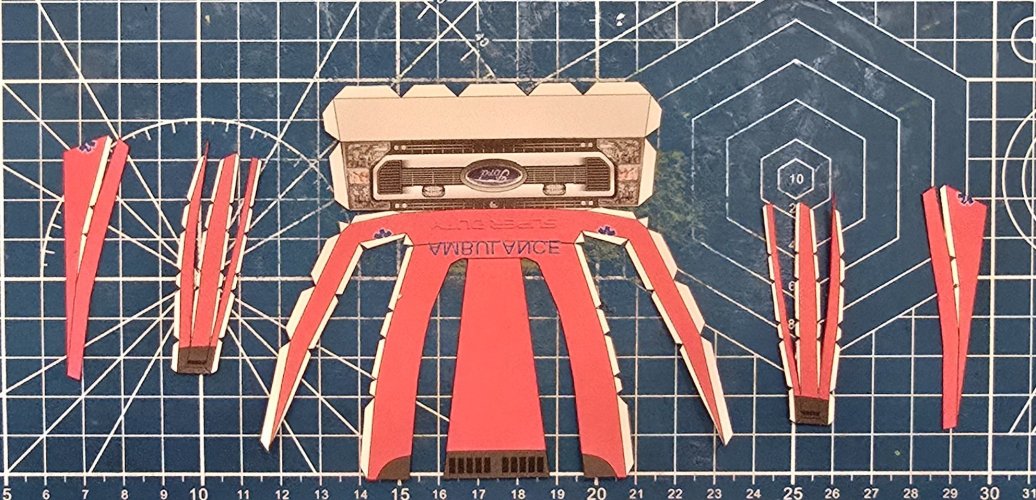
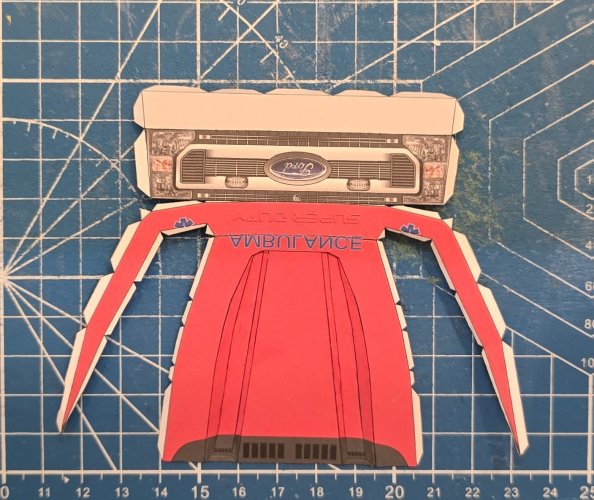
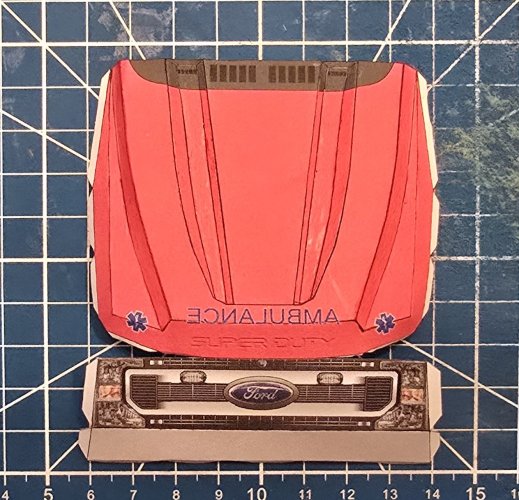
Here are the parts for the top of the cabin and windscreen.
(*NOTE* You will need the greebiling parts for the top of the cabin as well).
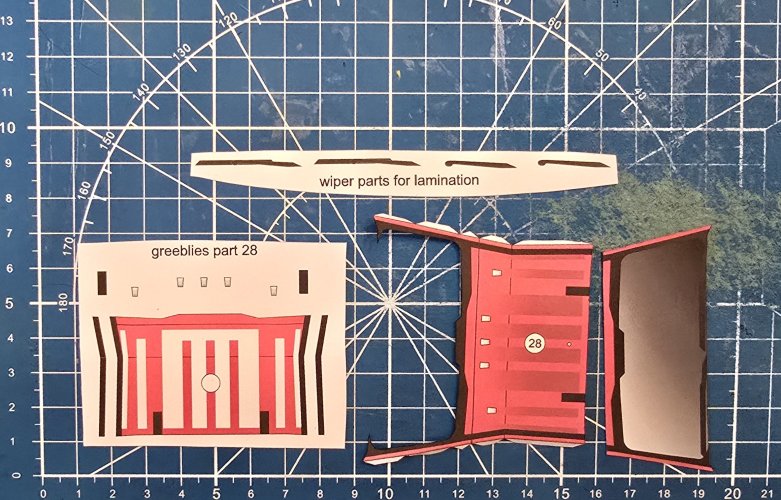
I laminated the top piece and lights on the top of the cabin and attached the windscreen
(*NOTE* As with the door windows, the windscreen has spacers. However, I did not use them in the assembly.)
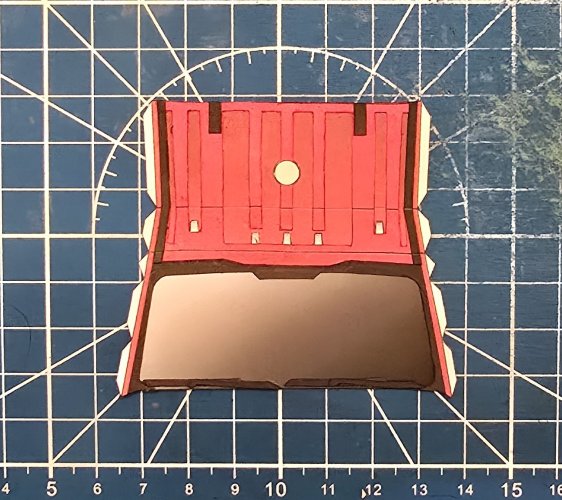
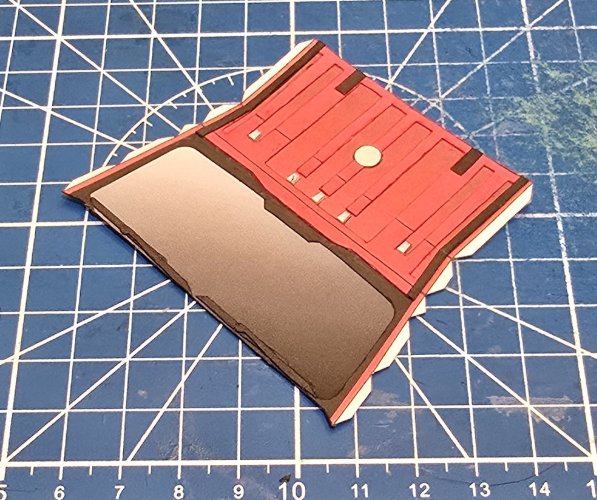
I attached the windscreen to the hood.
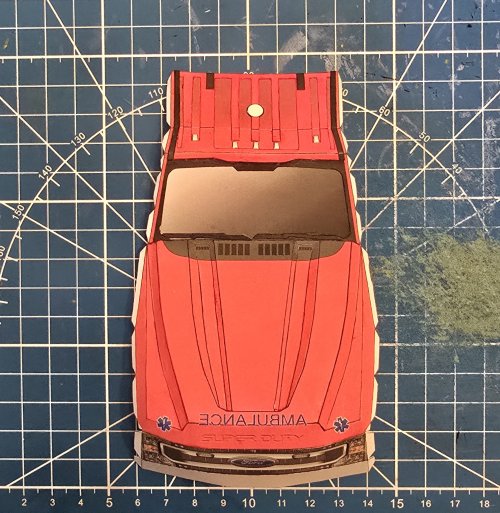
(*NOTE* You will need the greebiling parts for the top of the cabin as well).

I laminated the top piece and lights on the top of the cabin and attached the windscreen
(*NOTE* As with the door windows, the windscreen has spacers. However, I did not use them in the assembly.)


I attached the windscreen to the hood.

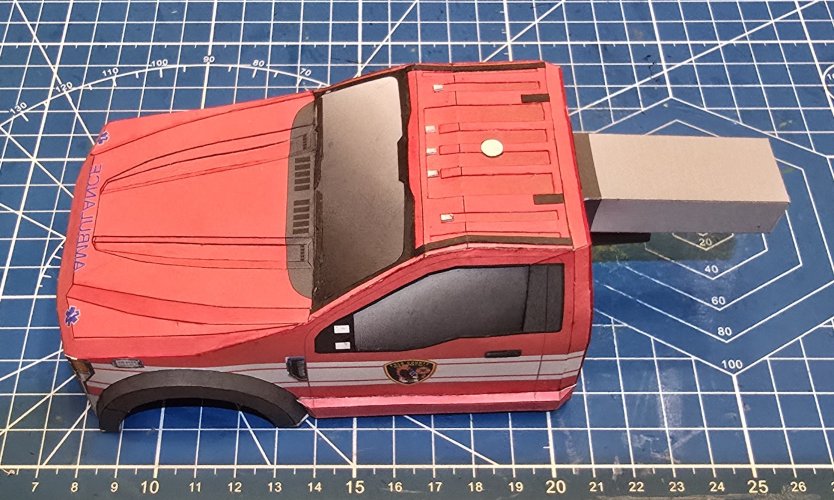
I attached the cabin sides to the top and hood.
(*NOTE* Take your time with this process. It really does not matter if you start with the top or the front tof the grill. Just take it easy and make certian that the glue is dry before moving on to the next section.)
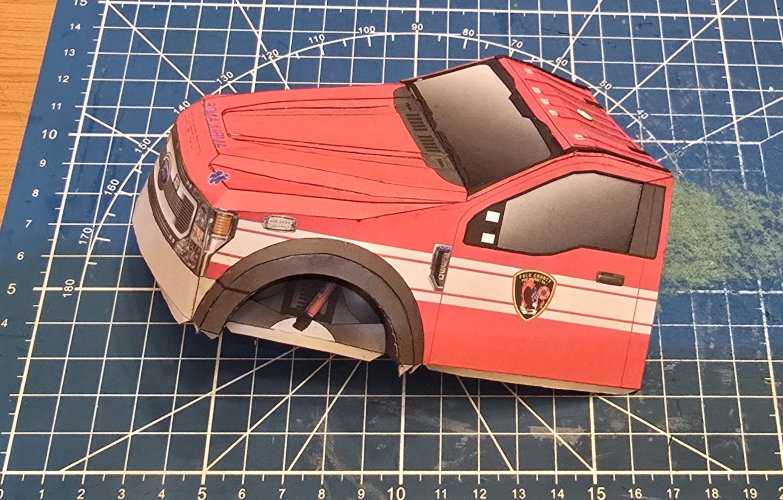
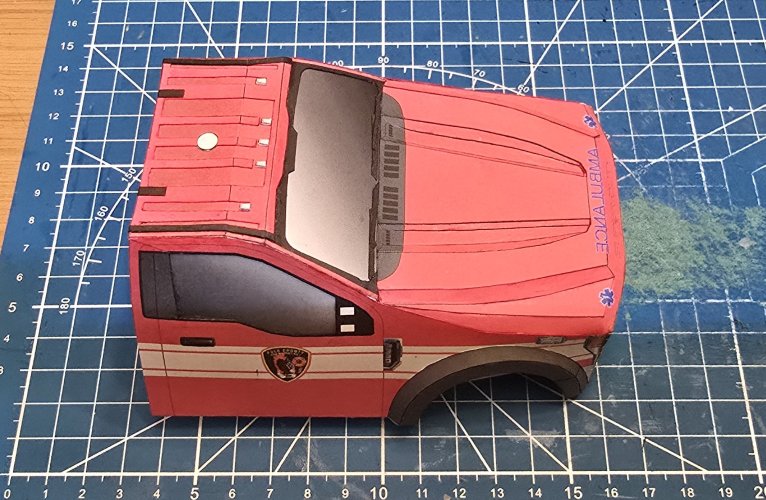
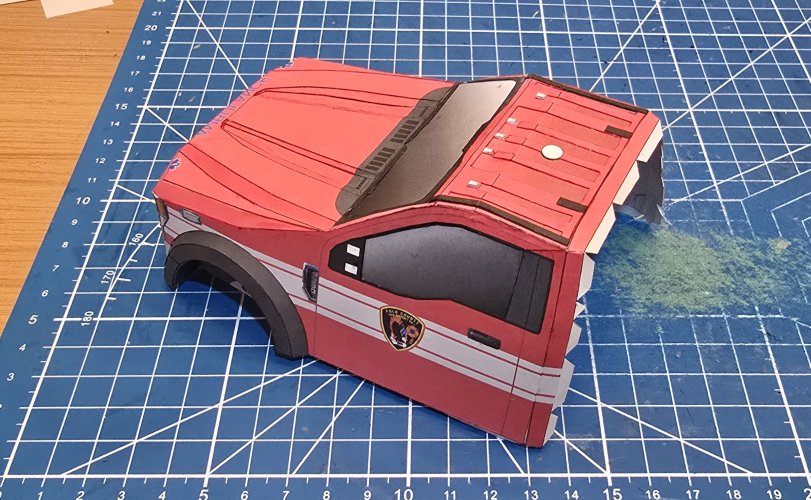
I attached the cab extention to the sides and top.
Here are the parts for the back of the cabin.
(*NOTE* You will need the greebiling parts for the back of the cabin as well).
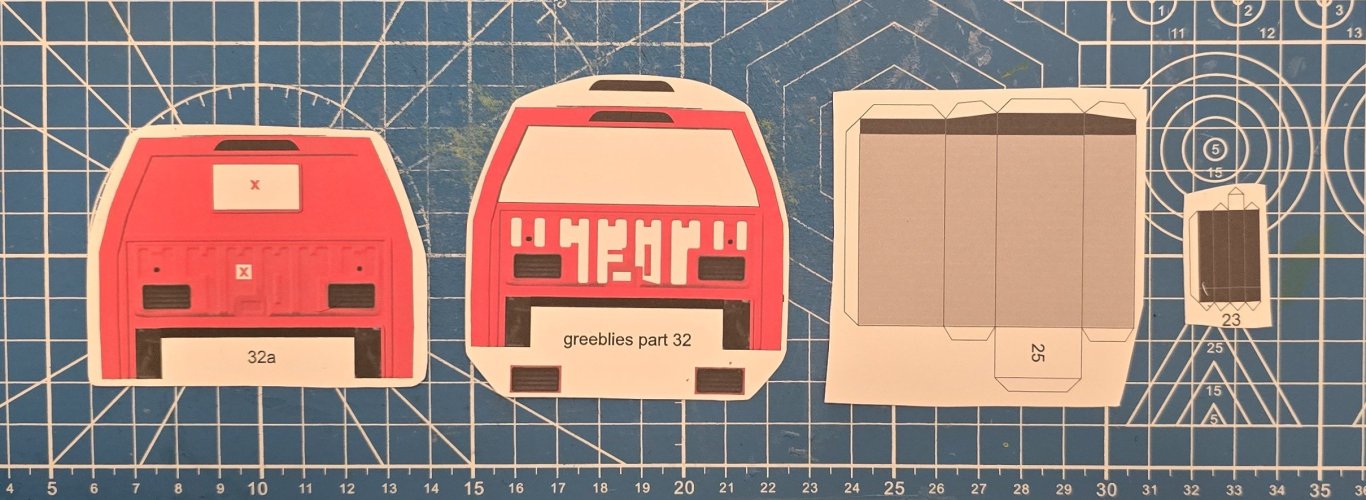
The back of the cabin is assembled.
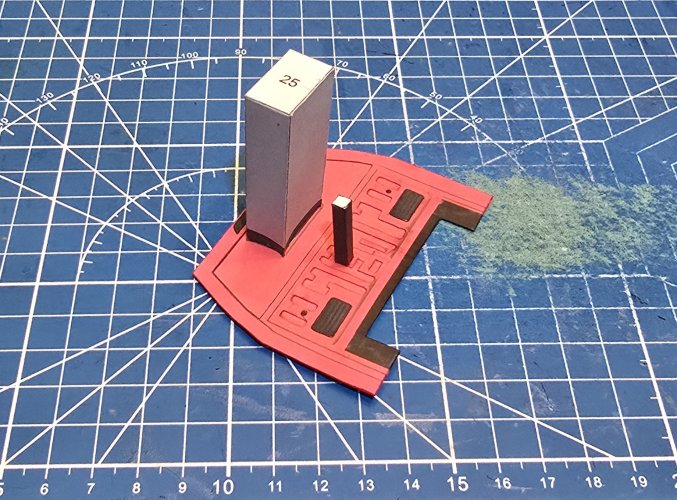
The back of the cabin is attached to thr rest of the cabin.
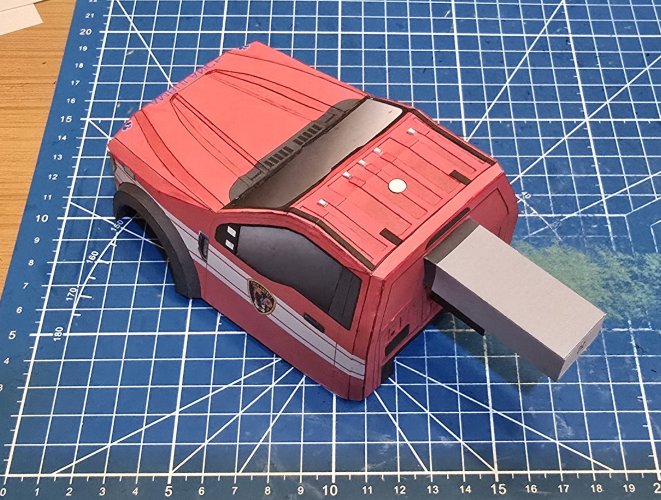
(*NOTE* Take your time with this process. It really does not matter if you start with the top or the front tof the grill. Just take it easy and make certian that the glue is dry before moving on to the next section.)


I attached the cab extention to the sides and top.

Here are the parts for the back of the cabin.
(*NOTE* You will need the greebiling parts for the back of the cabin as well).

The back of the cabin is assembled.

The back of the cabin is attached to thr rest of the cabin.

Last edited:
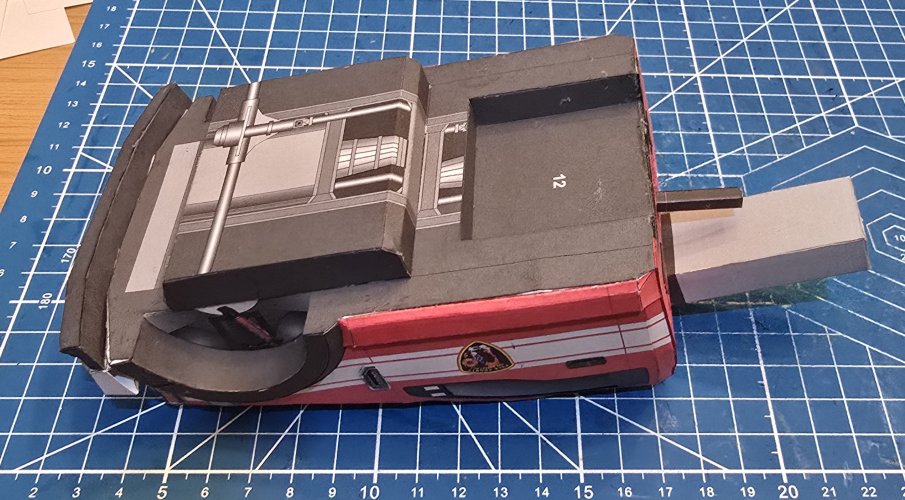
Here are the former assembly and the cabin shell.
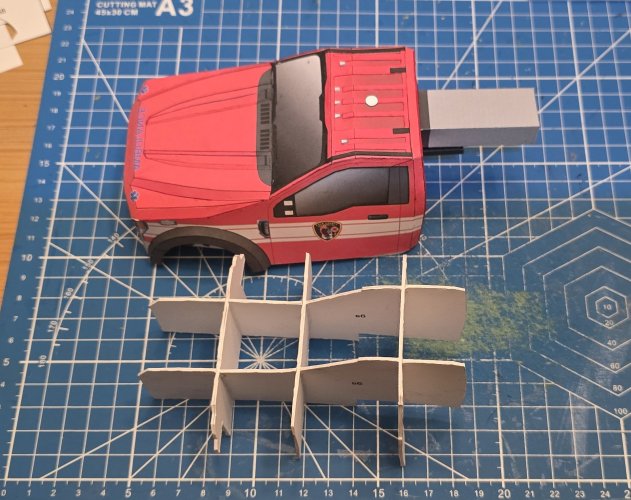
The former assembly is incerted in the cabin shell.
(*NOTE* Be very careful with putting the former assembly in the cabin shell. You will have to manipulate the wheel wells in order to do it properly.)
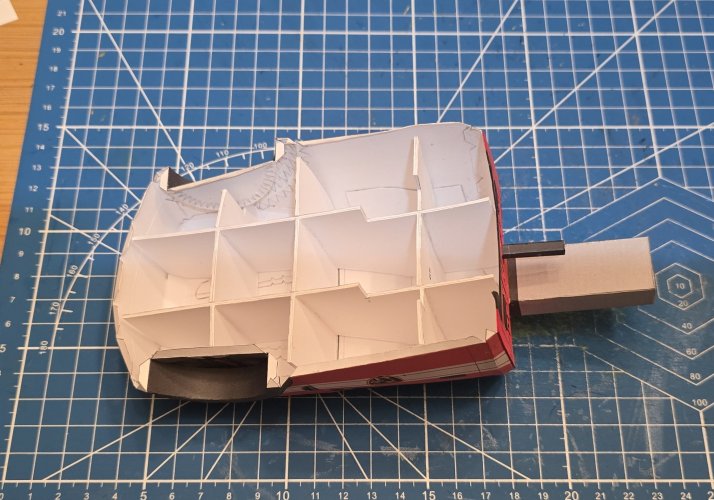
Here are the parts for the undercarriage.
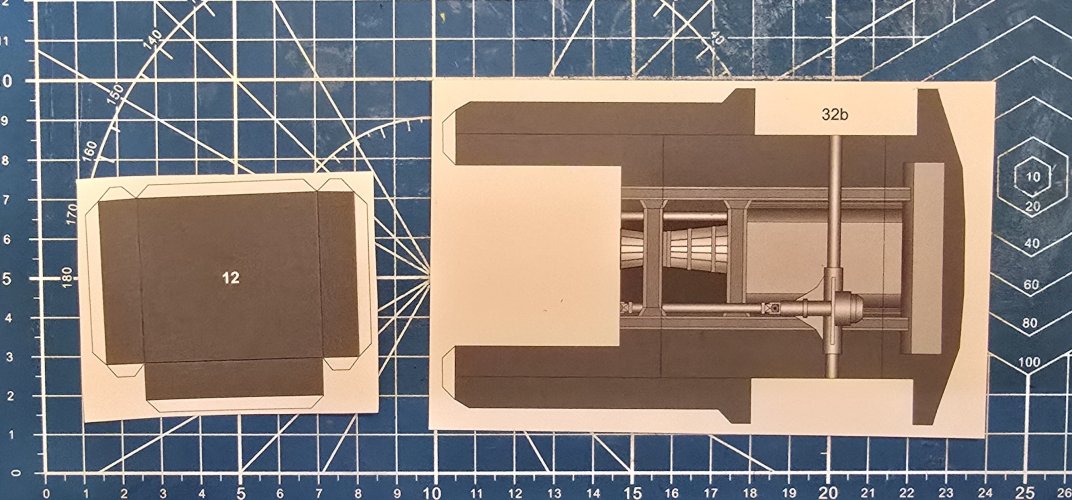
The undercarriage is assembled.
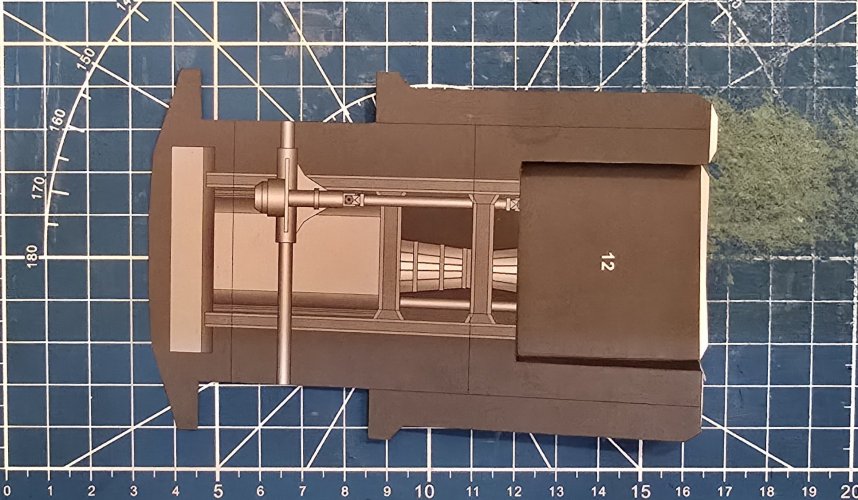
The undercarriage is attached in place.
(*NOTE* Take your time with this process. I started with the back end and worked my way to the front. Just take it easy and make certian that the glue is dry before moving on to the next section.)
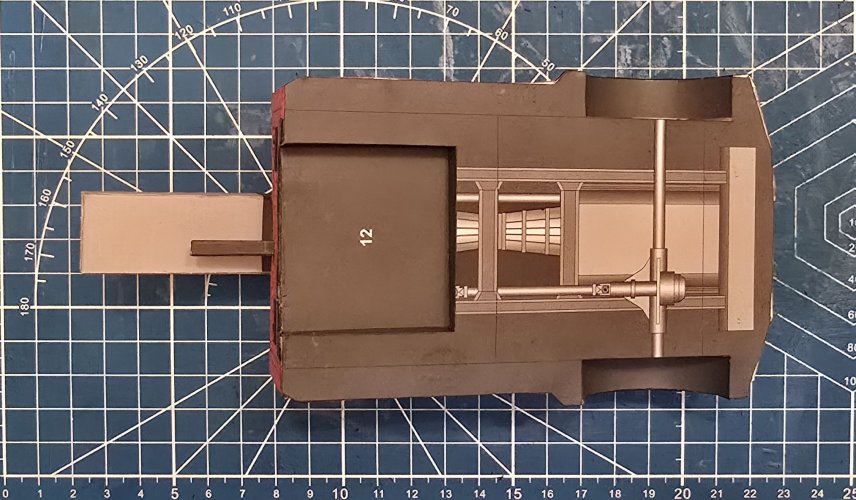
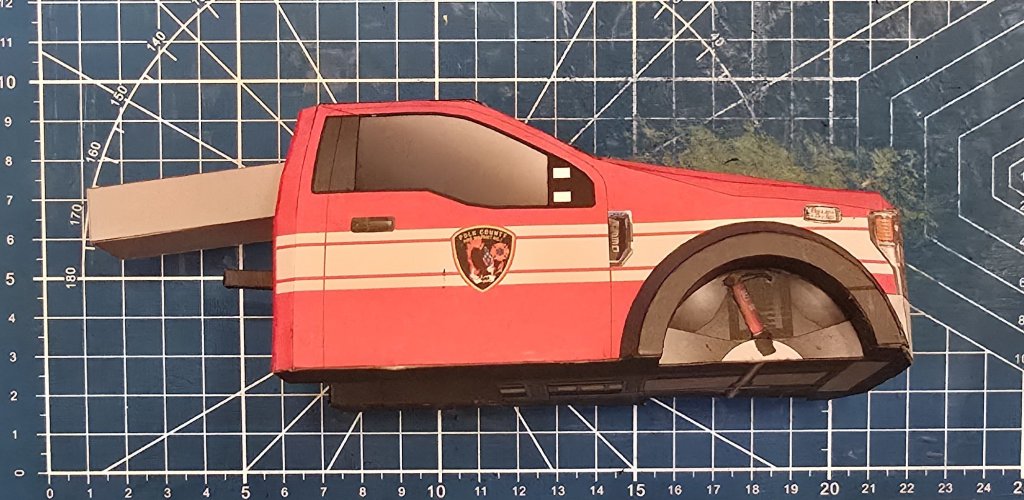
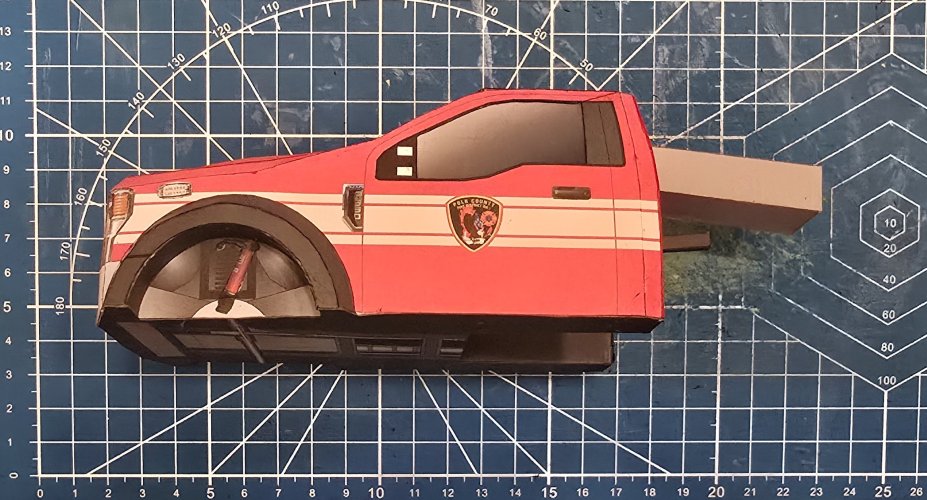

The former assembly is incerted in the cabin shell.
(*NOTE* Be very careful with putting the former assembly in the cabin shell. You will have to manipulate the wheel wells in order to do it properly.)

Here are the parts for the undercarriage.

The undercarriage is assembled.

The undercarriage is attached in place.
(*NOTE* Take your time with this process. I started with the back end and worked my way to the front. Just take it easy and make certian that the glue is dry before moving on to the next section.)


Thank you sir!Excellent! This is looking better than I imagined.
Regarding manipulating the wheel wells to install the skeleton, you could bend the skeleton slightly to install it instead. 
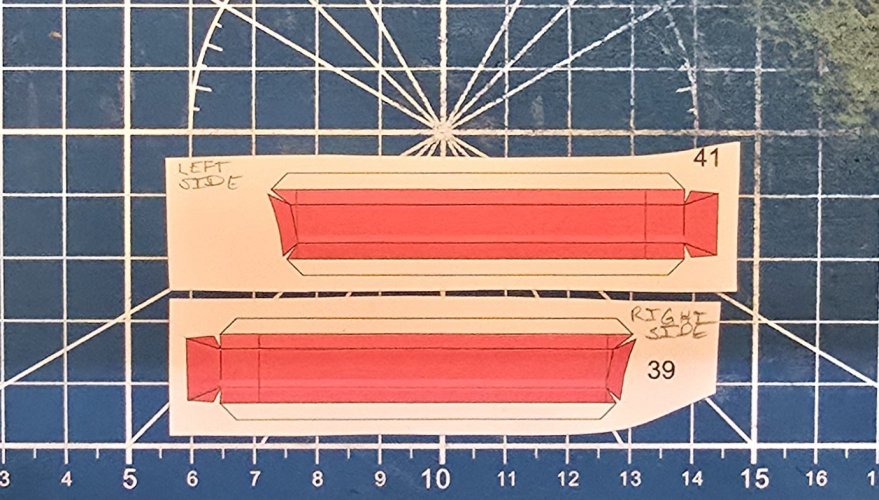
Here are the parts for the bumper system.
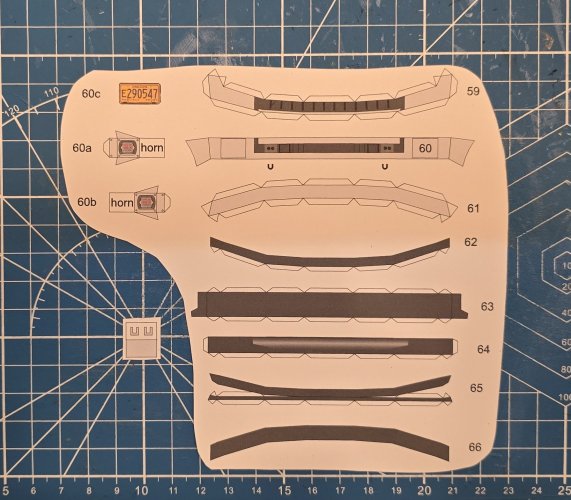
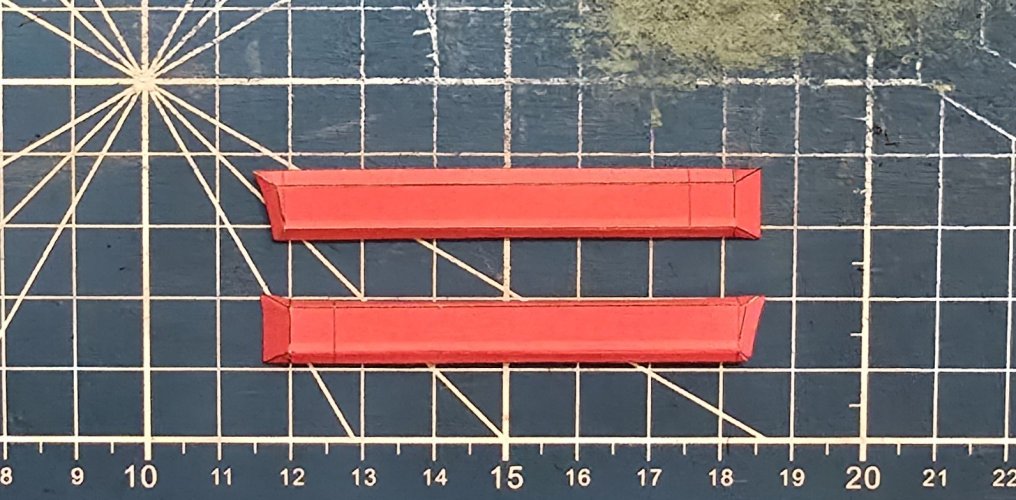
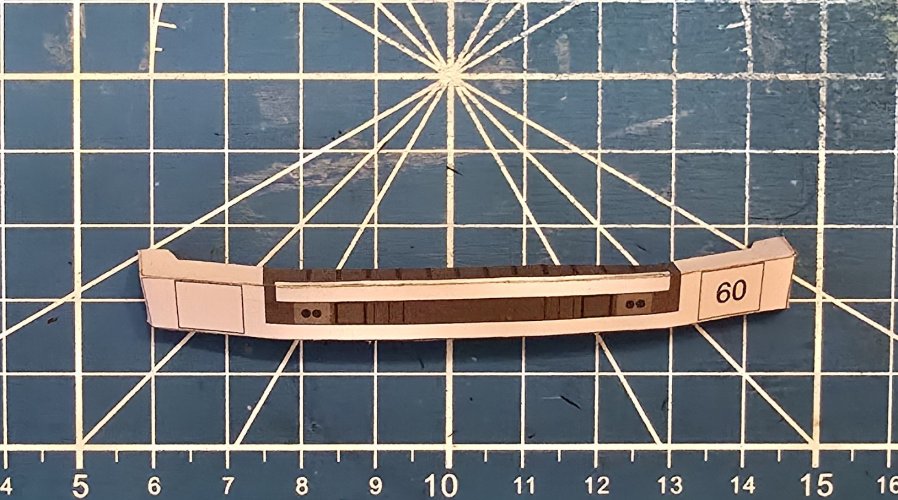
I assembled the main bumper.
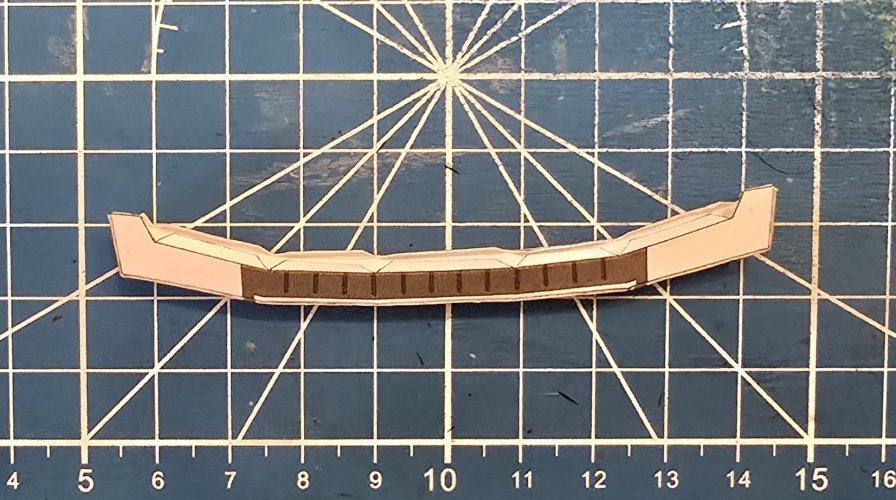
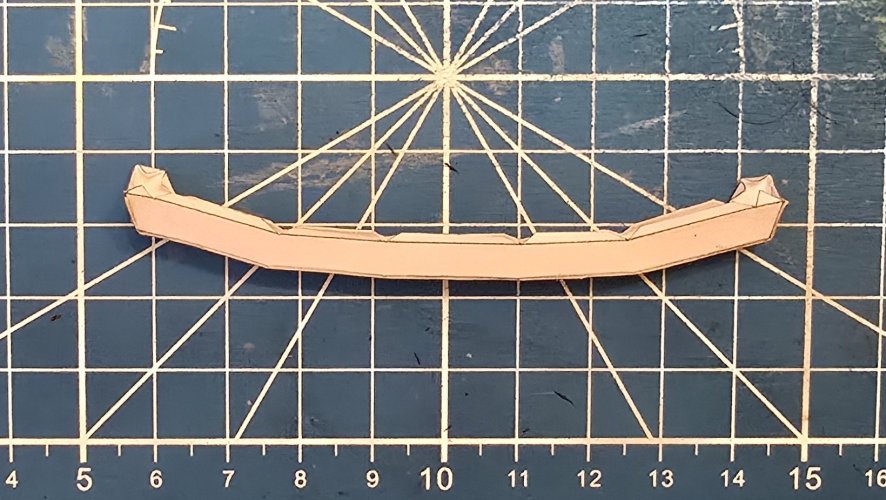
Here is the under-bumper.
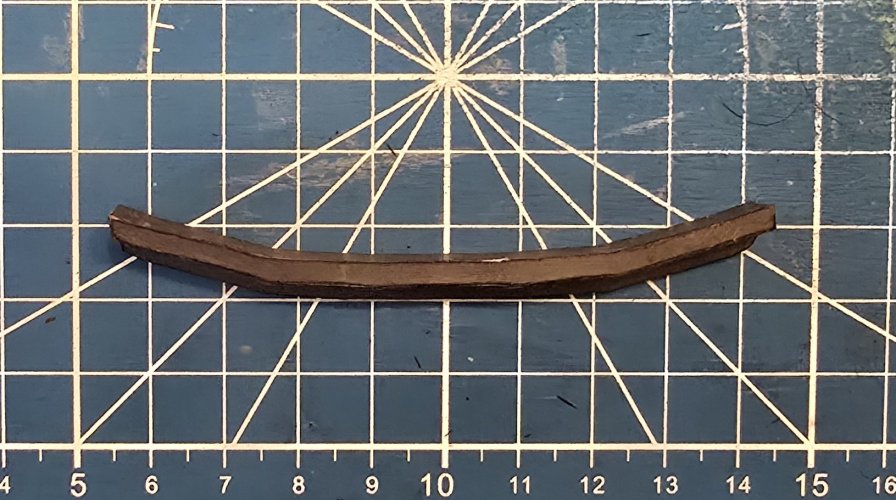
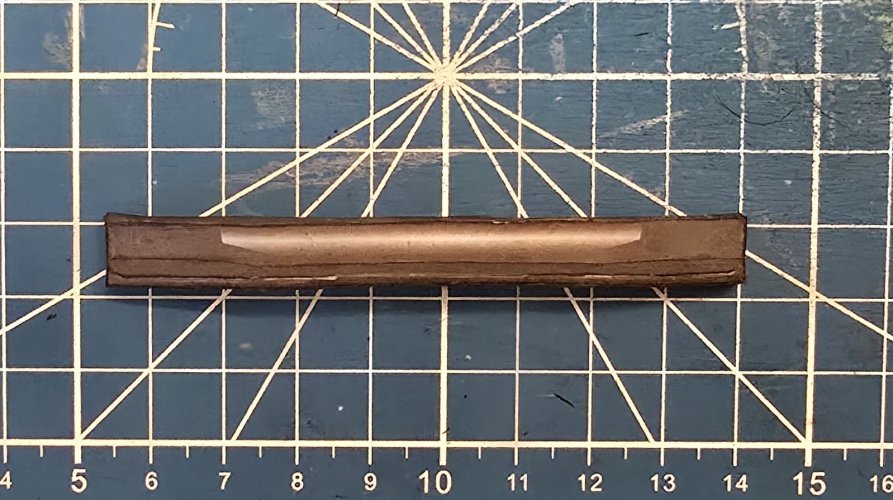
Here are both the main bumper and under-bumper.
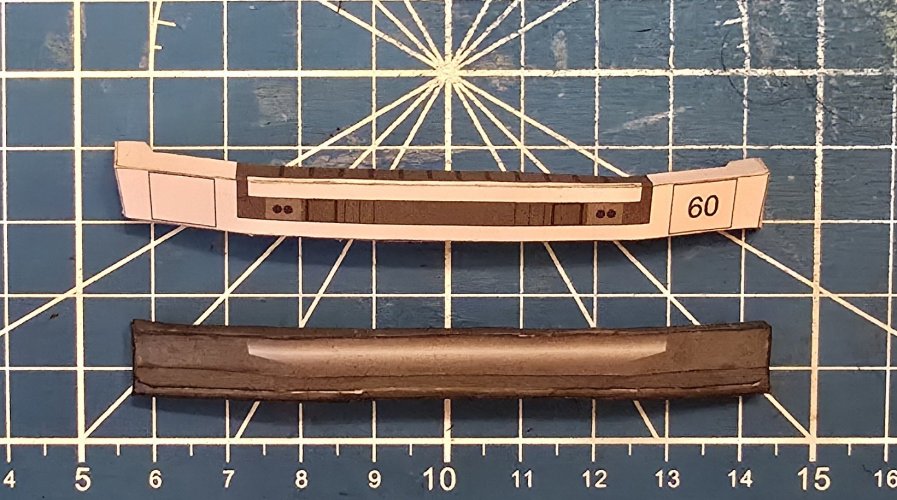
The main bumper is attached in place.
The under-bumper is attached in place.
The bumper mounted horns are assembled. I recessed the inner parts and raised the front square plates

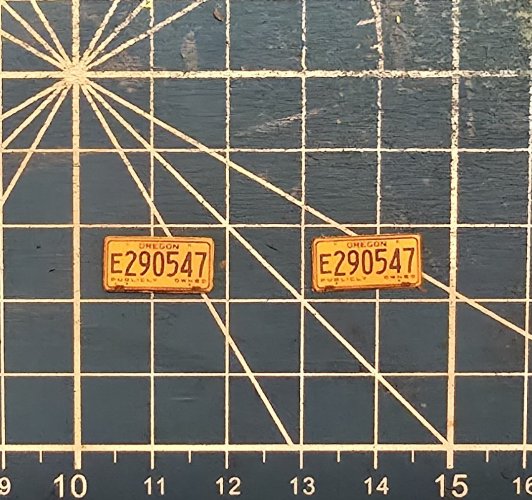
Yes, these are the actuall license plates from the real ambulance.
Both the bumper horns and front license plate are attached in place.
I used paperclip wire tro form the to tow rings on the bumper.
I laminated the side lights, motor vents and door handles.
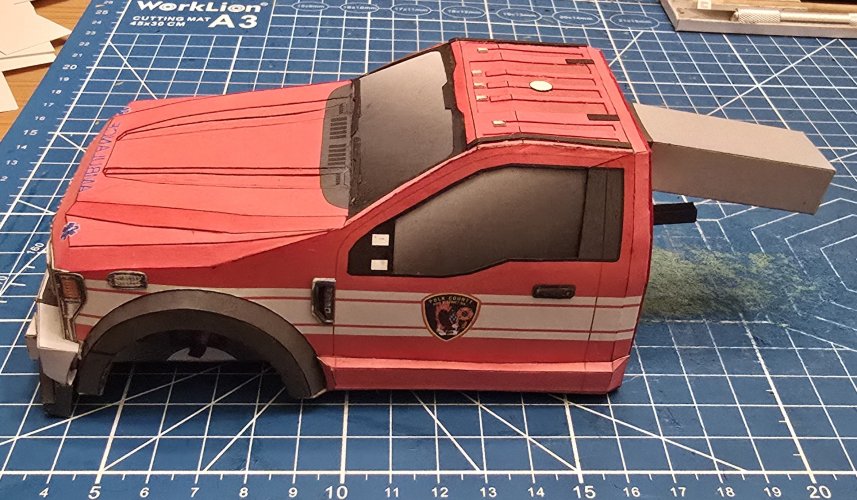
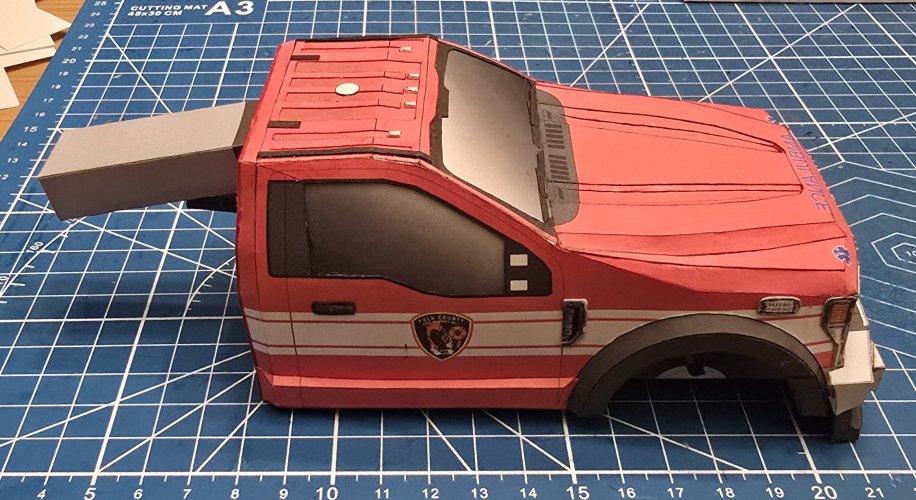

I assembled the main bumper.


Here is the under-bumper.


Here are both the main bumper and under-bumper.

The main bumper is attached in place.


The under-bumper is attached in place.


The bumper mounted horns are assembled. I recessed the inner parts and raised the front square plates

Yes, these are the actuall license plates from the real ambulance.

Both the bumper horns and front license plate are attached in place.

I used paperclip wire tro form the to tow rings on the bumper.


I laminated the side lights, motor vents and door handles.


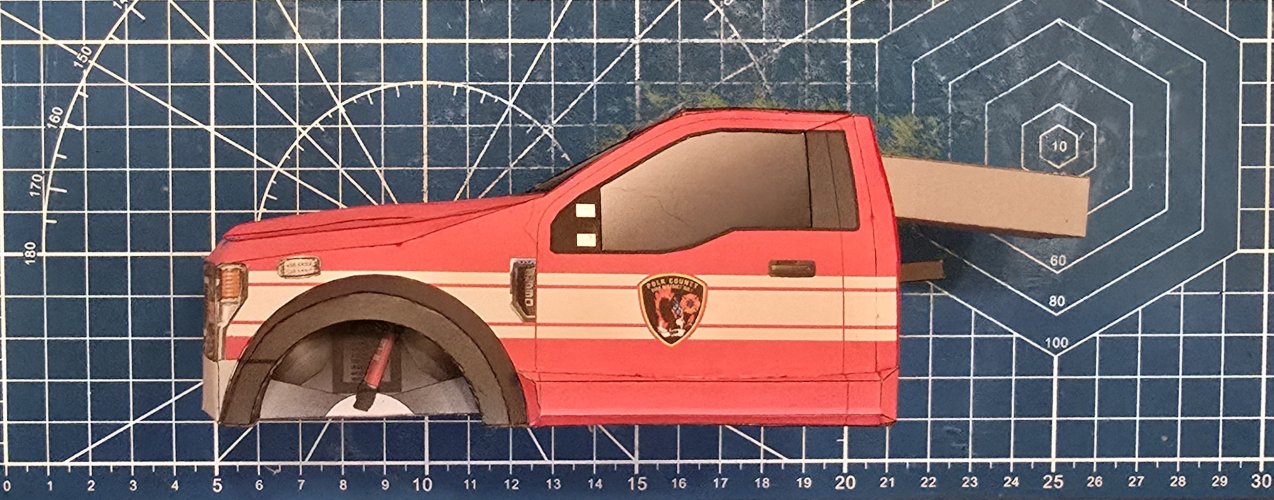
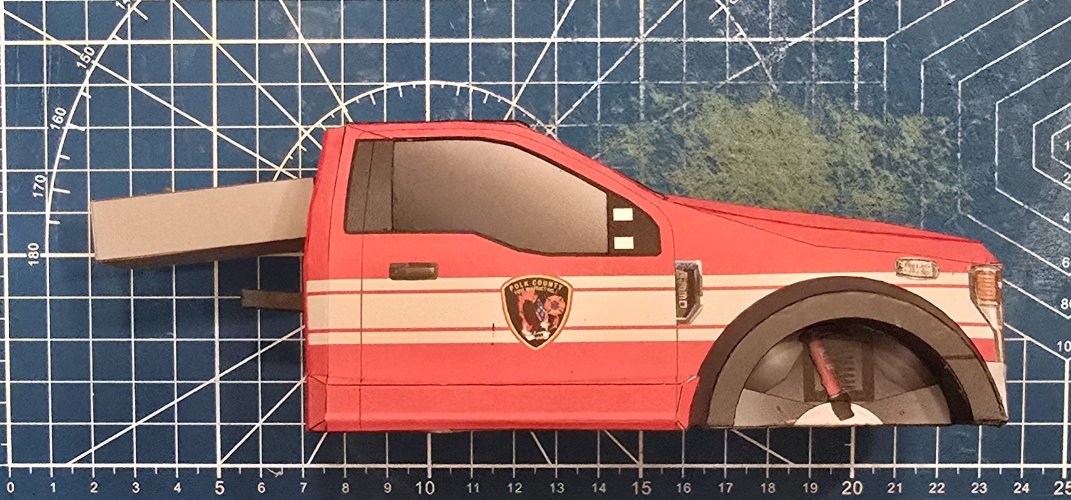
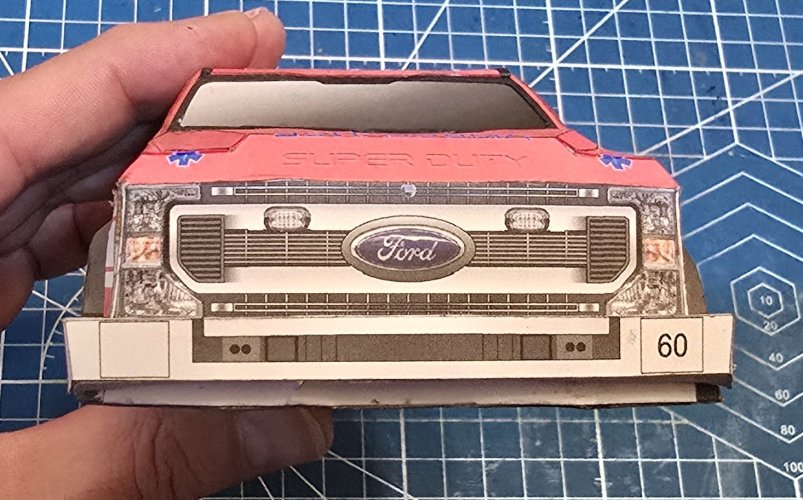
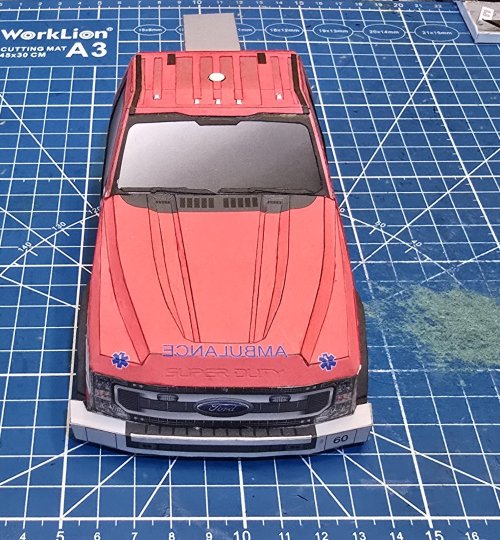
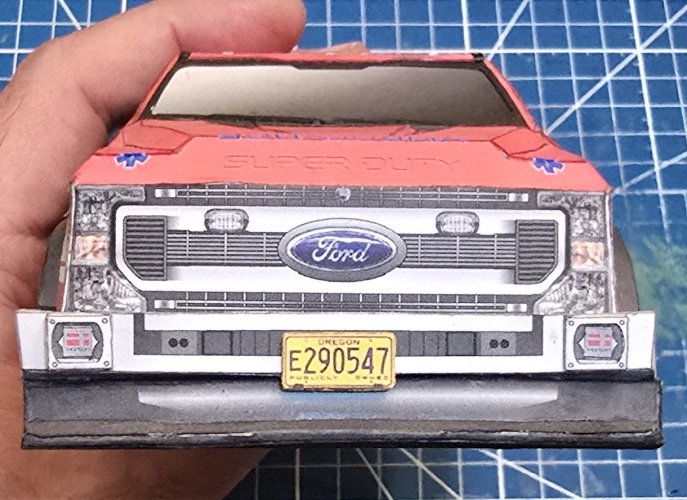
Today, I noticed that there was a problem with main bumpmer. As you can see in the two following photos, the bumper extends beyong the fenders on either side.
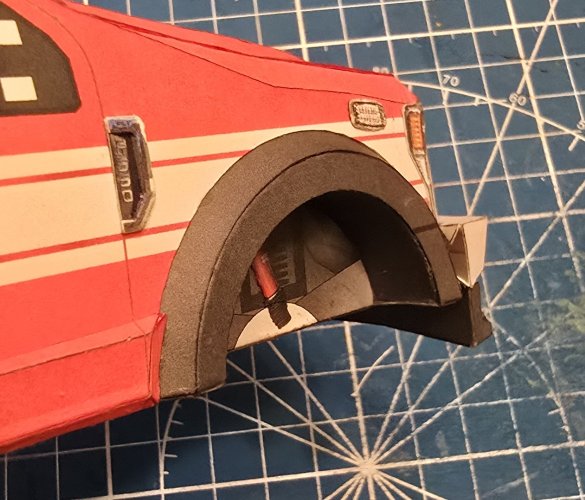
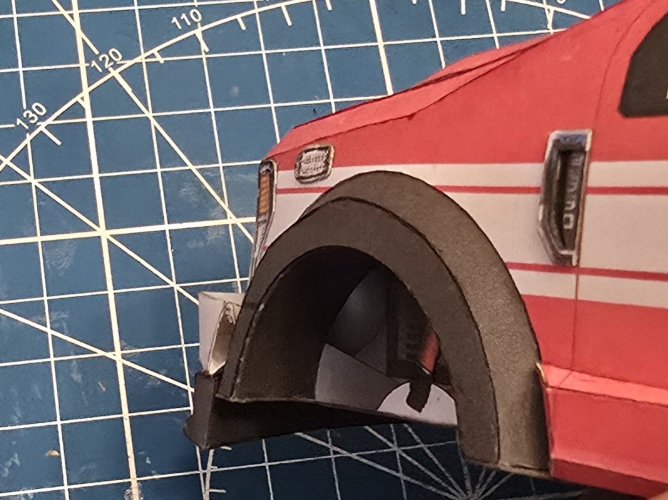
After a lengthy conversation with @Revell-Fan about what to do to fix this issue, We figured out what was needed and how to fix both the bumper that I attached to the front of the cab (without removing it) and fixing the parts on the tempalte.
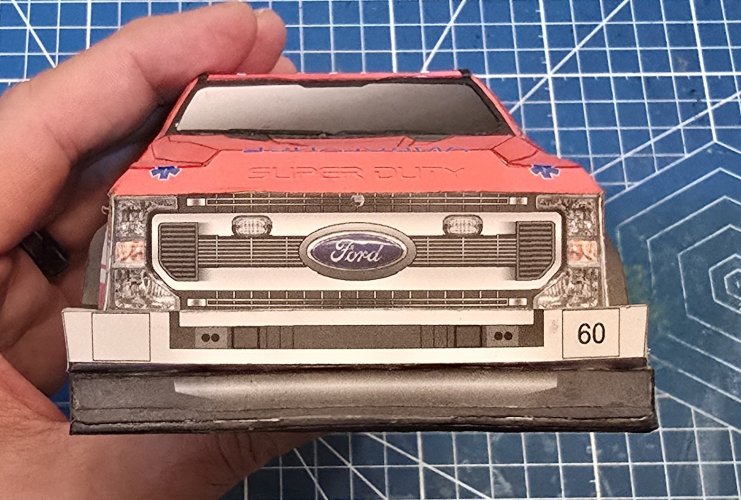
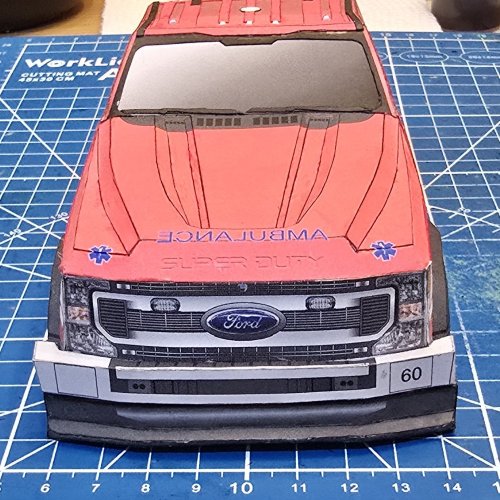
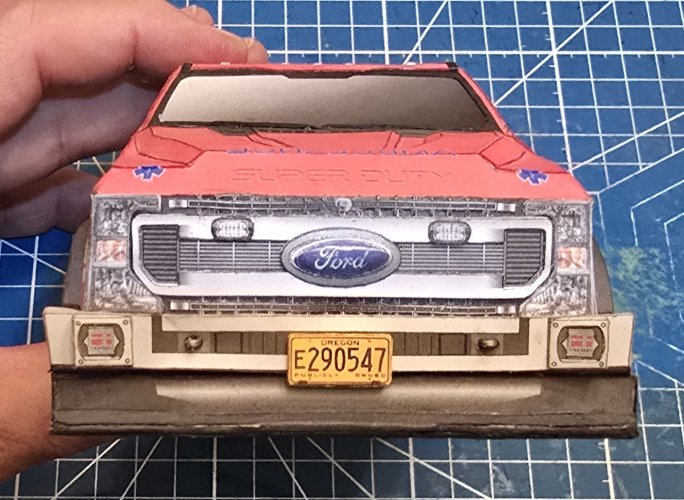
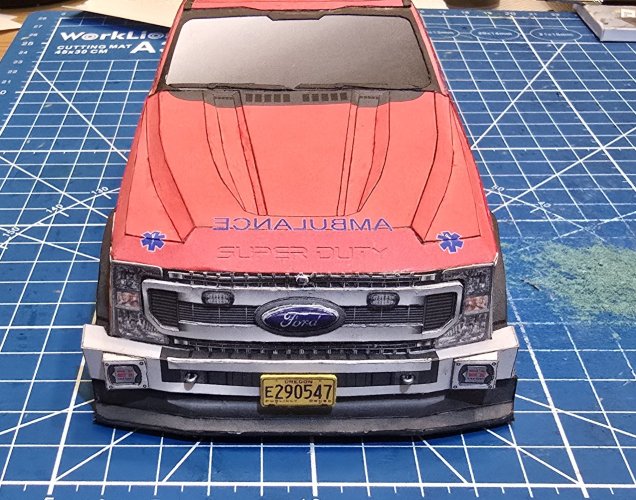
Here are the photos of the fixed bumper.

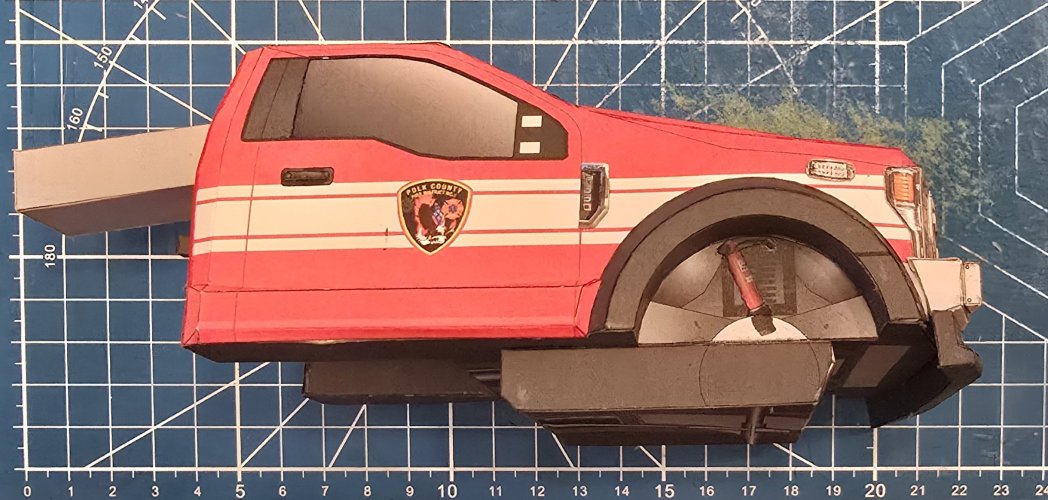
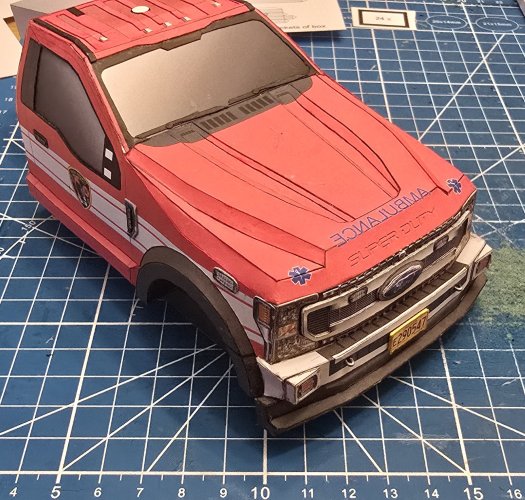
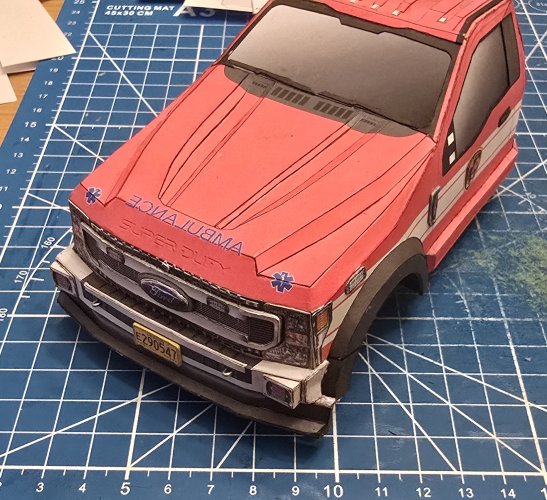


After a lengthy conversation with @Revell-Fan about what to do to fix this issue, We figured out what was needed and how to fix both the bumper that I attached to the front of the cab (without removing it) and fixing the parts on the tempalte.
Here are the photos of the fixed bumper.


Last edited:


