Imperial Lambda-class T-4a shuttle TYDIRIUM

mijob

Tie designer
Staff member
Moderator
Jul 5, 2020
3,186
5,385
95
54
Netherlands
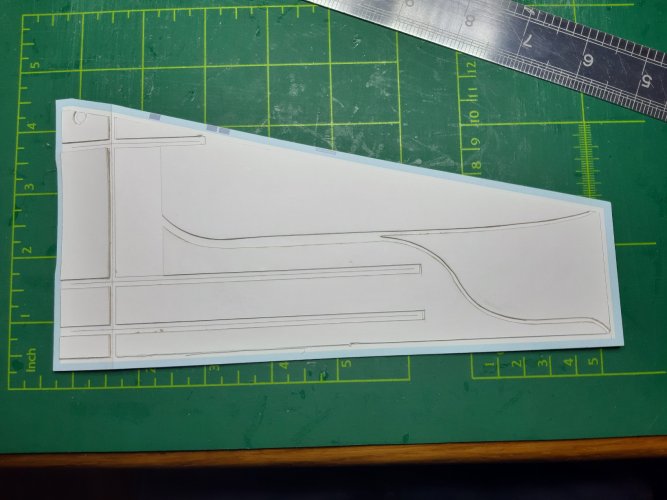
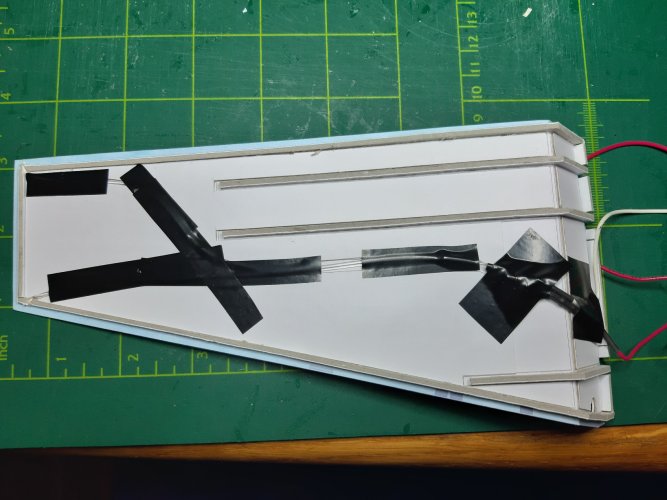
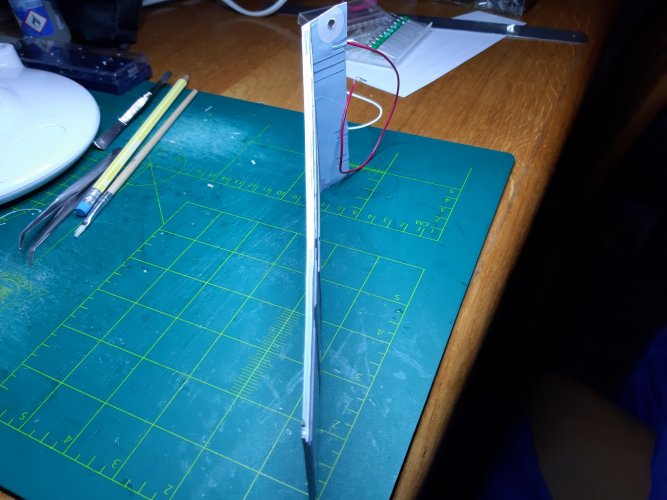
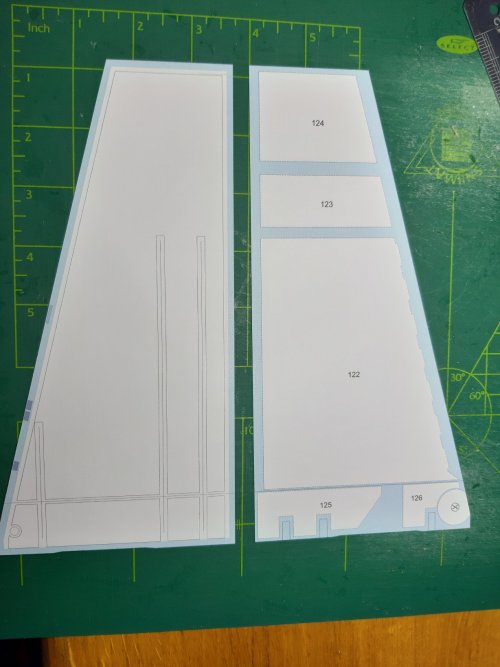
The new template is ready and I printed the pages for one wing side to check the fitting.
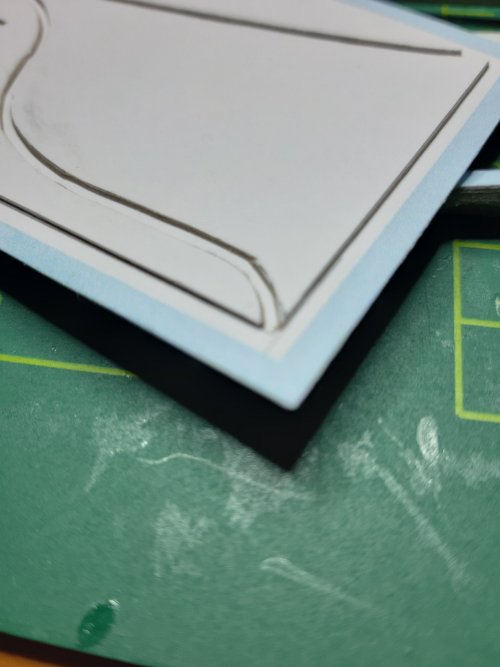
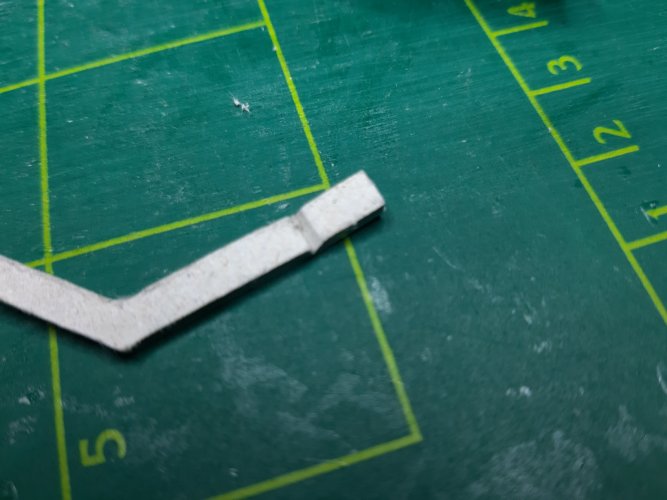
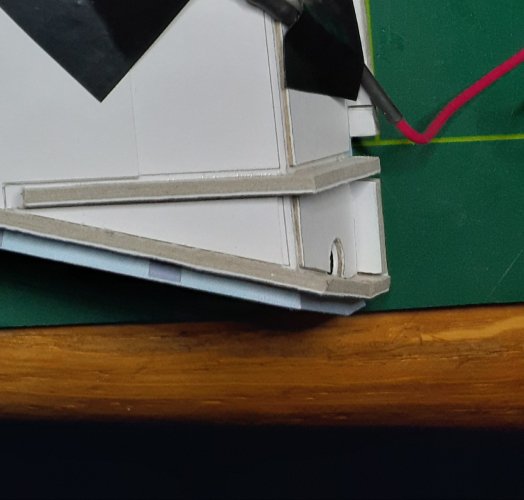
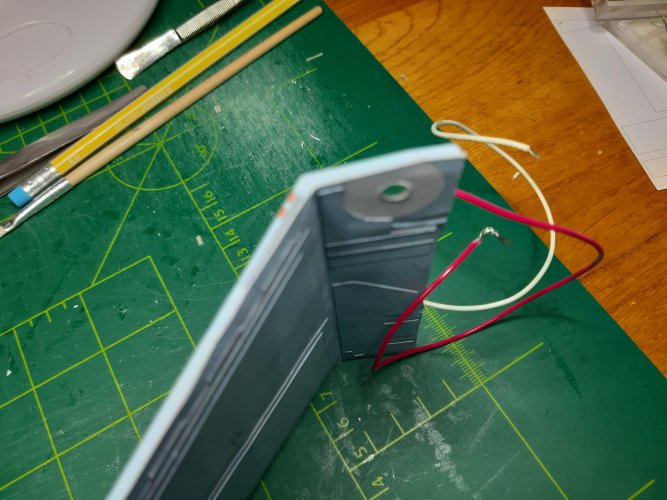
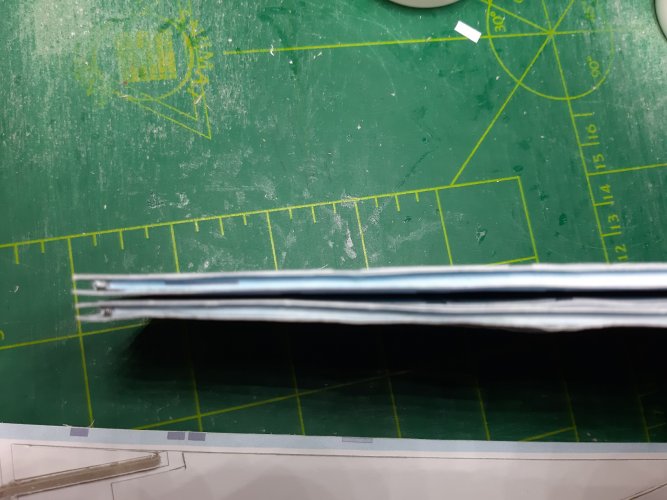
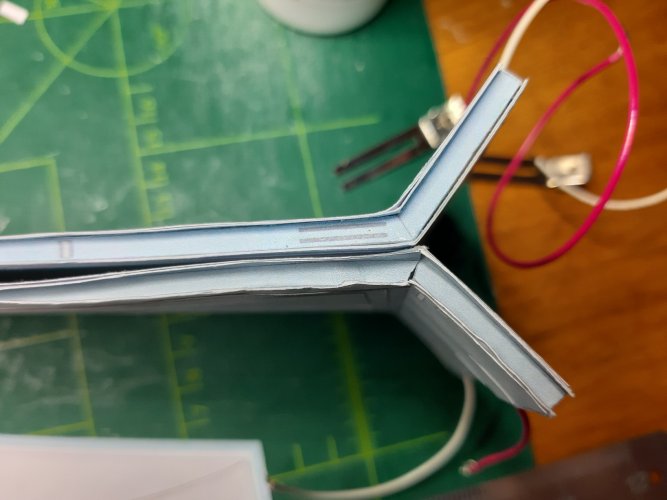
I cut the first wing and add a new back side to it. Then I laminated it with some pieces of cardboard I also left some space for the optic fibres.
20240309_174310.jpg20240309_174404.jpg20240309_174424.jpg
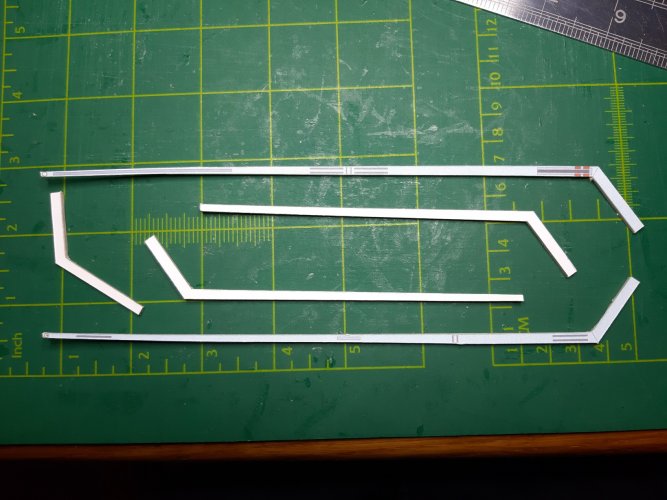
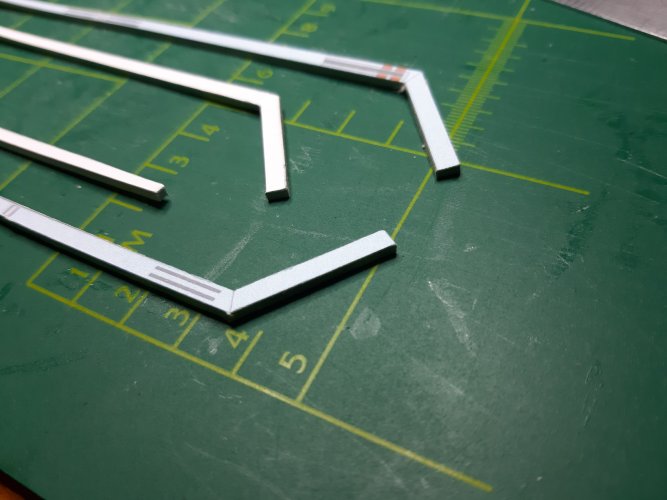
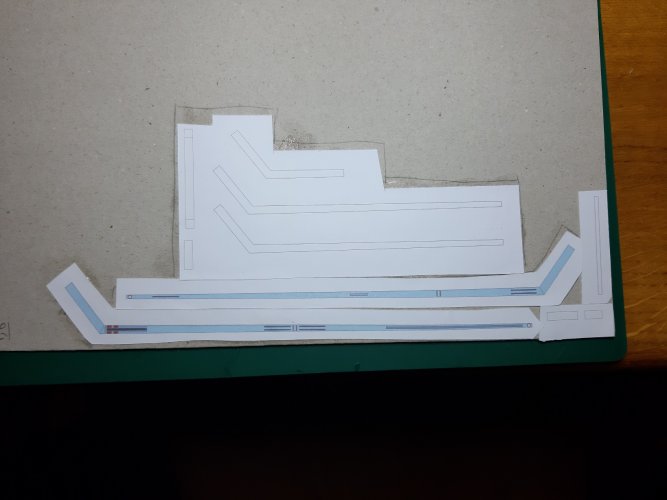
Next I cut the internal formers also glued on cardboard.
20240309_174340.jpg20240309_174445.jpg20240309_174500.jpg
Next I will glue the formers and I hope the wing is straight.
 

mijob

Tie designer
Staff member
Moderator
Jul 5, 2020
3,186
5,385
95
54
Netherlands
Thank you both, it does indeed look better it even feels better when I started to cut the first parts. I hope to finish the first wing today. Then I start with the design for the second part of the wing.
 

zathros

*****SENIOR ADMINISTRATOR*****
Staff member
Administrator
Moderator
Apr 5, 2013
13,498
9,549
228
I really enjoy your thread. You aren't a slouch (like me) and your work is excellent!! :)
 
  • Love
Reactions: mijob

mijob

Tie designer
Staff member
Moderator
Jul 5, 2020
3,186
5,385
95
54
Netherlands
What a difference!!
Thank you, it is indeed a big difference Im very happy that I did this update. Now I have to check the top wing maybe I need to updare that one as well. I will update the template for the top wing but I hope not to rebuild it.
 
  • Like
Reactions: Chanur

zathros

*****SENIOR ADMINISTRATOR*****
Staff member
Administrator
Moderator
Apr 5, 2013
13,498
9,549
228
Make a little block you can run up the rear inside edge of the wings to straighten them out. :)
 
  • Like
Reactions: mijob

mijob

Tie designer
Staff member
Moderator
Jul 5, 2020
3,186
5,385
95
54
Netherlands
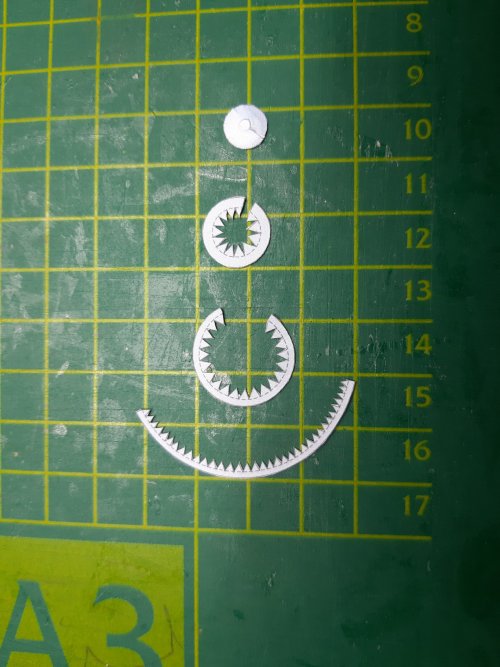
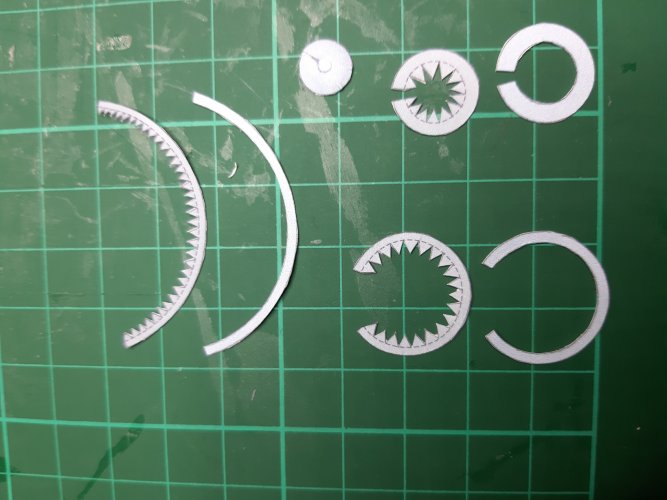
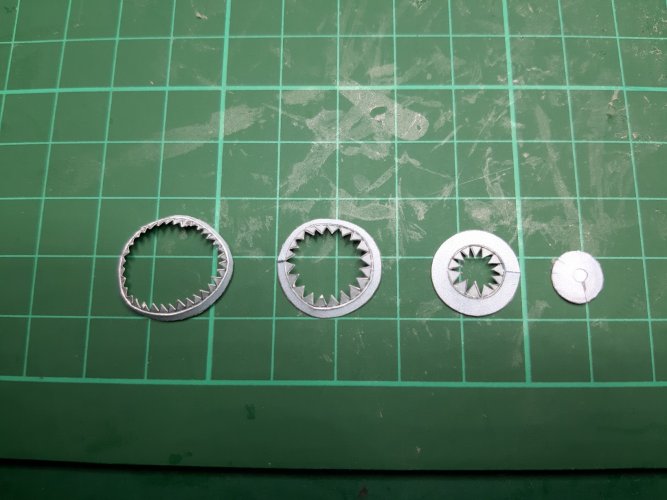
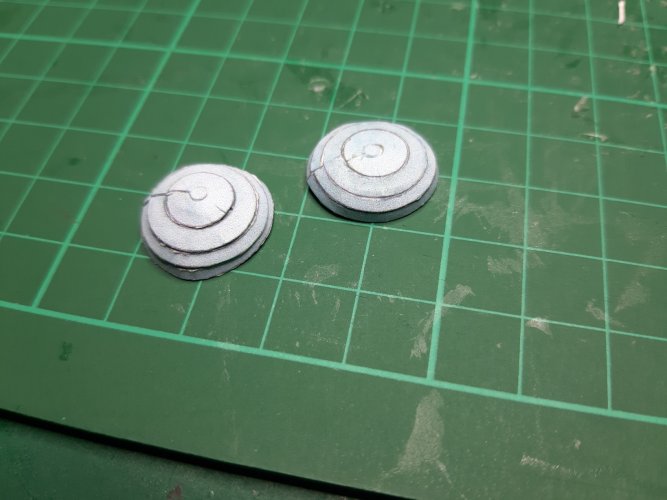
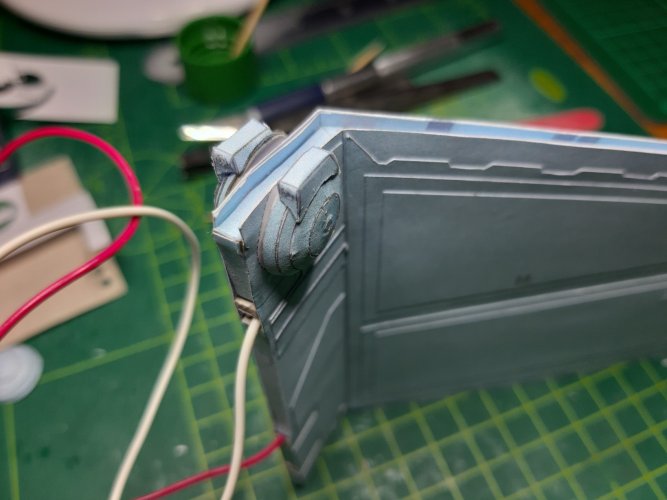
Last few days I have worked on the wung laser canons. First I made my own glue tabs after the furst assembly I found the template with the original glue tabs. :headbange:.
The next three parts I used these tabs.
20240326_212041.jpg20240326_212053.jpg20240326_212107.jpg20240326_212118.jpg
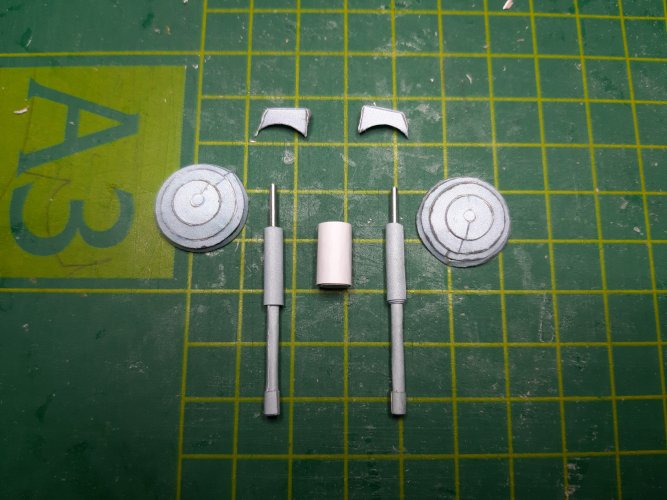
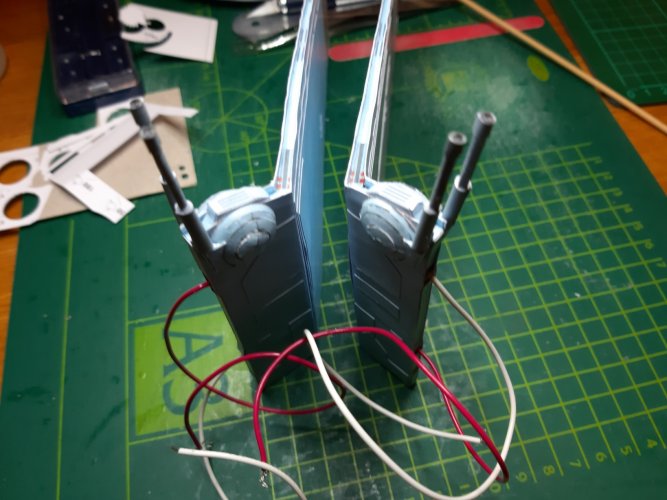
Next the assembly of the guns. I used a paperclip to keep the guns straight.
20240326_212135.jpg
Next step attaching the parts on the wing. Keep in mind that you can rotate the guns after glueung.
20240326_212147.jpg20240326_212159.jpg
We are almost done I have some small parts left to assemble and afcourse I have to connect all the wires and find a nice place for the battery and switch.
 

zathros

*****SENIOR ADMINISTRATOR*****
Staff member
Administrator
Moderator
Apr 5, 2013
13,498
9,549
228
Everything is looking great!! :)
 
  • Like
Reactions: mijob

mijob

Tie designer
Staff member
Moderator
Jul 5, 2020
3,186
5,385
95
54
Netherlands
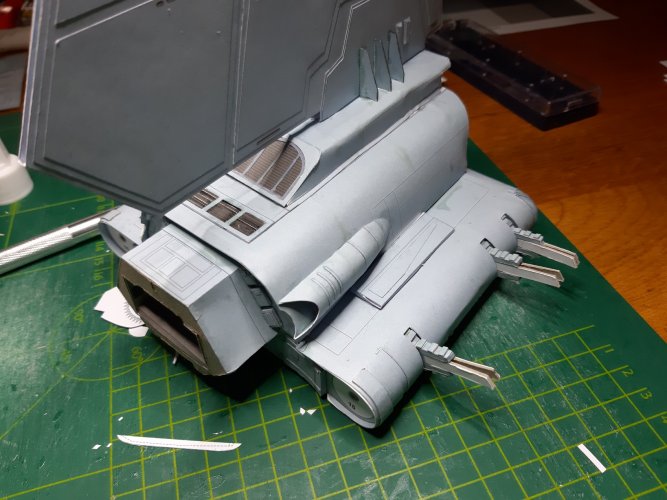
Mounted the top part on the main body. Also I glued some detailed parts and the passenger compartment.
20240329_173416.jpg20240329_173429.jpg
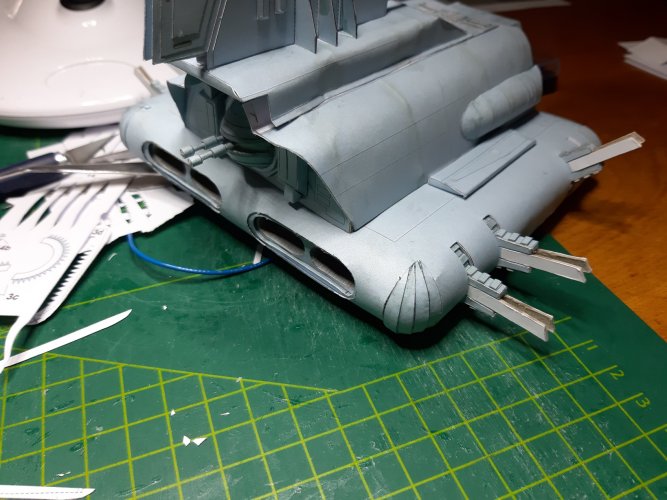
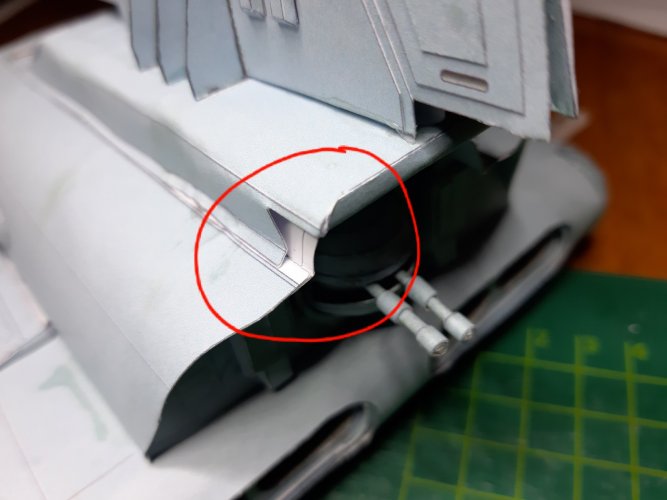
I found an area that needs some ectra attention.
20240329_173450.jpg
Next the side wings, cockpit and bottom plate. Also Im working on connecting the lightkit wires. So Im close to finish this project.