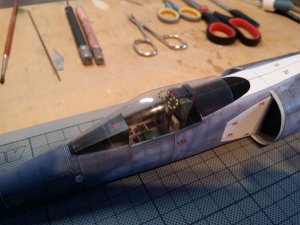
Building Yoav Hozmis Kfir C-2
- Thread starter McTschegsn
- Start date
You are using an out of date browser. It may not display this or other websites correctly.
You should upgrade or use an alternative browser.
You should upgrade or use an alternative browser.
- Apr 5, 2013
- 13,876
- 10,215
- 228
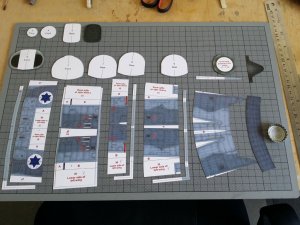
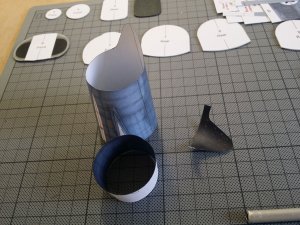
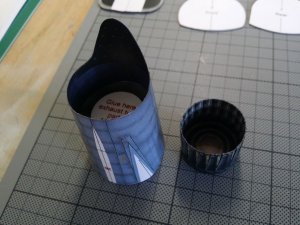
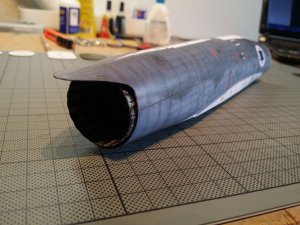
Got a bit further. Just completed the rear fuselage setions.
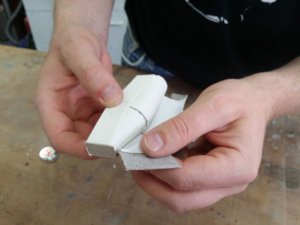
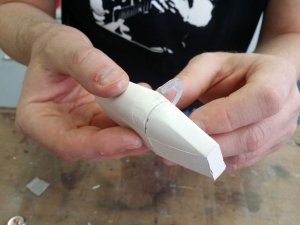
I still have to sand some formers slightly to get an exact fit but the parts fell together very easily. On the second pic the fuselage parts are put together without glue. Just note the fit. It is almost perfect!
I hope I will have some more time in the next days to continue building this beauty

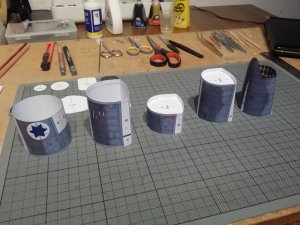
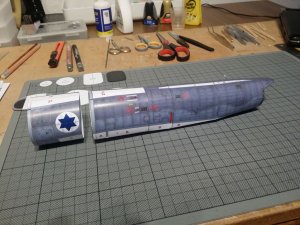
I still have to sand some formers slightly to get an exact fit but the parts fell together very easily. On the second pic the fuselage parts are put together without glue. Just note the fit. It is almost perfect!
I hope I will have some more time in the next days to continue building this beauty


- Apr 5, 2013
- 13,876
- 10,215
- 228
Thank you all for your nice comments  Continuing the rear fuselage...
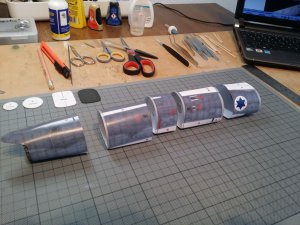
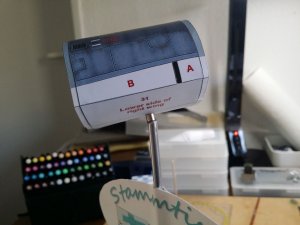
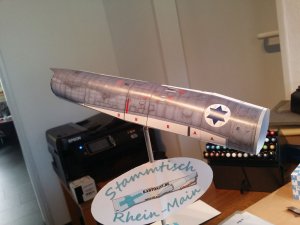
I just finished the rear fuselage segments (and the white glue is drying completely).
On one pic you can see a fuselage segment with a tiny magnet in it attaching the part to our regulars table sign. And on one other the complete rear fuselage attached to the sign. One of the magnets can be seen on the top of the signpost. They are 5mm in diameter and 6mm in height.
Again: the segments are still not glued together to demonstrate the great fit of Yoavs parts!
When the glue of the formers is completely dry I will glue the segments together.


Last edited:
Again: the segments are still not glued together to demonstrate the great fit of Yoavs parts!]
And you are demonstrating excellent build skills by making them fit so well.
Nice work.thumbsup
Thank you Dan, really appreciate that!
So... progress for today was a part of the front fuselage with inserting (but not yet glueing) the cockpit in its place. The parts fell together very well the only change I did was that I did not use the stopper strips Yoav provided to setting the formers to the right place. Instead of this I inserted the front 5 former after glueing part 5 and pushed it softly in place. I fixed the former with superglue and got a perfect fit with almost no sanding. After that I cut a small hole into the rear 5 former and inserted and fixed it again with superglue. Joining part 4 (with loose inserting the cockpit) was done easily. The slight gap in part 5 where the cockpit wall is folded will be covered up by the cockpit frame. So no worries at this place.
Tomorrow I go to the Nordschleife (a famous racetrack in germany) for some time challenge Hope to continue on sunday...
Enjoy the pictures. The front fuselage is attached to the rear without glue for the pics

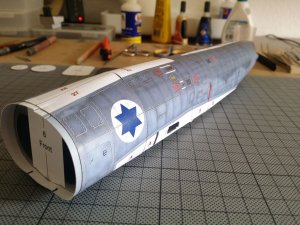
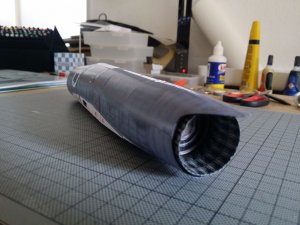
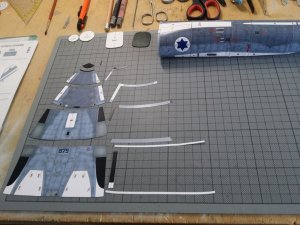
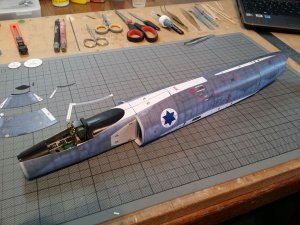
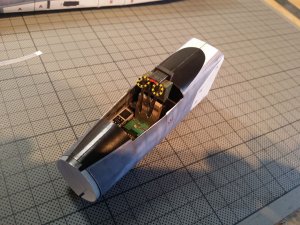
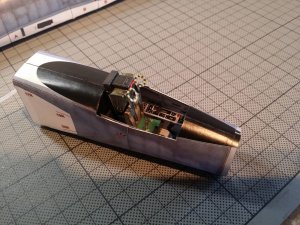
So... progress for today was a part of the front fuselage with inserting (but not yet glueing) the cockpit in its place. The parts fell together very well the only change I did was that I did not use the stopper strips Yoav provided to setting the formers to the right place. Instead of this I inserted the front 5 former after glueing part 5 and pushed it softly in place. I fixed the former with superglue and got a perfect fit with almost no sanding. After that I cut a small hole into the rear 5 former and inserted and fixed it again with superglue. Joining part 4 (with loose inserting the cockpit) was done easily. The slight gap in part 5 where the cockpit wall is folded will be covered up by the cockpit frame. So no worries at this place.
Tomorrow I go to the Nordschleife (a famous racetrack in germany) for some time challenge
Enjoy the pictures. The front fuselage is attached to the rear without glue for the pics


A tiny update. The cockpit section is glued together and drying now. The stick (attached with a drip of super glue) was for positioning the front 4 former correctly and will be removed when the section is dry.
Next Step is attaching the cockpit frame, then completing the nose and attach the assembly to the rear fuselage...
Slowly the bird is growing
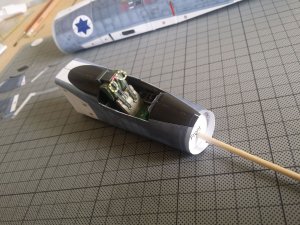
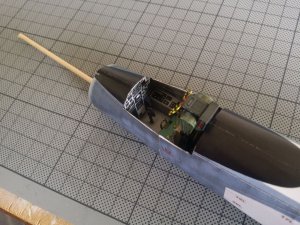
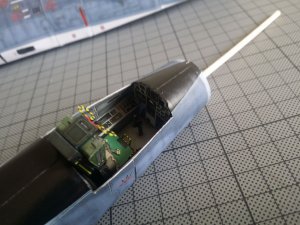
Next Step is attaching the cockpit frame, then completing the nose and attach the assembly to the rear fuselage...
Slowly the bird is growing


Slowly the bird is growing
And so is my interest in building one of these.........
The cockpit is glued in right now and the cockpit framing is attached... No more white spots

The next phase will be building the canopy itself. I decided to do the complete nose assembly later for easier handlich of the model.
I use to do the fiddly parts mostly at the end of the build. The chance of breaking the off or damage them in any way is minimized.
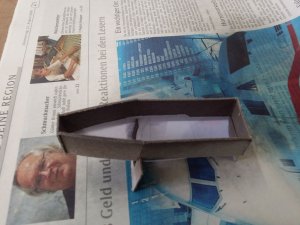
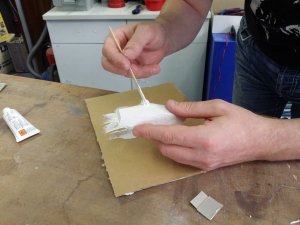
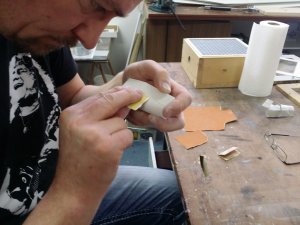
So I printed the canopy assembly on a second sheet of the same thinkness I used and built the canopy itself. Joiner strips are on the outsine to keep the inner surface flat for the putty.
I reinforced the canopy with cardboard to make it sturdier when putting in the putty for making the plug to vacuform the canopy.
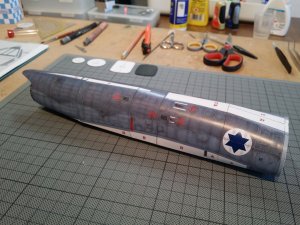
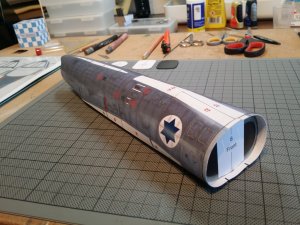
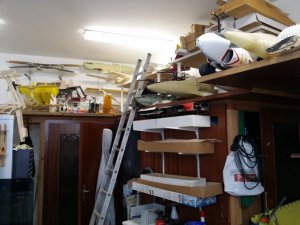
One pic is of my building space so you can see where I do the fiddling

Last picture is the complete fuselage
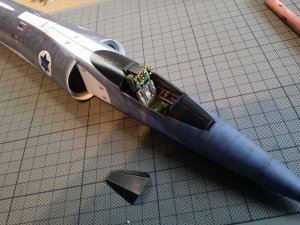
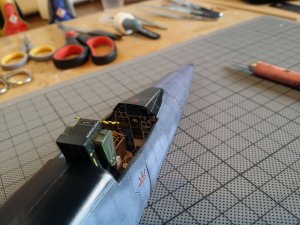
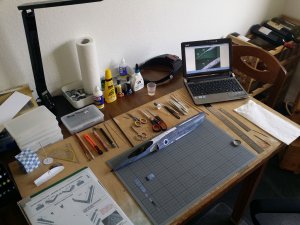
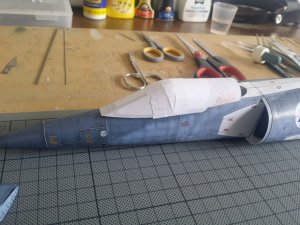
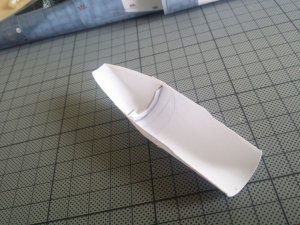
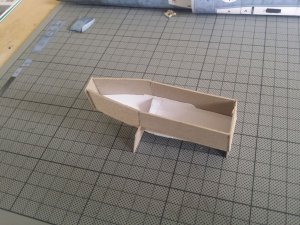
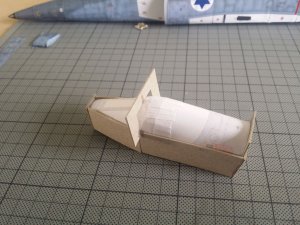

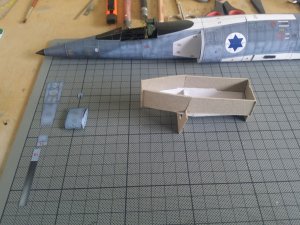


The next phase will be building the canopy itself. I decided to do the complete nose assembly later for easier handlich of the model.
I use to do the fiddly parts mostly at the end of the build. The chance of breaking the off or damage them in any way is minimized.
So I printed the canopy assembly on a second sheet of the same thinkness I used and built the canopy itself. Joiner strips are on the outsine to keep the inner surface flat for the putty.
I reinforced the canopy with cardboard to make it sturdier when putting in the putty for making the plug to vacuform the canopy.
One pic is of my building space so you can see where I do the fiddling

Last picture is the complete fuselage


I cannot wait to see you working on canopy...
This is one of the things I never had the heart to try!
WOW this build is getting VERY interesting. And look at that desktop!!! Looks like a surgery room!
PS... uhmmmm... and that rack on the right seems very interesting too! I like very much your modeling room!
This is one of the things I never had the heart to try!
WOW this build is getting VERY interesting. And look at that desktop!!! Looks like a surgery room!
PS... uhmmmm... and that rack on the right seems very interesting too! I like very much your modeling room!
Well.... I think tomorrow I will post you some pics of making the mould any maybe making the first canopies...
I can post a pic of that modeling room too
I can post a pic of that modeling room too
- Apr 5, 2013
- 13,876
- 10,215
- 228
Look how excellent this is!! Incredible!! 

Gotta agree "Z" This is turning into a beautiful representation of the "lion"Look how excellent this is!! Incredible!!
Incredible work...
Thank you guys *blushing*
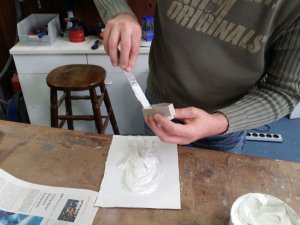
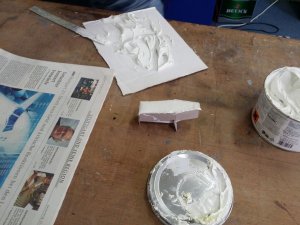
So today was "plug time"
 Time to build the plug to vacuform the canopy...
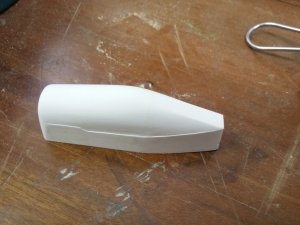
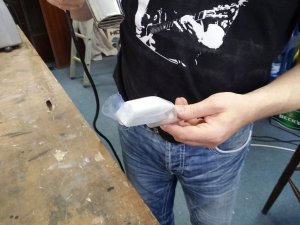
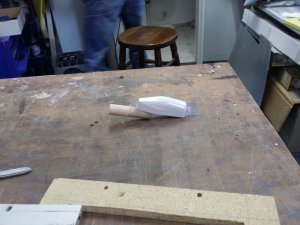
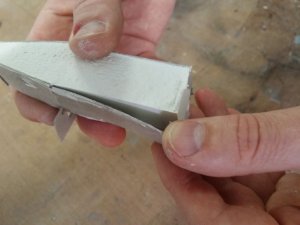
A few pics illustrate which materials i used and how the outcome was.
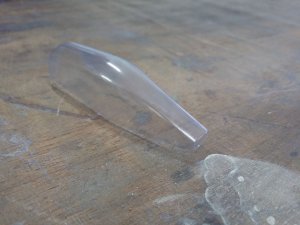
Missing some Vivak to vacuform properly I decided to make a canopy out of shrinking tube... A tube which contracts when exposed to heat. used to insulate cabling and stuff.
Well... the first pic is where i normally do my bigger modelling stuff
 There I have all materials I needed (and a fridge with beer of course
 )
)
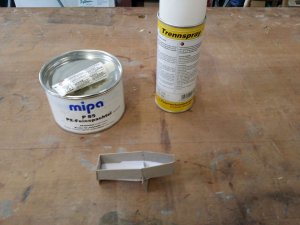
So today was "plug time"

A few pics illustrate which materials i used and how the outcome was.
Missing some Vivak to vacuform properly I decided to make a canopy out of shrinking tube... A tube which contracts when exposed to heat. used to insulate cabling and stuff.
Well... the first pic is where i normally do my bigger modelling stuff


Last edited:
There I have all materials I needed (and a fridge with beer of course
A workshop is not a true workshop without the fridge for the beer .....
The canopy came out beautifully. Nice work! thumbsup
Well I just wait for that vivak to vacuform a proper one which is clear... Not so blurry like the shrinking tube one 


