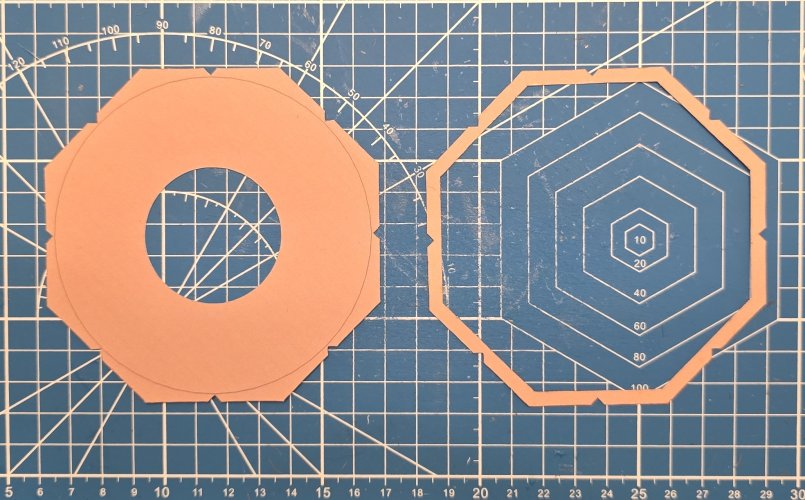
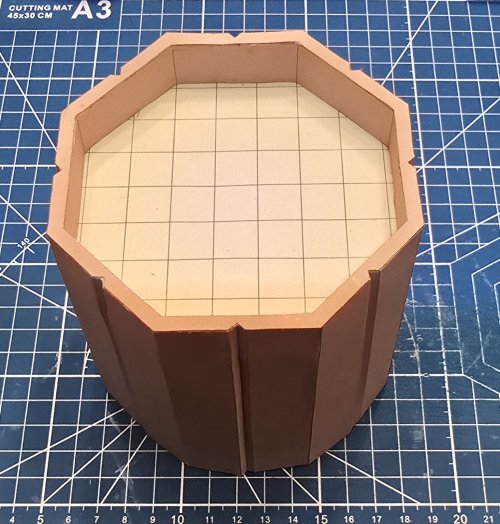
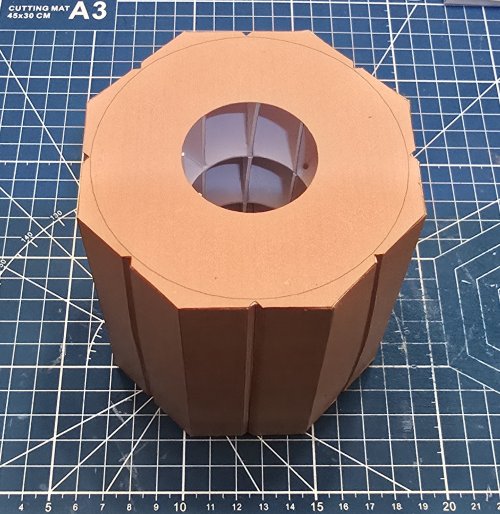
DRACONIAN BOMB (1:1 scale) BETA TEST BUILD

Rhaven Blaack

!!!THE MAN BEHIND THE CURTAIN!!!
Staff member
Administrator
Moderator
Jun 12, 2009
13,316
11,260
228
Oregon
www.deviantart.com
Hello Ladies and Gentlemen,

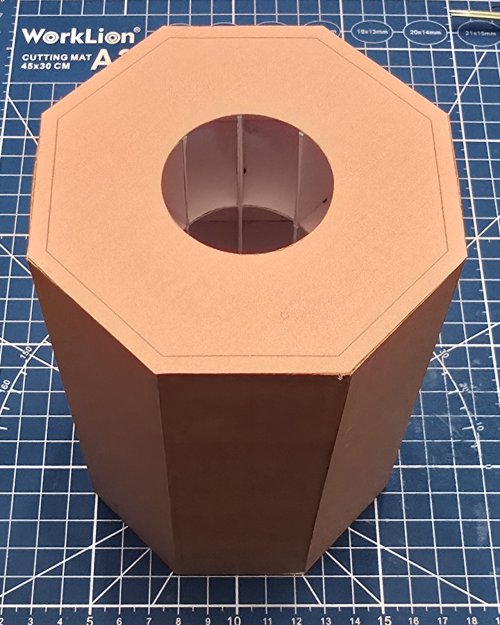
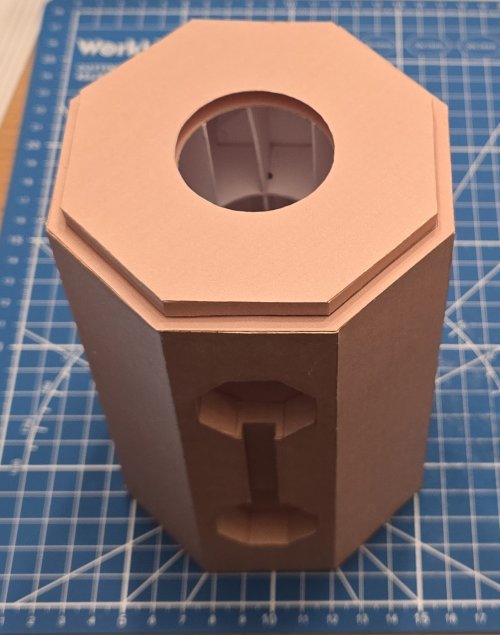
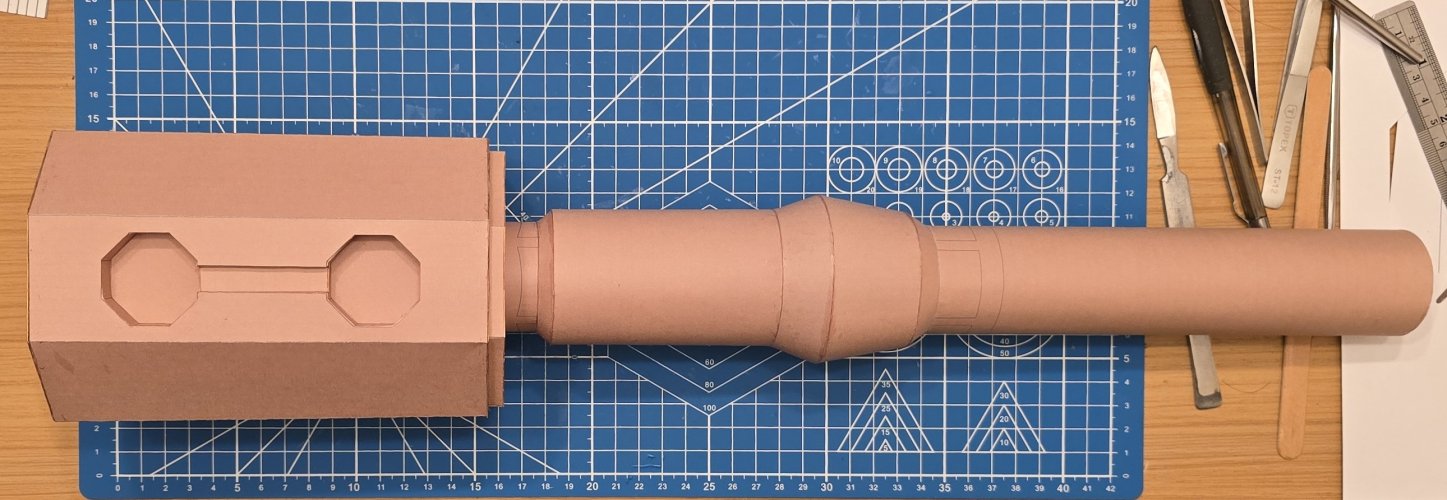
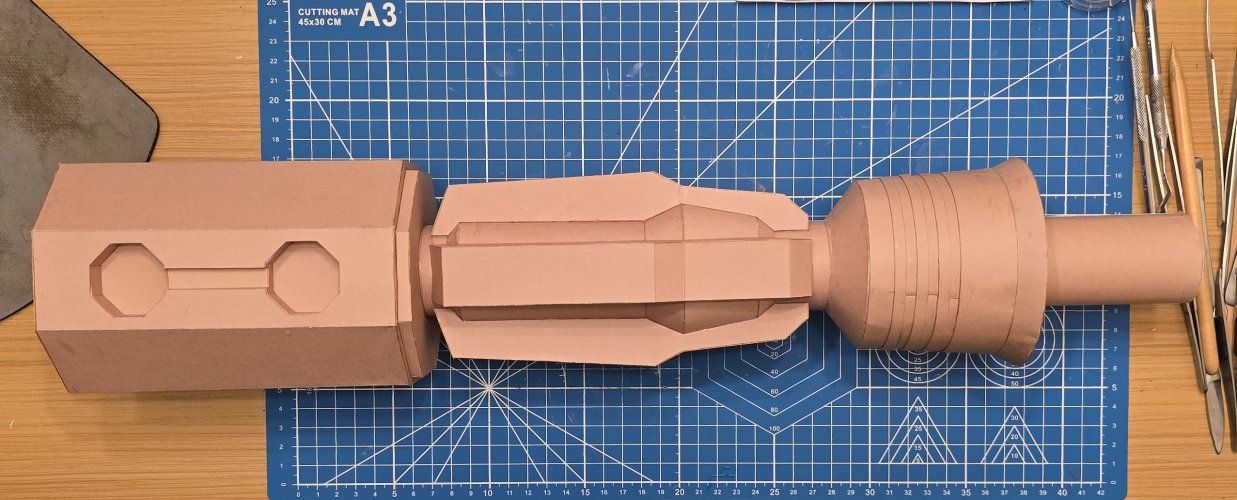
It is time for another beta test build. This time @Revell-Fan has designed a template for a (rather) obscure prop that was (albeit) briefly featured in the pilot episode/feature movie "BUCK ROGERS IN THE 25th CENTURY". The prop that I am talking about (and test building the template for) is the Draconian Bomb (a.k.a. Tailpipe Torpedo).
The model is 1:1 scale. The template; with cover page, instructions, and parts sheet; there are a total of 27 pages, 20 of the pages are the parts.

In the episode/movie, Buck Rogers was loading these bombs in the exhausts (tailpipe) of the Marauders prior to launching (so that they would explode when launching).

Here is what the actual prop looks like:
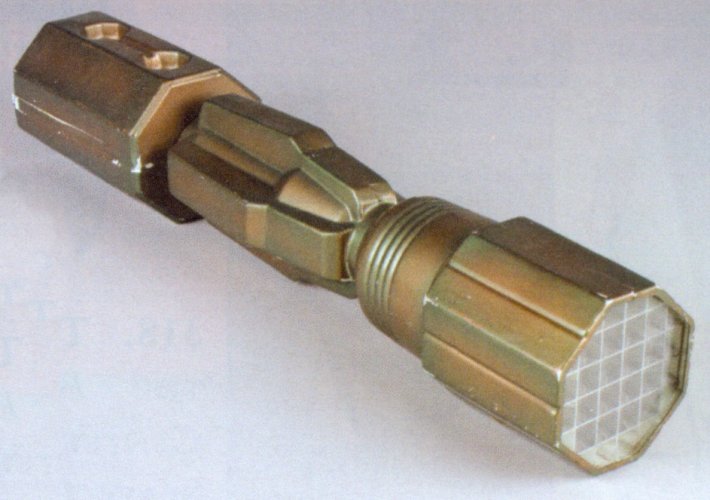
Original_Bomb_02.jpg

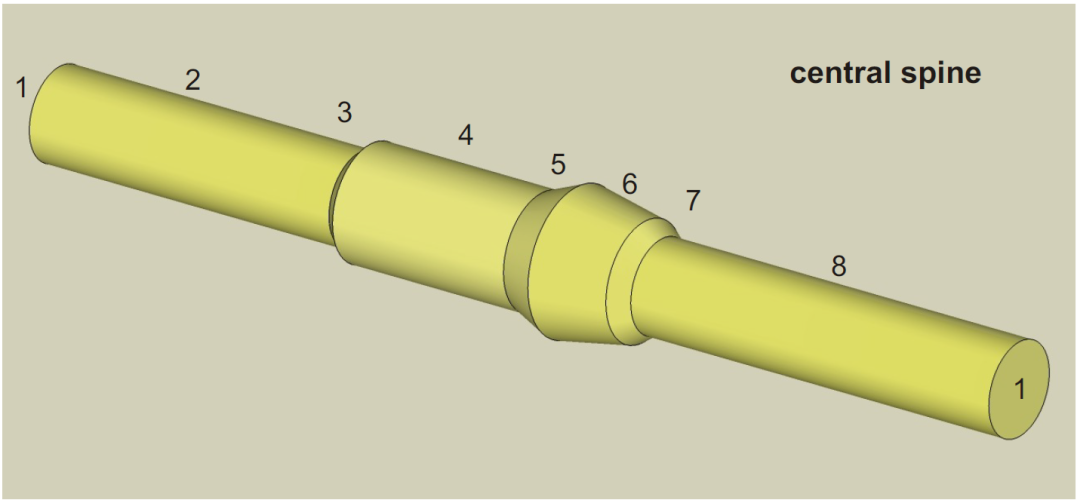
Starting with the center spine (core)
Center Spine.png

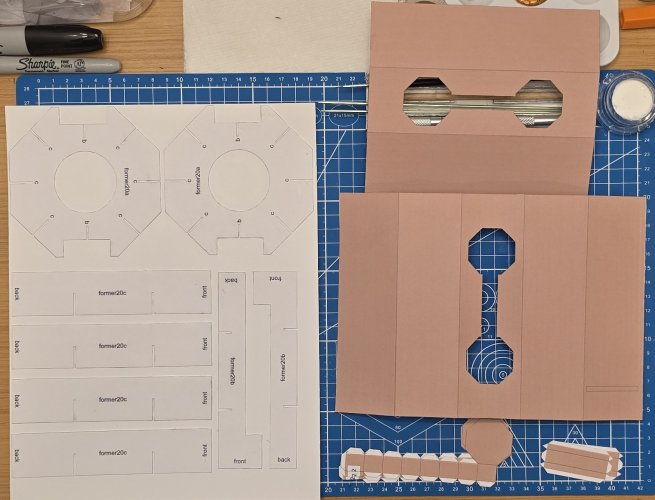
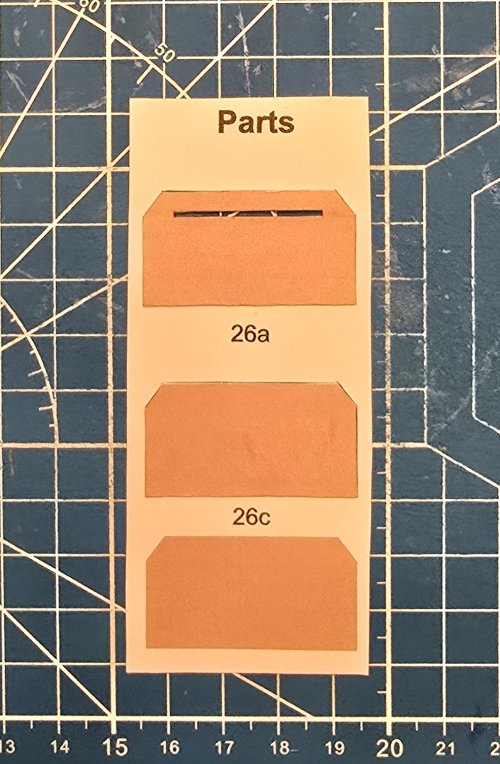
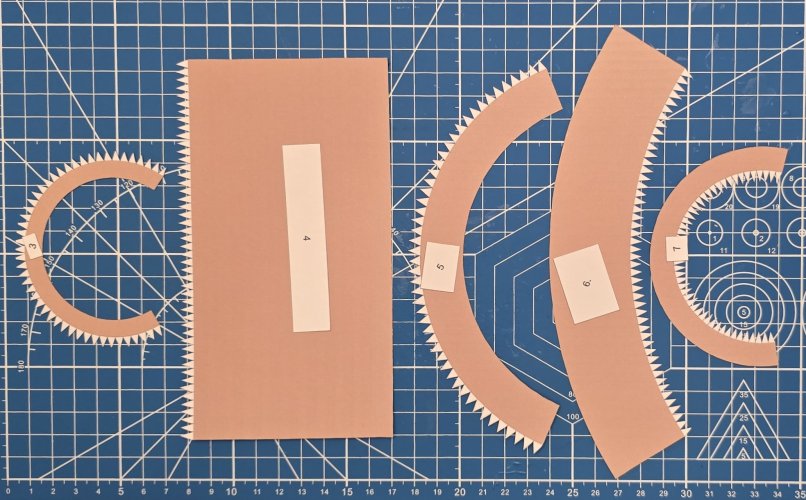
Here are some of the parts for the core.
*NOTE* The rectangles with the numbers are the secure tabs used close the parts after formed. The numbers the tabs correspond with the part that they go with.
(*SUGGESTION* Write the number on the back side of the parts, prior to forming. This will insure that you do not mix up the parts.
20241113_105942.jpg

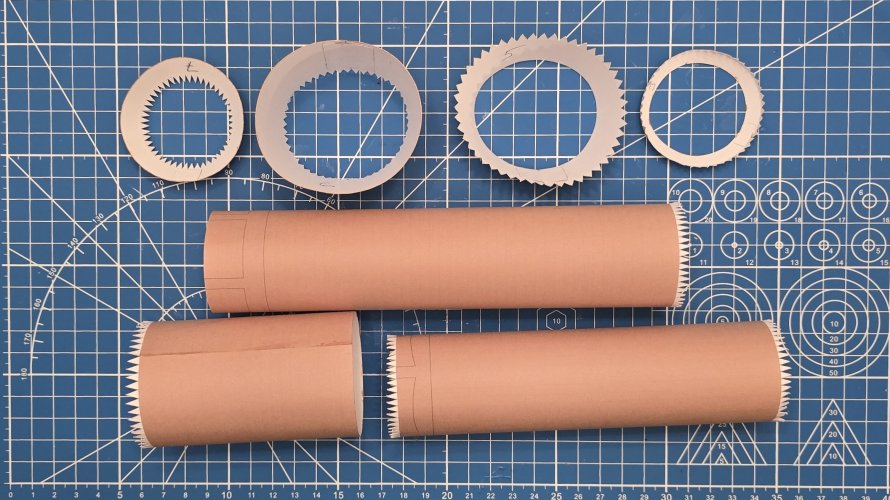
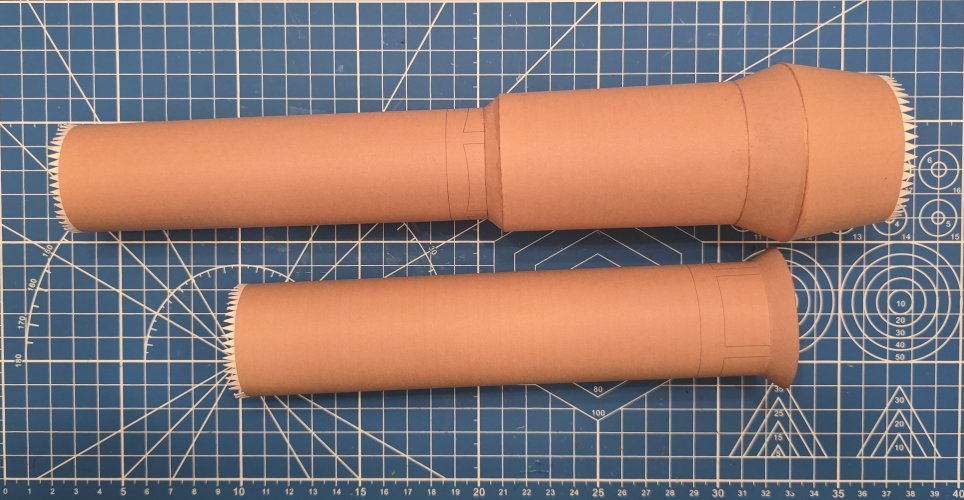
I pre-assembled the tubes and cones.
20241113_160727.jpg

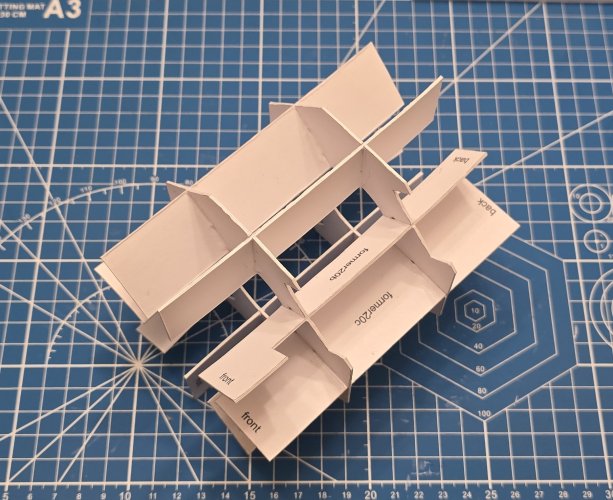
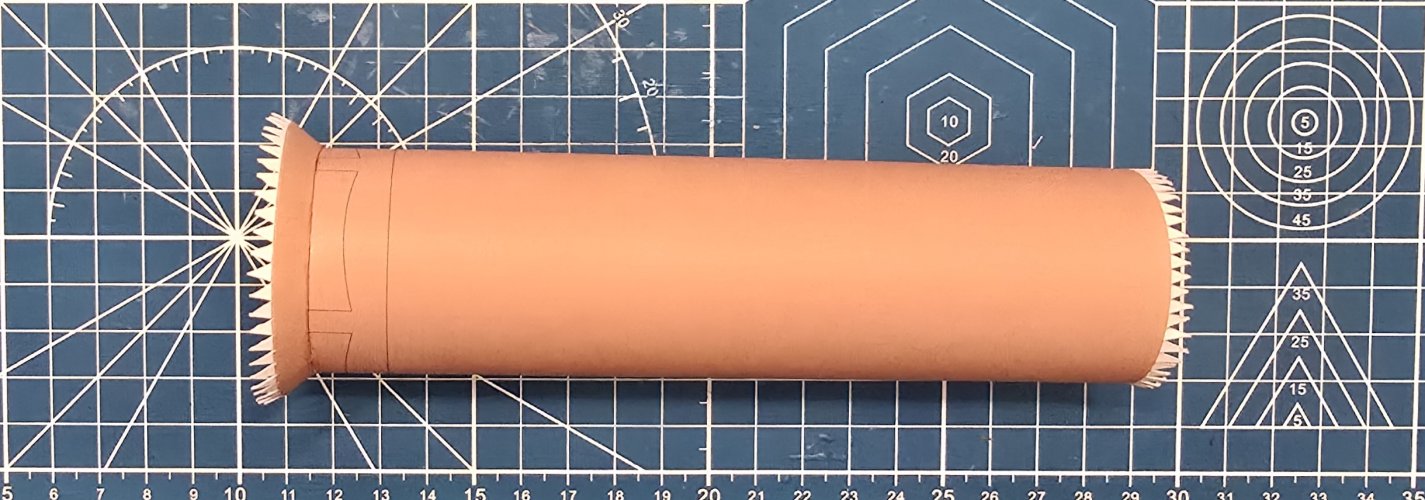
During the actual assembly of the core, I followed the number sequence of the diagram (shown above).
20241113_161744.jpg

20241113_162509.jpg

20241113_195324.jpg

20241113_202105.jpg

20241113_202923.jpg

The core is assembled
20241113_205643.jpg

Please say tune to your local Earth Directorate broadcasting channels for more updates.
 
Last edited:
Great start, pal! I was a bit shocked to see those white pieces on the parts - until I noticed that these were the glue strips and not printing errors. Well, it's early and I haven't had my first cup of coffee yet..! :hammerhead:
 
Moving on to the rear section.
Backend Piece.png

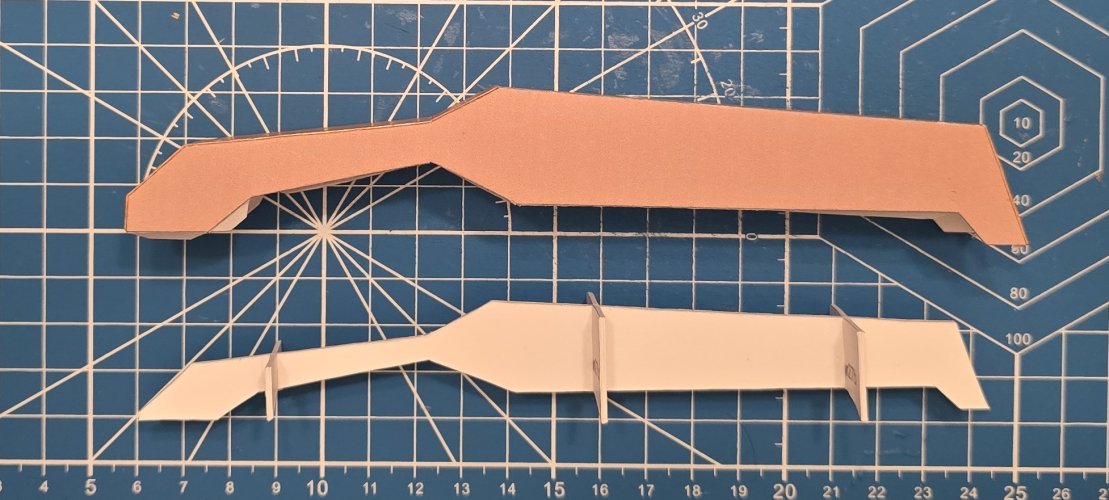
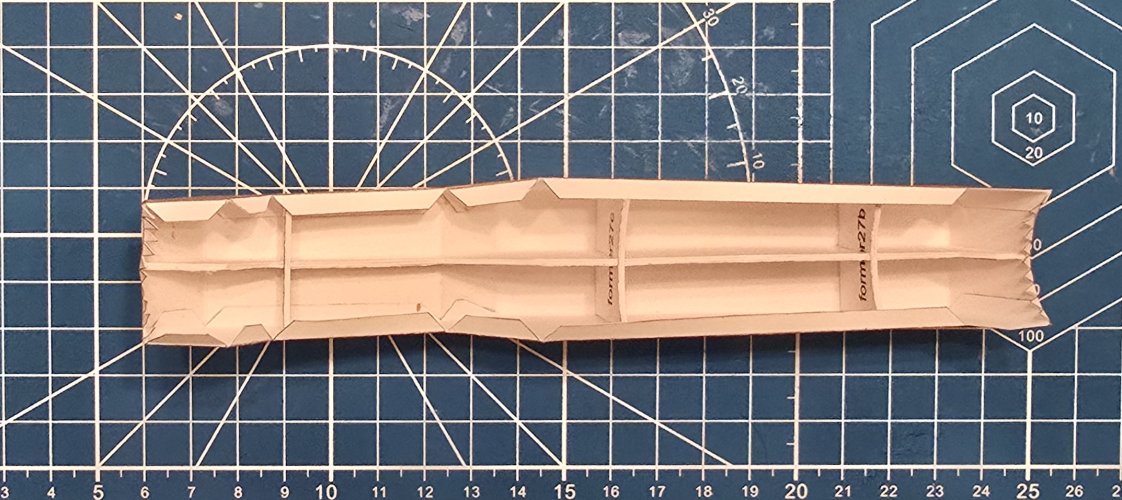
Here are the internal formers and the outer skins of the rear section.
20241114_160351.jpg

The internal formers are assembled.
20241114_185307.jpg

This is the recess section for the skins.
20241114_192808.jpg

The recess sections are attached to the skins.
20241114_211600.jpg

The outer skin and end-cap are assembled. I attached glue strips to either end of the skin. to help with attaching the end-cap na the other parts.
20241115_110541.jpg

The end-cap is attached in place.
20241115_113443.jpg

20241115_113452.jpg

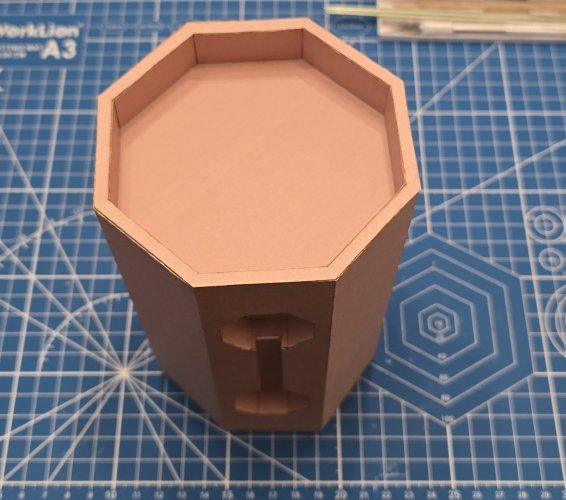
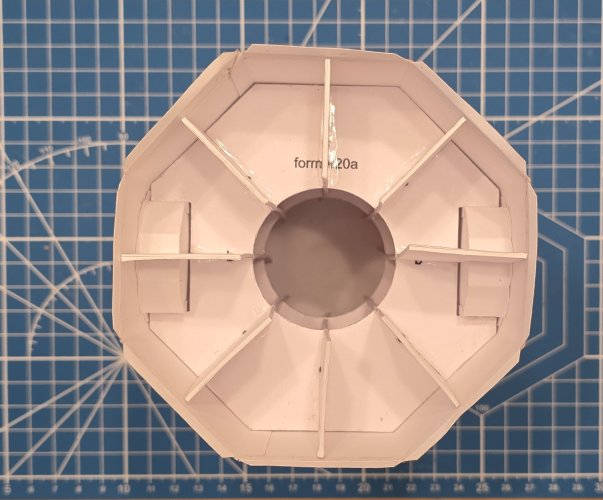
I inserted the internal formers.
20241115_121358.jpg

20241115_121434.jpg

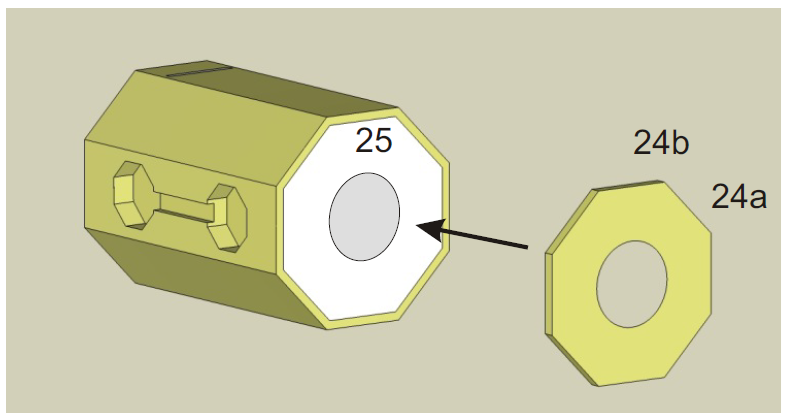
Here is the other end-cap coupling plate.
Back Piece (2).png

The end-cap coupling plate is attached.
20241115_145323.jpg

20241115_150320.jpg

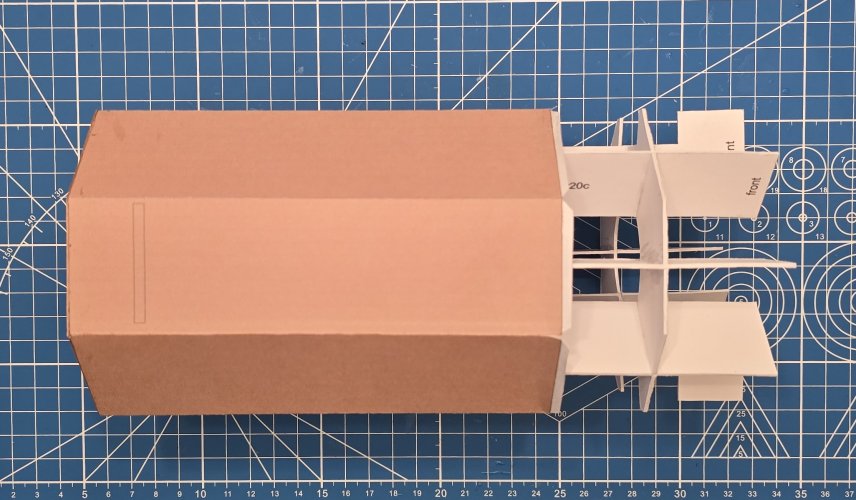
I test fit the core into the end piece. It fits (snugly).
20241115_152327.jpg

Please say tune to your local Earth Directorate broadcasting channels for more updates.
 
I test fit the core into the end piece. It fits (snugly).
Just as it should. Nothing is worse than a German potato grenade with its components wobbling around. BTW if you stop now, prolong the handle a bit and seal everything up to make it water-proof I'm certain that you could use it as a laundry masher. :wink:

IMG_20241116_101733.jpg
 
Last edited:
Just as it should. Nothing is worse than a German potato grenade with its components wobbling around. BTW if you stop now, prolong the handle a bit and seal everything up to make it water-proof I'm certain that you could use it as a laundry masher. :wink:

View attachment 221506
Thank you very much for the idea. However, I think that I will stick with using my washing machine for washing my clothing.
 
Moving on to the core spines.
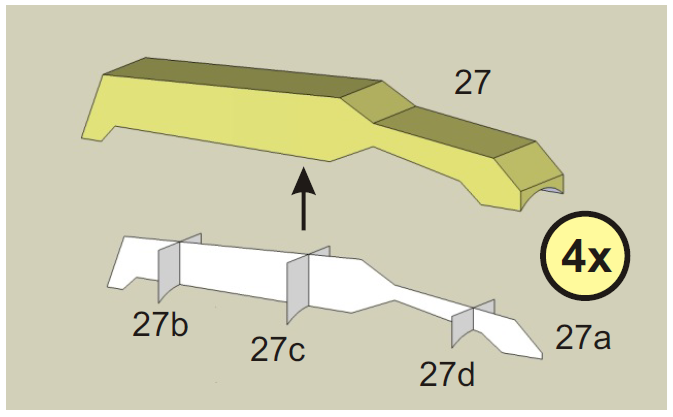
Core Spines.png

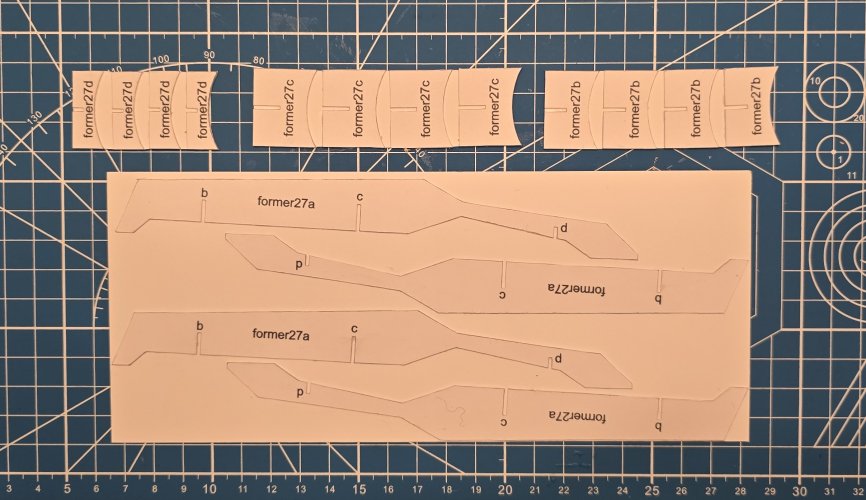
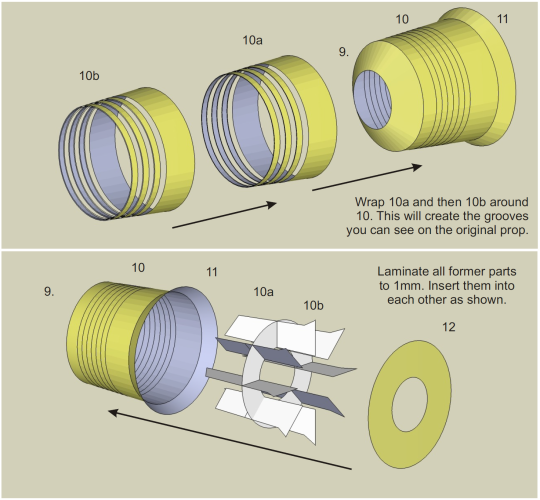
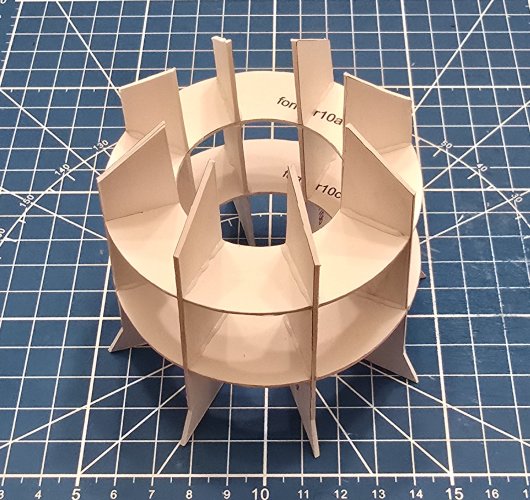
Here are the parts for the internal formers.
20241115_211955.jpg

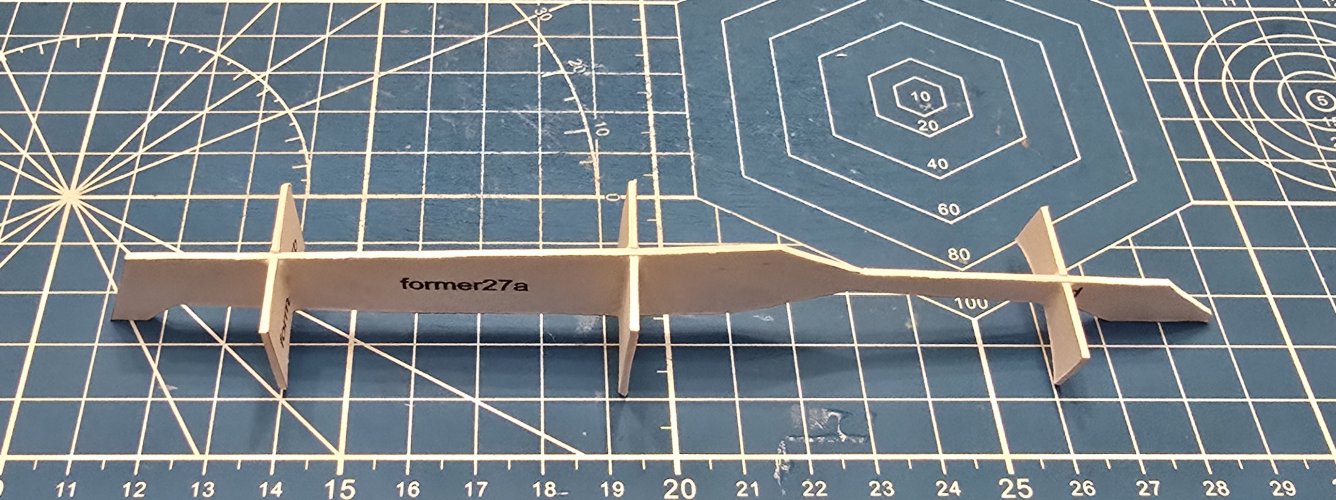
The internal formers are assembled.
20241115_214730.jpg

20241115_222407.jpg

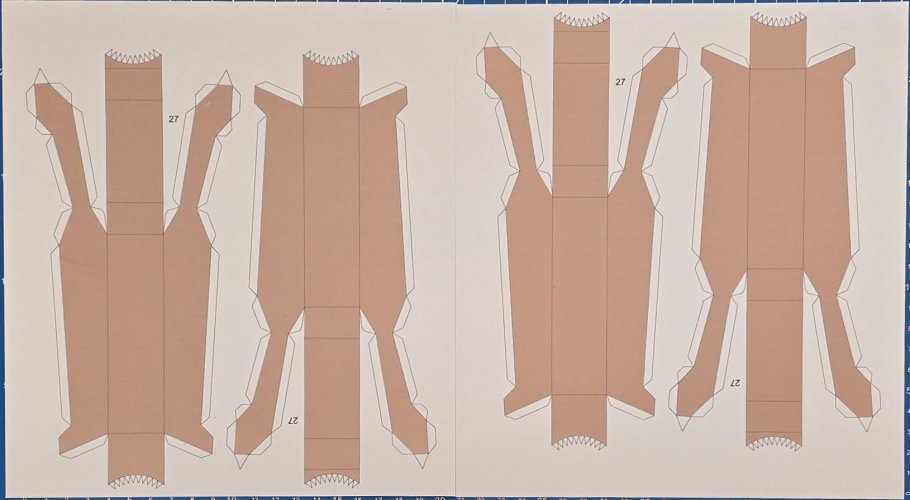
These are the parts for the skins of the core spines.
20241115_223247.jpg

The skin of the core spine is assembled.
20241116_000903.jpg

The former is placed inside of the skin.
20241116_000947.jpg

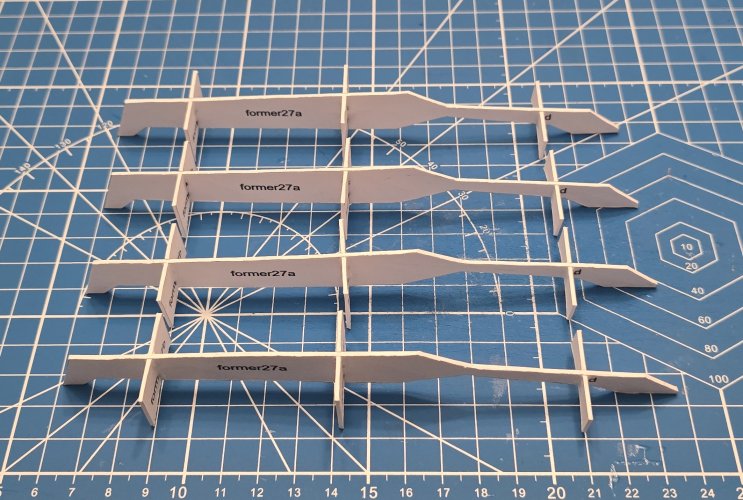
All four core spines are assembled.
20241116_165659.jpg

The core is inserted in the back piece (and glued in place). The core spines are attached in place.
20241116_172841.jpg

Please say tune to your local Earth Directorate broadcasting channels for more updates.
 
Here is the next section of the Bomb.
Cone piece.png

Here are the parts for the internal formers.
20241117_212220.jpg

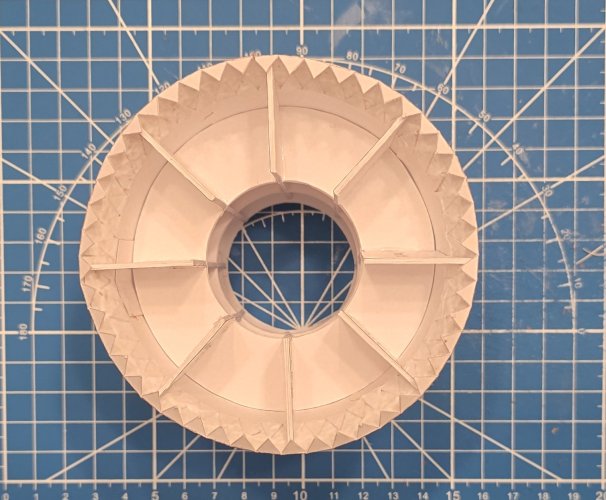
The formers are assembled. As you can see, I applied a small bead of glue on the intersections of the formers.
20241117_224920.jpg

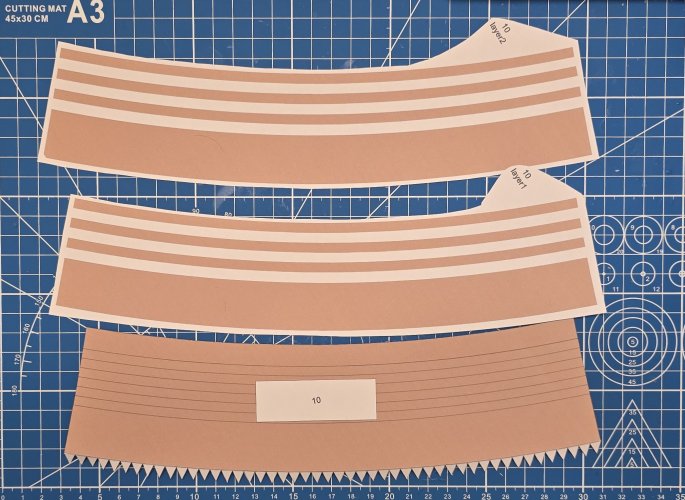
Here are the skins of the component. I laminated the layers in place prior to rolling the part.
20241117_233351.jpg

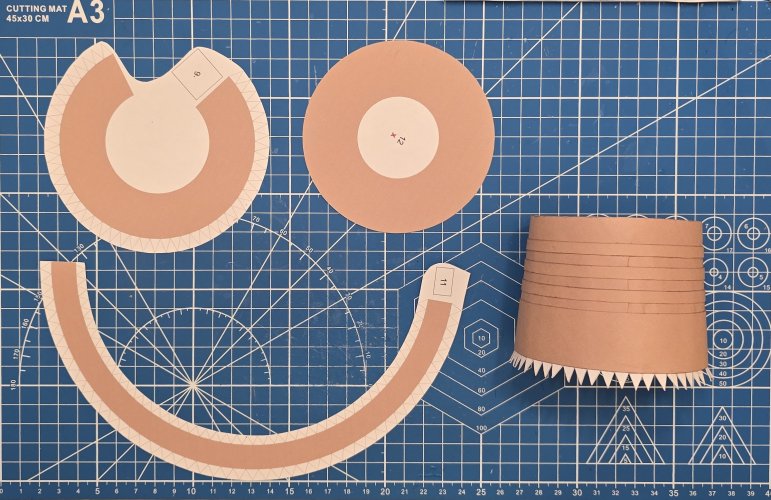
Here are the rest of the skin pieces with the formed tube.
20241118_140653.jpg

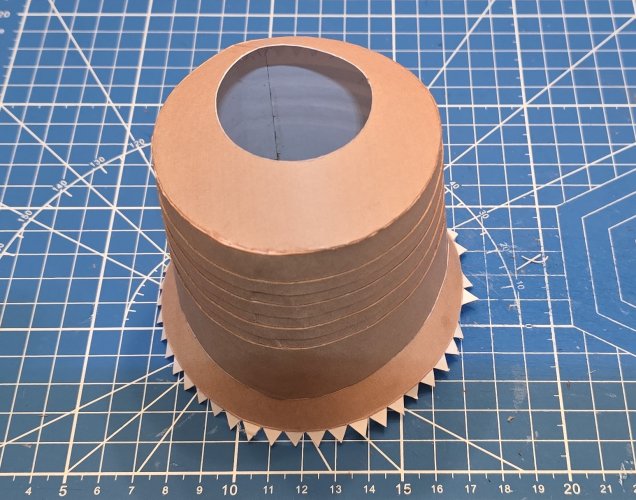
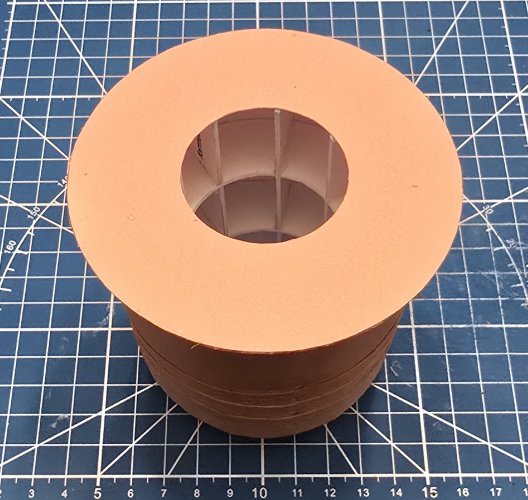
I attached both the top piece and the bottom flared piece.
20241118_154729.jpg

I inserted the formers.
20241118_154903.jpg

I attached the bottom plate.
20241118_155550.jpg

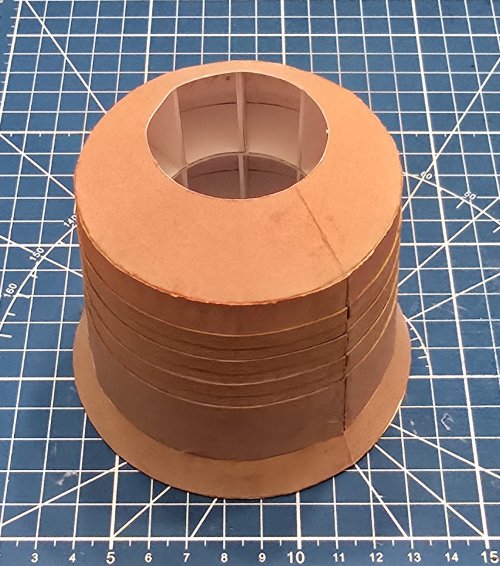
This component is complete.
20241118_155538.jpg

The component is attached in place.
20241118_191801.jpg
Please say tune to your local Earth Directorate broadcasting channels for more updates.
 
Last edited:
Without getting political, we need some bombs to describe what the heck is going on in this country. People always Blame Hitler, and rightly so, but the hatred started from the bottom up. A lot of people were guilty, millions, of course, millions died within trying to stop him.

Freedom, Free Will with Responsibility Bomb = "FFRB" bomb. ;)
 
Here is the last component for this project (the front piece).
Front section.png

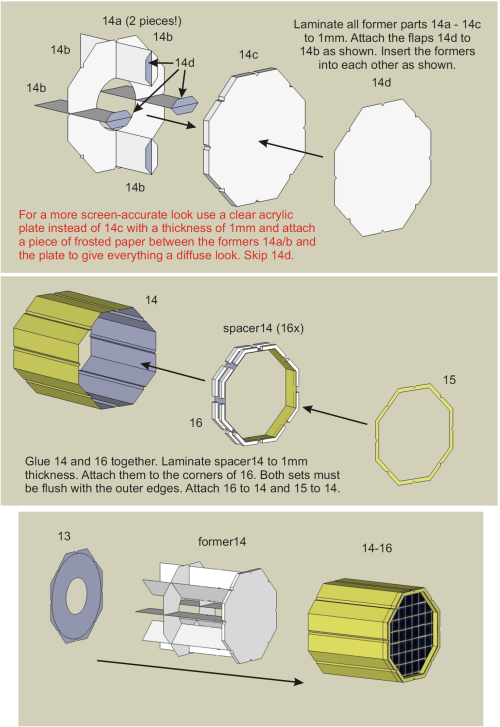
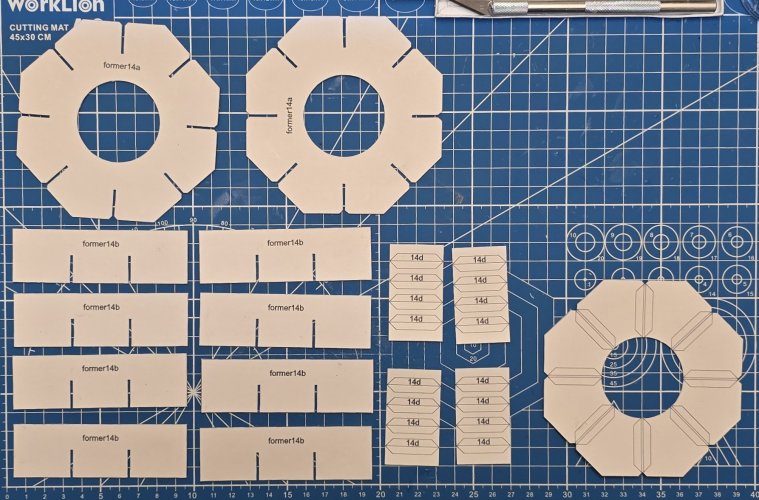
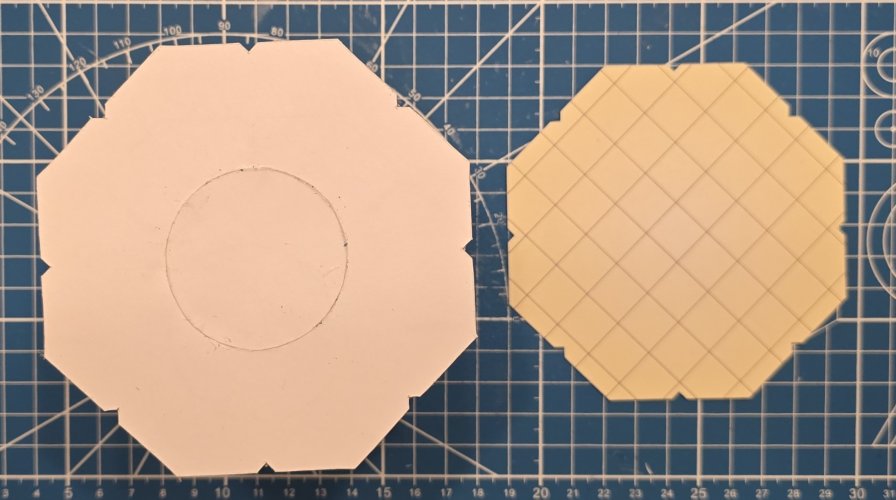
Here are the internal formers.
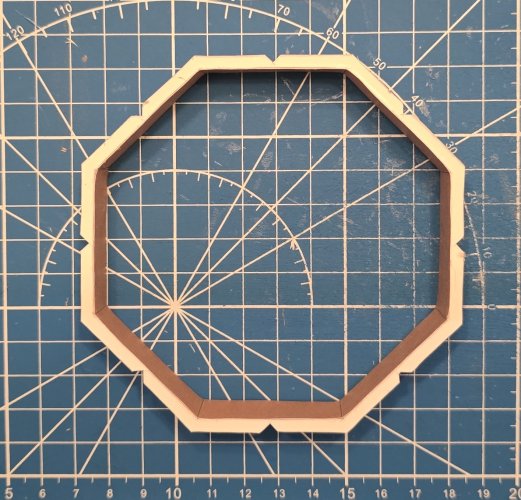
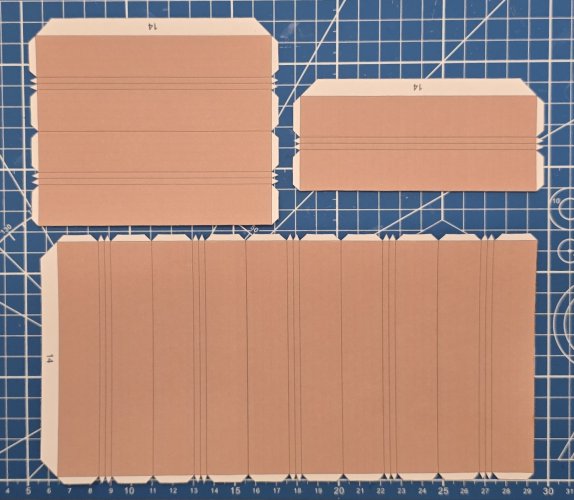
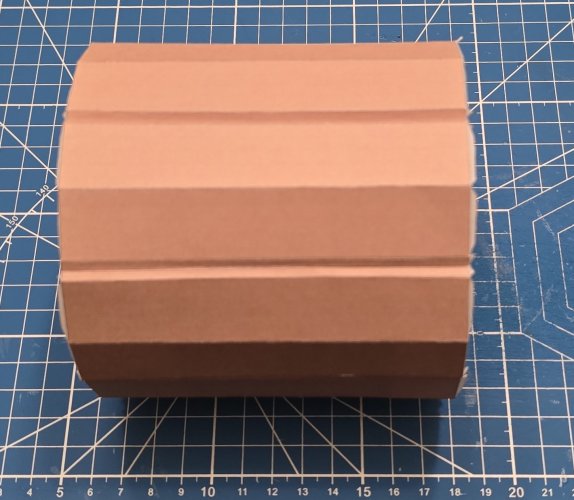
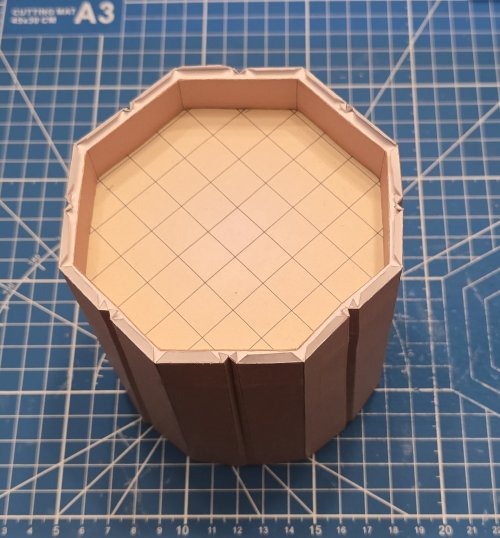
*NOTE* Do not cut the circle out of part 14c (The part that is in the lower right hand corner. I did, and I had to fix it, because another part is attached to the other side of it.)
20241119_225102.jpg

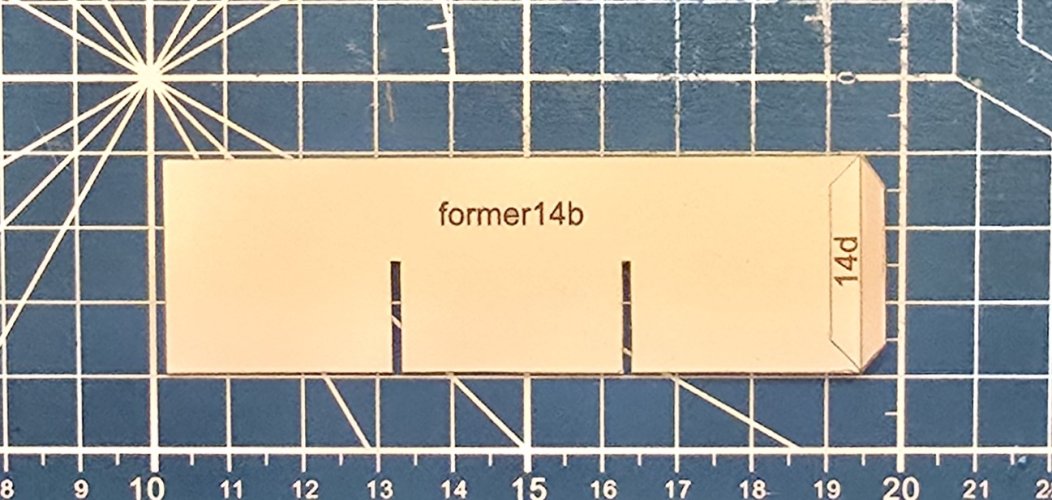
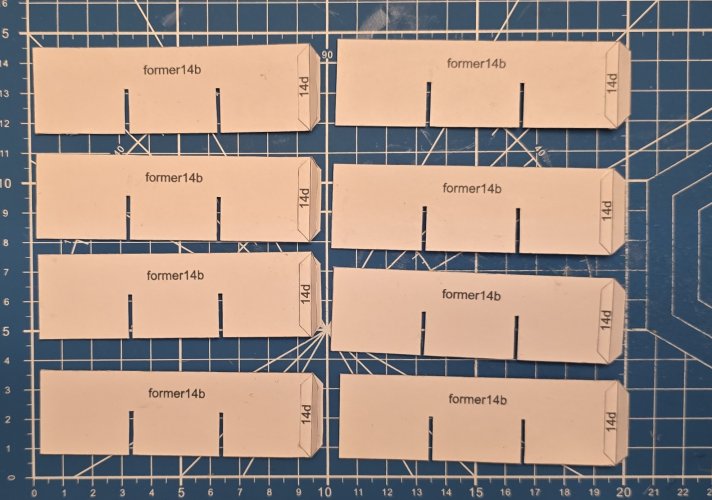
Starting to assemble the vertical formers. I laminated part 14b to 1mm thick, then attached 14d to it.
20241119_230516.jpg

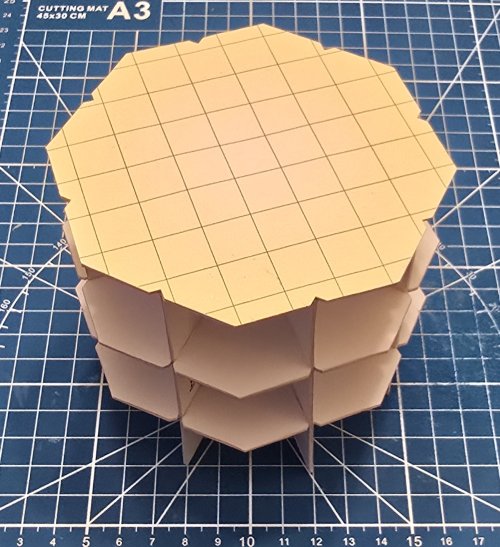
The vertical formers are assembled.
20241119_233527.jpg

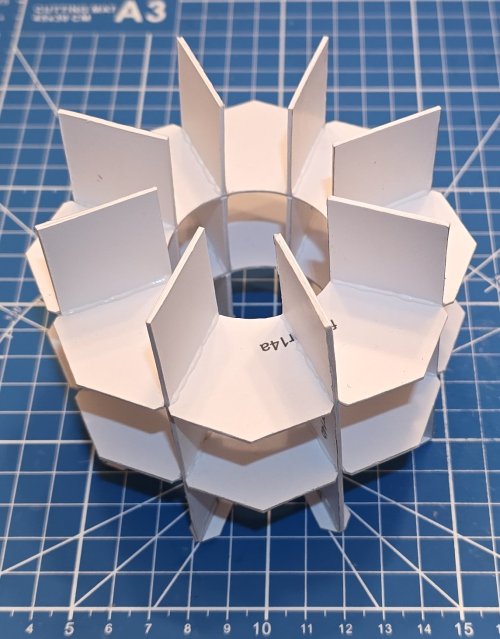
The internal former assembly is assembled.
20241119_235409.jpg

The grid piece is to be attached to the other side of part 14c
20241120_001134.jpg

The main internal former assembly is now complete.
20241120_095741.jpg

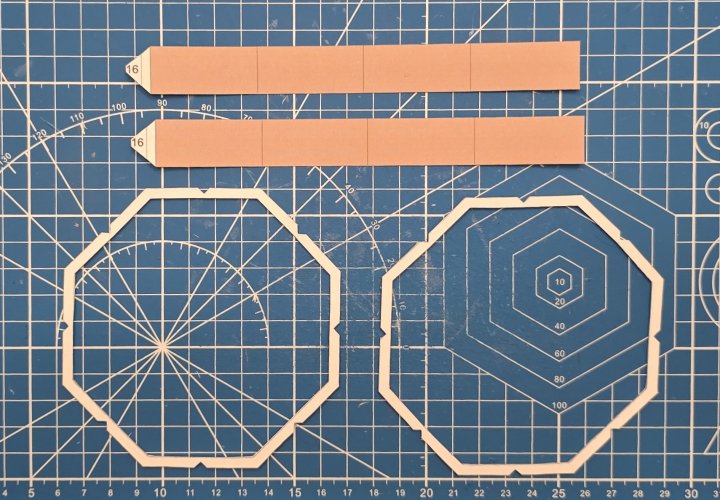
Here are the parts for the other formers that are needed. I laminated the rings to 2mm thick (this will give added surface area for the skins to adhere to.
20241120_104358.jpg

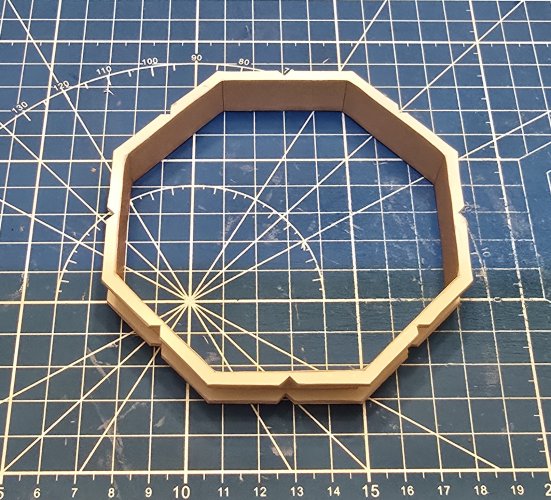
This assembly is complete.
20241120_114633.jpg


20241120_114646.jpg