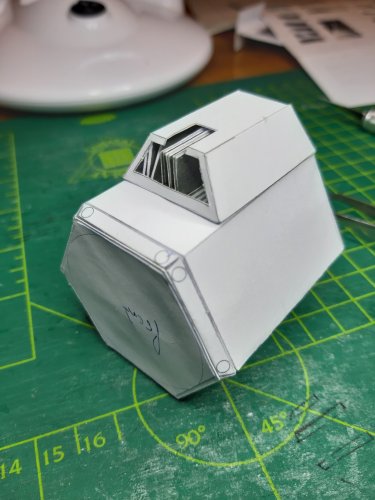
Tie Phantom Design Thread
- Thread starter mijob
- Start date
You are using an out of date browser. It may not display this or other websites correctly.
You should upgrade or use an alternative browser.
You should upgrade or use an alternative browser.
Thank you will for these kind words.This is goding tog be a beauty
We do understand Bocce. But thank you for translating....going to be.... I wanted to say.

- Apr 5, 2013
- 13,876
- 10,216
- 228
I've been following this thread, I've had some surgery this last month that really put me out of the loop. You are doing a fantastic job on this model. You should be very proud and rightly so! 
Last edited:
Thank you Zathros for your kind words. I hope everything is going well with you? I have to say its realy fun to create a model.
And here are the first new templates.
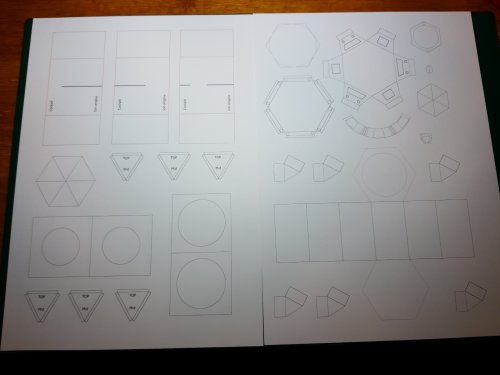
First I will build the main body with new internal formers. I have used 3 main formers these are joined toghetter in the centre. Sorry i didn't take a picture of it. Then to get a strong outside I cut six pieces of small paper and placed them as shown in the picture below.
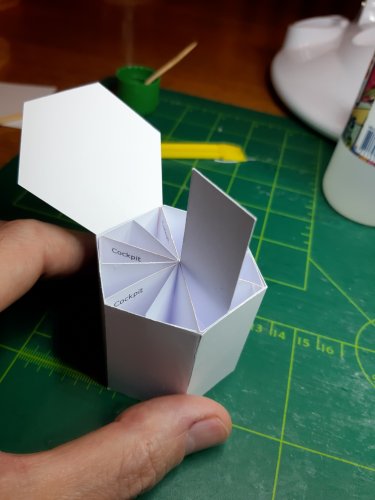
If all formers are placed the box will look like this.
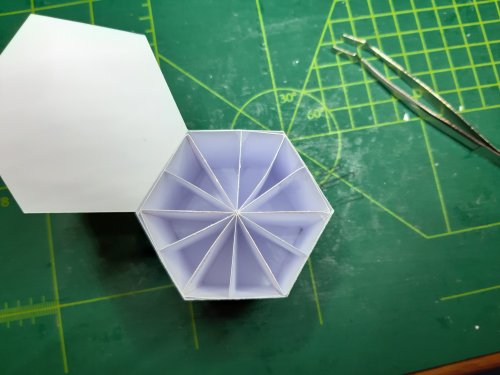
Next is to close the box.
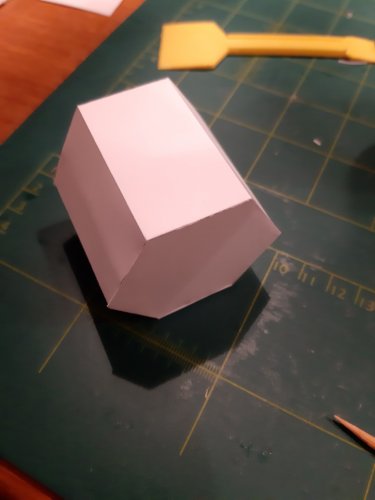
I'm not that happy with the former setup. I will look at it again after finishing the new made parts. Stay tuned.

First I will build the main body with new internal formers. I have used 3 main formers these are joined toghetter in the centre. Sorry i didn't take a picture of it. Then to get a strong outside I cut six pieces of small paper and placed them as shown in the picture below.

If all formers are placed the box will look like this.

Next is to close the box.

I'm not that happy with the former setup. I will look at it again after finishing the new made parts. Stay tuned.
Here is an idea for the formers. Have three hexagonal pieces (one for each end and one for the middle). Laminate all three pieces to (at least) 2mm. Then start wrapping the skin around the three hex pieces.
Did some work on the model.
This partsits behind thecockpit.
First I constructed the formers.
Bottom view
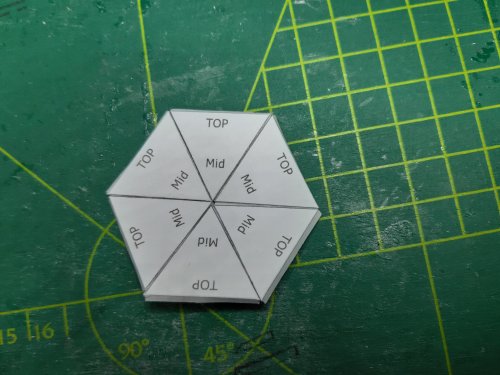
top view
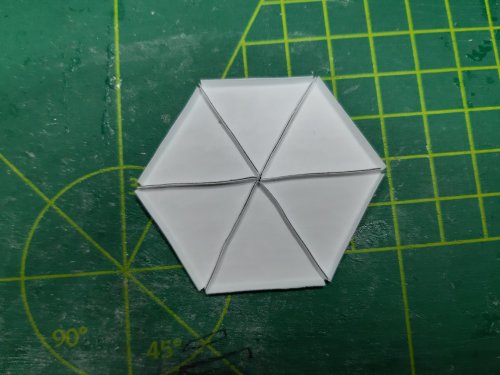
Here you see the part with texture wich will be glued on the topside.
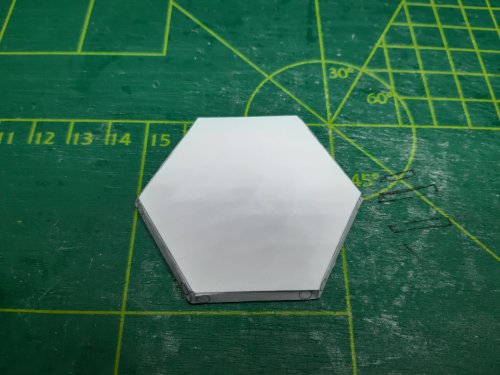
Next the complete part is fitted on the main body.
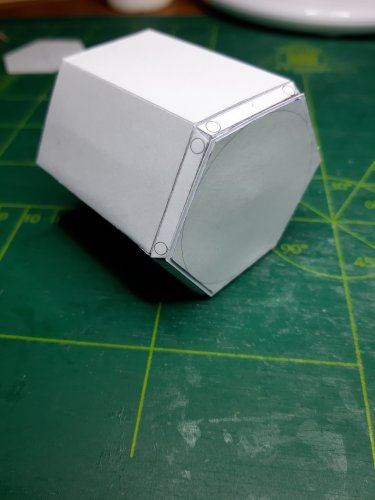
Next part to construct is the rear.
Parts onder construction.
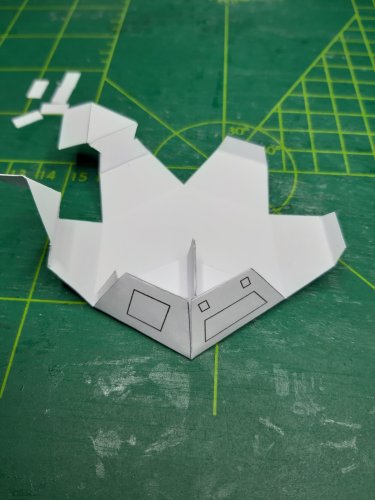
Close up of gluing the formers.
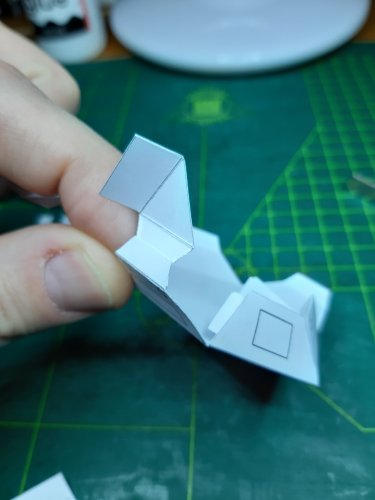
All corners assembled.
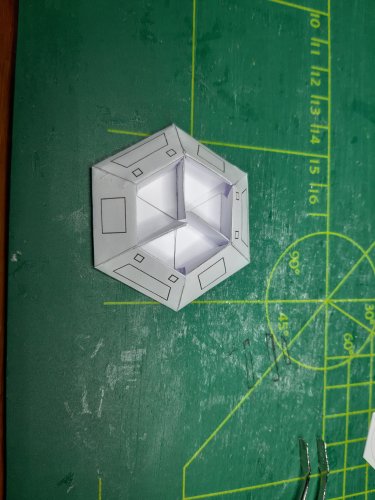
Next is thebase part for the ion engine.
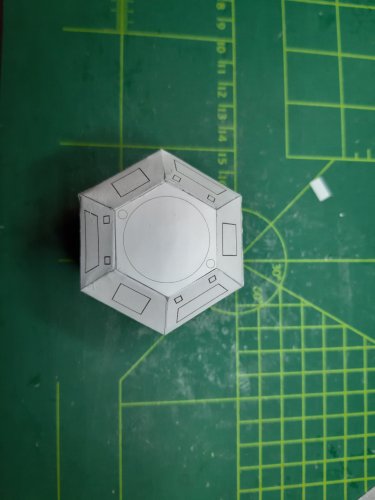
And the rear end attached to the main body.
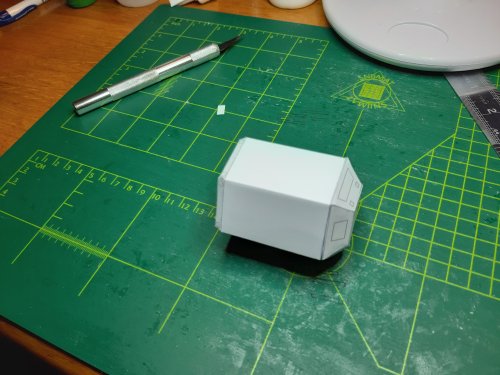
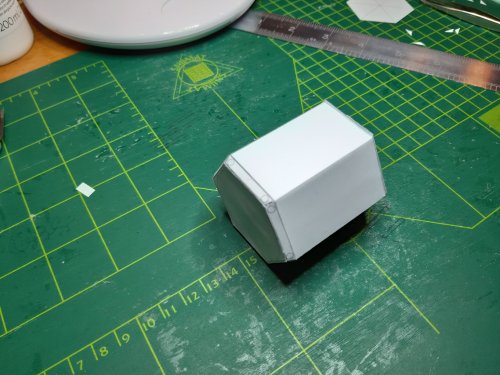
So all wnet well with the formers still I need todo a litle corrections. But I'm happy with this result. Next will be the ion engine and then the cockpit with the interior.
This partsits behind thecockpit.
First I constructed the formers.
Bottom view

top view

Here you see the part with texture wich will be glued on the topside.

Next the complete part is fitted on the main body.

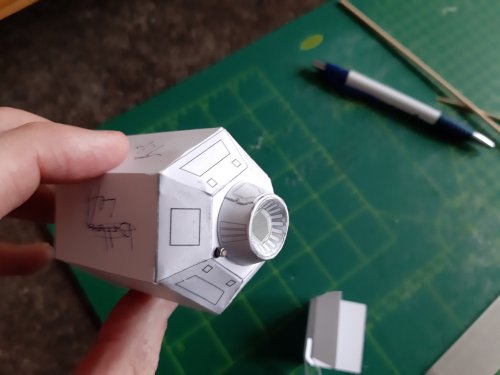
Next part to construct is the rear.
Parts onder construction.

Close up of gluing the formers.

All corners assembled.

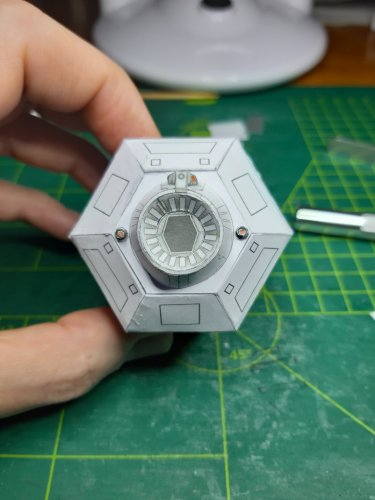
Next is thebase part for the ion engine.

And the rear end attached to the main body.


So all wnet well with the formers still I need todo a litle corrections. But I'm happy with this result. Next will be the ion engine and then the cockpit with the interior.
Thanj youboth. I have some new ideas that I can work on thanks to you guys. I'm thinking to incoroperate the 3 seperate peaces in the main body. Then use the internal formers and wrap the main body around it. I still can use the formers for the front and rear end maybe some litle adjustments. But first I gone test fit the new made parts.
And here is tidays progress.
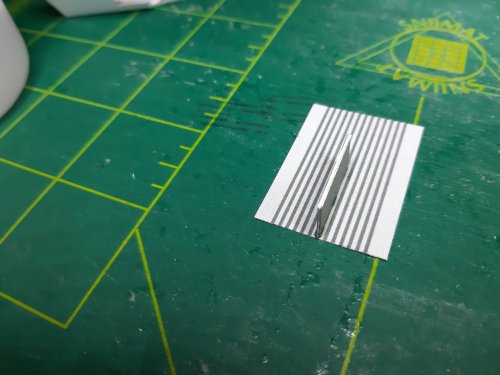
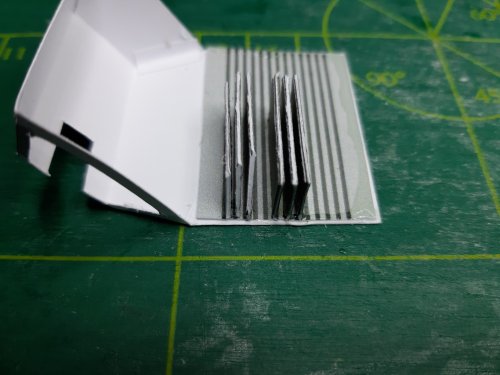
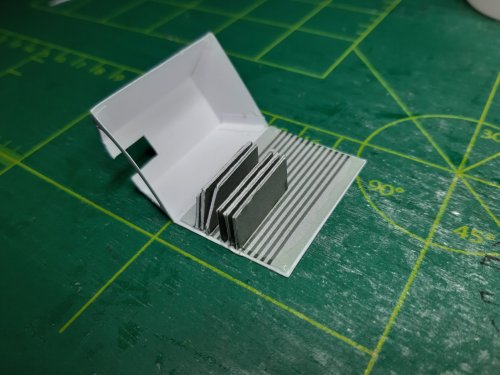
Some details for the clocking devuce.
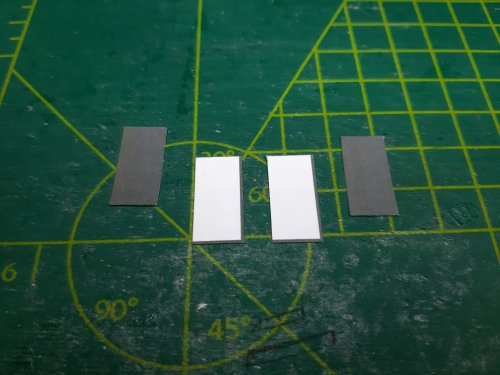
All parts cut.
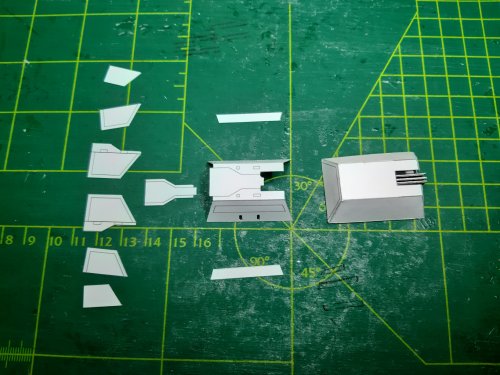
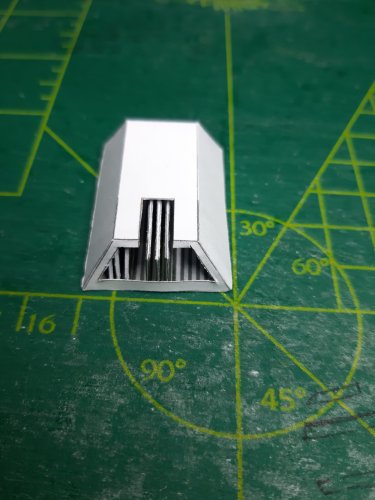
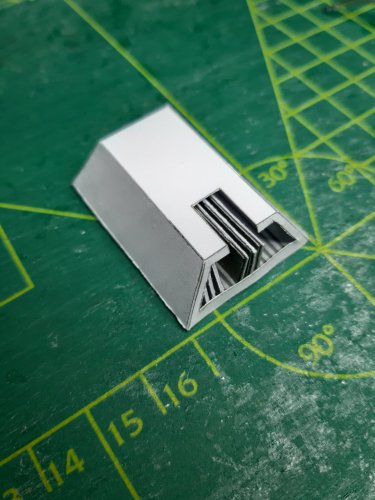
And the parts assembled.
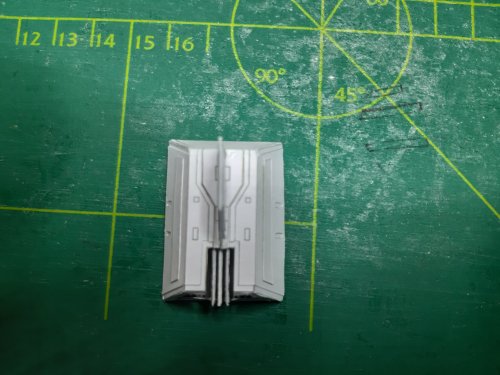
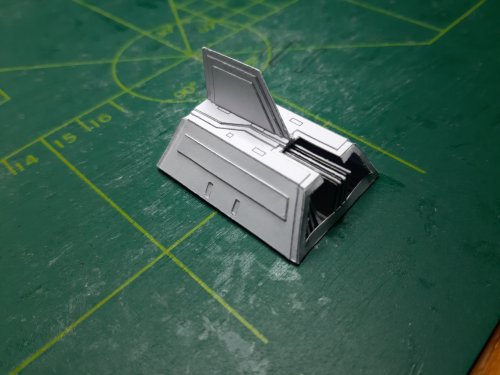
And here the dry fit on the main body with the wing. Don't mind the fingers...
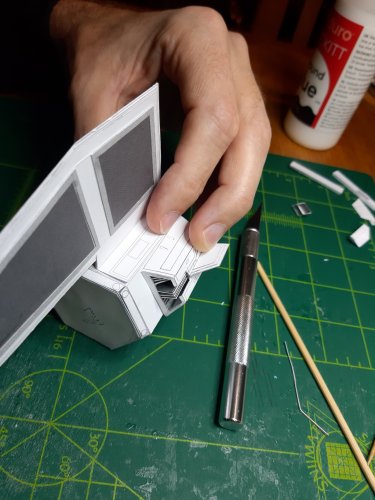
I worked on several other parts but these didn't turn out as I hoped. So I need to fix some errors. But overall I'm happy with te results.
Some details for the clocking devuce.
All parts cut.

And the parts assembled.


And here the dry fit on the main body with the wing. Don't mind the fingers...

I worked on several other parts but these didn't turn out as I hoped. So I need to fix some errors. But overall I'm happy with te results.


