U.F.O. Interceptor - 1/12 Scale Paper Model
This is the build thread for my version of UHUs U.F.O. Interceptor paper model. As you will see this is quite a different beast. The size of the model has been increased to approximately four times larger. This makes it about 1/10 - 1/12 scale. The model is still made from paper but has been reinforced and strengthened in every area using various methods utilizing balsa wood, cardboard, plastic card, and pretty much anything that is laying around that looks like it would work for the job.
The finished model is studio scale and could be used to recreate some of the scenes from the classic series. I may try that in the future. I also added various electronics including LEDs, Fiber Optics, radio control, and other goodies still in the works.
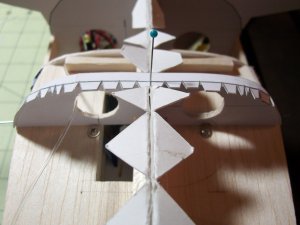
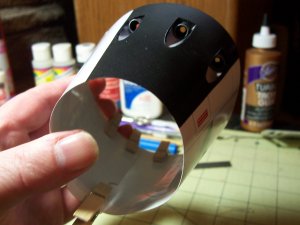
Starting off by cutting out the "skeleton" of the fuselage. This will be reinforced to take the additional weight of the larger model with all of the electronics.
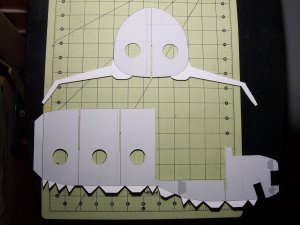
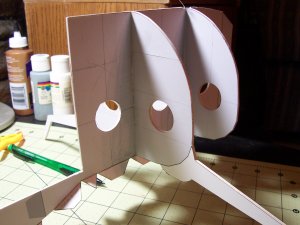
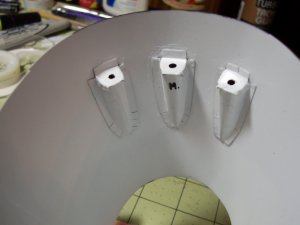
I cut additional holes for the electronics and fiber optics. There was quite a bit of pre-planning needed to ensure it could take all the needed items.
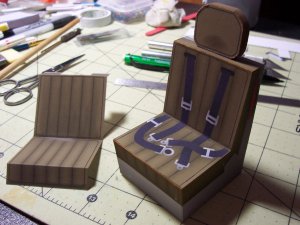
Jumping ahead a little to give a taste of things to come... here are the pilots seats. These will be modified to accept "real" harnesses.
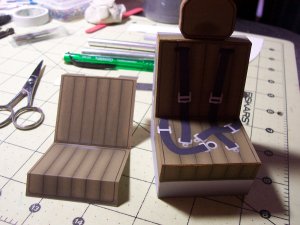
This was one of my favorite builds. The seats are kinda cool... even a slight wear mark because of the pilots head!
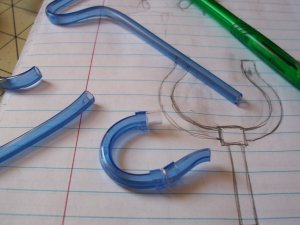
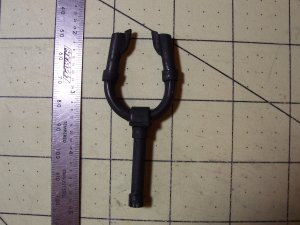
The joystick needed to be heftier! I made it from some crazy straws.
The finished joystick ready for installation.
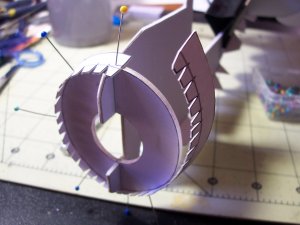
All pinned-up while the glue dries. I laminated the pieces depending on the thickness/strength needed. Usually about two or three layers worked good.
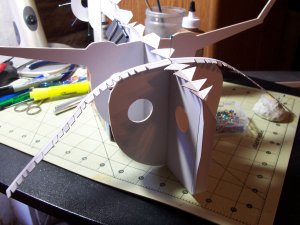
Some things needed to be changed because there were batter ways of doing things for the larger scale. I used super-glue to hold instantly, follwed with white PVS glue to add some rigidity. If more strength was needed, epoxy glue was used. Spray on glue to bond the lamination's.
This was a model I dreamed of having since I was a kid
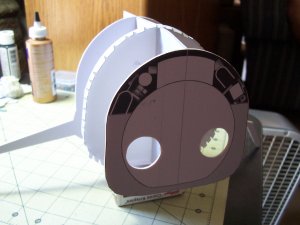
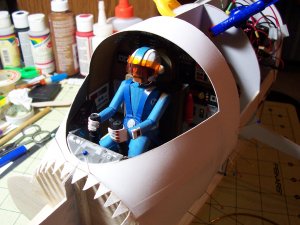
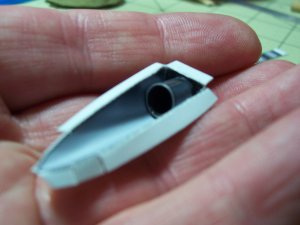
Jumping ahead a bit again in the following few pics. Here's that canister looking thing that hangs in the cockpit next to the pilot's head. I made it out of balsa wood and plastic rods.
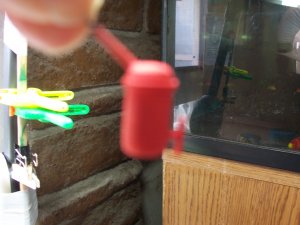
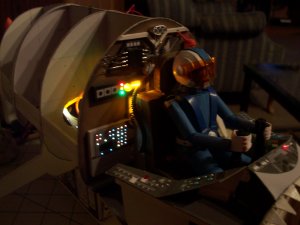
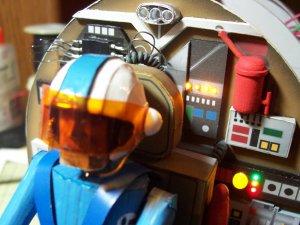
I love the picture imports on this site! They are nice and big and clear! Thank you! I laminated the controls on the dashboard to give them a 3D affect. I also used fiber-optics to illuminate the small lights on the bulkhead, and the Interceptor's dashboard. (The pilots build will be at the end).
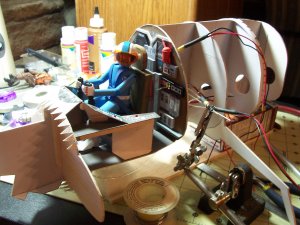
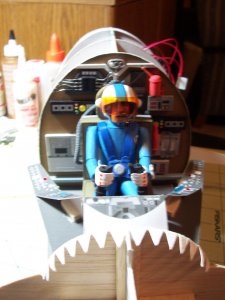
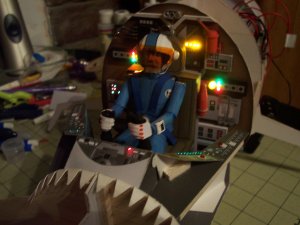
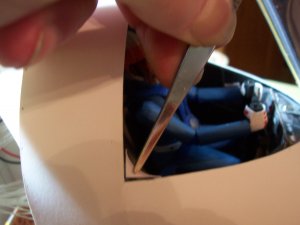
You might notice the other lights on the dashboard are tiny jewels that are super-glued into place. The catch any light that is going on around really well. You can see the pilot has legs, and shiny boots He can be removed if desired.
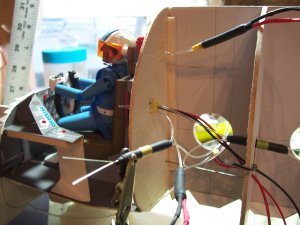
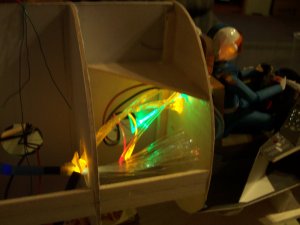
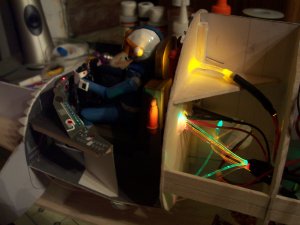
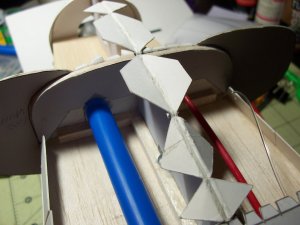
Lots of LEDs and fiber-optics to run through the body. The fiber optics have to be taken care of because they can break if too tight a curve is attempted.
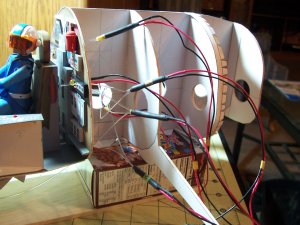
I used thinner wire eventually as the thicker stuff wastes space.
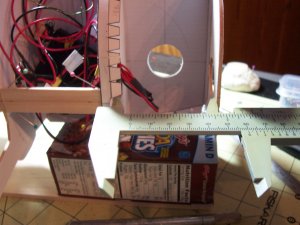
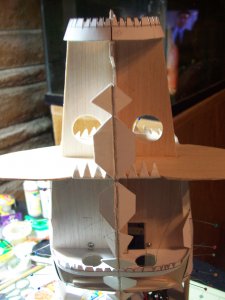
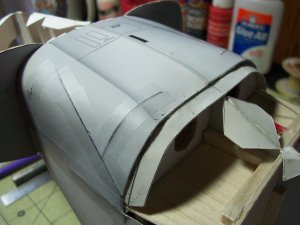
Time for the nose construction.
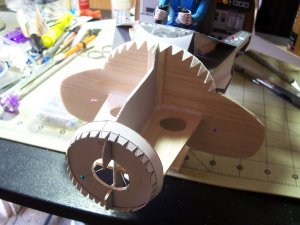
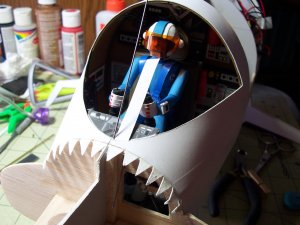
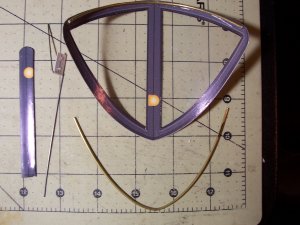
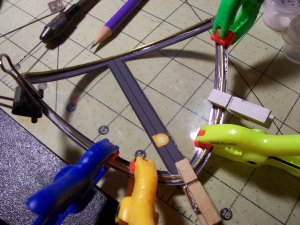
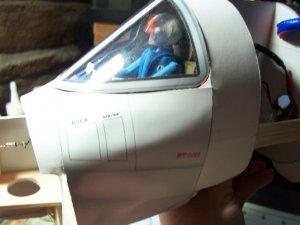
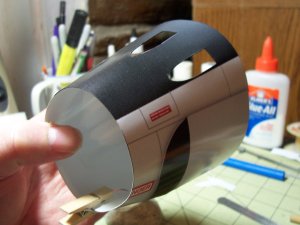
Canopy construction. I used a piece of brass tubing curved to match the top of the canopy and was eventually super-glued in place.
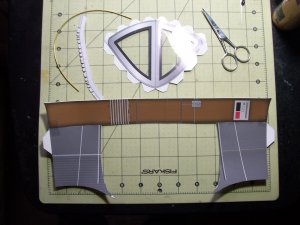
The underbelly of the fuselage.
Above the pilot's head is the telescope unit. It provides the pilot with a rear view of the craft. Kind of like a rear view missor in the car
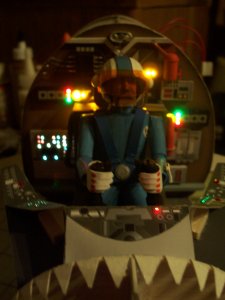
Lights on for testing!
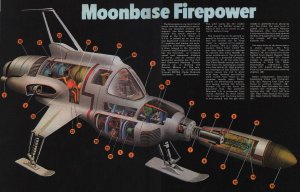
This was a reference I used throughout the build.
This is the build thread for my version of UHUs U.F.O. Interceptor paper model. As you will see this is quite a different beast. The size of the model has been increased to approximately four times larger. This makes it about 1/10 - 1/12 scale. The model is still made from paper but has been reinforced and strengthened in every area using various methods utilizing balsa wood, cardboard, plastic card, and pretty much anything that is laying around that looks like it would work for the job.
The finished model is studio scale and could be used to recreate some of the scenes from the classic series. I may try that in the future. I also added various electronics including LEDs, Fiber Optics, radio control, and other goodies still in the works.
Starting off by cutting out the "skeleton" of the fuselage. This will be reinforced to take the additional weight of the larger model with all of the electronics.

I cut additional holes for the electronics and fiber optics. There was quite a bit of pre-planning needed to ensure it could take all the needed items.

Jumping ahead a little to give a taste of things to come... here are the pilots seats. These will be modified to accept "real" harnesses.

This was one of my favorite builds. The seats are kinda cool... even a slight wear mark because of the pilots head!

The joystick needed to be heftier! I made it from some crazy straws.

The finished joystick ready for installation.

All pinned-up while the glue dries. I laminated the pieces depending on the thickness/strength needed. Usually about two or three layers worked good.

Some things needed to be changed because there were batter ways of doing things for the larger scale. I used super-glue to hold instantly, follwed with white PVS glue to add some rigidity. If more strength was needed, epoxy glue was used. Spray on glue to bond the lamination's.

This was a model I dreamed of having since I was a kid

Jumping ahead a bit again in the following few pics. Here's that canister looking thing that hangs in the cockpit next to the pilot's head. I made it out of balsa wood and plastic rods.

I love the picture imports on this site! They are nice and big and clear! Thank you! I laminated the controls on the dashboard to give them a 3D affect. I also used fiber-optics to illuminate the small lights on the bulkhead, and the Interceptor's dashboard. (The pilots build will be at the end).

You might notice the other lights on the dashboard are tiny jewels that are super-glued into place. The catch any light that is going on around really well. You can see the pilot has legs, and shiny boots

Lots of LEDs and fiber-optics to run through the body. The fiber optics have to be taken care of because they can break if too tight a curve is attempted.

I used thinner wire eventually as the thicker stuff wastes space.

Time for the nose construction.

Canopy construction. I used a piece of brass tubing curved to match the top of the canopy and was eventually super-glued in place.

The underbelly of the fuselage.

Above the pilot's head is the telescope unit. It provides the pilot with a rear view of the craft. Kind of like a rear view missor in the car

Lights on for testing!

This was a reference I used throughout the build.


 . It's like a single-seater, get the job done kinda thing!



 thumbsup