well, here goes nothing.....gulp
the rather large model that is Bhaads Warhammer 40k Warhound Titan. This build is going to take a while, so ill be doing it amongst other builds over time.
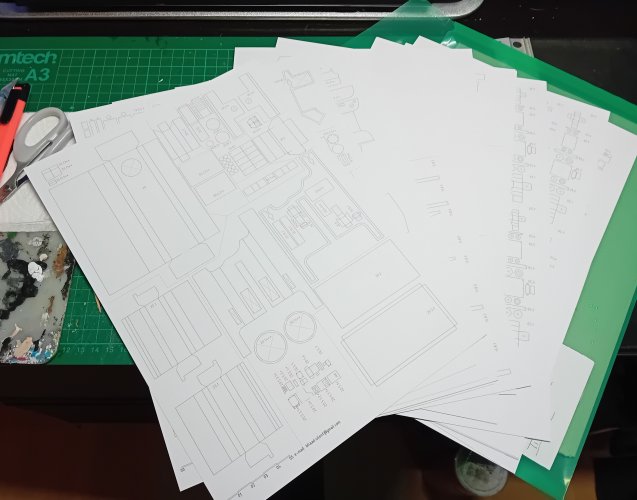
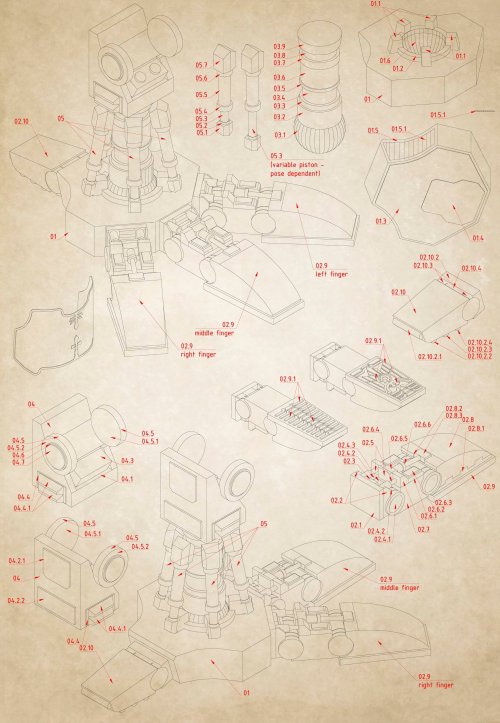
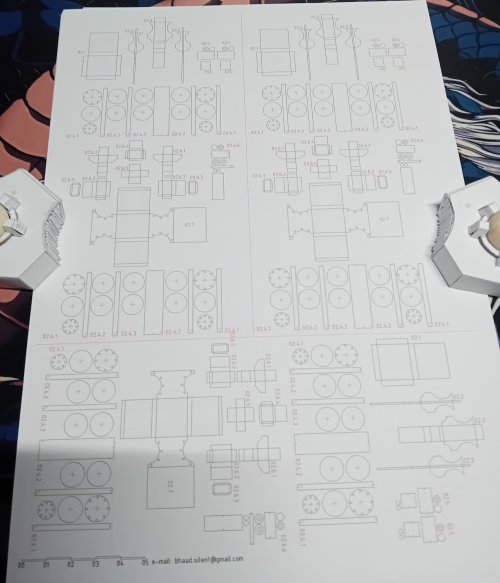
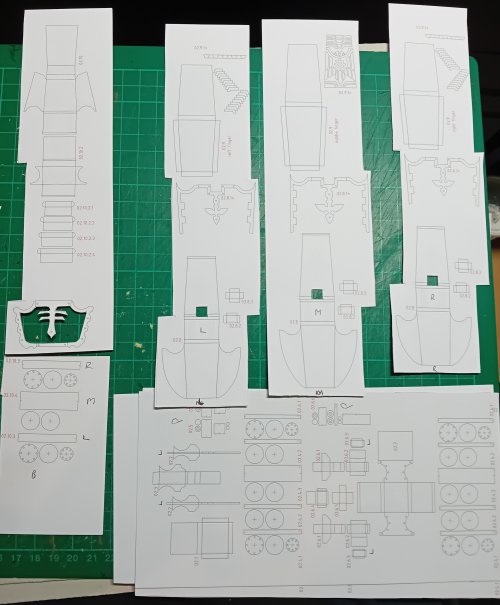
The model is 29 pages of very detailed parts and instructions. Alongside this ive looked into some build videos on youtube so will progress on this slowly and carefully. This is one of those wishlist kits that i never thought i would get the chance to build, even like this (which is better imho) so i hope to do a good job as this will be in honour of my youngest, and painted in (i hope) a fashion he'd like.
So, pages printed, other bits n bobs ordered and in (straws, wire, other gsm card etc) Once printed all the pages were sealed with matt clear acrylic varnish.
It will be painted with acrylics as i go along, and will hopefully have a decent scenic base to go along with it.
Now i just need an appointment with a psychiatrist and to find part 1.....
keep em peeled


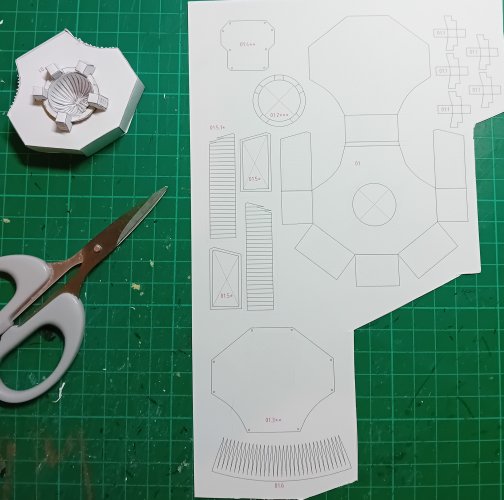
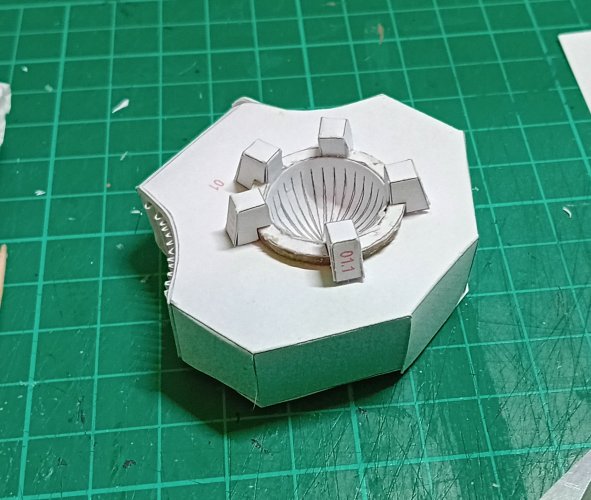
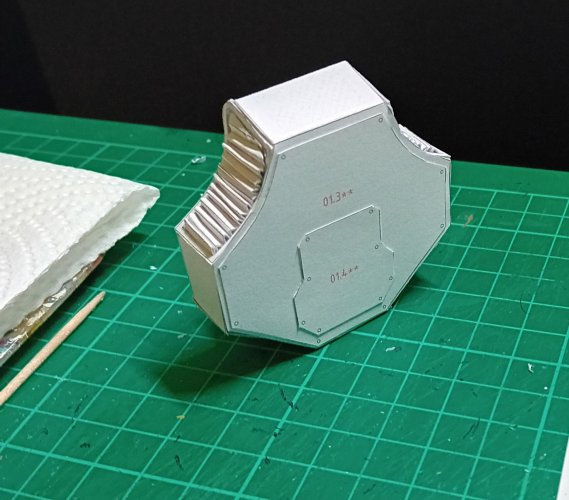
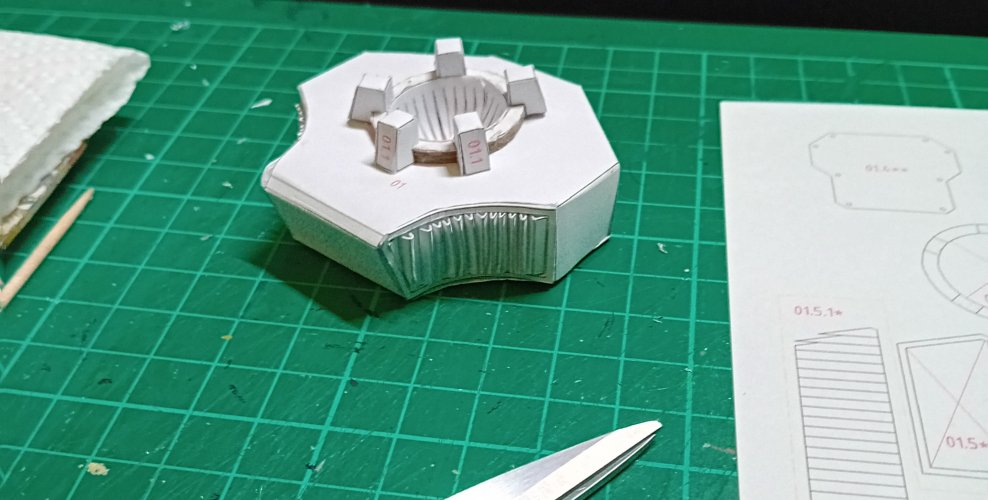


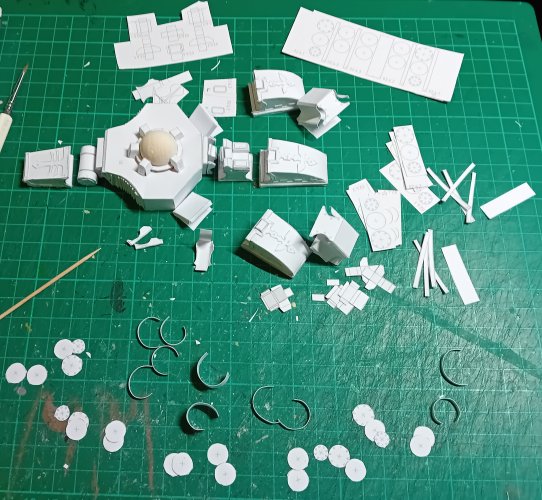
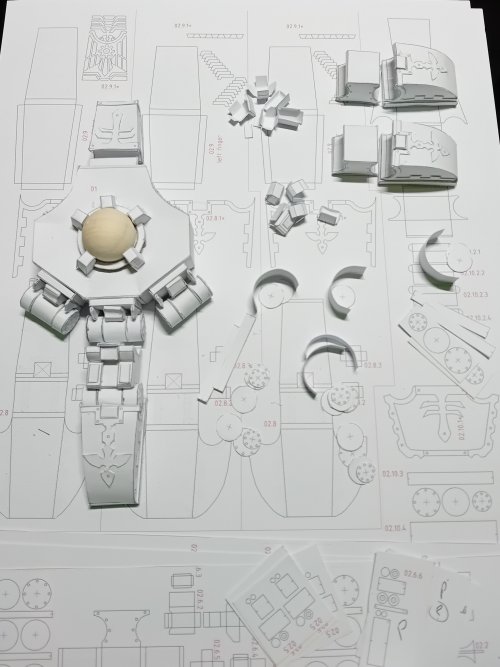
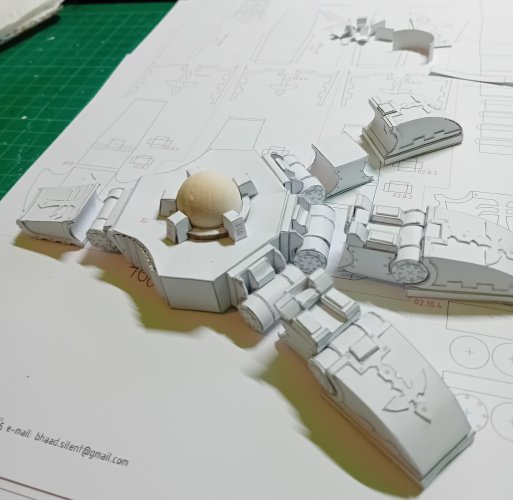
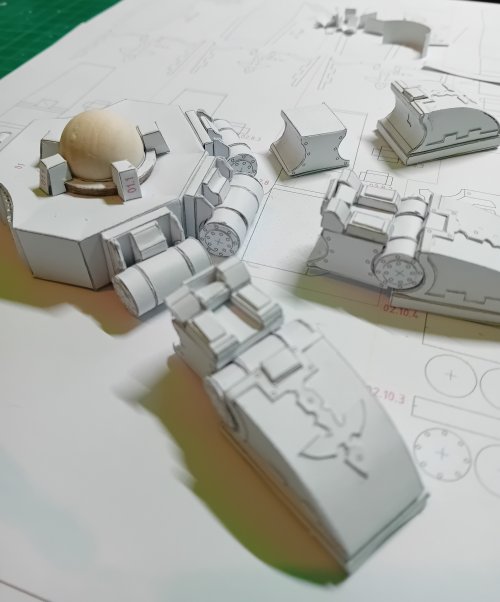
 believe it or not im still working on the feet, getting a cpl hours in a day to work away at them they are slowly coming along. This is very much going to be a build & paint by sections job, as once it starts going together i wont be able to get to some areas again. My thoughts so far on this beast is be aware of all the fine detail, and have a rough plan on how you want to display it before you get going. There are spots you dont need to go into the full 'hardcore' detail if you dont wish to (depending how masochistic you are lol) but for me im doing as much as i myself need and am happy with (about 95%) Its definitely a 'step up' the technical ladder and a build i would do only if youve got some experience behind you - but if you have the confidence - go for it - but for me, this will be a slow and steady build that is not going to be done quickly lol Anyway heres a few pics of the work so far - more soon
 )
)