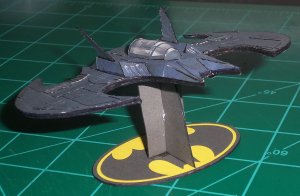
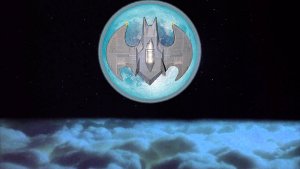
I decided to celebrate the season by watching “Batman Returns” (Yes, it’s a Christmas movie!) and taking on AirDave’s cool Batwing. This is a fun little model. I was going to build it stock so I’d get it done before the movie ended, but it looked like a good one to detail, so I stretched the build to a couple of days. As usual, all parts are scored before folding and cutting, then edge colored with marker before gluing.
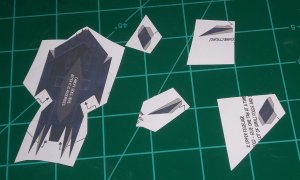
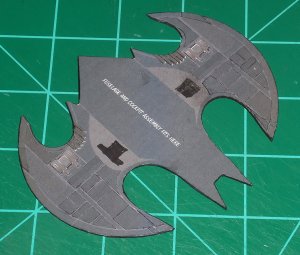
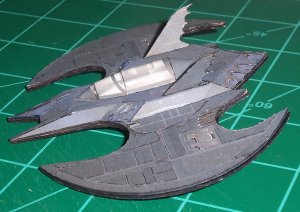
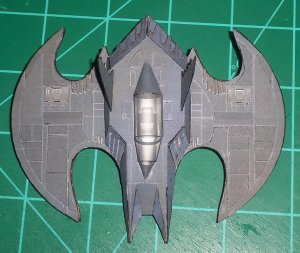
First up was the cockpit area. I cut off all the tabs and edge glued all the parts, except for the canopy. For it I replaced the supplied joiners with colored 20 lb. printer paper colored with black marker and glued the seams together from behind. I like using printer paper for joints when I can, especially for small parts, because it curls and folds so much easier. Then, I printed out a second set up parts and cut out the areas for the inlets/outlets. I glued the cut out sections over the existing ones to give it some depth. I then added some raised details. I wanted to raise the canopy frame but that was going to take more time than I wanted to spend.
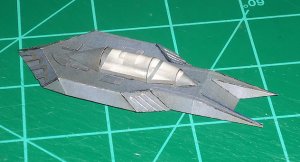
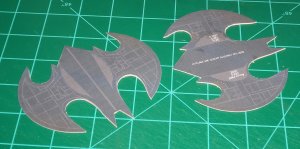
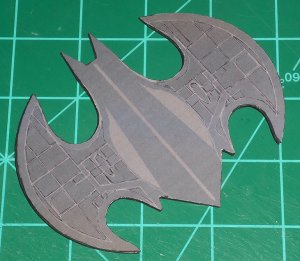
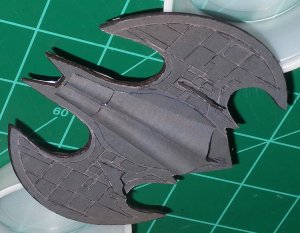
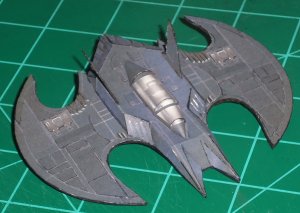
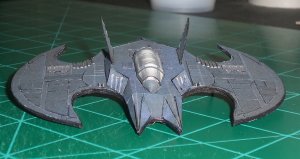
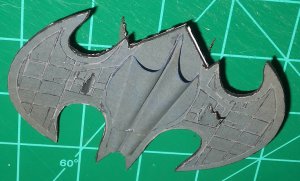
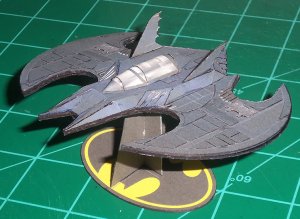
Next, I scored, folded and glued all the fins. I do this before I cut them to get a more even edge. The upper and lower bat-shaped sections of the fuselage were glued to 1mm chipboard for strength and to keep flat. I trimmed and glued them together, then used some needle files to even out the edges. Finally, I raised almost all the details on both sides.
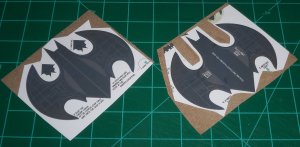
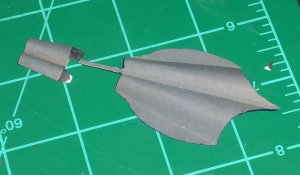
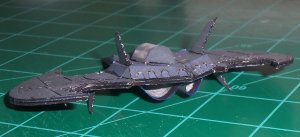
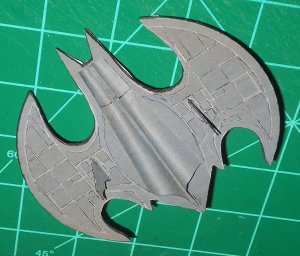
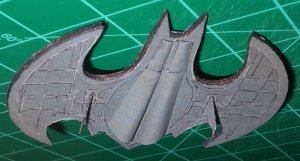
The lower intakes are tricky and you have to take your time. I made new joiners for the front piece just like I did for the canopy. I used pencil to color the back side of the piece because I was afraid too much marker would soak in and warp it. Black colored pencil or colored paper would have looked better.
First up was the cockpit area. I cut off all the tabs and edge glued all the parts, except for the canopy. For it I replaced the supplied joiners with colored 20 lb. printer paper colored with black marker and glued the seams together from behind. I like using printer paper for joints when I can, especially for small parts, because it curls and folds so much easier. Then, I printed out a second set up parts and cut out the areas for the inlets/outlets. I glued the cut out sections over the existing ones to give it some depth. I then added some raised details. I wanted to raise the canopy frame but that was going to take more time than I wanted to spend.
Next, I scored, folded and glued all the fins. I do this before I cut them to get a more even edge. The upper and lower bat-shaped sections of the fuselage were glued to 1mm chipboard for strength and to keep flat. I trimmed and glued them together, then used some needle files to even out the edges. Finally, I raised almost all the details on both sides.
The lower intakes are tricky and you have to take your time. I made new joiners for the front piece just like I did for the canopy. I used pencil to color the back side of the piece because I was afraid too much marker would soak in and warp it. Black colored pencil or colored paper would have looked better.