GPM Dragon Wagon

Status
Not open for further replies.

exzealot

Member
Jul 3, 2007
142
0
16
67
Lake Orion, MI
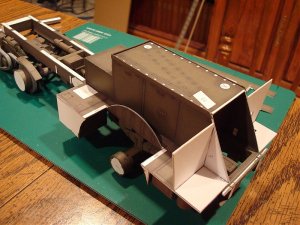
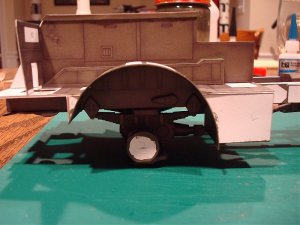
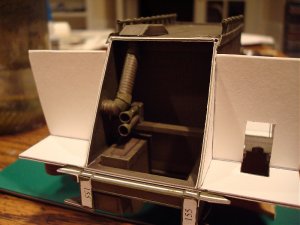
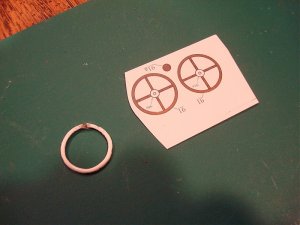
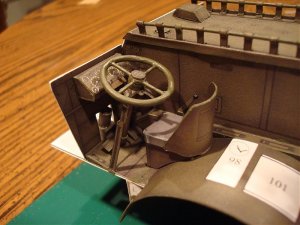
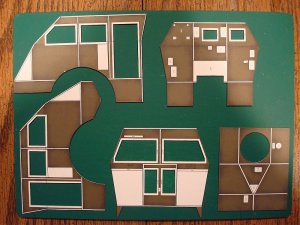
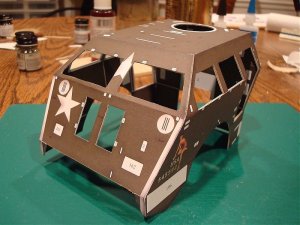
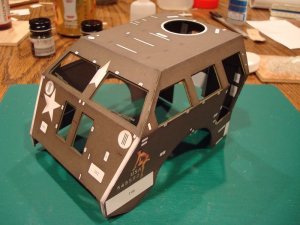
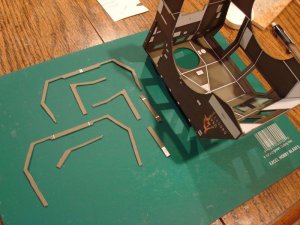
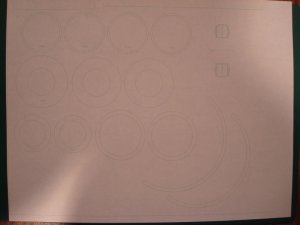
Pic 1: The upper inside of the front wheelhouses.

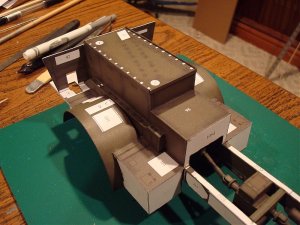
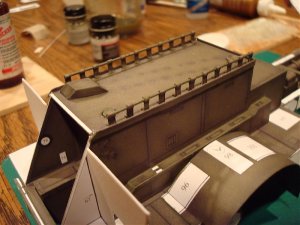
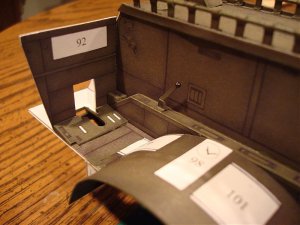
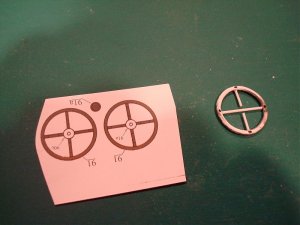
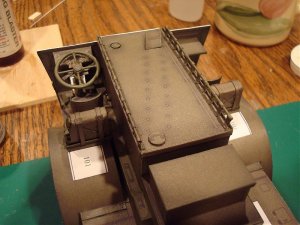
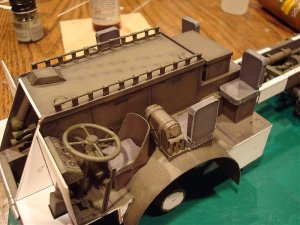
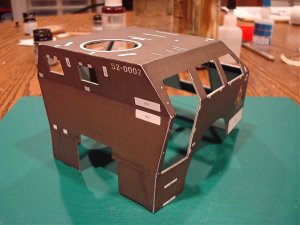
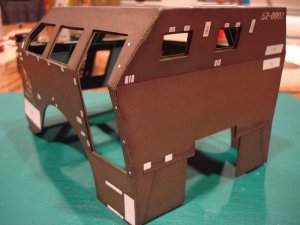
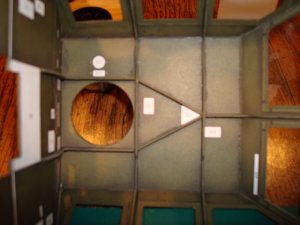
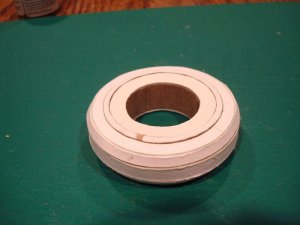
Pic 2: Inner wheelhouses installed.

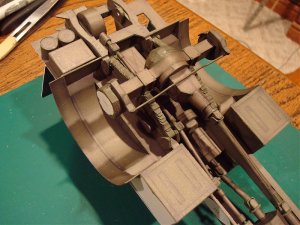
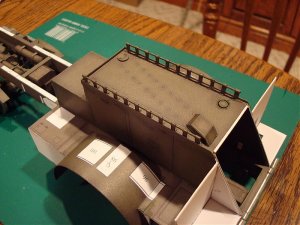
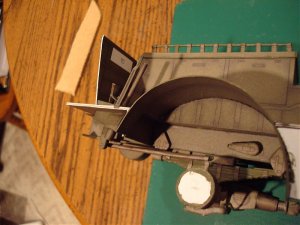
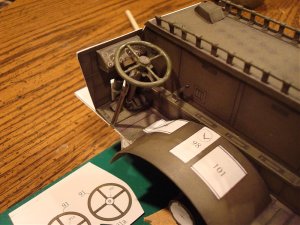
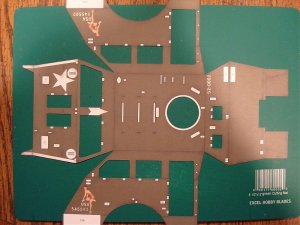
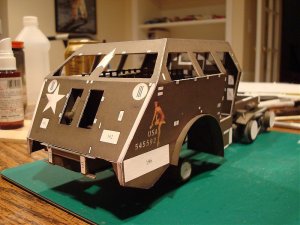
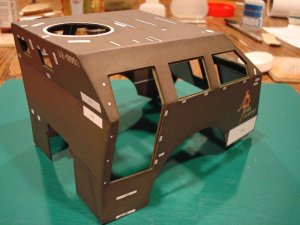
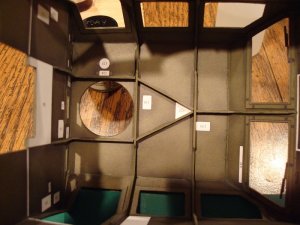
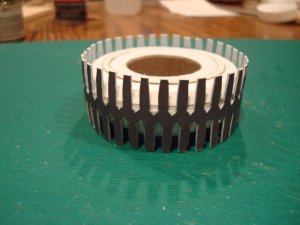
Pic 3: Underneath view of the wheelhouses

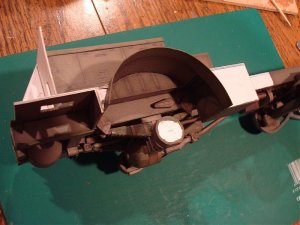
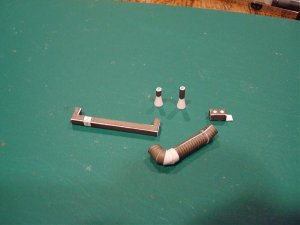
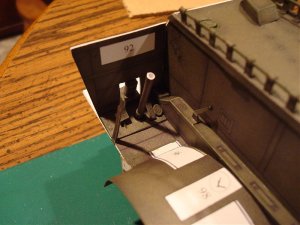
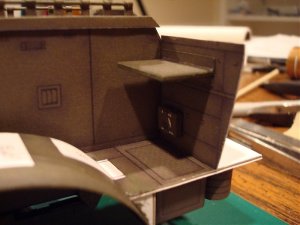
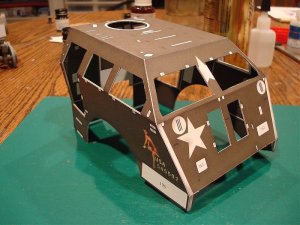
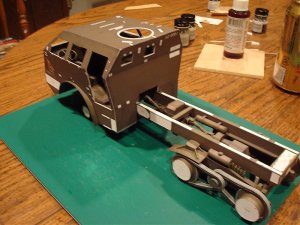
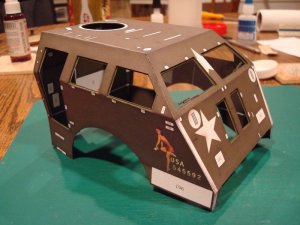
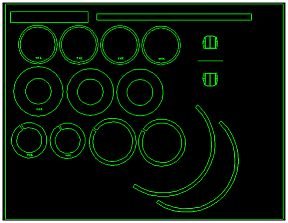
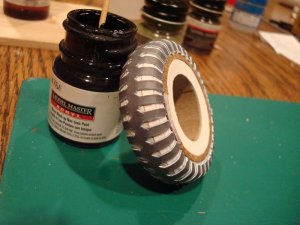
Pic 4: Another view.

Pic 4: Yet, another view....

I can start to visualize how big this monster was!

Ken
 

Attachments

  • DragonWagonPaper 006.jpg
    DragonWagonPaper 006.jpg
    230.3 KB · Views: 21
  • DragonWagonPaper 007.jpg
    DragonWagonPaper 007.jpg
    212.7 KB · Views: 26
  • DragonWagonPaper 008.jpg
    DragonWagonPaper 008.jpg
    221.2 KB · Views: 23
  • DragonWagonPaper 009.jpg
    DragonWagonPaper 009.jpg
    186.1 KB · Views: 21
  • DragonWagonPaper 010.jpg
    DragonWagonPaper 010.jpg
    175 KB · Views: 21

exzealot

Member
Jul 3, 2007
142
0
16
67
Lake Orion, MI
More progress:

Pictures 1 & 2 - Details on top of the engine tunnel.

Pictures 3 & 4 - These parts locate inside the radiator compartment. There were problems here. The kit doesn't provide enough parts to make the 90 degree bend in the piping, so I made a couple more - that's why they are white. However, by adding these pieces, the pipe became too long; as a result, the horns had to be biased inboard... no big deal.

Picture 5 - The pedal floorboard and a shifter. The knob was made by dipping the end in thick superglue, then touching the paper with a toothpick loaded with accelerant - it wicks up and hardens the glue. 3 applications and instant knob.

Ken
 

Attachments

  • DragonWagonPaper 001.jpg
    DragonWagonPaper 001.jpg
    181.4 KB · Views: 17
  • DragonWagonPaper 002.jpg
    DragonWagonPaper 002.jpg
    213.4 KB · Views: 17
  • DragonWagonPaper 003.jpg
    DragonWagonPaper 003.jpg
    150 KB · Views: 19
  • DragonWagonPaper 004.jpg
    DragonWagonPaper 004.jpg
    158.2 KB · Views: 19
  • DragonWagonPaper 005.jpg
    DragonWagonPaper 005.jpg
    179.9 KB · Views: 21

exzealot

Member
Jul 3, 2007
142
0
16
67
Lake Orion, MI
Picture 1 - The steering gear is in place; the steering rod is attached to the idler arm and the front suspension.

Picture 2 - The pedals and steering column.

Picture 3 & 4 - I didn't want a flat steering wheel to ruin an otherwise realistic interior, so I fabricated one out of a coat hanger. The rim was pounded around a steel socket squeezed in a vice. The ends were filled with thick superglue and sanded; care taken to ensure that the rim didn't come apart. The spokes were made from plastic sprue and glued into place. The rest is self-explanatory.

Picture 5 - The instrument panel and steering wheel (and small controls behind the wheel).

Ken
 

Attachments

  • DragonWagonPaper 006.jpg
    DragonWagonPaper 006.jpg
    181.1 KB · Views: 17
  • DragonWagonPaper 007.jpg
    DragonWagonPaper 007.jpg
    181.5 KB · Views: 19
  • DragonWagonPaper 008.jpg
    DragonWagonPaper 008.jpg
    180.7 KB · Views: 17
  • DragonWagonPaper 009.jpg
    DragonWagonPaper 009.jpg
    172.5 KB · Views: 16
  • DragonWagonPaper 010.jpg
    DragonWagonPaper 010.jpg
    211.5 KB · Views: 27

exzealot

Member
Jul 3, 2007
142
0
16
67
Lake Orion, MI
Picture 1 - A shelf and a first-aid kit located on the RH front side.

Picture 2 - The front seats are in place

Picture 3 - The progress on the cannisters.

Picture 4 - All of the cannisters are complete - These turned out great, but man was this a tedious job!!! The straps in the background are used to lash 2 of the cans behind the front seats.

Ken
 

Attachments

  • DragonWagonPaper 011.jpg
    DragonWagonPaper 011.jpg
    159.1 KB · Views: 15
  • DragonWagonPaper 012.jpg
    DragonWagonPaper 012.jpg
    196.9 KB · Views: 15
  • DragonWagonPaper 013.jpg
    DragonWagonPaper 013.jpg
    181.7 KB · Views: 18
  • DragonWagonPaper 014.jpg
    DragonWagonPaper 014.jpg
    180.1 KB · Views: 18

exzealot

Member
Jul 3, 2007
142
0
16
67
Lake Orion, MI
Picture 1 - Cannisters strapped in place.

Picture 2 - Remaining seats glued in place.

Pictures 3 & 4: The cabin's inner and outer shells.

Ken
 

Attachments

  • DragonWagonPaper 001.jpg
    DragonWagonPaper 001.jpg
    208.7 KB · Views: 28
  • DragonWagonPaper 002.jpg
    DragonWagonPaper 002.jpg
    219.1 KB · Views: 25
  • DragonWagonPaper 003.jpg
    DragonWagonPaper 003.jpg
    211.8 KB · Views: 19
  • DragonWagonPaper 004.jpg
    DragonWagonPaper 004.jpg
    184.1 KB · Views: 20

exzealot

Member
Jul 3, 2007
142
0
16
67
Lake Orion, MI
Pictures 1, 2 & 3 - Views of the cabin shell. The sides appear bulged out - this will pull in when glued onto the floor assembly.

Pictures 4 & 5 - The cabin is dry-fitted to the floor/chassis.

The fit of the cabin parts and the cabin to the floor is excellent. Any gaps that you see is my fault for sure. The corners will be filled and painted with my magic color formula.

I noticed on some other builds of the Dragon Wagon that the interior parts that hang on the inside walls are installed BEFORE the cabin is boxed in. I decided it was too risky. My approach is to build the shell; then place the inside components afterwards.

Ken
 

Attachments

  • DragonWagonPaper 005.jpg
    DragonWagonPaper 005.jpg
    210.1 KB · Views: 22
  • DragonWagonPaper 006.jpg
    DragonWagonPaper 006.jpg
    206.1 KB · Views: 18
  • DragonWagonPaper 007.jpg
    DragonWagonPaper 007.jpg
    176.1 KB · Views: 20
  • DragonWagonPaper 008.jpg
    DragonWagonPaper 008.jpg
    196 KB · Views: 21
  • DragonWagonPaper 009.jpg
    DragonWagonPaper 009.jpg
    208.6 KB · Views: 22
S

Soaring

Wow! This build is by far excellent! The detail, the edge coloring, the model! Excellent work on this Ken, How you did this, I will never know :(
 

exzealot

Member
Jul 3, 2007
142
0
16
67
Lake Orion, MI
A little progress...

The 4 pictures show the front windshields in place. It's difficult to see the clear plastic in these pictures, but I guess that was the hope. The WS wipers are also glued on. Each picture shows a different angle of the cab openings; showing the backstops for the flip-down windows and doors.

Ken
 

Attachments

  • DragonWagonPaper 001.jpg
    DragonWagonPaper 001.jpg
    175.8 KB · Views: 17
  • DragonWagonPaper 002.jpg
    DragonWagonPaper 002.jpg
    152.5 KB · Views: 18
  • DragonWagonPaper 003.jpg
    DragonWagonPaper 003.jpg
    161.6 KB · Views: 20
  • DragonWagonPaper 004.jpg
    DragonWagonPaper 004.jpg
    171.9 KB · Views: 20

exzealot

Member
Jul 3, 2007
142
0
16
67
Lake Orion, MI
As I mentioned before, I built the cab shell without the inner "stuff" installed. The intent is to install the items now.

These are the inside ribs, or body reinforcements. These were difficult to fit inside because some of the reinforcements are wider than the bottom opening of the cab. But patience paid off. The fit of these parts are perfect - a real tribute to the designer of this model. I used a little touch up paint in the corners.

Ken
 

Attachments

  • DragonWagonPaper 005.jpg
    DragonWagonPaper 005.jpg
    193 KB · Views: 23
  • DragonWagonPaper 007.jpg
    DragonWagonPaper 007.jpg
    121 KB · Views: 19
  • DragonWagonPaper 008.jpg
    DragonWagonPaper 008.jpg
    184.6 KB · Views: 24

jaffro

Long term member
Jun 18, 2007
386
1
16
53
Melbourne, Australia
I'm loving this build... I fell in love with this model the moment I first saw it on papermodelstore.com and have been hoping for a build thread of this caliber ever since... keep up the good work.

On another note, please tell me you are considering taking on the Modelik Scud launcher... :D
 

exzealot

Member
Jul 3, 2007
142
0
16
67
Lake Orion, MI
Jaffro,

As a matter of fact, I just received the Modelik Maz and Scud B last Friday from the Paper Model Store. It is HUGE! Not sure when I'll get to it, but it's on my list for sure.

Ken
 

exzealot

Member
Jul 3, 2007
142
0
16
67
Lake Orion, MI
The only flaw I see so far in this kit is the design of the tires. They look more like "gears" than tires.

So I decided to put my 20+ years of CAD experience to work and redesign a new set.

Attached is a screendump of the design. I hope to salvage the treads from the kit. If the design proves out, I'll have one of the moderators post as a download.

Ken
 

Attachments

  • DW Tires.jpg
    DW Tires.jpg
    14.6 KB · Views: 182

exzealot

Member
Jul 3, 2007
142
0
16
67
Lake Orion, MI
Here is a series of pictures showing the progression of the prototype tire. I won't use this one since I need to tweek a few lines in CAD for a better fit, and I rushed to get it done. The first picture is hard to see, but it is the printout of the design.

The final tires will look much better. I did manage to salvage the kit-provided treads; I just needed to trim down the width.

Ken
 

Attachments

  • DragonWagonPaper 001.jpg
    DragonWagonPaper 001.jpg
    95.2 KB · Views: 27
  • DragonWagonPaper 002.jpg
    DragonWagonPaper 002.jpg
    133.8 KB · Views: 28
  • DragonWagonPaper 003.jpg
    DragonWagonPaper 003.jpg
    141.1 KB · Views: 29
  • DragonWagonPaper 004.jpg
    DragonWagonPaper 004.jpg
    168.3 KB · Views: 24
  • DragonWagonPaper 005.jpg
    DragonWagonPaper 005.jpg
    157.5 KB · Views: 31

jaffro

Long term member
Jun 18, 2007
386
1
16
53
Melbourne, Australia
Very nice Ken. I'm hoping to use a similar approach on my tumbler tires when I get to them... but I'll be leaving them till towards the end of the build this time so I'll be watching keenly to see how your final version turns out.
 
Status
Not open for further replies.