"Flying Dutchman" - Ghost Ship - OREL Russian Paper Model Build
- Thread starter mtrappett
- Start date
You are using an out of date browser. It may not display this or other websites correctly.
You should upgrade or use an alternative browser.
You should upgrade or use an alternative browser.
Thank you Micah! I/We appreciate it!Truly amazing work.
My prayers will be with you and your wife in this.
Thank you Rhaven! You are most kind!All of your work is clear, clean and crisp.
Thank you!How much detail can you put in a model its mind blowing. And with your touch its next level.
 I love working on this ship, and it keeps me out of trouble
Stern Decoration - Assembly and Installation
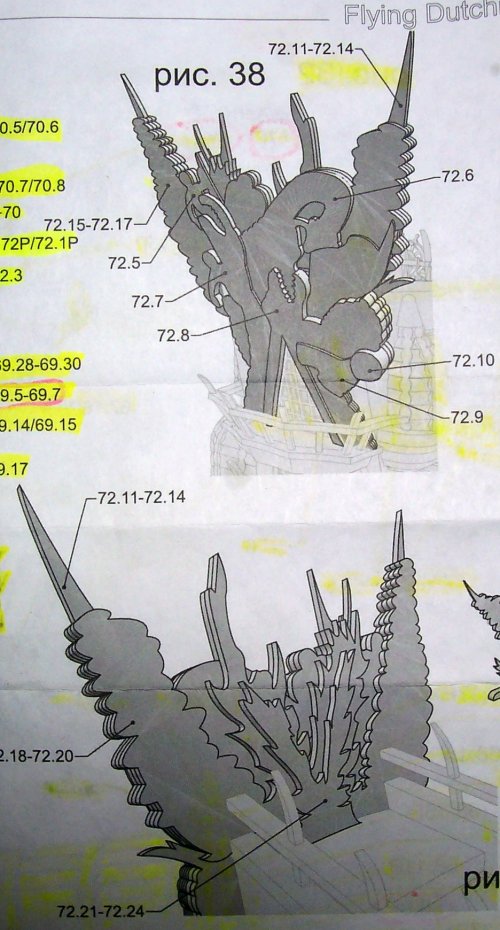
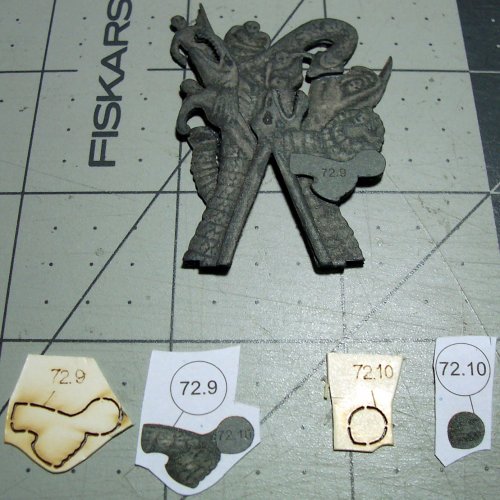
This is built from multiple layers providing a pretty good representation of a complex carved Stern Decoration for the model.
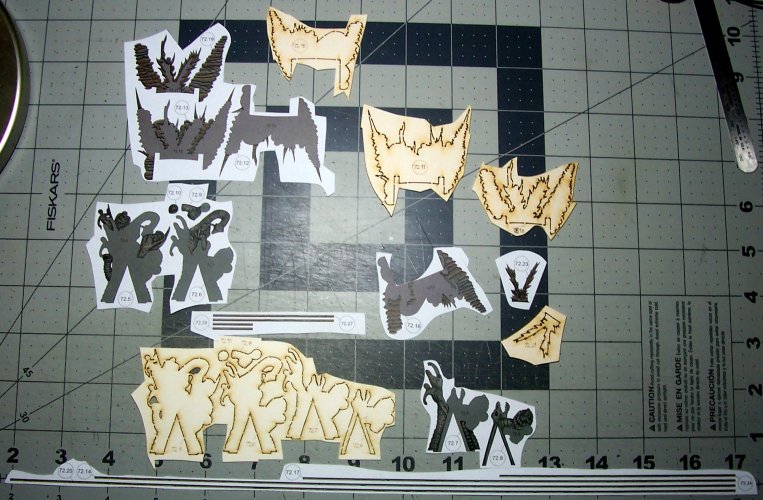
These are all the pieces for the Stern Decoration.
First step of the construction. There is some really nice detail of the figures with this.
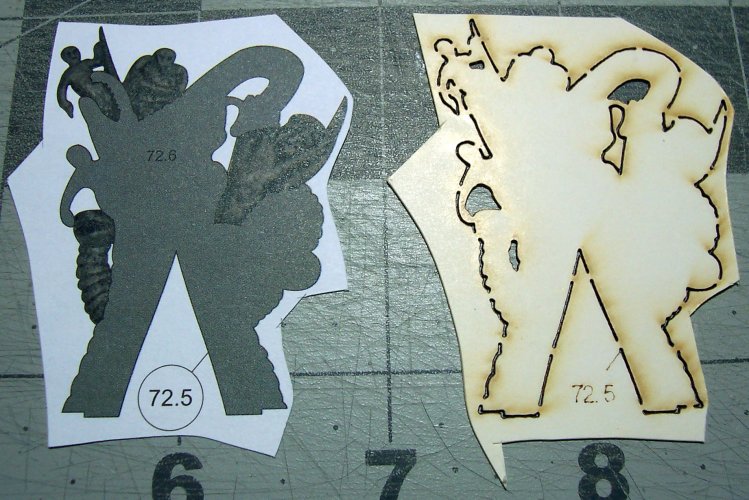
I scored the details of the serpents scales, eyes, and body parts to provide a better 3D effect.
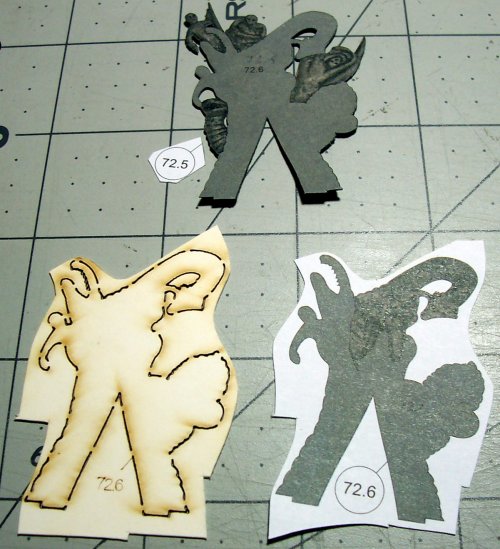
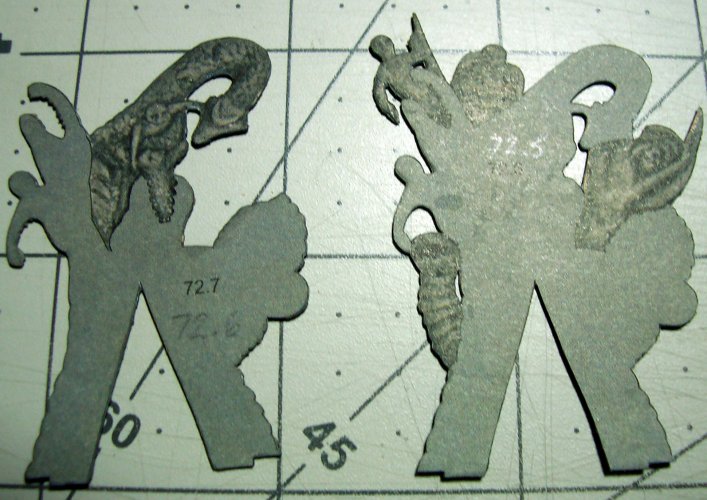
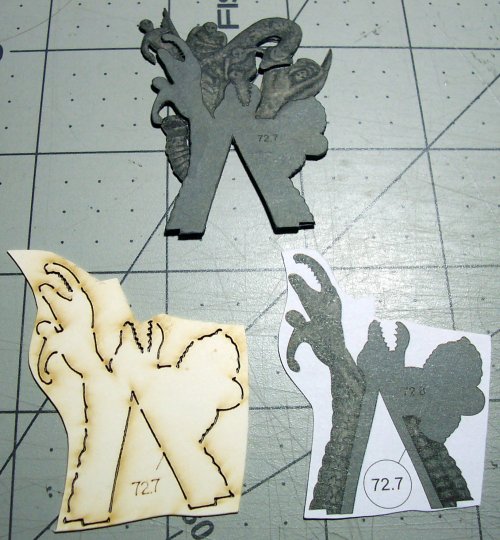
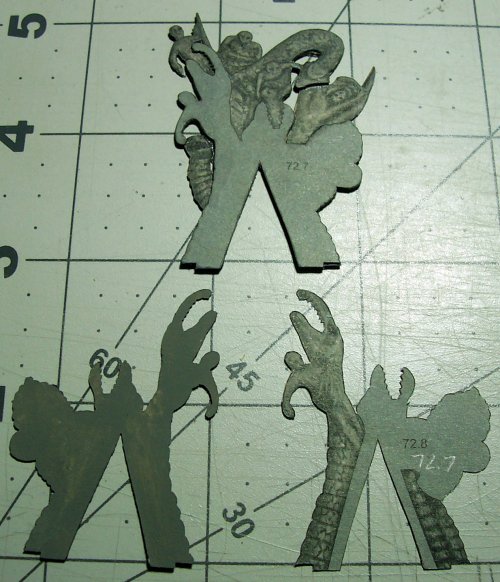
I used my scalpel handle to roll any bubbles out from the gluing process.
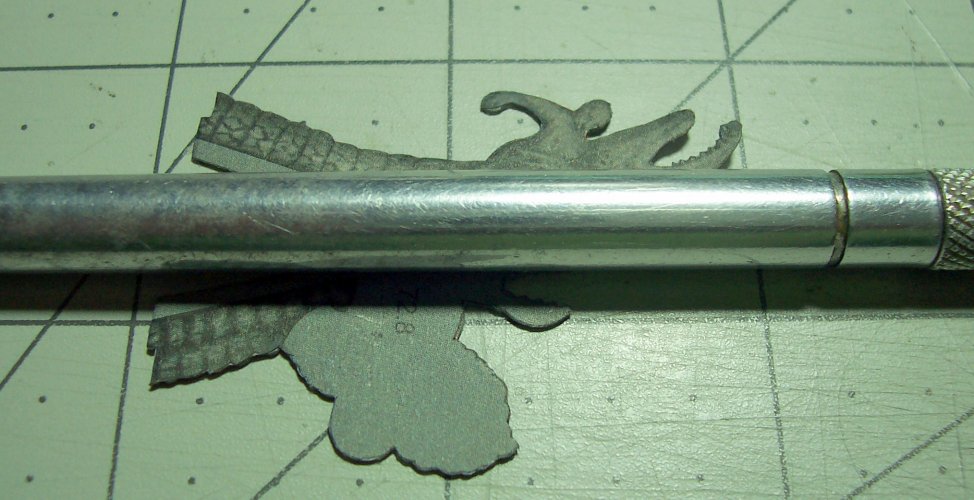

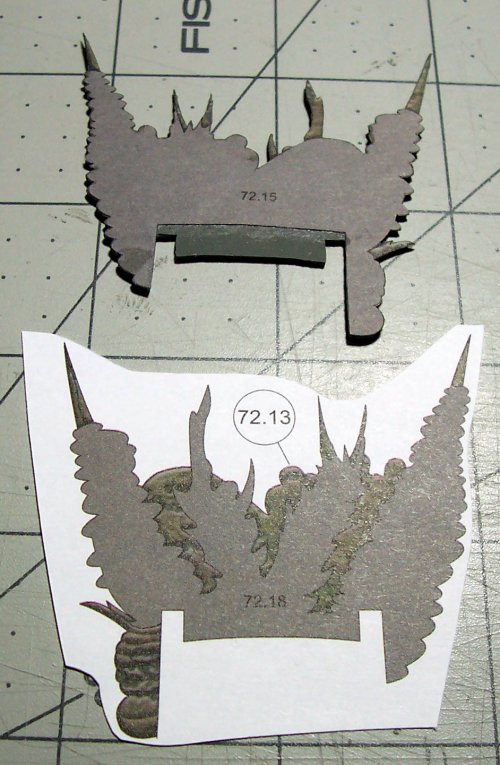
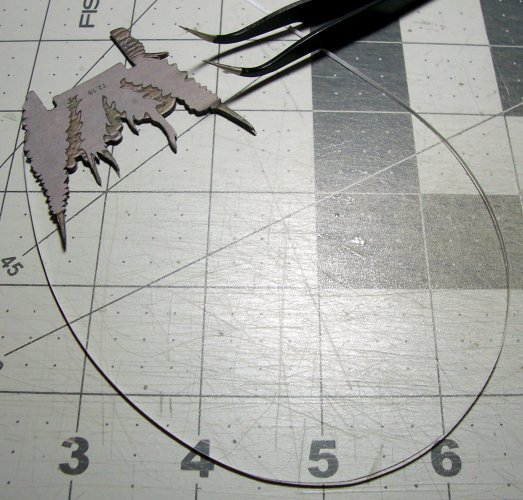
Attaching the "ribbon" edge piece around the part.
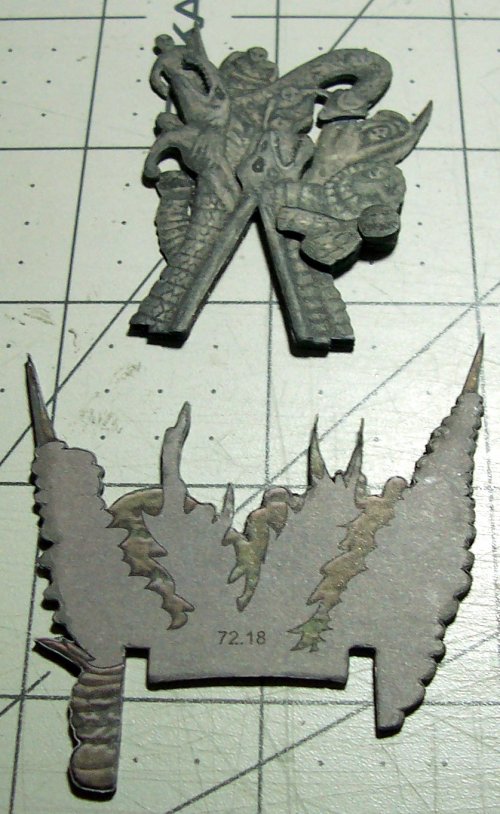
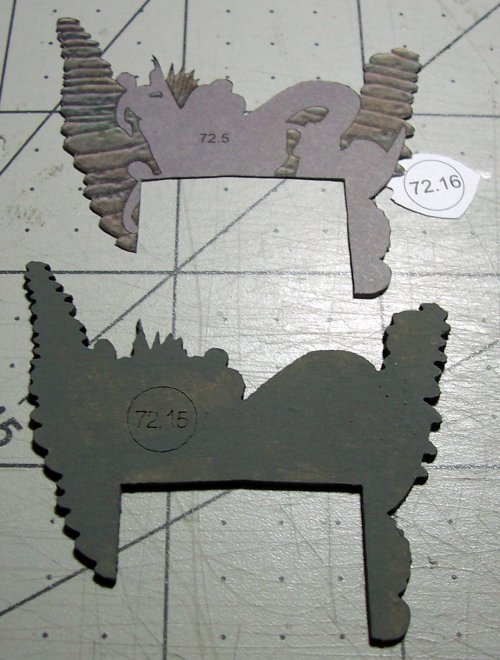
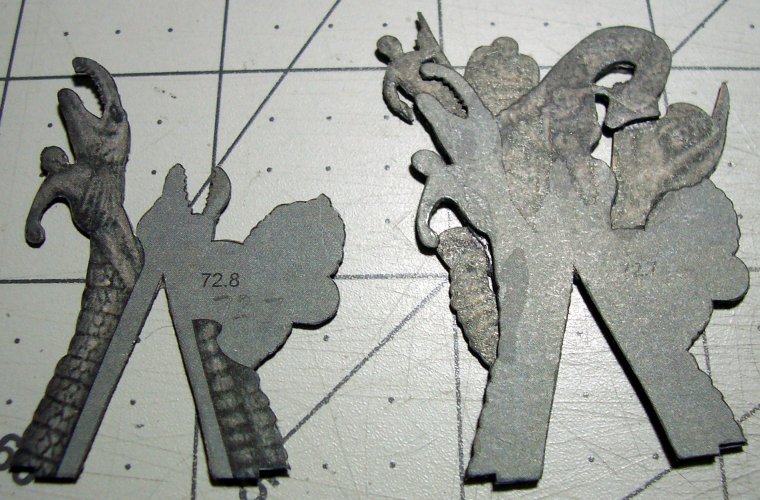
The reverse side of the Stern Decoration.
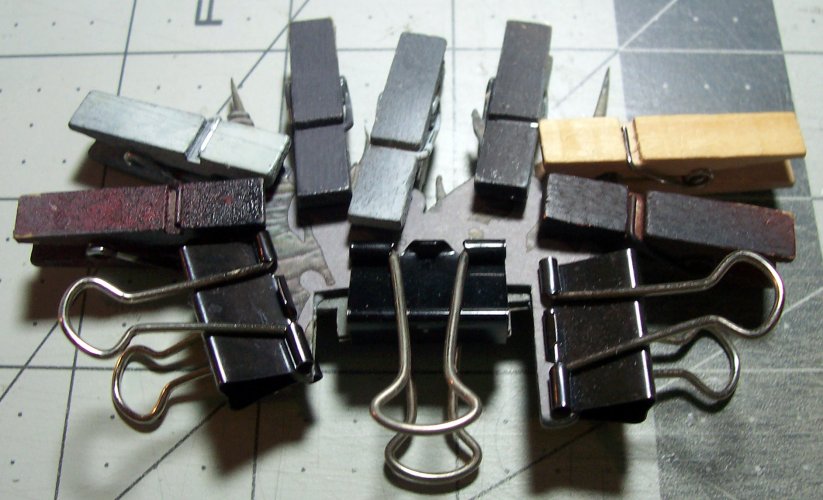
I wanted to make sure that there were no gaps in the joins, so hence the mass of clips. You do have to be careful not to dent the card though.
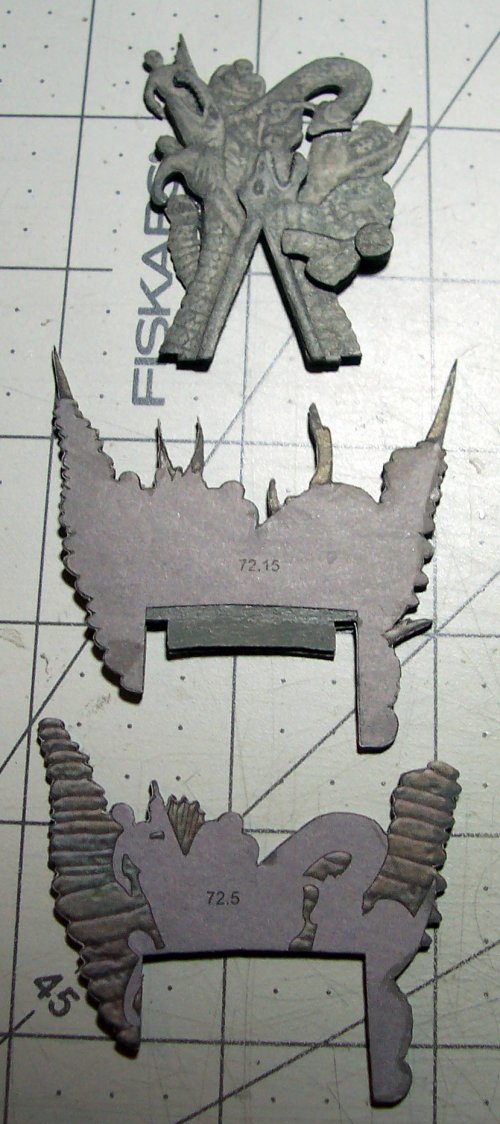
Stern Decoration - Continued
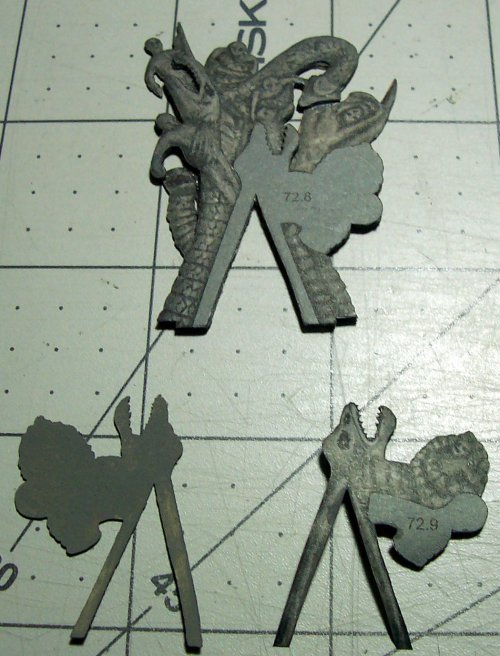
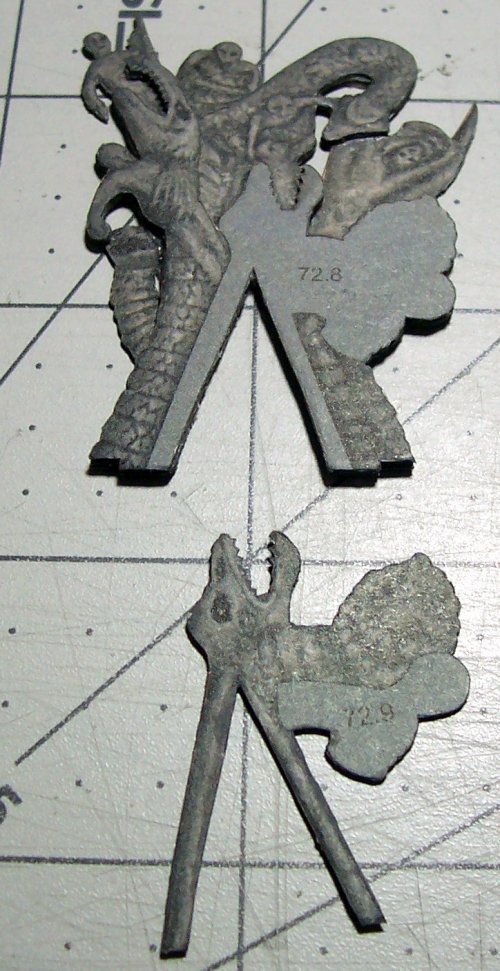
These are the two main assemblies that need to be joined together to form the thickness.
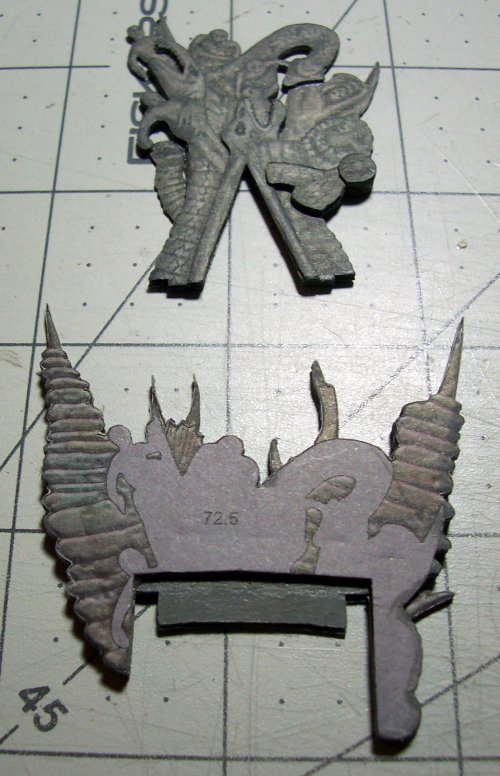
Make sure that the flat pieces are actually flat and not warped by placing them underneath a heavy book overnight.
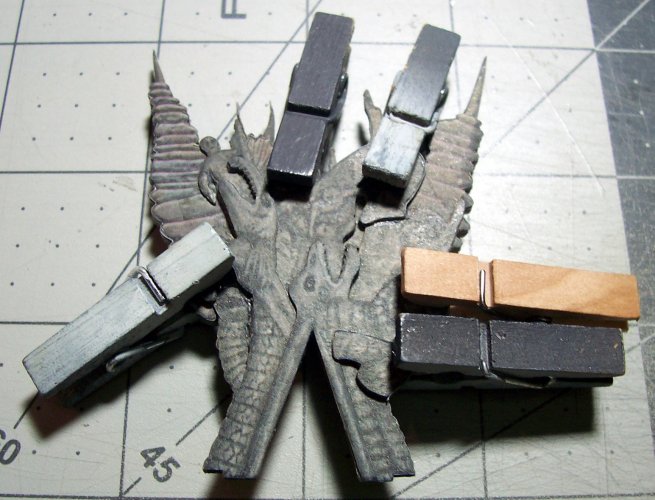
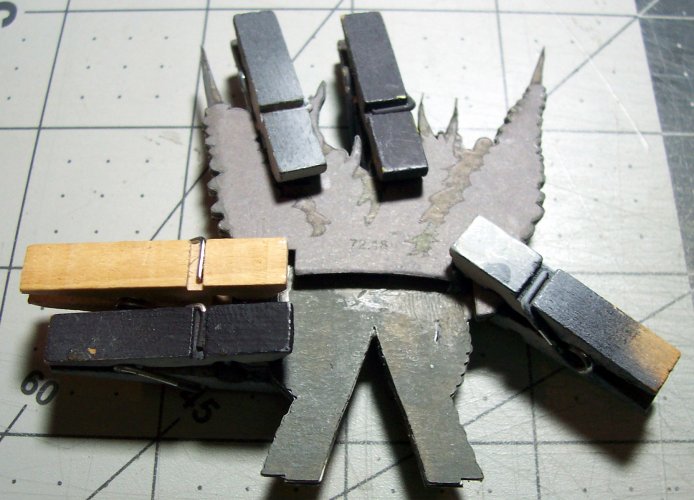
All of the edges are covered with the ribbon of color paper veneer. I also painted all the card pieces gray so that any exposed edges would be camouflaged.
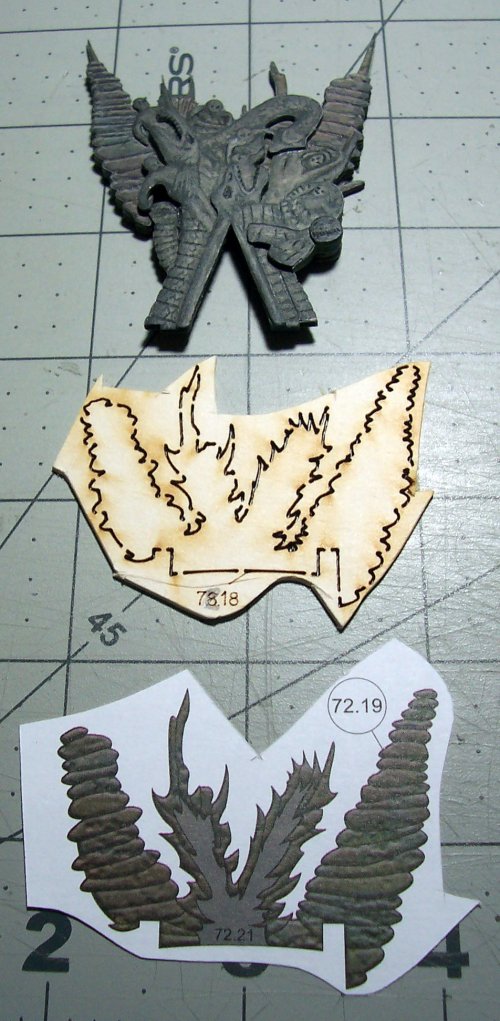
Here the scoring of the detail can be seen and is more noticeable.
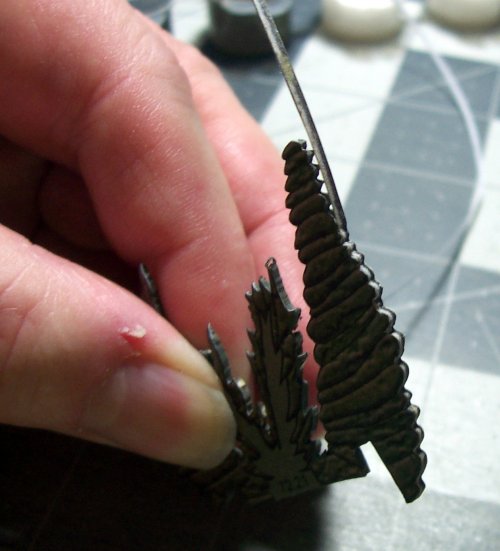
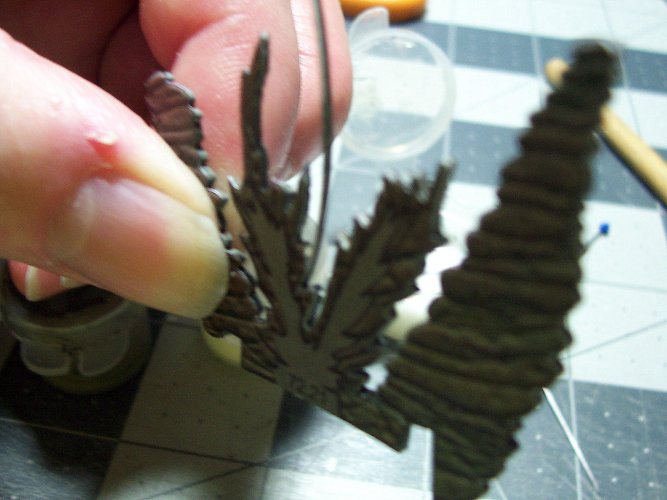
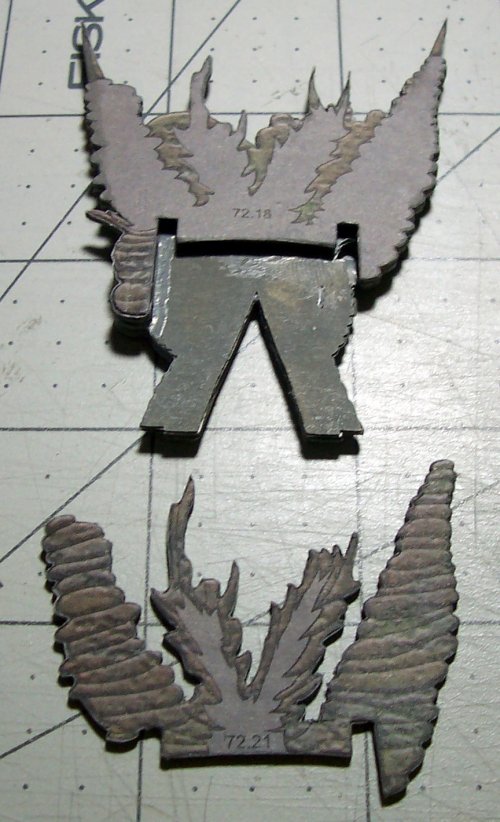
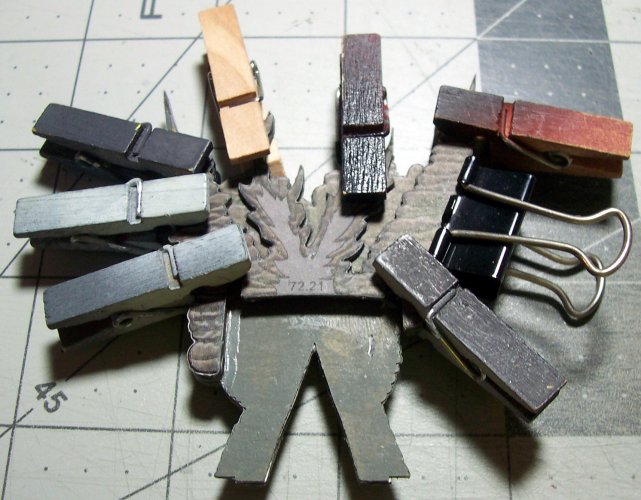
Just one more layer, 72.21 - 73.23 that will complete the assembly.
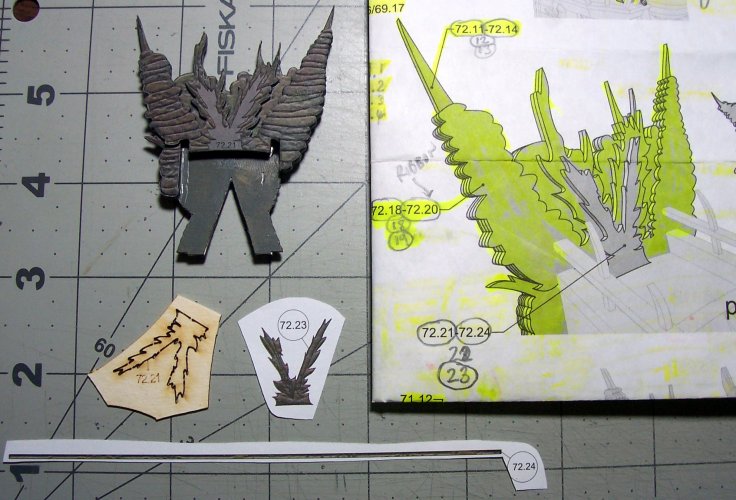
Just placing the final part onto the Stern Decoration assembly.
Now, lets take a look on the ship at where the Stern Decoration will be fitted. Honestly, I did have to spend quite some time shaving and sanding the areas to fit nicely. It wasn't a simple slam-dunk fit!
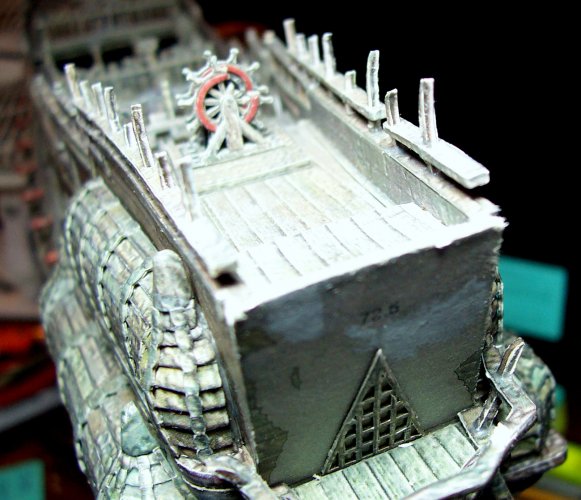
I used a fingernail file to slide up into the inside of the Stern Decoration body. I also used my scalpel to carve away the material because it was too tight a fit.
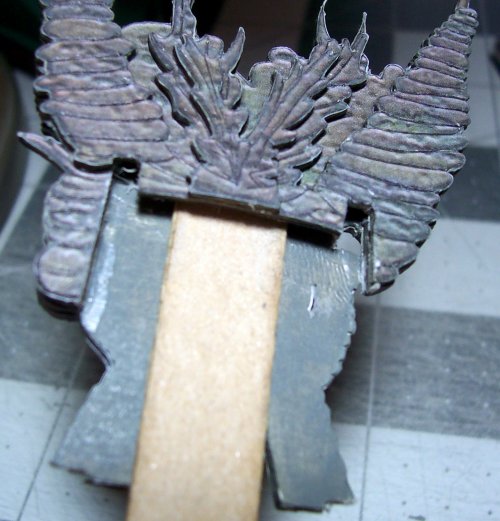
I removed a considerable amount of card to get this to fit. Lots of test fit, carve/sand, test fit trials. The unit needs to be a nice, sliding fit and not too tight as it will distort all the other pieces it touches.
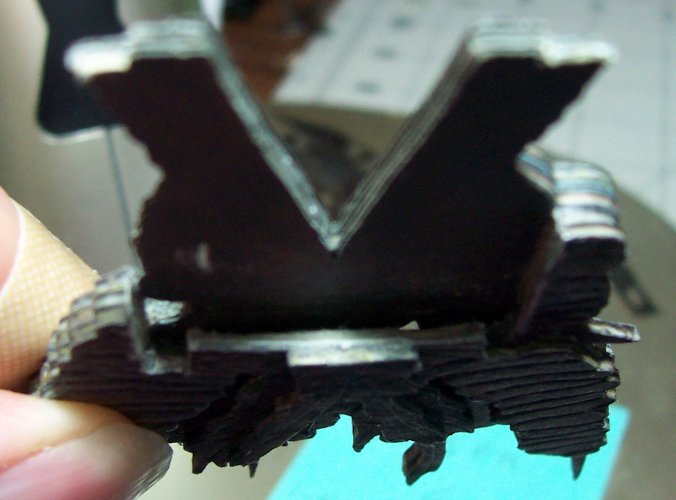
The view from above. I ran some glue into the base joint to fill the slight gap that was produced. The glue (Elmer's X-Treme) dries to a nice matt color to match the rest of the panels.
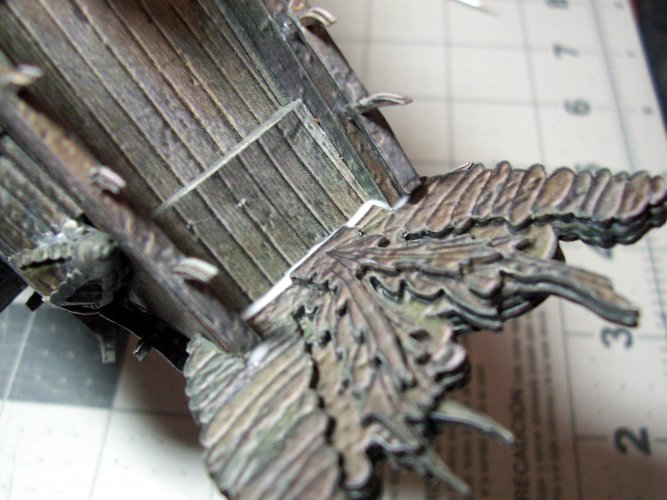
There we are
 The Stern Decoration fitted in place.
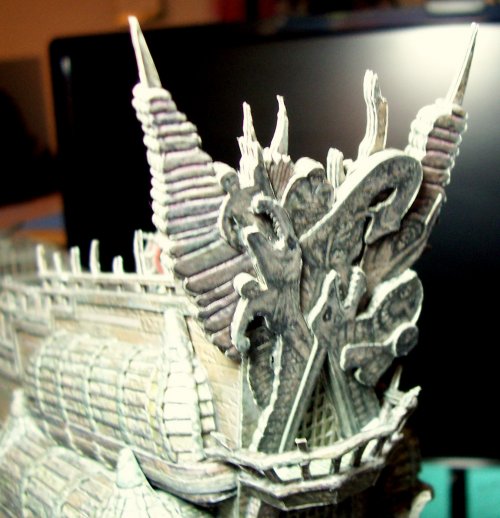
Ship's Lanterns
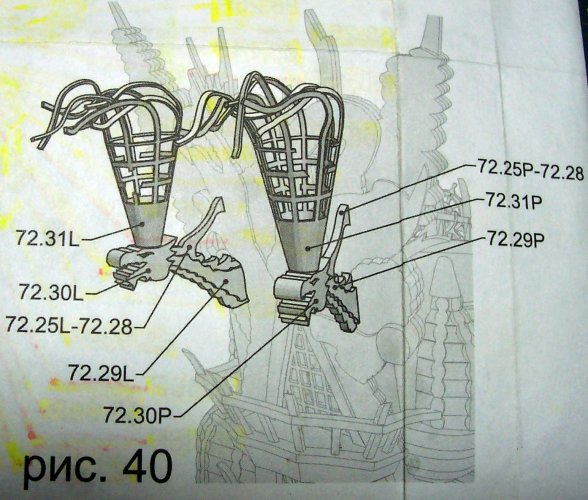
Now to build the ship's lanterns for the stern of the ship. The diagram below PNC 40, shows how they are built.
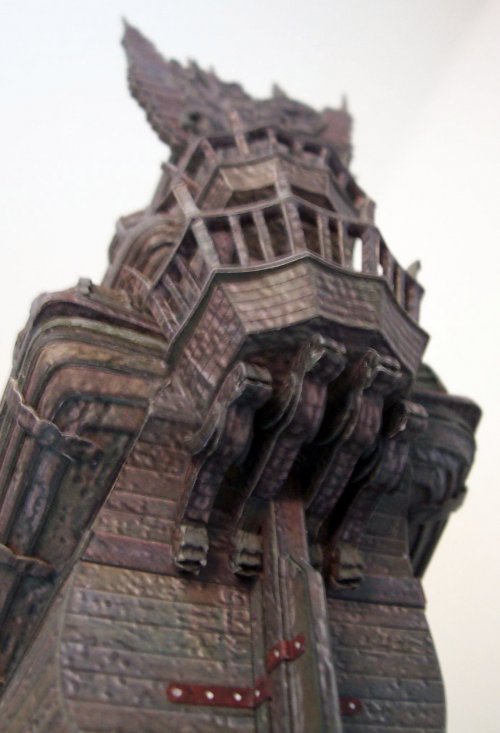
Just a quick picture looking up at the work on the stern so far. I'm not happy with the small, white dots where the bolts for the hinges for the rudder should be. I will need to do something with them like add some makeshift rivets or bolts?
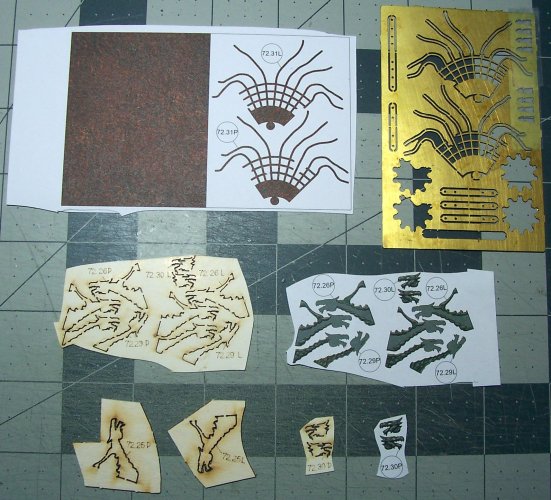
These are all of the parts to build the lantern assemblies shown below.
I've got 2 choices here! I can build the lanterns using the paper version on the left side, or make them from the brass-etch pieces? Note that the brass photo-etch parts were an optional add-on, which I decided I wanted for the job
 Anyway, I decided to use the brass versions mainly because the upper 'fronds' would be too weak, and not keep their shape.
I make a start by making the brackets for the lanterns. These are really nicely detailed! The dragon's head and neck look very cool!
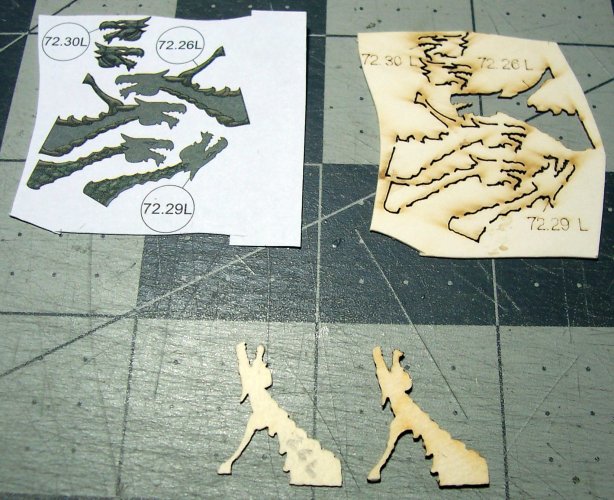
Start by painting the bracket base gray. Also, cut out the color veneers for the two sides of the bracket.
Thank you! I truly love working on this ship! Who doesn't like a ghost-ship?I really like how this is turning out!
It really is a great kit! So far, its been a very enjoyable experience to build, and I enjoy glancing up at it on top of my computer caseThis kit is so well designed. I love it!

Ship's Lanterns - Continued
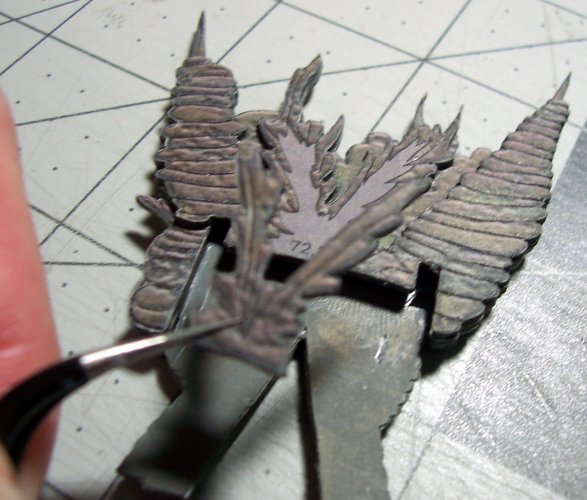
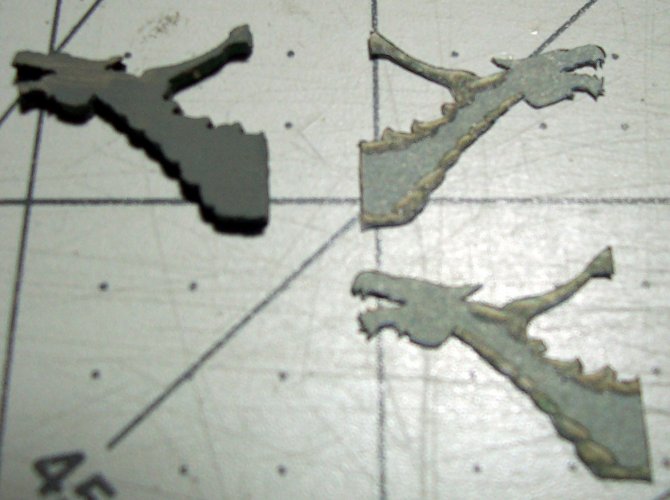
So, here are the lantern brackets that attach the lanterns to the transom. Such lovely detail!
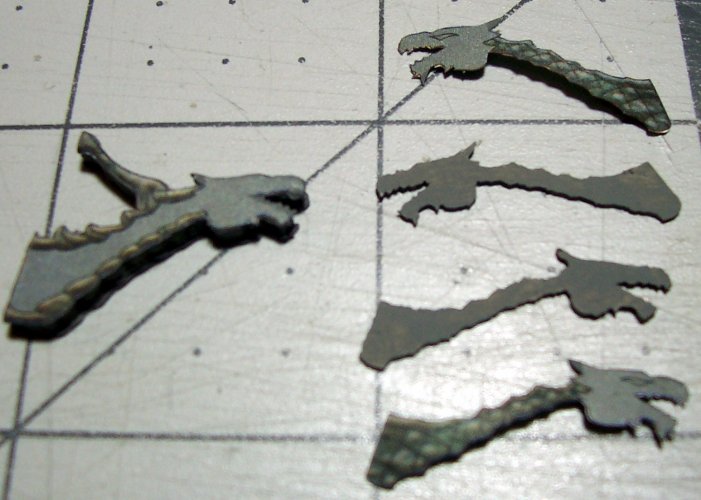
The layers provide the details to the dragon lamps bases.
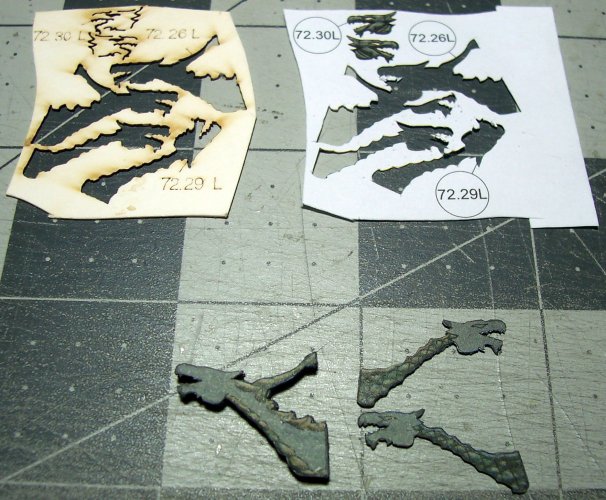
The final layer for the dragon's face is ready to be added.
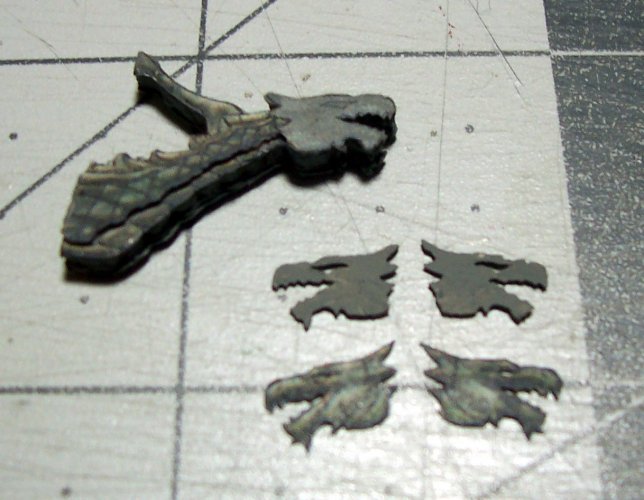
There is a ribbon of color veneer that needs to be glued to the edge of the base. I added some additional custom pieces to make sure it looked consistent

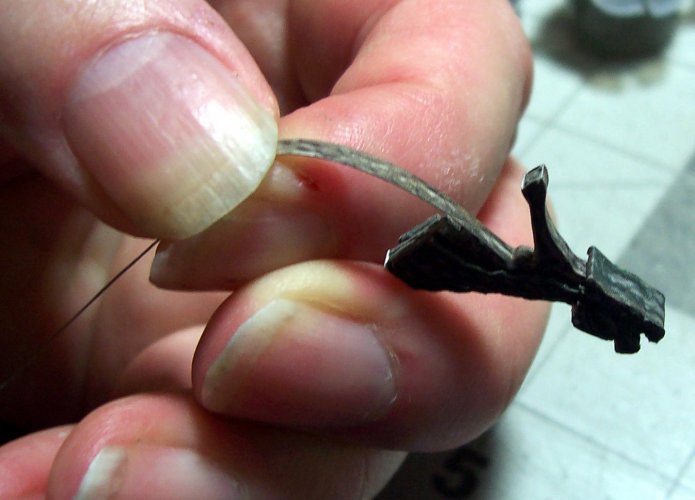
This was the part that I was really looking forward to! This is the reason I wanted the brass etched add-on too. The paper version supplied with the kit is okay, but its a bit too flimsy and doesn't hold the shape for the lamp fronds at the top that need to be bent into chaotic poses. So we have 72.31P and 72.31L accordingly.
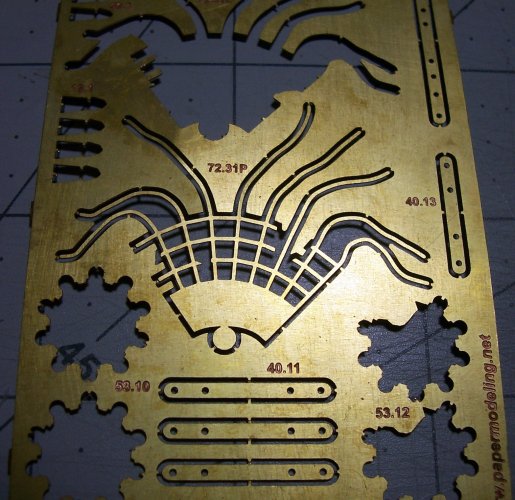
I used several of my old blades to chop these guys out. Just put the brass over a hard metal surface and cut straight down to separate each node from the sheet. I did clean them up where needed with a needle-file.
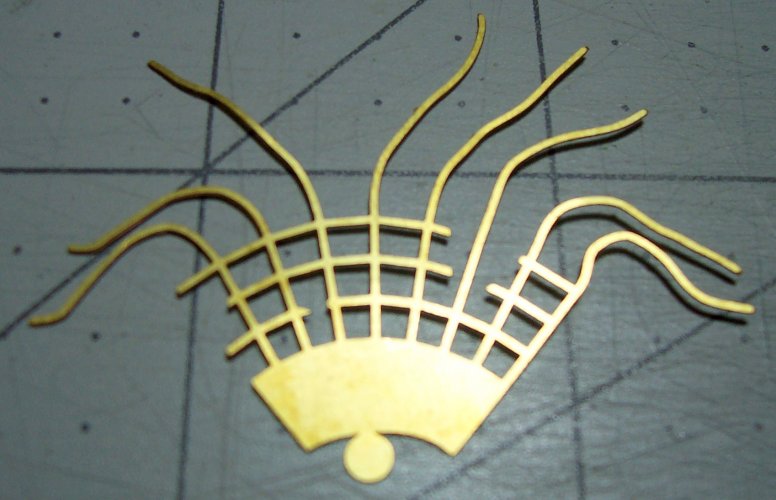
I used some long nosed pliers and gently curved the lamp taking it really steady. Just a bit of curve at a time. Before you know it, its fully round. Just butt the flat sides to one another. There's no need for glue or solder to hold these together. I just flapped up the small round base so its flush with the cone shaped base edge. Both the L and R parts are different, which is very cool! Next, spend some time getting the thin, "fronds" on the top of the lanterns to get a nice effect. This is important, so don't just bend them a bit, and we are done stuff

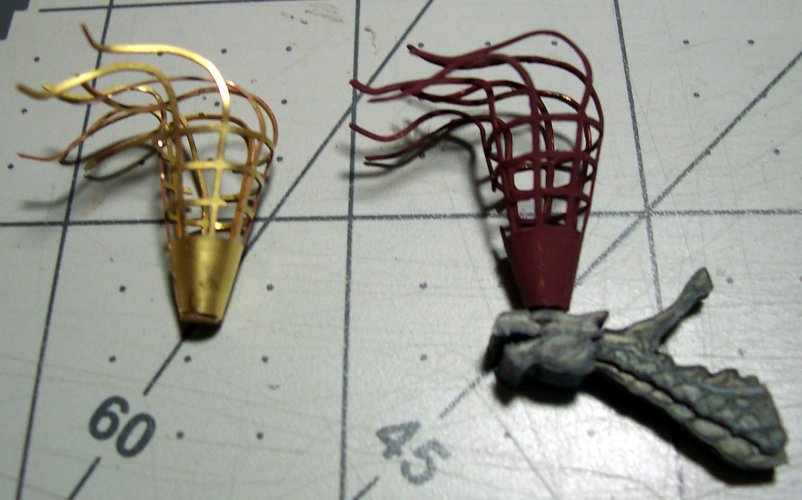
The reason the brass version is better is because the thin-bits hold their shape! Try not to have any of them touch each other at least!
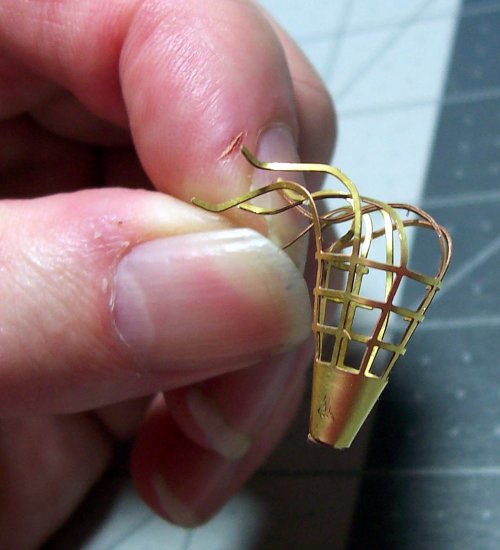
I just painted them the same color as the paper parts. There are lots of edges and surfaces that are obscured, but hey, its all good fun
 There are the brackets too, all ready to be mounted to the stern.
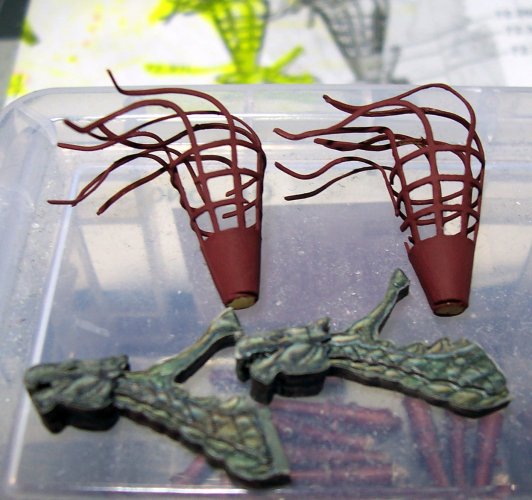
Okay, this looks like where they will need to go on the stern of the ship. You have to measure it yourself as there are no markings to guide their placements.
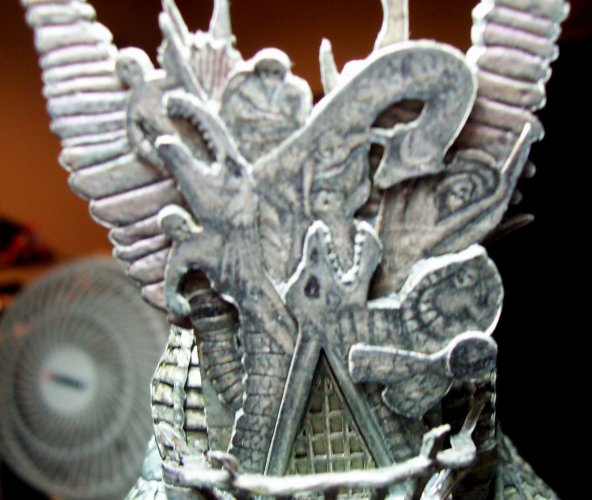
Be aware that the bases will be located on different heights on the stern decoration. I adjusted the base of the each bracket with a little packing to get them balanced as perfectly as possible. they have to be looking downwards just a bit.
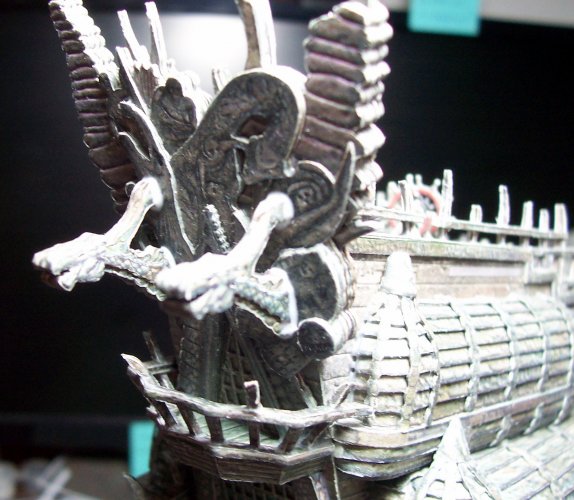
There we go! The ship's lanterns are in place. Because the lanterns are brass, you might want to use a stronger type of glue? I used Formula 500 Canopy Glue. It basically sticks anything to anything. I would prefer though just to knock the lantern off the base if they got bumped and not destroy anything if super-glue or epoxy was used.
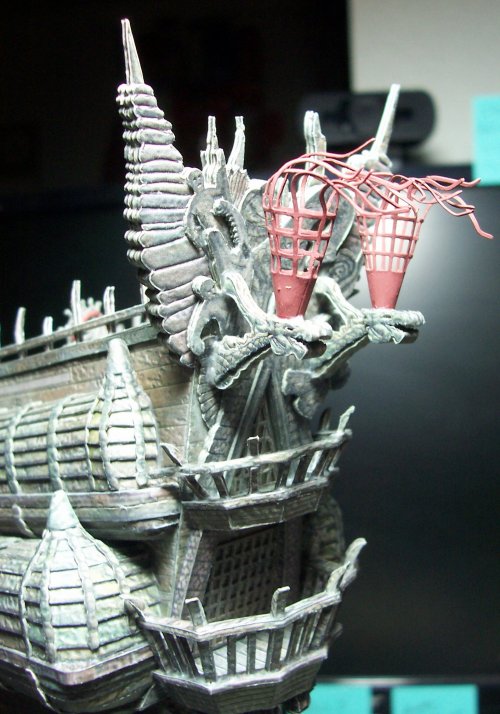
Channel Wales
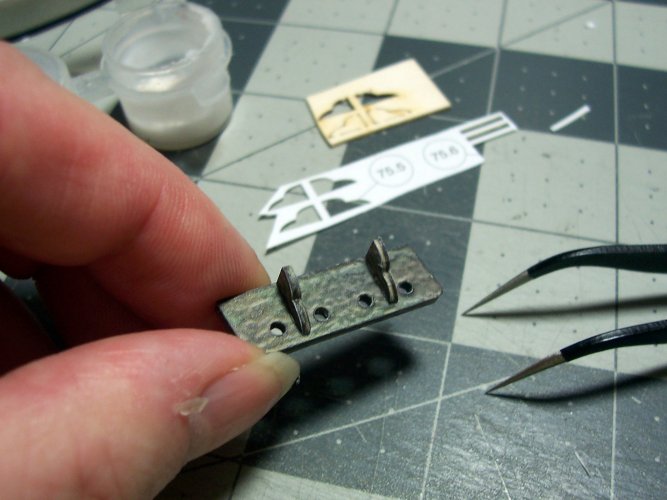
If you don't know what a channel wale is all about, they support the bases of the rat lines on each side of the ship. This is the diagram of the sub-project in Pic 41 below.
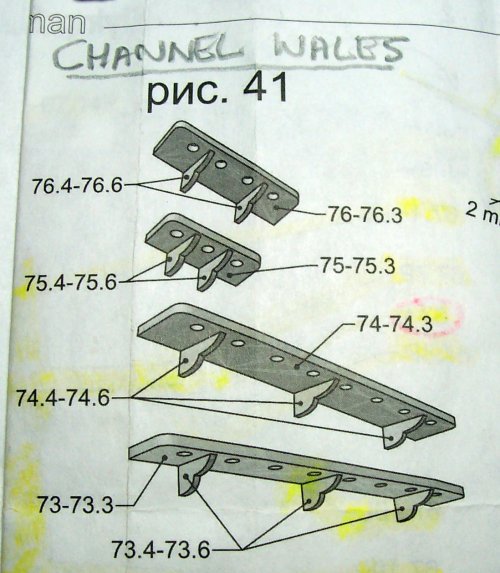
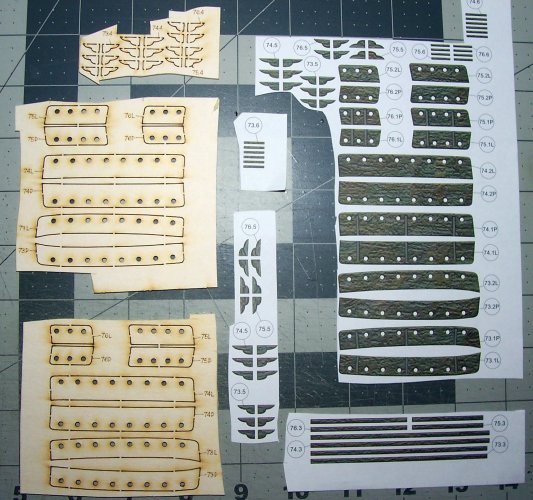
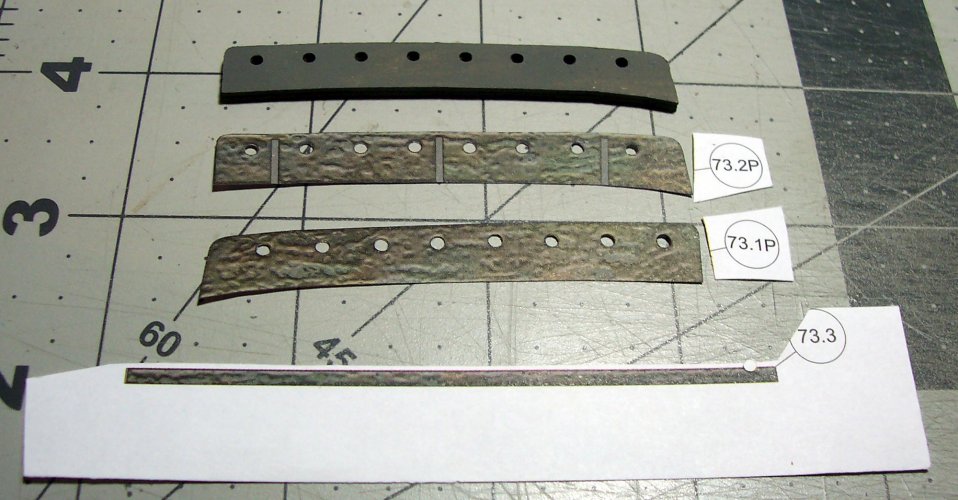
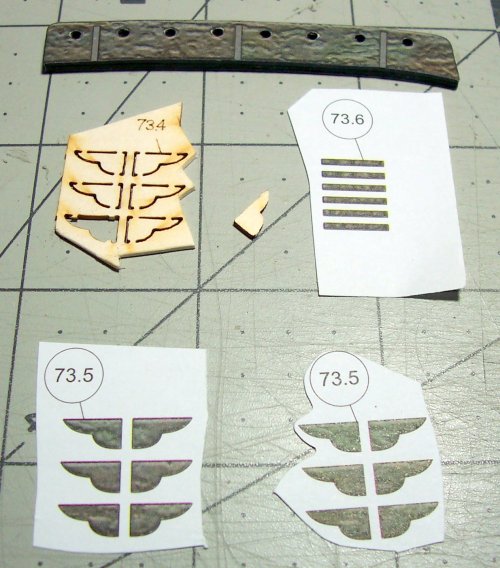
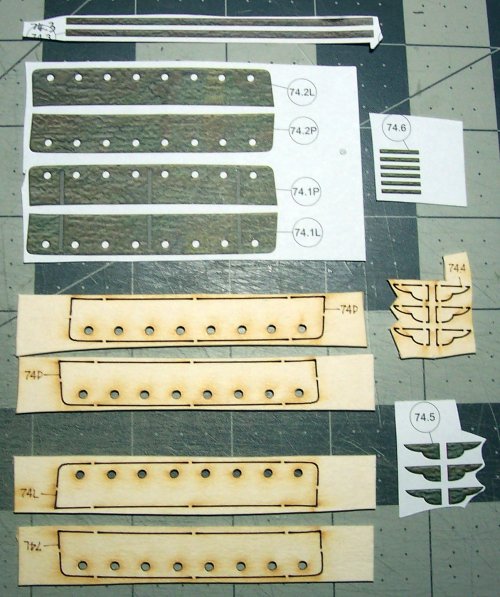
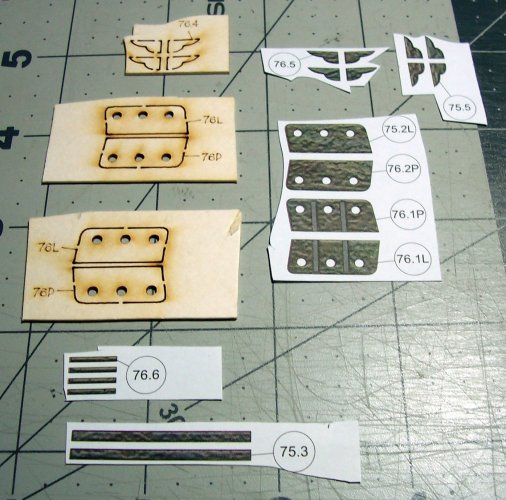
These are all of the parts laid out for the channel wales. There is a lot of work just with these!
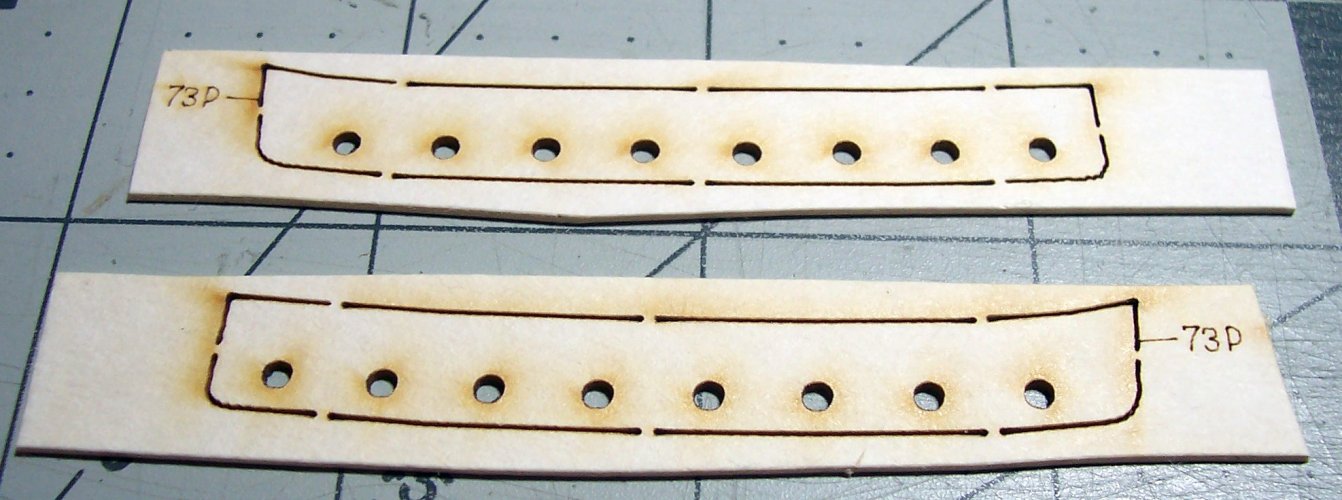
The holes for the fittings are very nice and true in these laser-etched pieces parts 73.x
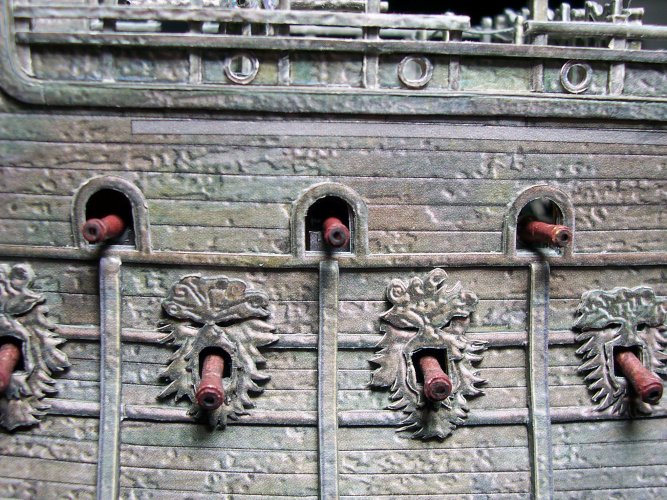
Hold your horses! Time to break-off to fit the remainder of the cannon barrels. I thought I would experiment with using some Rub'N'Buff on the rear of the cannon barrels, but later I painted it over after deciding it was too jarring.
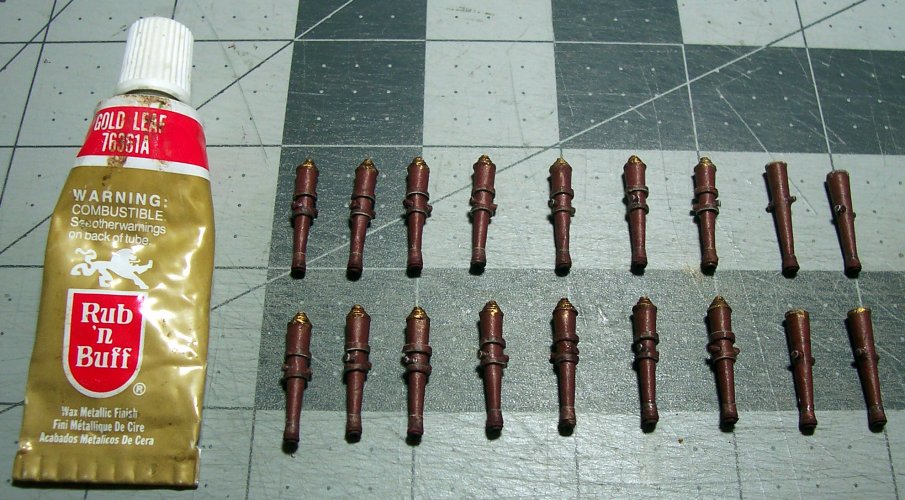
Nope, didn't like them with the gold! Looks too new and nice, time to just paint over them. The cannons themselves look great! Its really good that all these are included with the kit.
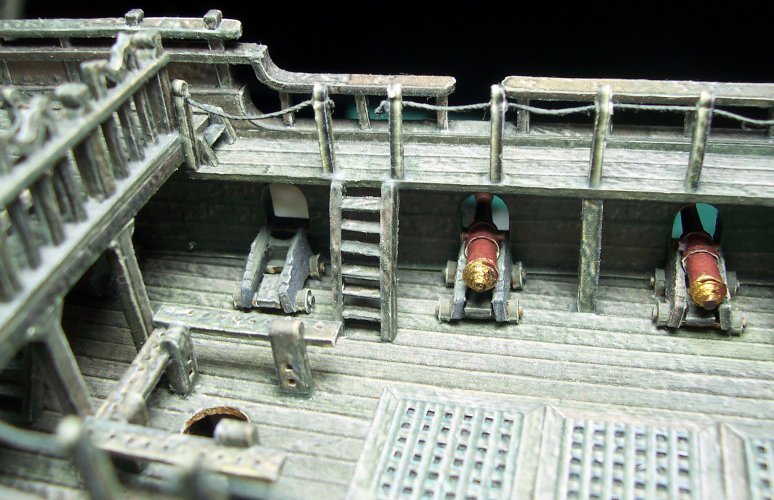
There we go! The middle row of cannon barrels are new, and have been installed now because there is no chance of them being bent and damaged any longer. That part of the ships build has been completed. Also, if we waited until the channel wales had all been fitted, it would have made installing the remaining cannon barrels more of a task.
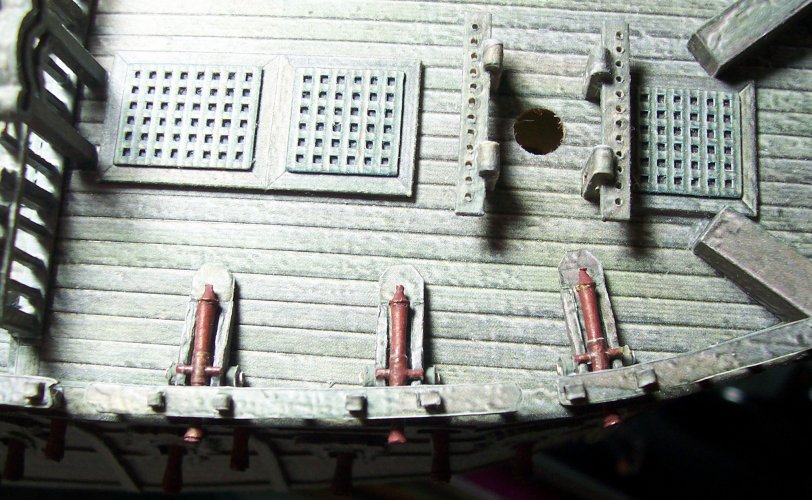
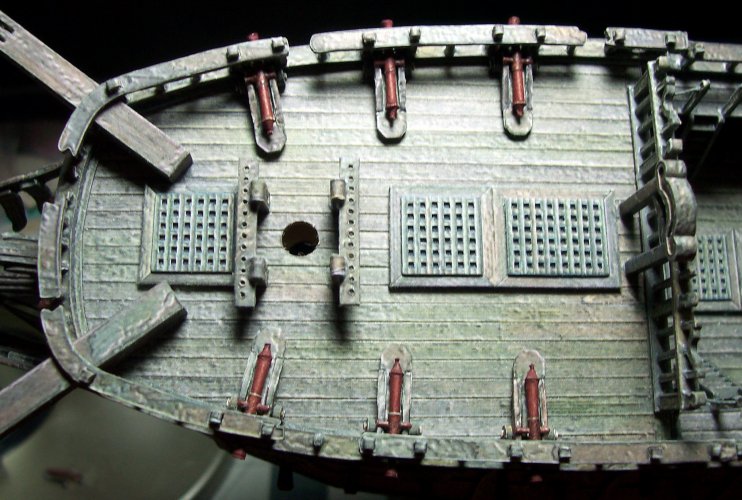
Just the complete cannons need to be fitted on the top deck.
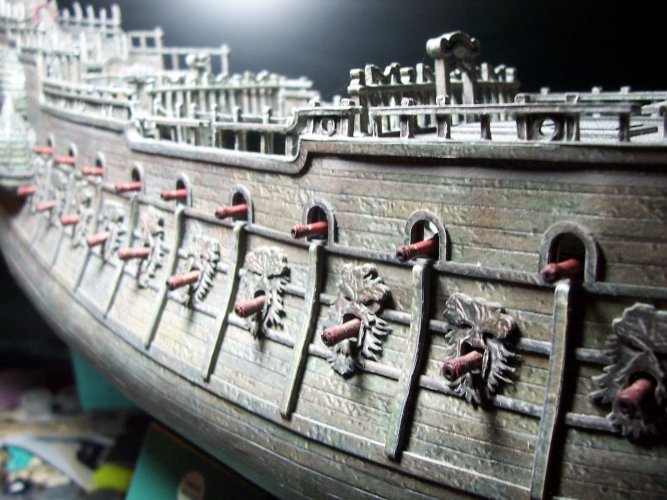
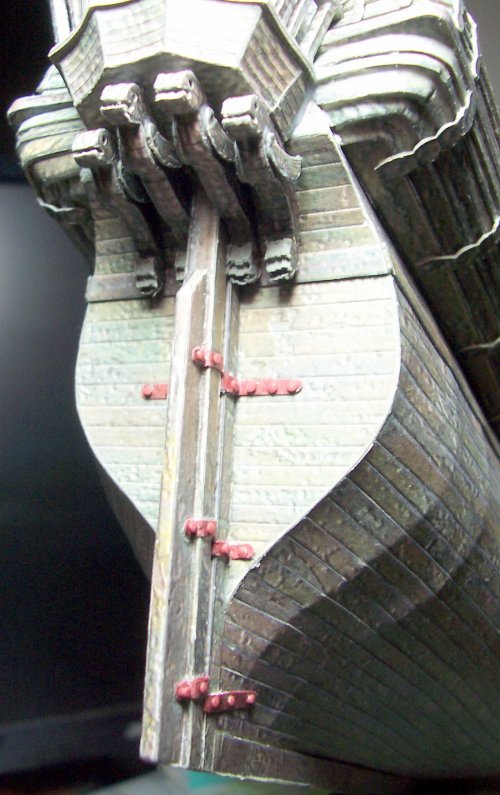
I really hated seeing the small white circles marked for the fixings for the rudder hinges so I fitted some bolts/pins in each of those spots. I then painted each of the heads of the pins so they are consistent with the ship. I'm quite pleased with the results.
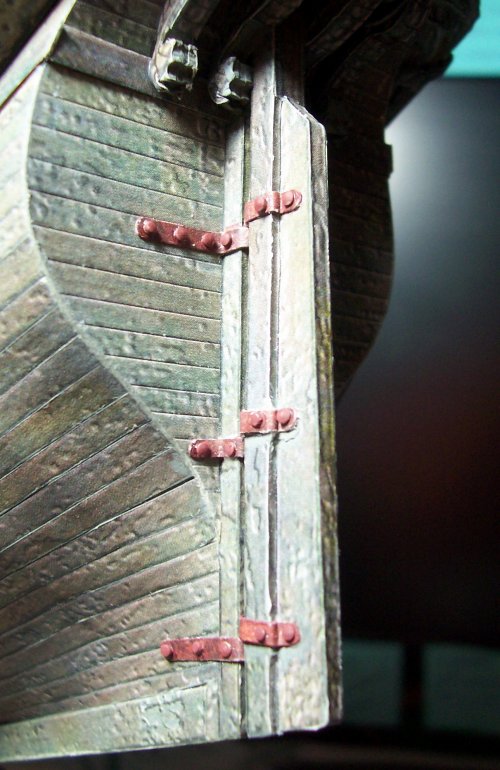
The amount of detail that is in this project is simply MIND BLOWING!!! :exploding_head:
Thank you Rhaven. I see that the number of sheets of parts is becoming less and less clustered with pieces. There are a few sheets now that have been completely used up, and are just empty frames. I guess I'm making some progress?The amount of detail that is in this project is simply MIND BLOWING!!! :exploding_head:

:exploding_head:
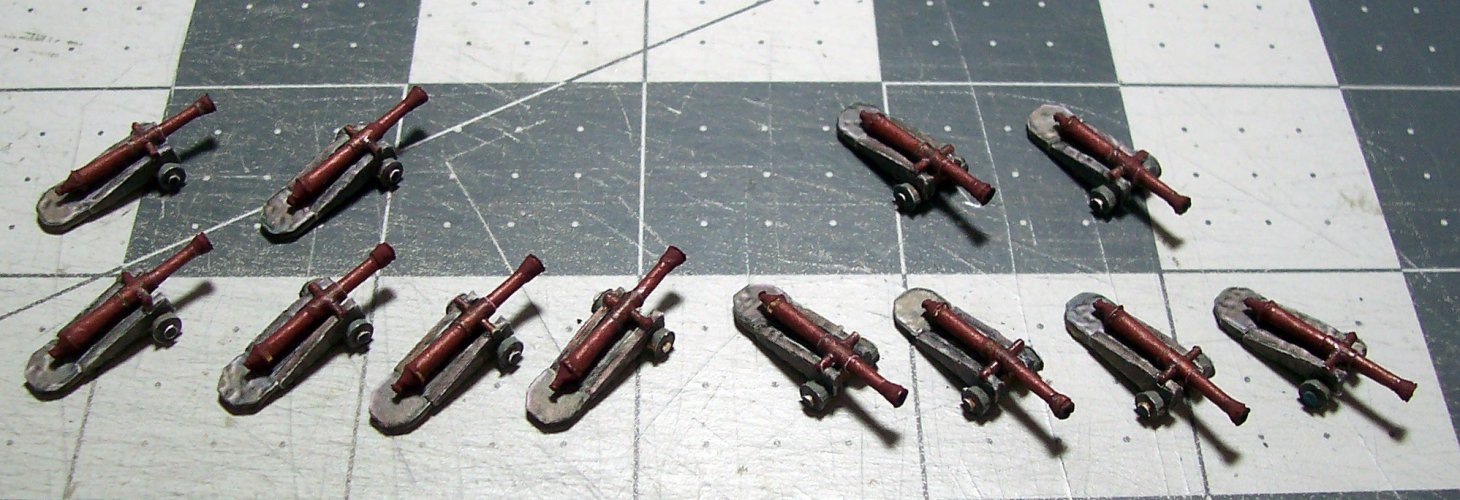
I was installing the chain wales but realized that it was time to fit the remaining cannons beforehand to ensure there was sufficient access. The following 12 cannons go on the upper deck. I spent a little time cleaning up the barrels and then gluing them into place on the bases.
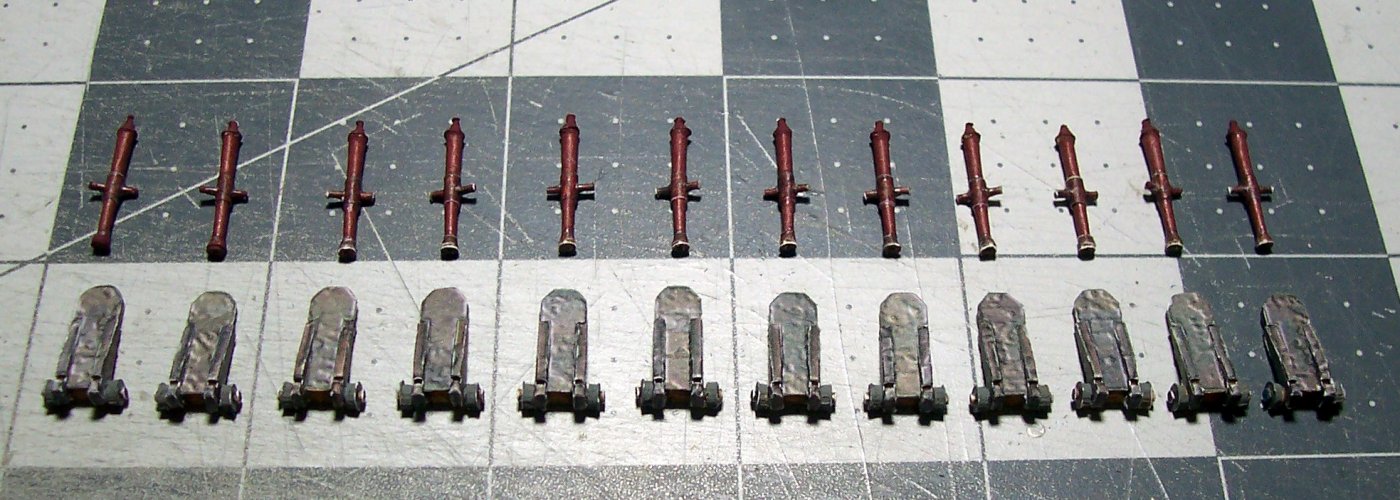
Ready to be glued onto the upper deck.
One of the cannon ports was missing and was not included on the plan, although the parts appear to have been included. It was like the issue was realized maybe after the model was finished and a quick inclusion was made.
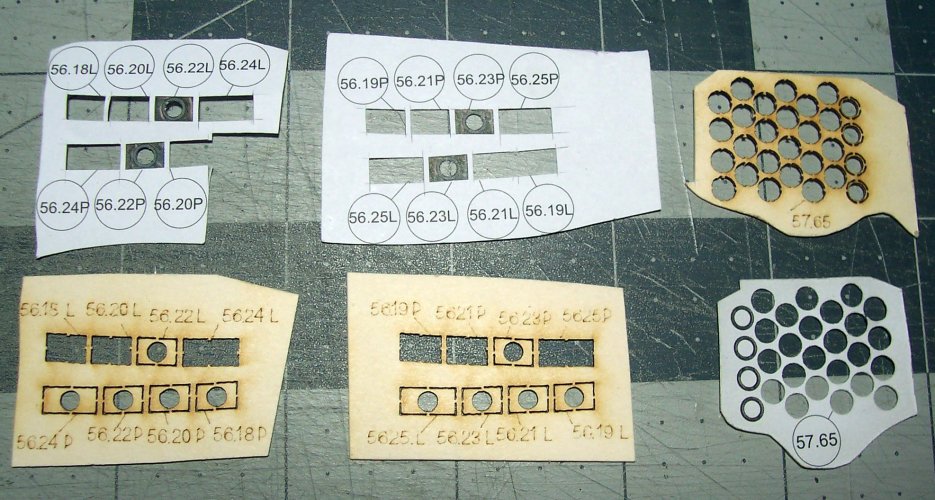
The port on the far left is useless. It is adjacent to the railings and is too narrow for a cannon to be located. The picture below shows the additional ports added as it appears they should be. This is the three ports starting at the bow on the port and starboard.
This is a plan view of the upper deck cannons in place on the starboard side.
Showing both port and starboard upper deck cannons and their angles.
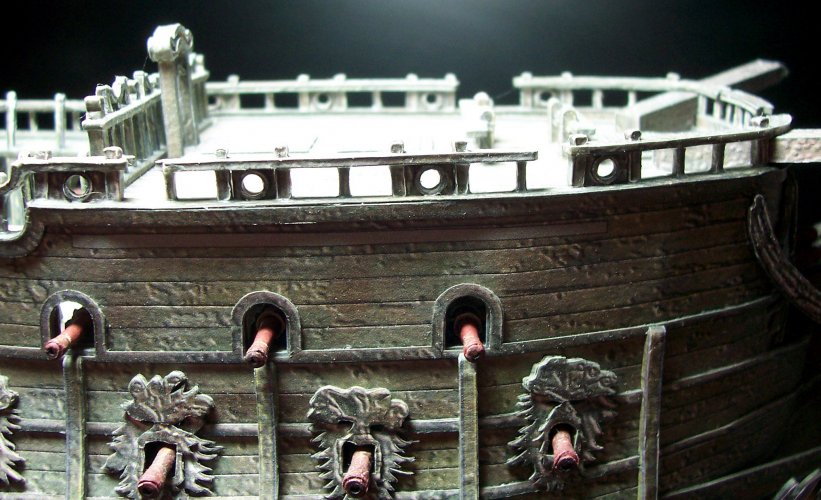
These are the six upper deck cannons on the stern.
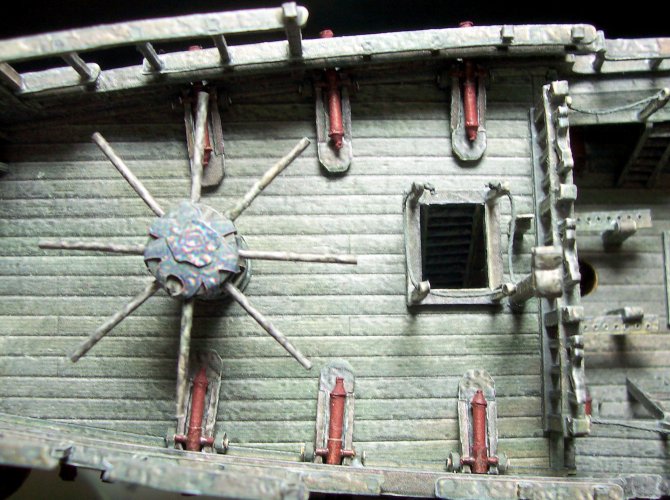
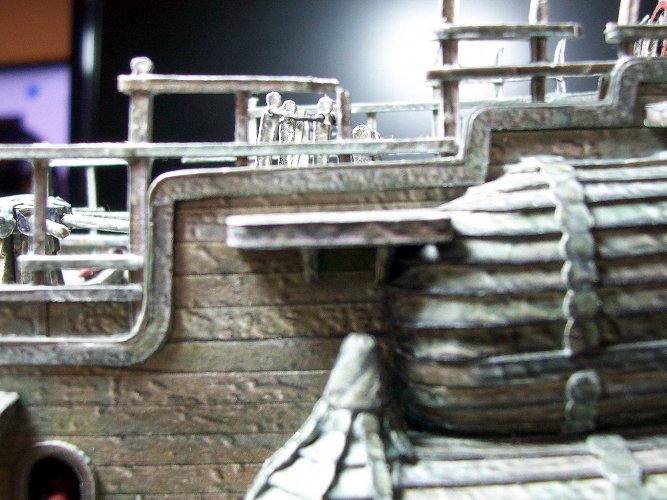
I couldn't resist taking this photo of the rear figureheads underneath the stern walks.
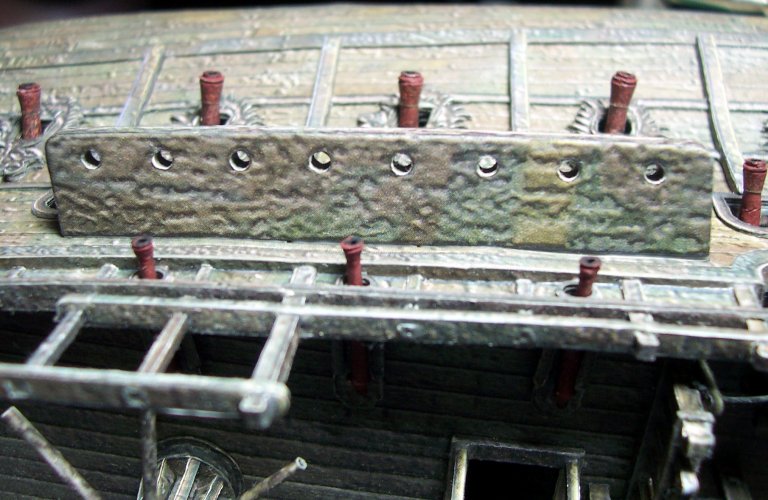
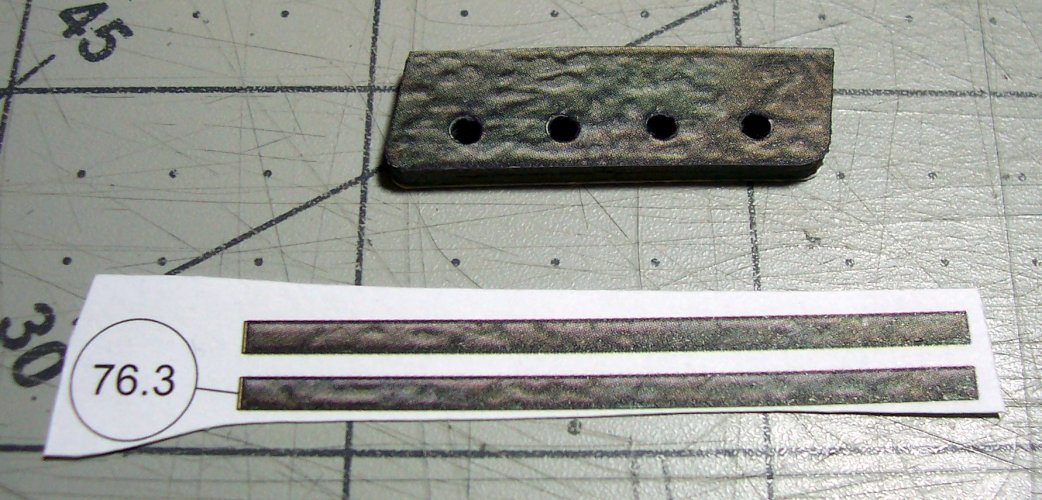
Okay, back onto fitting the chain wales or channels. The purpose of these if to keep the shrouds away from contacting the ship sides, and that is pretty much it! Part 73.3 is the ribbon that goes around the edge of the channel.
The chains pass through the holes and are secured on the sides of the ship on the lower end. The upper end connects to the deadeye. You just have to make sure that the shrouds and chains do not interfere with the ports.
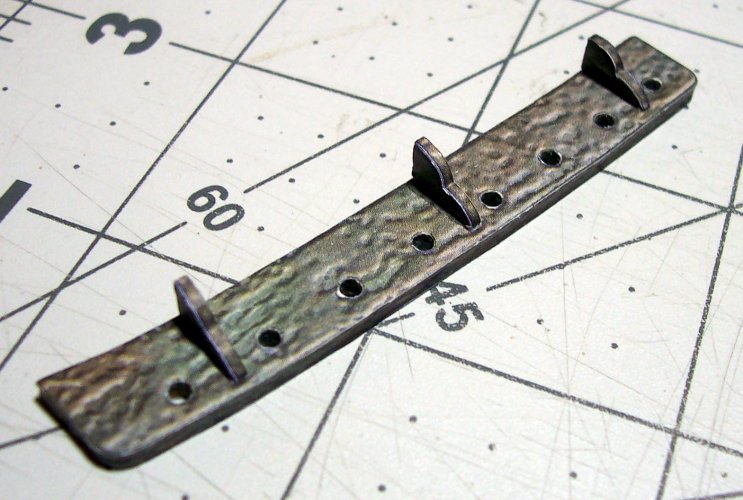
I ran a glue gusset to provide some additional strength for the channel fixings.
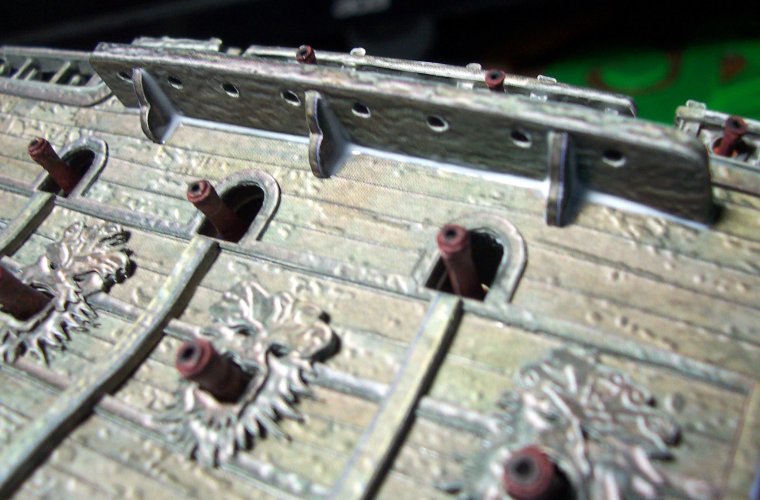
This is the front chain wale. There looks to be plenty of room for the chains fixings on below the channels.
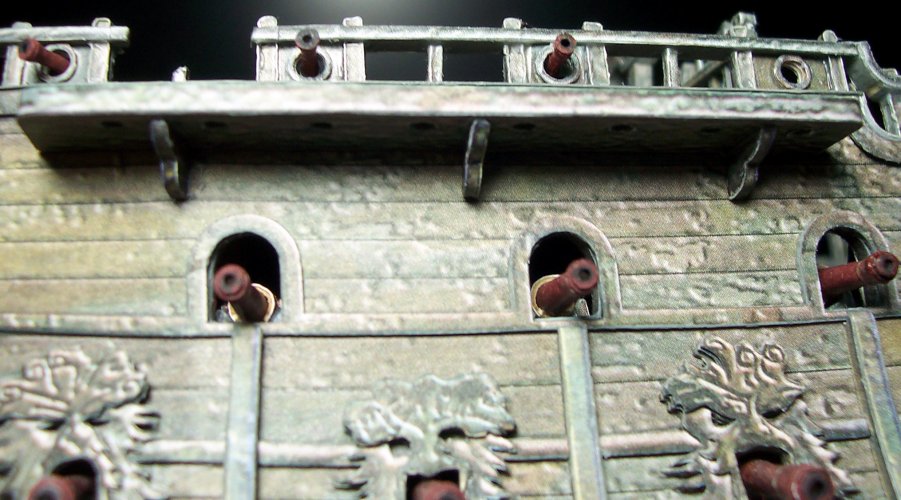
These are the chain wales for the main mast. They are 8 hole channels as expected for a Danish man-of-war of the 1600 era.
The chain wale for the main mast in place on the starboard side.
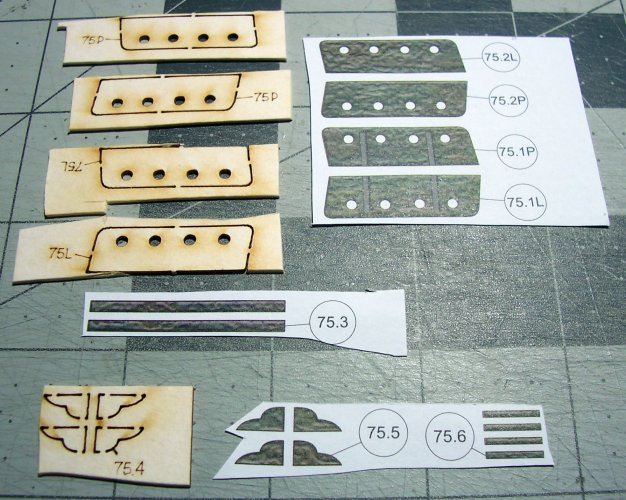
These are the complete set of parts for the Mizzen Mast at the stern.

Ready to be glued onto the upper deck.

One of the cannon ports was missing and was not included on the plan, although the parts appear to have been included. It was like the issue was realized maybe after the model was finished and a quick inclusion was made.

The port on the far left is useless. It is adjacent to the railings and is too narrow for a cannon to be located. The picture below shows the additional ports added as it appears they should be. This is the three ports starting at the bow on the port and starboard.

This is a plan view of the upper deck cannons in place on the starboard side.

Showing both port and starboard upper deck cannons and their angles.

These are the six upper deck cannons on the stern.

I couldn't resist taking this photo of the rear figureheads underneath the stern walks.

Okay, back onto fitting the chain wales or channels. The purpose of these if to keep the shrouds away from contacting the ship sides, and that is pretty much it! Part 73.3 is the ribbon that goes around the edge of the channel.

The chains pass through the holes and are secured on the sides of the ship on the lower end. The upper end connects to the deadeye. You just have to make sure that the shrouds and chains do not interfere with the ports.


I ran a glue gusset to provide some additional strength for the channel fixings.

This is the front chain wale. There looks to be plenty of room for the chains fixings on below the channels.

These are the chain wales for the main mast. They are 8 hole channels as expected for a Danish man-of-war of the 1600 era.

The chain wale for the main mast in place on the starboard side.

These are the complete set of parts for the Mizzen Mast at the stern.


Last edited:
I hope so. I really love this ship, and there has to be others out there too that could feel the same way.This is going to be the perfect guide for anyone who wishes to try their hand at this model!
One thing I really like is that the "kit" comes with all of the necessary accessories such as all the cannons of which there are three types, stand, anchor, figureheads, deadeyes, blocks, winches, and so on. If these were to be bought as add-ons, it would become VERY expensive!
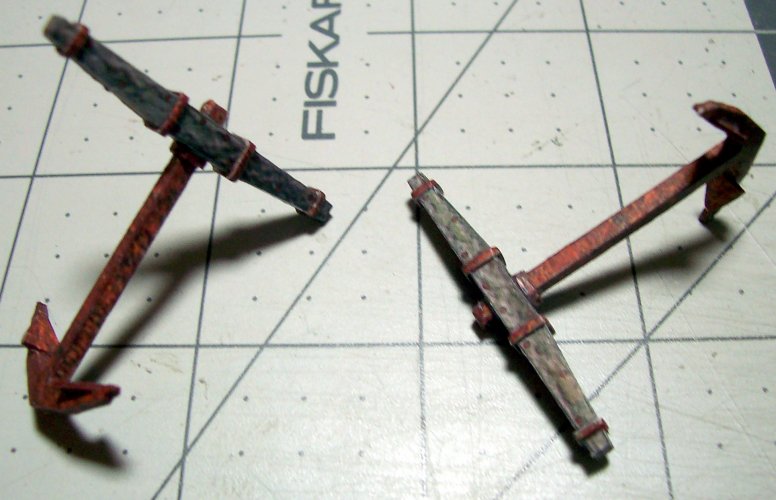
Ship's Anchors - Build
Okay maties, time to build the anchors

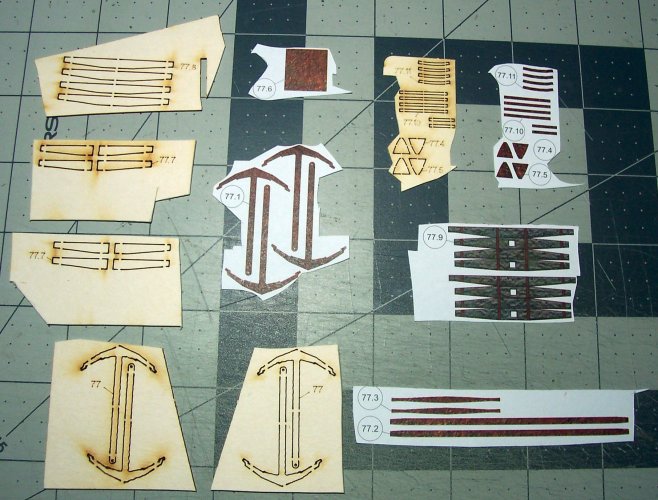
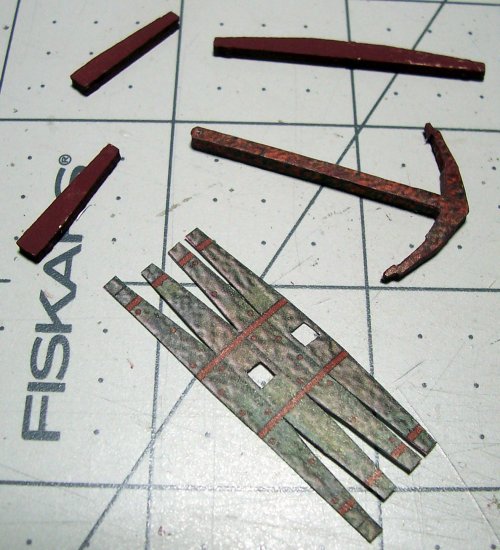
These are all of the parts necessary to build both of the anchors, port and starboard.
Cut out the double-layered shank.
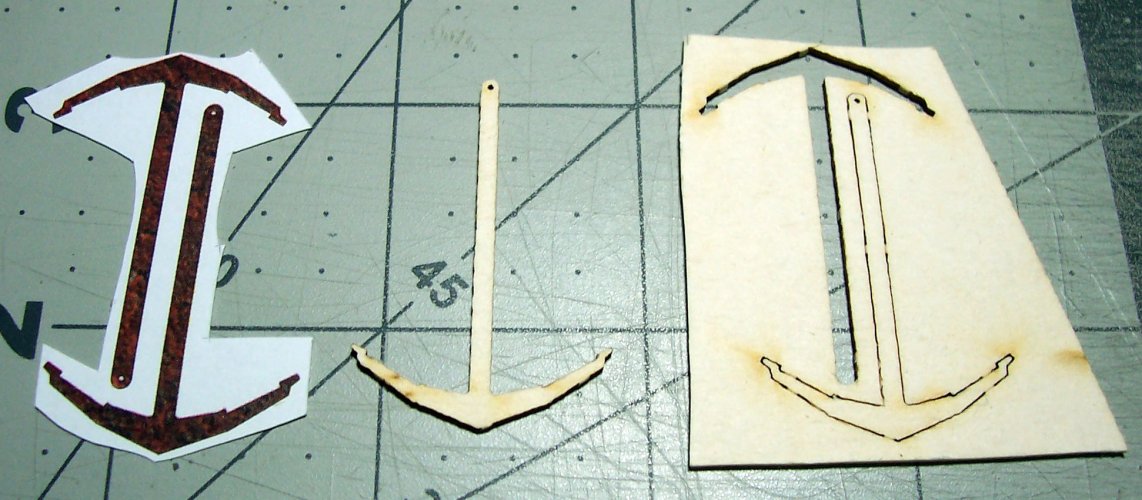
I painted all the parts brown to start with just to make sure that any aps are hidden.
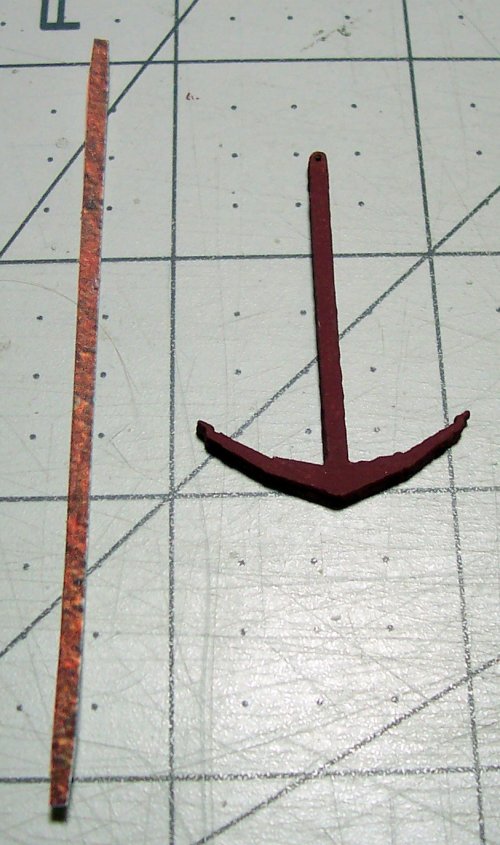
You have to do a little carving and grinding to shape.
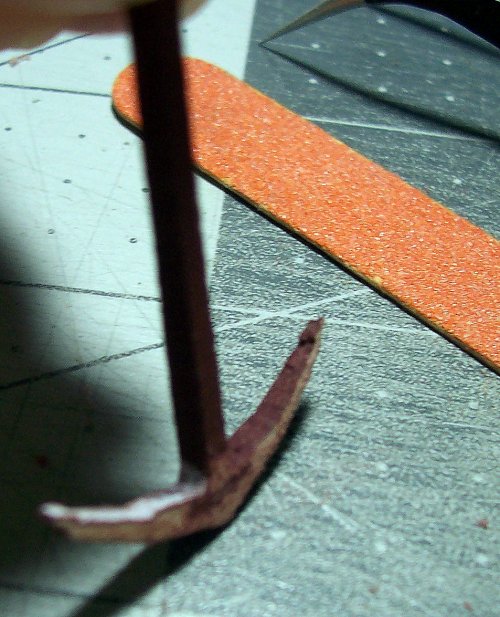
The painted surface helps so you can see what material you have removed. I used the veneer, 77.3 that goes on the crown as a guide for shaping the card.
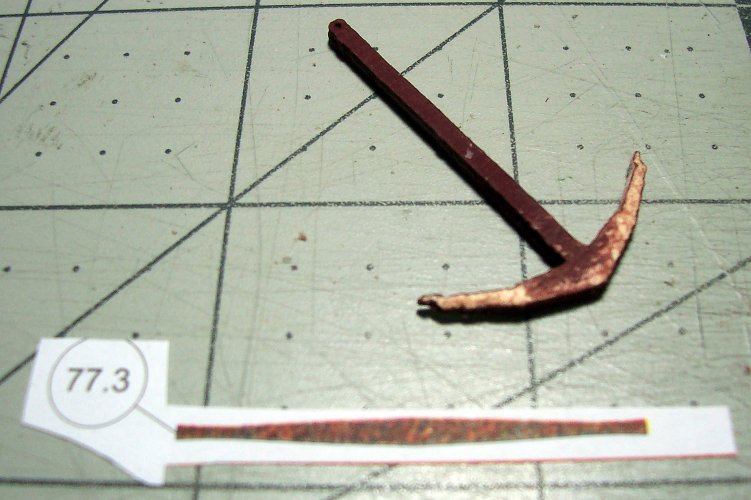
The shaping is a little intricate, but it does improve the looks.
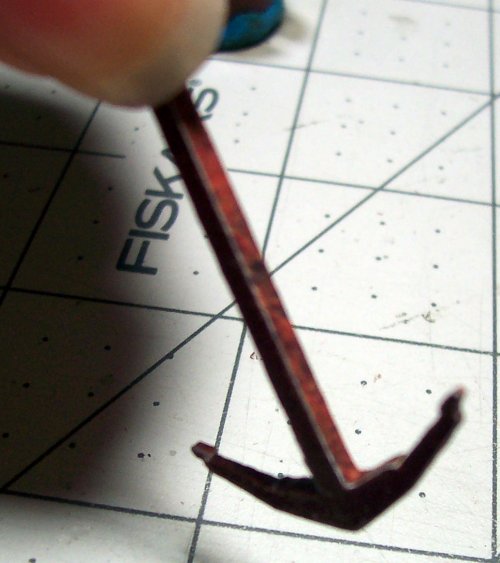
Cut and glue the sides of the shank in place. Also make sure to keep the hole at the top for the ring unblocked too!
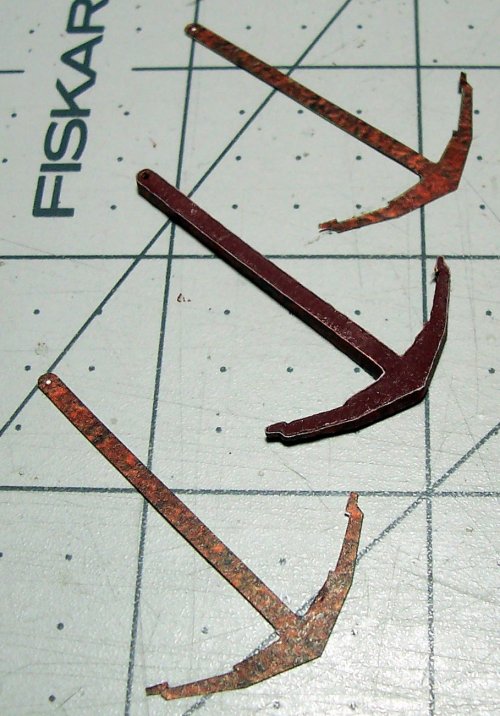
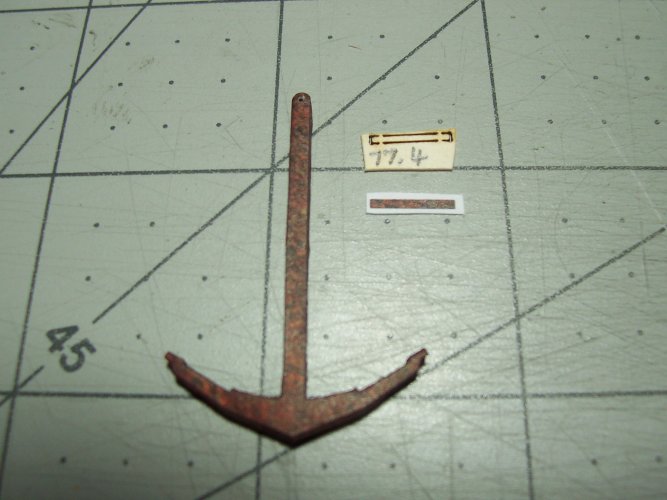
Build the stock of the anchor.
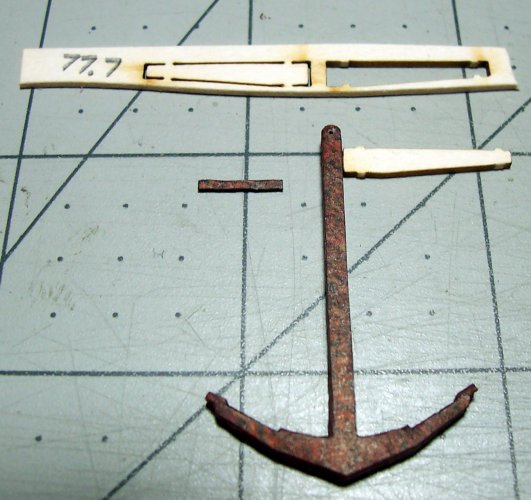
Glue the band that goes around the shank in place.
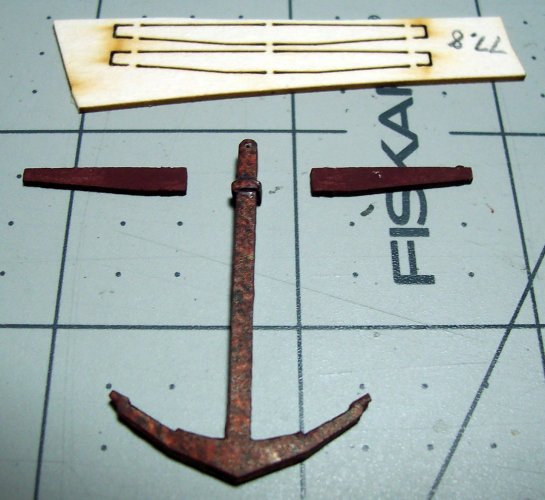
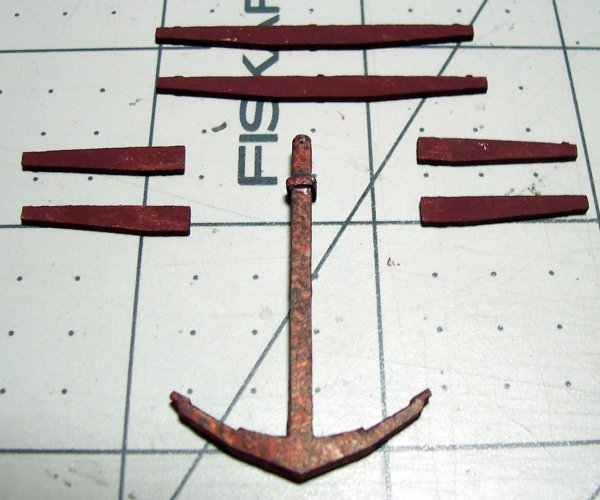
Made a mistake here, and had to change the angle of the stock to 90 degrees to the shank
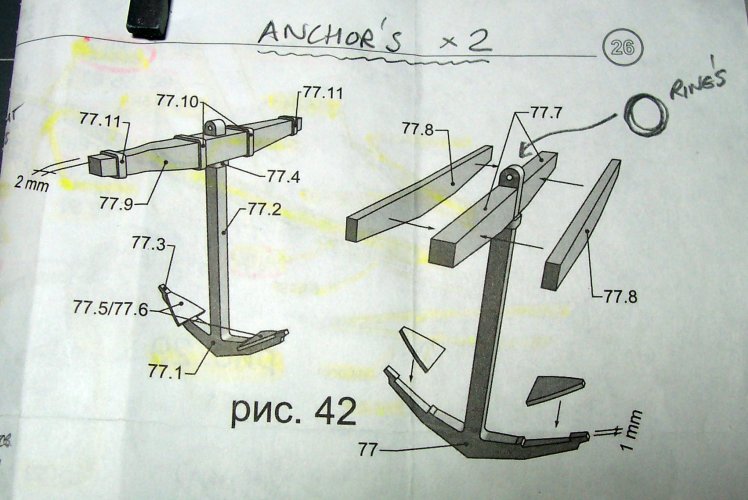
 Note that it is shown in incorrectly below.
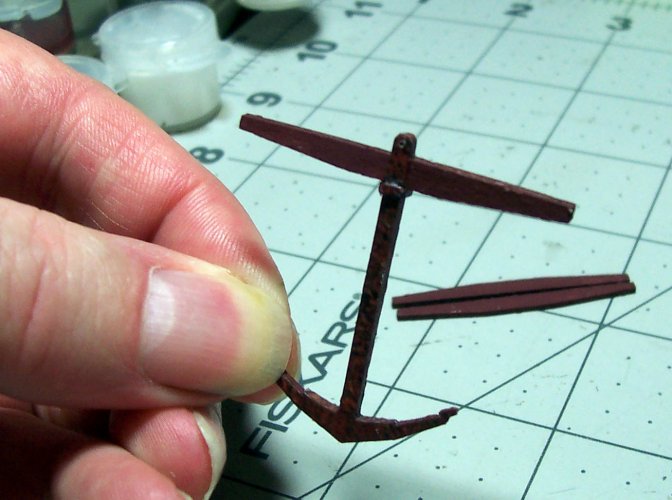
Shape the stock according to the plan above.
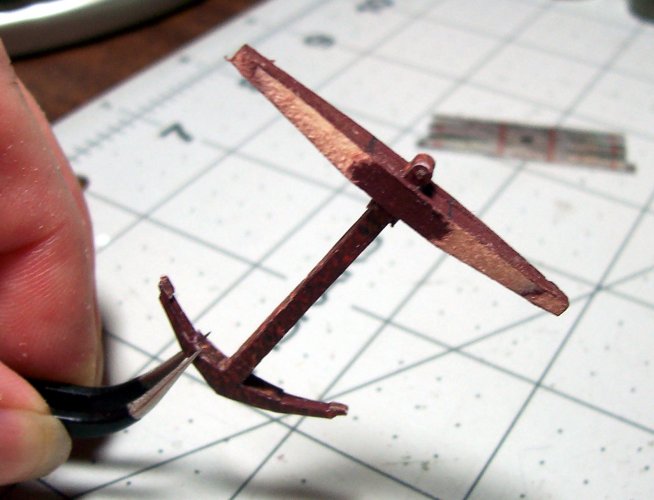
Apply the color veneers to the stock. I found it much easier to cut the single piece into separate parts.
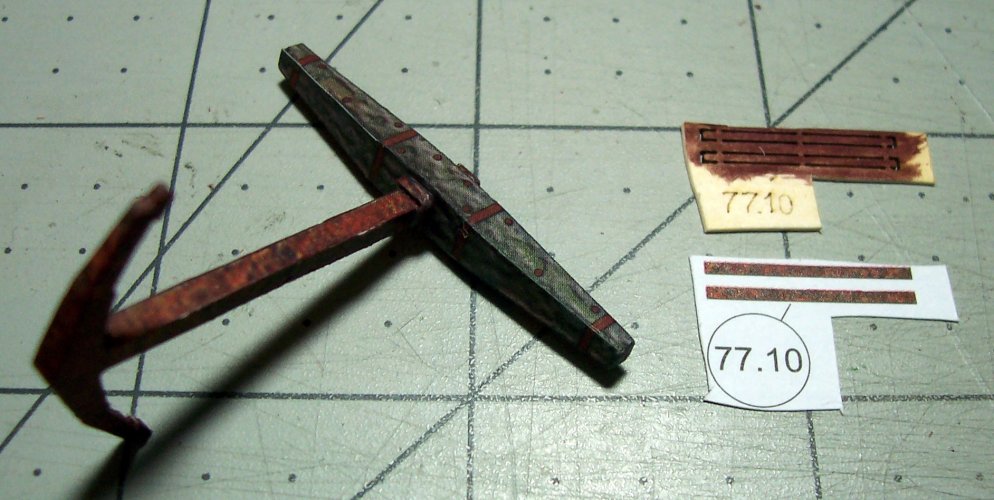
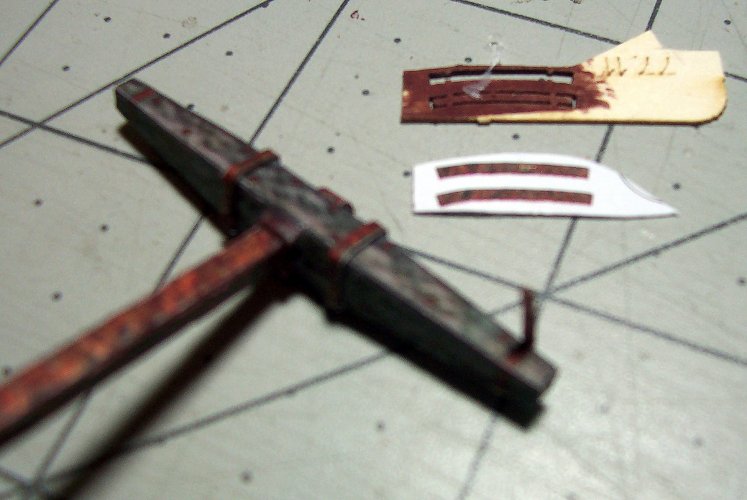
Fit the bands to the stock.
Build and fit the fluke to each side of the arm.
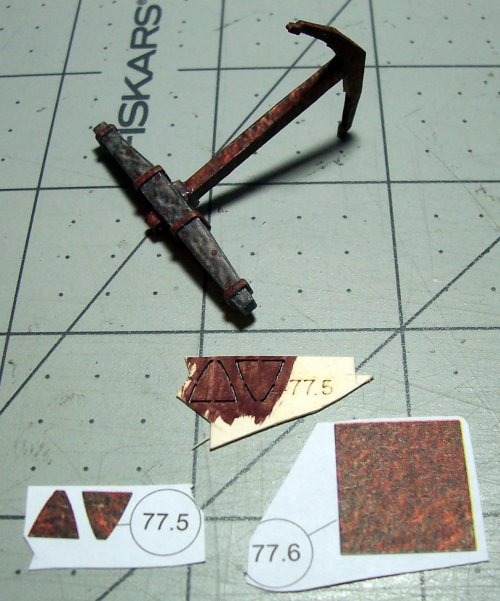
Build the other side taking into account the correct angle of the stock.
Add the bands to the stock.
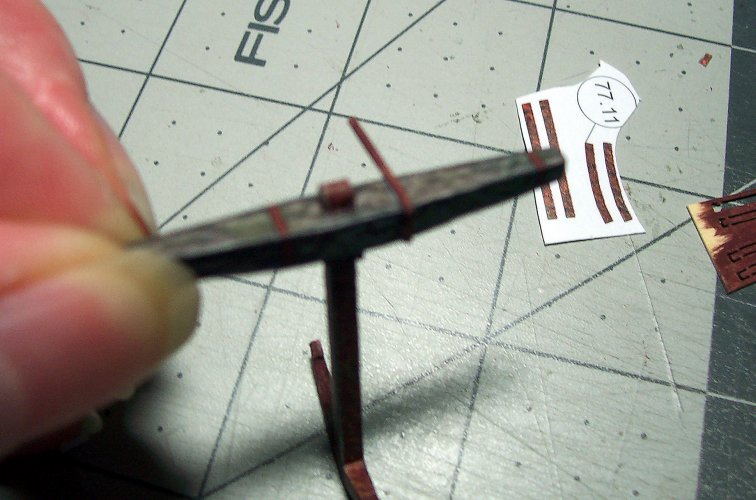
Both anchors almost ready to be fitted. They still need to have the rings installed.
