I always loved these little guys. I need to find, and rewatch the movie. it's been over 20 years since I watched it last.
Dewey - Silent Running drone model by uhu
- Thread starter Chuffy70
- Start date
You are using an out of date browser. It may not display this or other websites correctly.
You should upgrade or use an alternative browser.
You should upgrade or use an alternative browser.
I wouldn't go as far as awesome, but thank you, he'll end up a being a guide to how I can do it properly with the correct weight paper and the correct plans, this guy is from the free download which does not match the instructions or the other sheet plans...This is looking awesome.
I'm looking forward to doing the trio in the near future
They were hard not to love, there was literally humanity in these guys/gals - I'm sure you can pick up it up cheap to watch on some kind of streaming platform, or if you are a luddite like me, a shiny disc!I always loved these little guys. I need to find, and rewatch the movie. it's been over 20 years since I watched it last.
Back for me to drone on again!
Time to add the arm and leg mechanism into the main body - A scratch-built plate was requested in the instructions to be placed against the opening with a 'U' shaped hole. Not really sure as to what it does, but in it went.
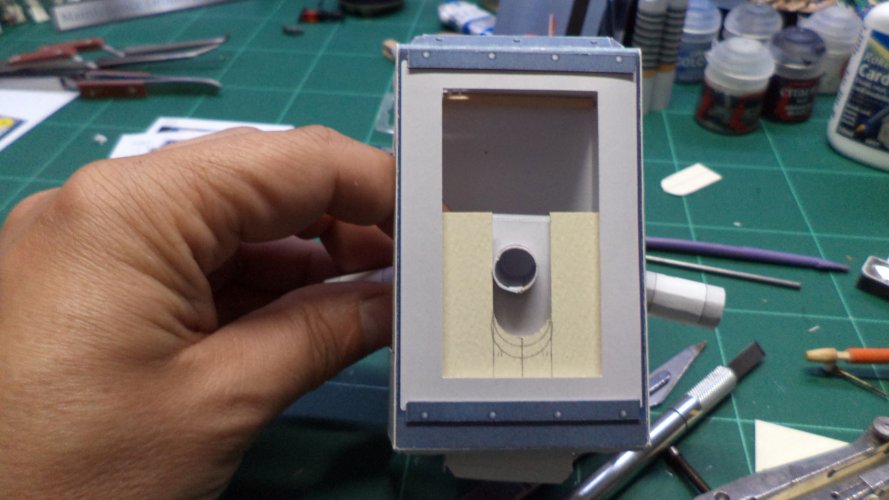
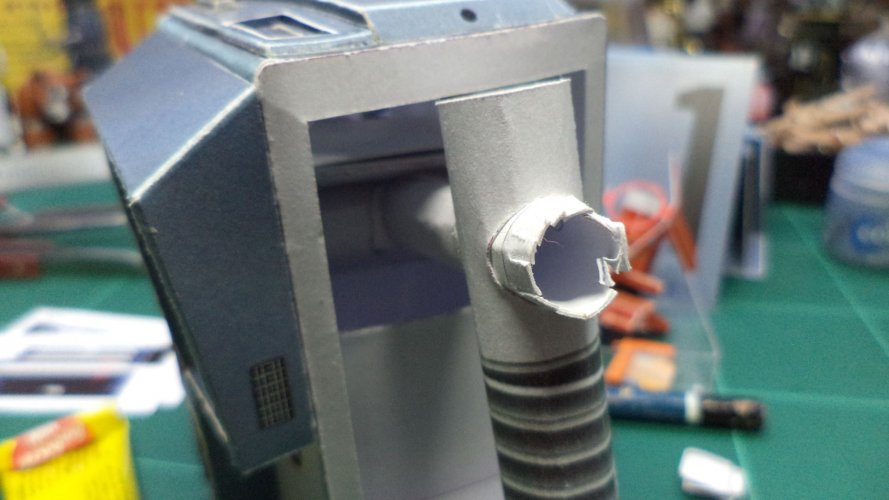
I had to serrate the ends of the arms to get my ends through due to the overly thick stock.
Next up the sump, or more likely the part where the performer had the lower part of their body within the prop.
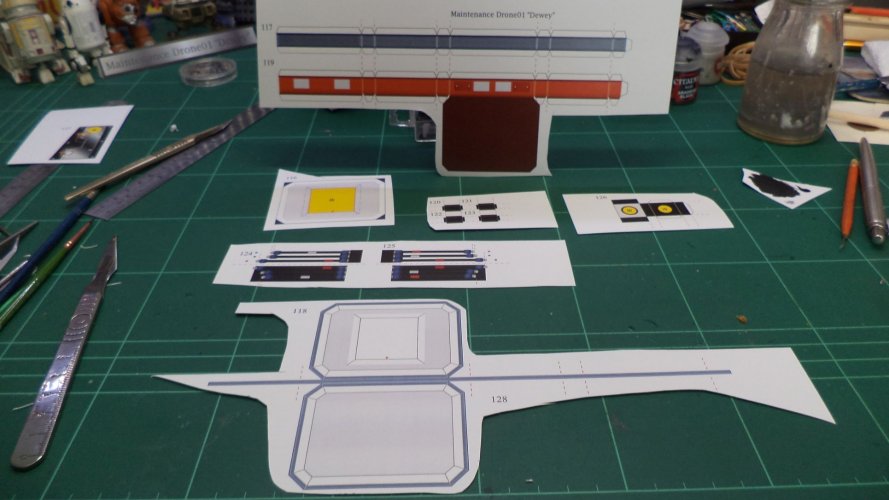
Parts cut and formed.
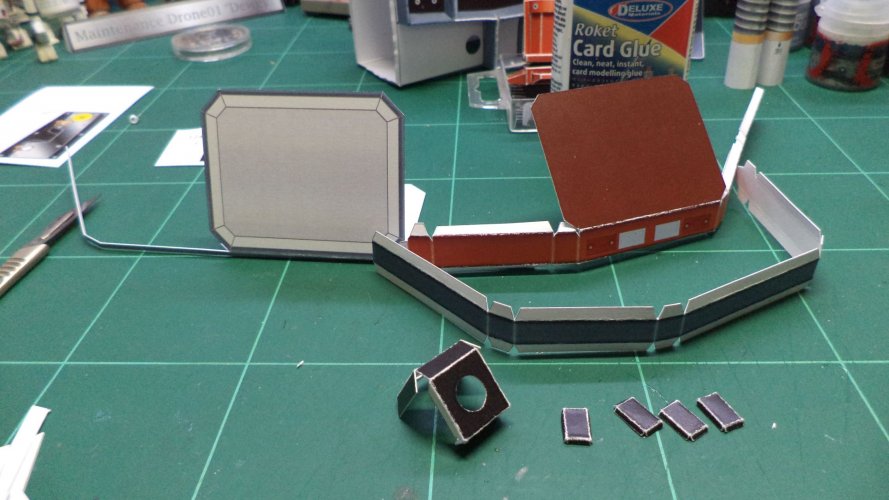
Another 'added' part was needed here...
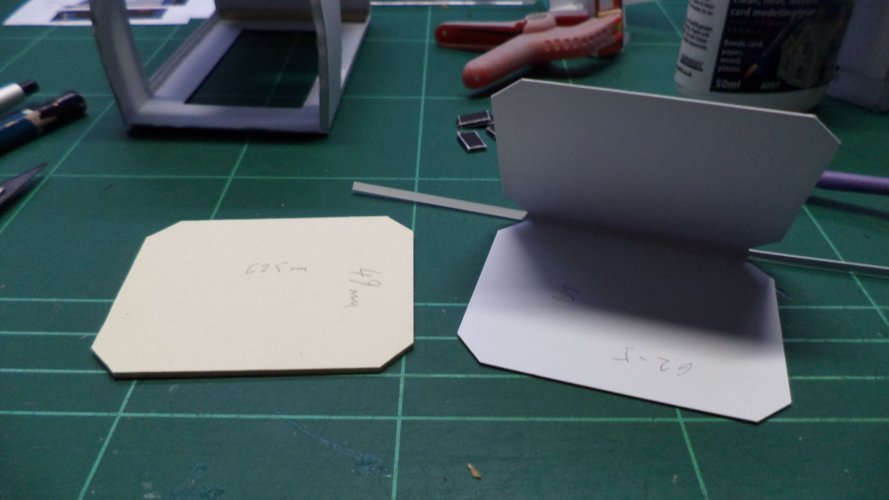
The added part was sandwiched between the two kit parts.
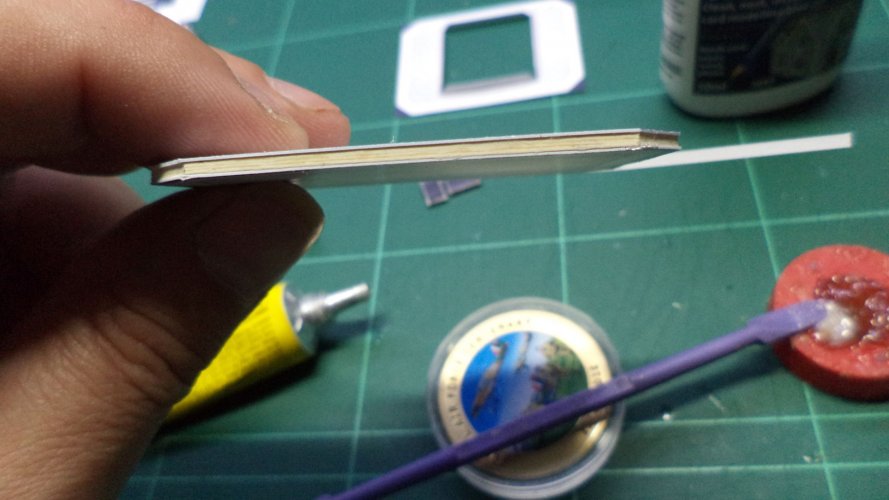
Edging strip was added, thus once again, the overly thick stock meant another patch was required.
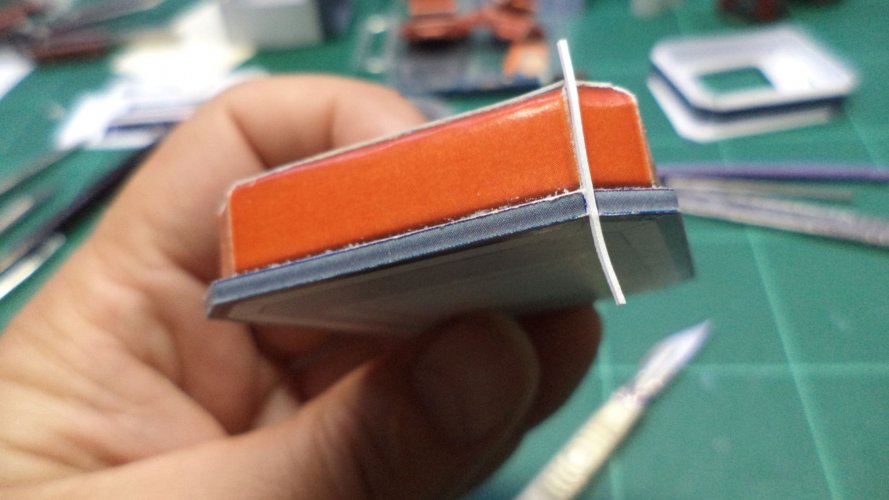
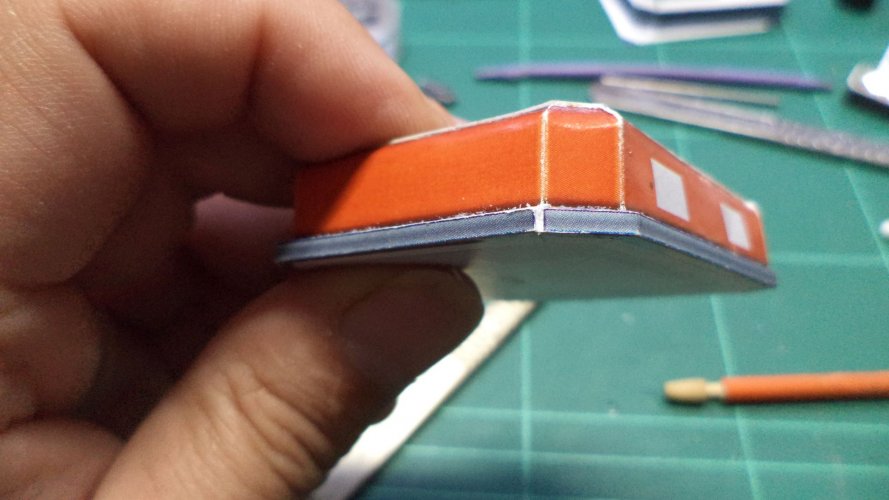
Both body parts near completion.
The part I'm most dreading on this build is the frontal arm has now come upon me.
A major viewpoint to the drone, the manipulator arm is full of tubes and looks extremely complicated...
So, on we go...
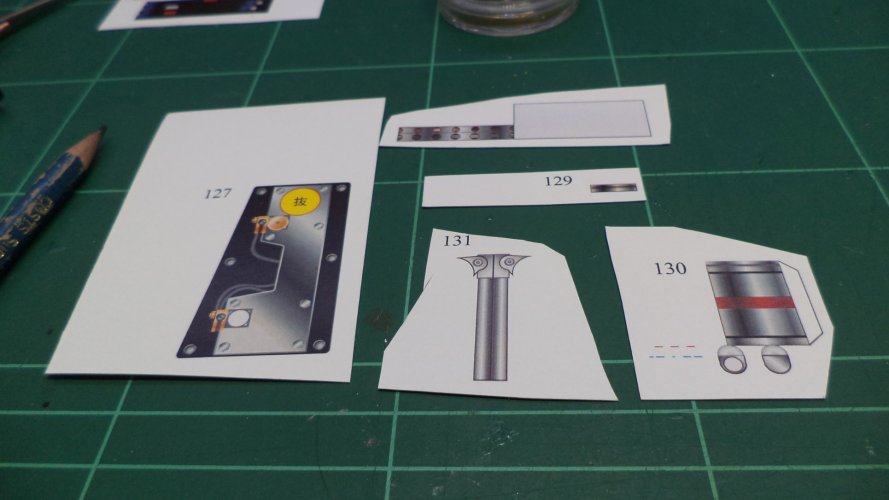
One tiny pipe bit done, more odd-looking parts to follow.
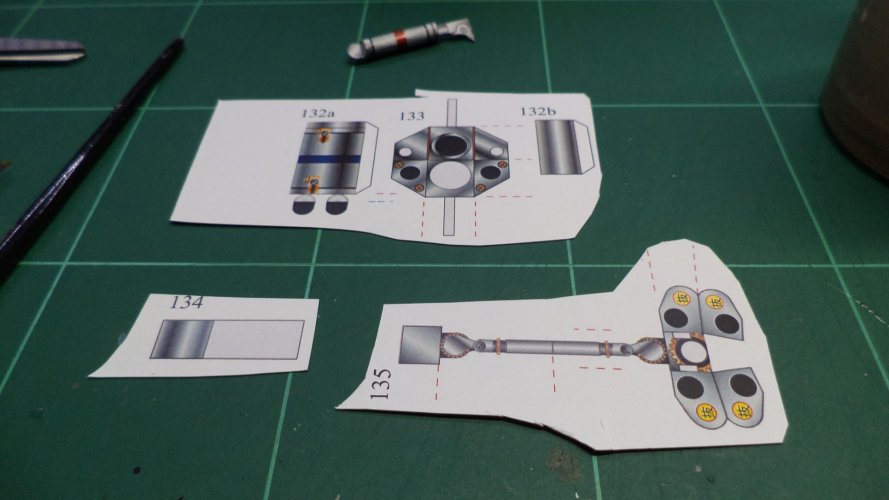
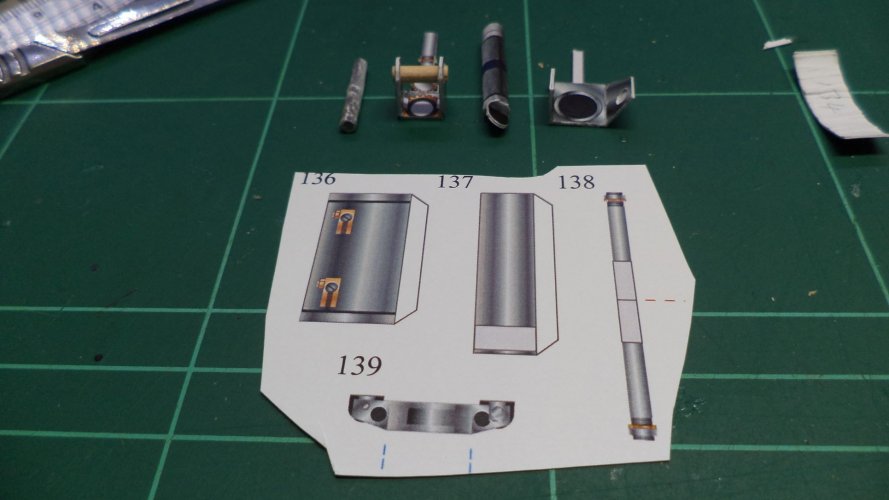
Another round of cylinders and rams, note the top row of parts. The second part in from the left requires a rolled paper part, but I thought a wooden skewer was a much better idea.
The bench and construction now on put hold for the evening, due to Hudson making his presence felt...
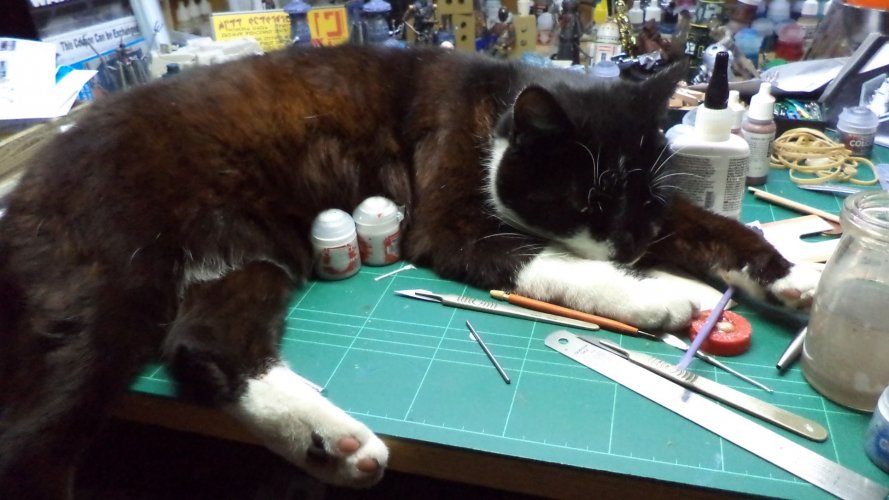
Destruction, there'll be no moving this one for a while!
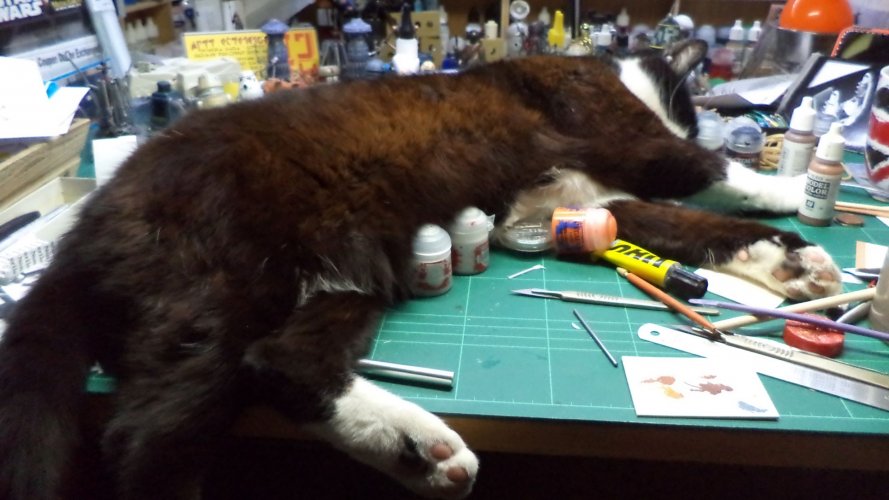
The parts are now becoming fewer, I hope to wrap this build up within the next week
Time to add the arm and leg mechanism into the main body - A scratch-built plate was requested in the instructions to be placed against the opening with a 'U' shaped hole. Not really sure as to what it does, but in it went.

I had to serrate the ends of the arms to get my ends through due to the overly thick stock.

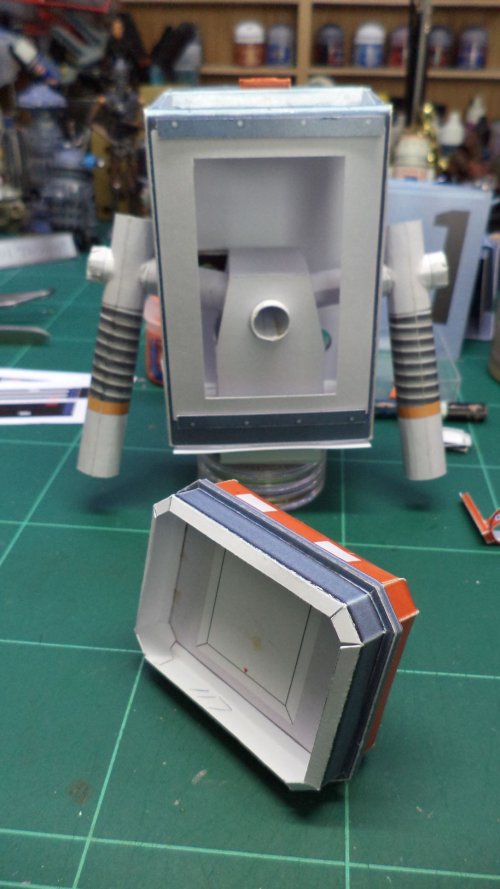
Next up the sump, or more likely the part where the performer had the lower part of their body within the prop.

Parts cut and formed.

Another 'added' part was needed here...

The added part was sandwiched between the two kit parts.

Edging strip was added, thus once again, the overly thick stock meant another patch was required.


Both body parts near completion.

The part I'm most dreading on this build is the frontal arm has now come upon me.
A major viewpoint to the drone, the manipulator arm is full of tubes and looks extremely complicated...
So, on we go...

One tiny pipe bit done, more odd-looking parts to follow.

Another round of cylinders and rams, note the top row of parts. The second part in from the left requires a rolled paper part, but I thought a wooden skewer was a much better idea.

The bench and construction now on put hold for the evening, due to Hudson making his presence felt...

Destruction, there'll be no moving this one for a while!

The parts are now becoming fewer, I hope to wrap this build up within the next week
With the furry beast gone, work could continue...
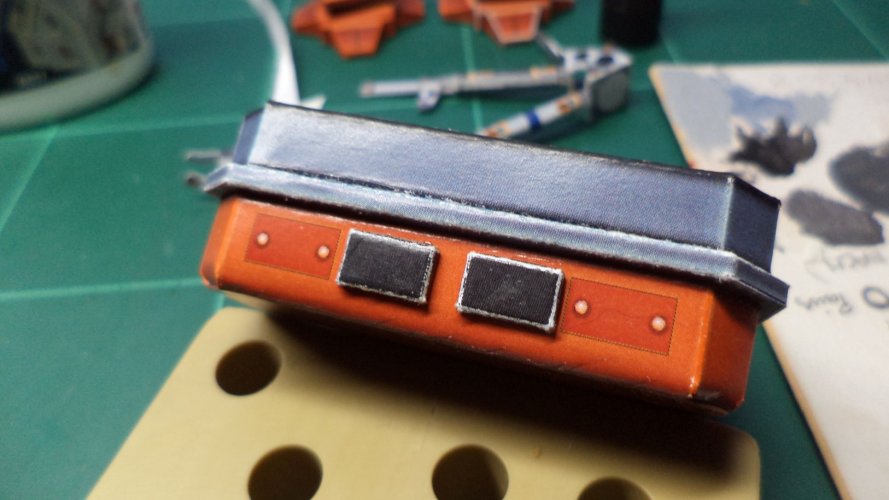
Sump completed and ready to join to the body.
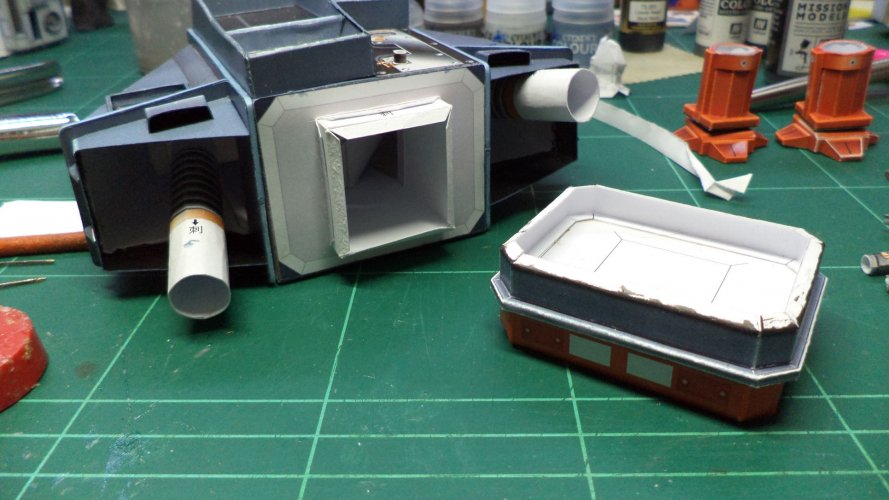
Rectangular add-ons for the sump.
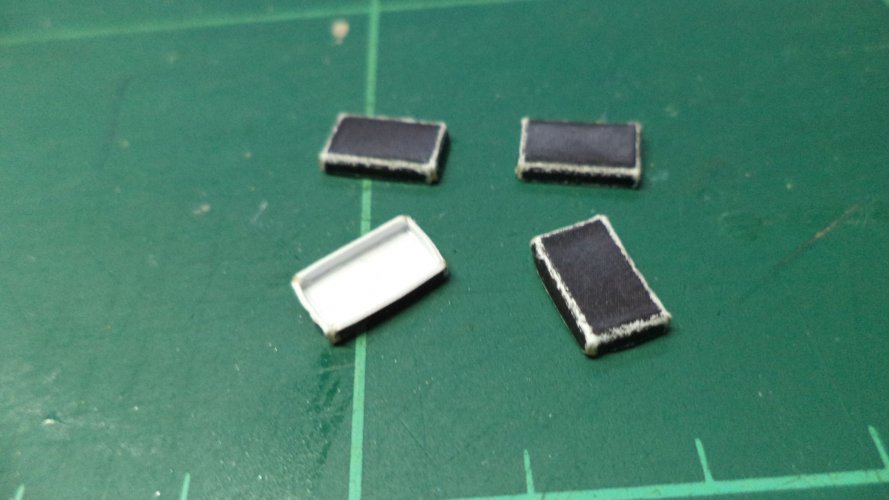
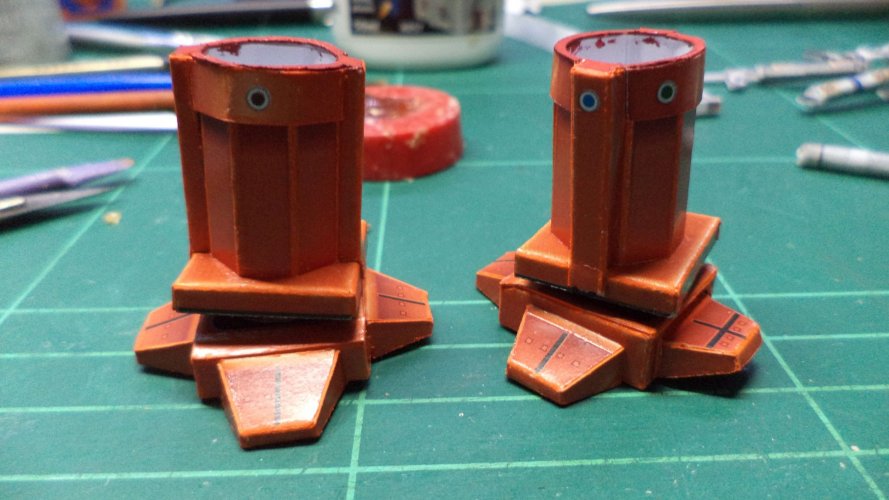
Legs/arms completed with a lick of paint.
Dewey stands for the first time... a drone handstand if you will.
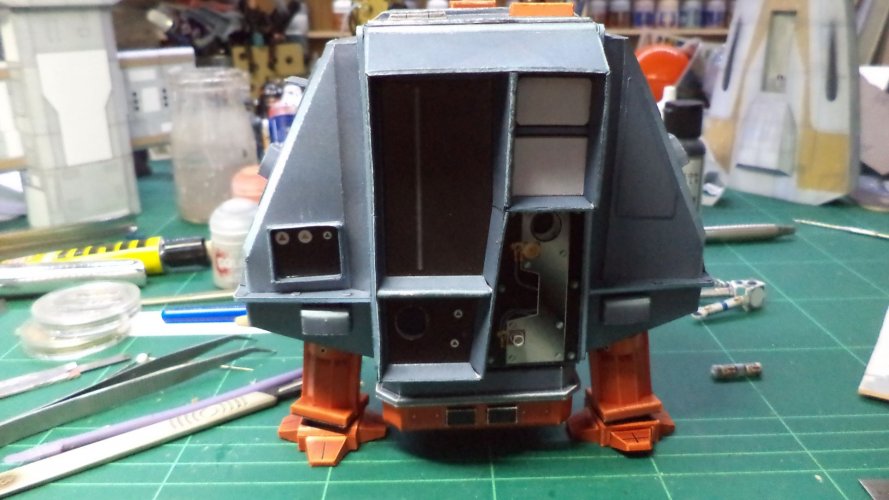
Due to the shiny cardstock, Dewey was unstable on his/her feet - a skidding tendency to do the splits!
I wondered how to overcome this, to which my eyes were drawn to a couple of lengths of rubber strip. These were used to help build strength back into my knees via physio using their elastic resistance.
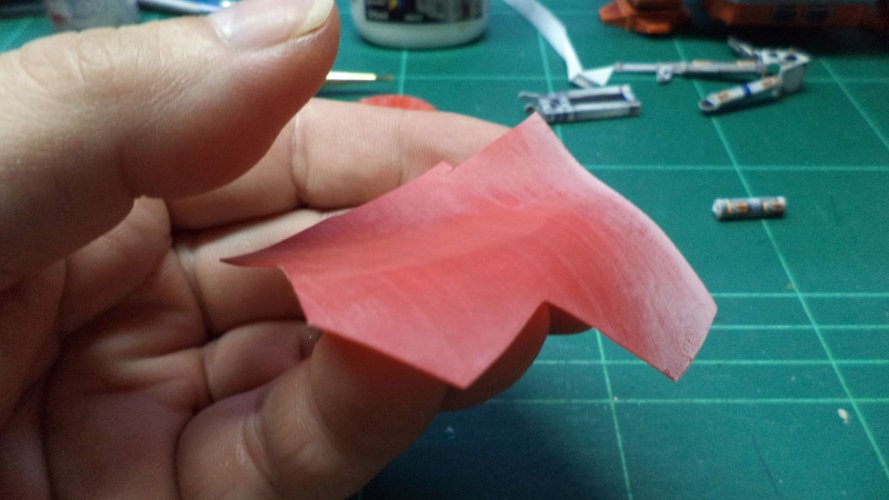
I marked up the sole plates and cut out the little squares.
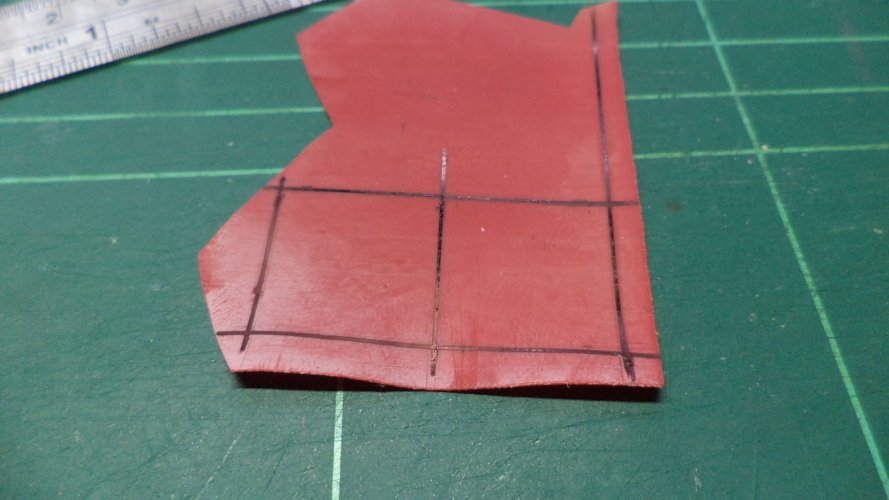
Using double sided tape, the pads were added which made a huge difference, no slippity-splits!
Such a small addition, with a superb outcome. I could have glued the legs in place, but that's no fun.
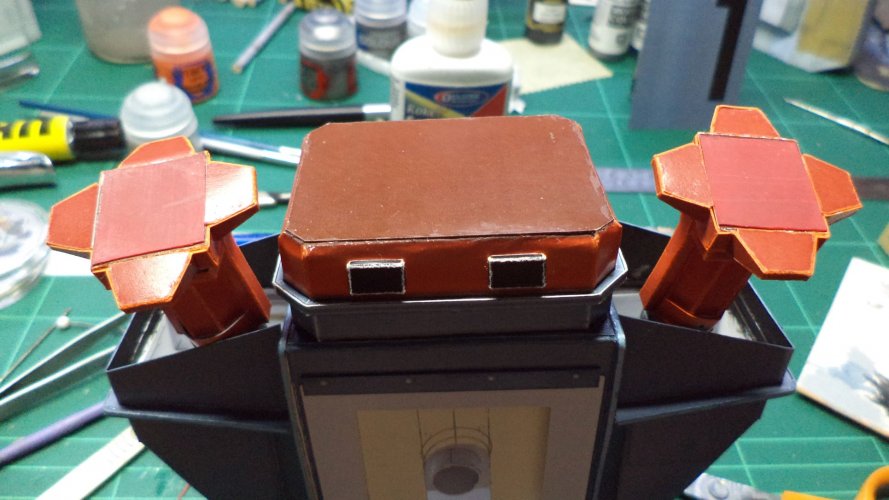
Cables up next...
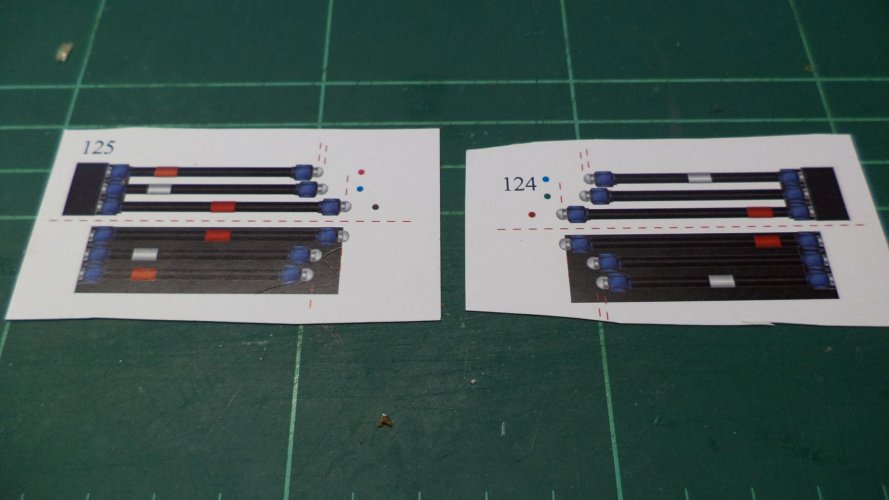
Doubled over and a tiny amount of colour on the connectors to remind me where each was meant to attach.
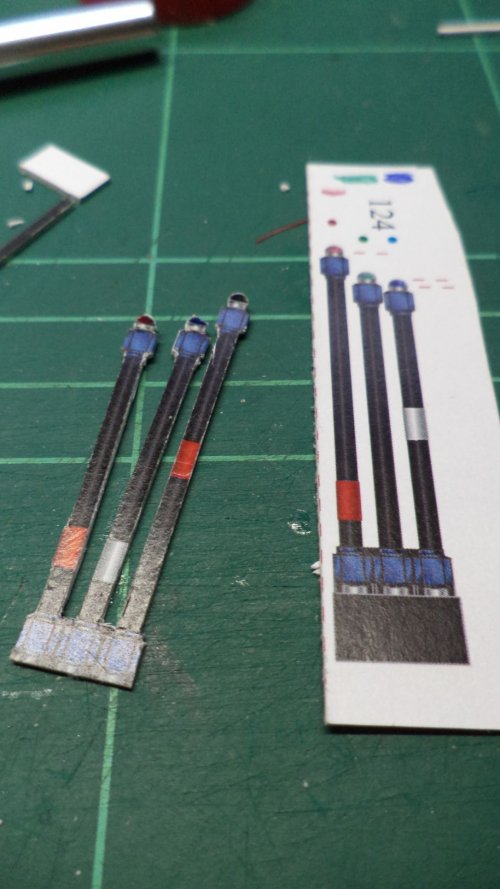
The cables, or hoses were very disappointing, but as this is a test model, I felt no need to replace these with suitable rubber or wire replacements.
The thick stock just about de-laminated all over the place, cured by lashings of glue, ready for future paint.
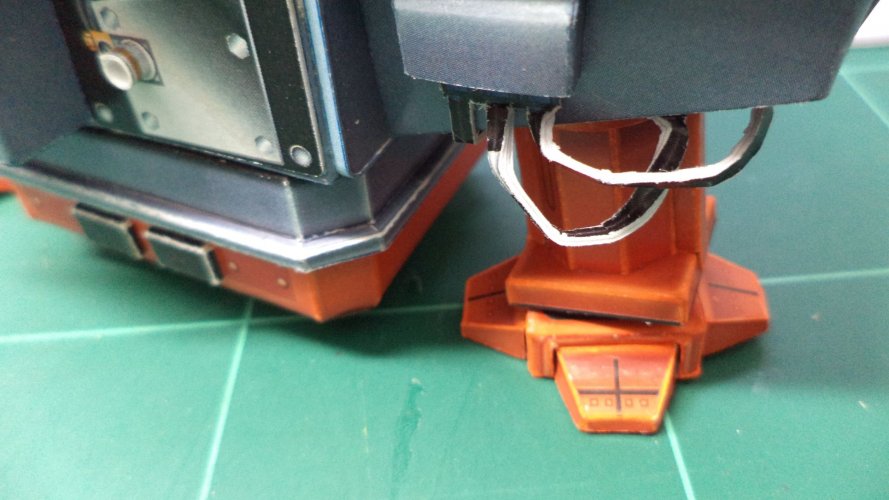
Sump, legs and cables...we seem to be getting somewhere!
Cover parts for the manipulator arm.
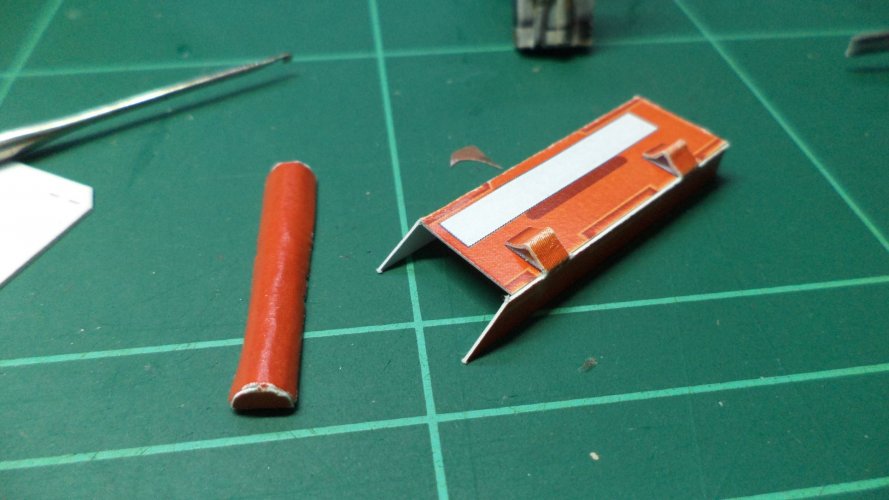
Cover formed, glued and ready for paint.
Manipulator parts for the end of... well you guessed it, the manipulator arm.
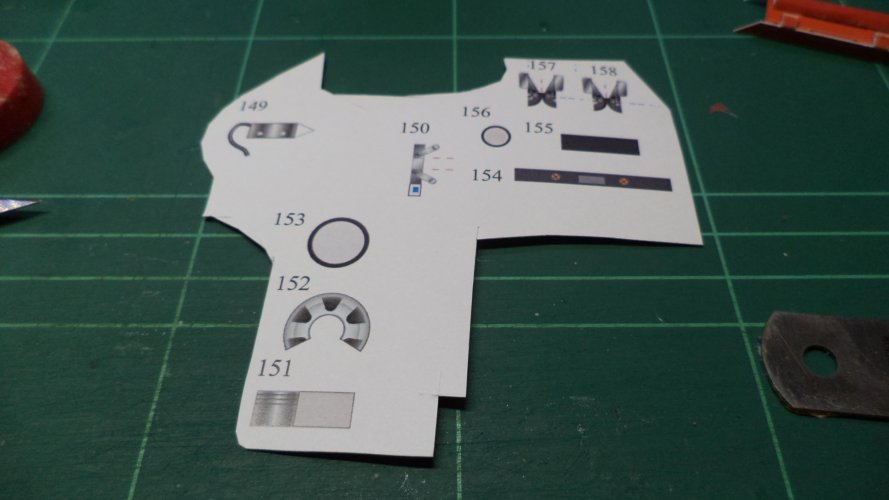
Parts cut and ready for assembly.
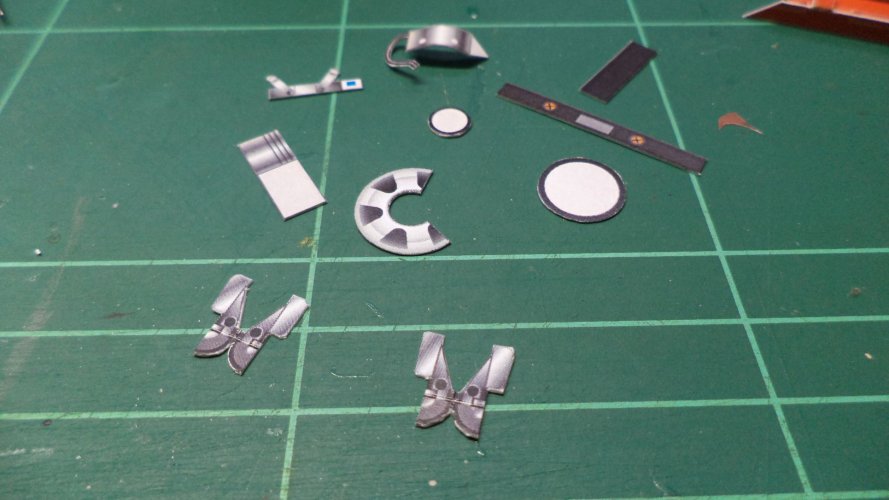
I'd really like to show you the construction of the said 'manipulator' arm, but the whole experience was too traumatic to add to this build.
Three mistakes were made, there was umpteen un-gluings and the thick stock made for ugly viewing.
I will have to build three more soon. so maybe I'll show them being constructed as and when.
In the meantime, I left the ugly mess with someone who knew better than I.
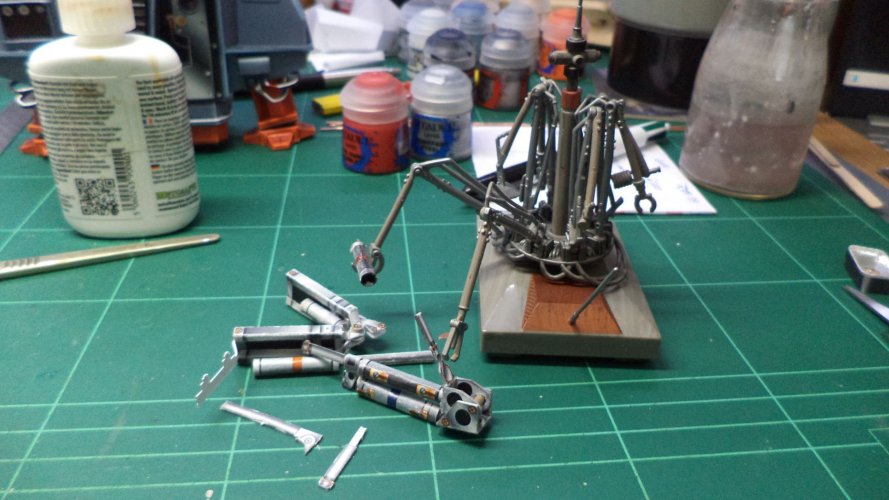
The finishing line was in sight, but my partner has to study for a work course, so she will need the bench all this coming week.
If I can get a small set up in the lounge, I'll carry on, but the cat might make things difficult...
Just like Bond, I will return...
Sump completed and ready to join to the body.

Rectangular add-ons for the sump.


Legs/arms completed with a lick of paint.

Dewey stands for the first time... a drone handstand if you will.

Due to the shiny cardstock, Dewey was unstable on his/her feet - a skidding tendency to do the splits!
I wondered how to overcome this, to which my eyes were drawn to a couple of lengths of rubber strip. These were used to help build strength back into my knees via physio using their elastic resistance.

I marked up the sole plates and cut out the little squares.

Using double sided tape, the pads were added which made a huge difference, no slippity-splits!
Such a small addition, with a superb outcome. I could have glued the legs in place, but that's no fun.

Cables up next...

Doubled over and a tiny amount of colour on the connectors to remind me where each was meant to attach.

The cables, or hoses were very disappointing, but as this is a test model, I felt no need to replace these with suitable rubber or wire replacements.
The thick stock just about de-laminated all over the place, cured by lashings of glue, ready for future paint.

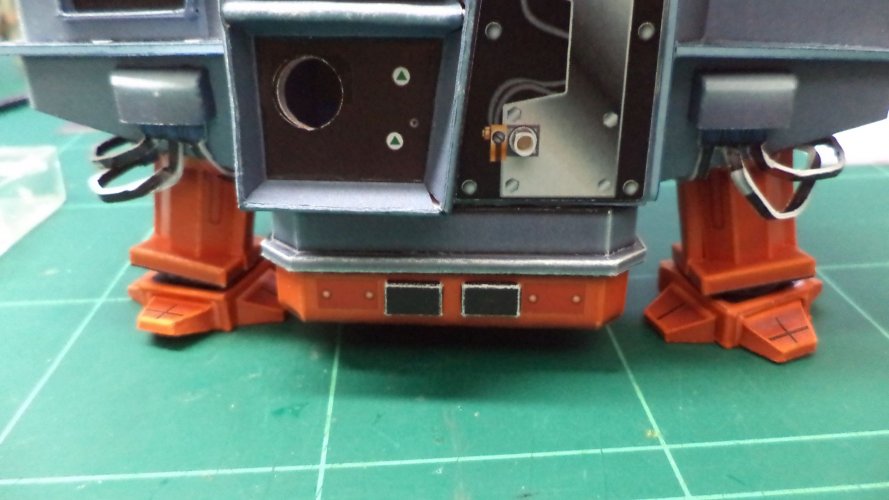
Sump, legs and cables...we seem to be getting somewhere!

Cover parts for the manipulator arm.

Cover formed, glued and ready for paint.

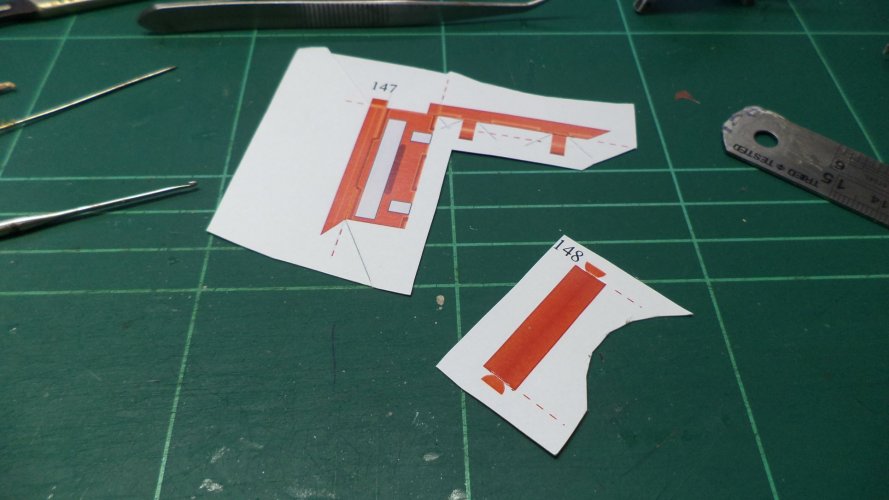
Manipulator parts for the end of... well you guessed it, the manipulator arm.

Parts cut and ready for assembly.

I'd really like to show you the construction of the said 'manipulator' arm, but the whole experience was too traumatic to add to this build.
Three mistakes were made, there was umpteen un-gluings and the thick stock made for ugly viewing.
I will have to build three more soon. so maybe I'll show them being constructed as and when.
In the meantime, I left the ugly mess with someone who knew better than I.

The finishing line was in sight, but my partner has to study for a work course, so she will need the bench all this coming week.
If I can get a small set up in the lounge, I'll carry on, but the cat might make things difficult...
Just like Bond, I will return...
You are doing a great on this project! I had a cat that would do the very same thing!
Cheers buddy nearly thought I could complete Dewey this week, but alas no...You are doing a great on this project! I had a cat that would do the very same thing!
Yes, cats are wonderful, but not great modelling companions...working away from the bench would prove more difficult - as he prowls the front of our flat more than the rear bedrooms.
I might have a small project I can make whilst away from the main arena and it would be ''Hudson proof'

Since it is just my fiancé and I who life here now, I work on the work on the dining room table. The cat that I currently have now, lies on the bench next to me. Fortunately, she dose not get up onto the table. I just have to pet her every once in awhile.
- Apr 5, 2013
- 13,502
- 9,559
- 228
It would be easy to find black plastic hose for the hydraulic lines. Nice work area, I love cats. They can really ruin a model though. 
Yeah, I'm on the lookout zathros, other than pinching some off my power loader I'm trying to think how and where to get some cheap?It would be easy to find black plastic hose for the hydraulic lines. Nice work area, I love cats. They can really ruin a model though.
...so far, touch wood - he has not destroyed anything yet! Thats my prerogative

Getting there matey, don't look too closely at those pipes!WOW! All those pipes!
Great work on this, can't wait to see the finished result!
Back to the bench after a small hiatus, so knifes out, lets finish off our little drone.
Time to tackle the car light which I think makes or breaks this build
I popped out to look at my car light lens for inspiration, but modern cars are not the same as seventies classics
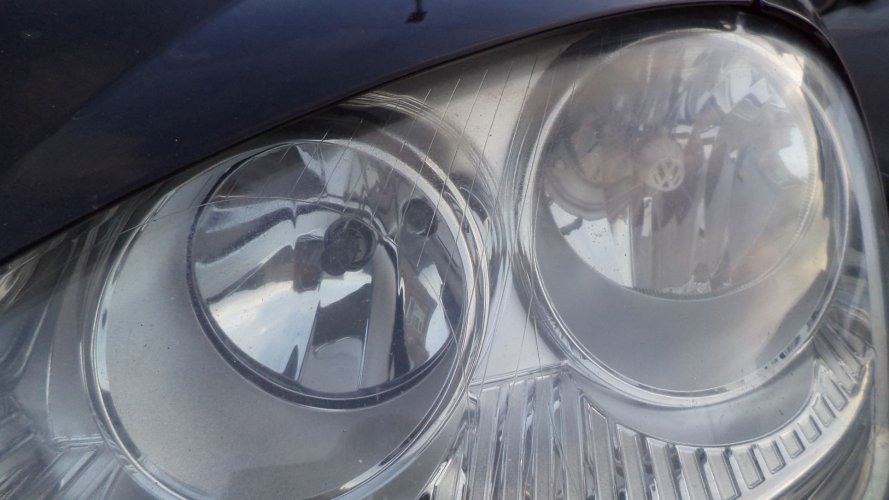
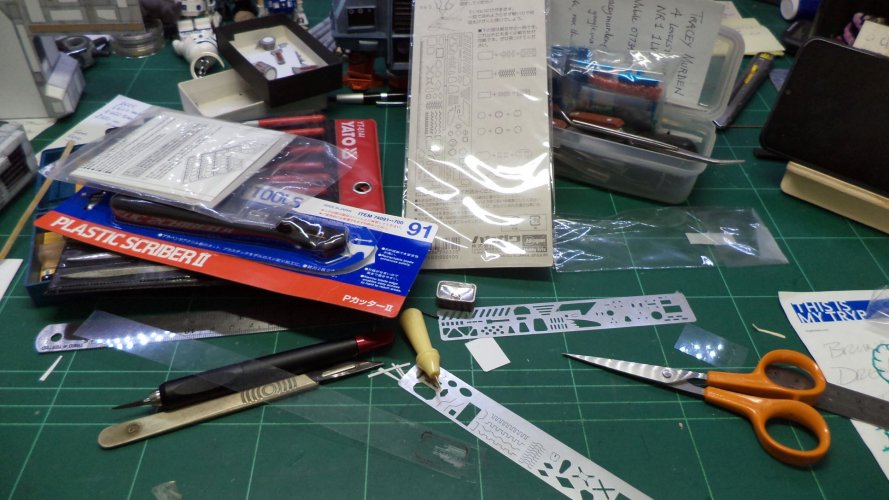
All the scribing tools I had acquired over the years were yanked out ready for battle ahead
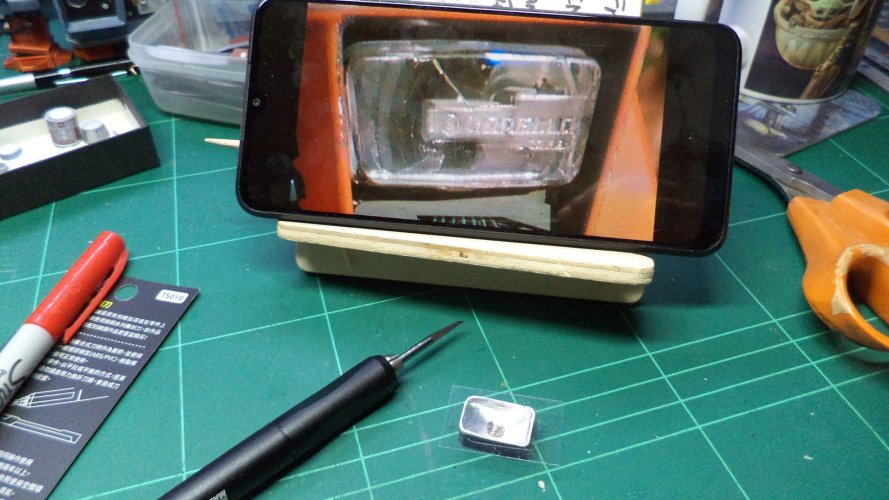
Working from the best screen grab I could get from the film was hard, getting a picture of actual Carrello light lens was even harder, so hard I couldn't find one!
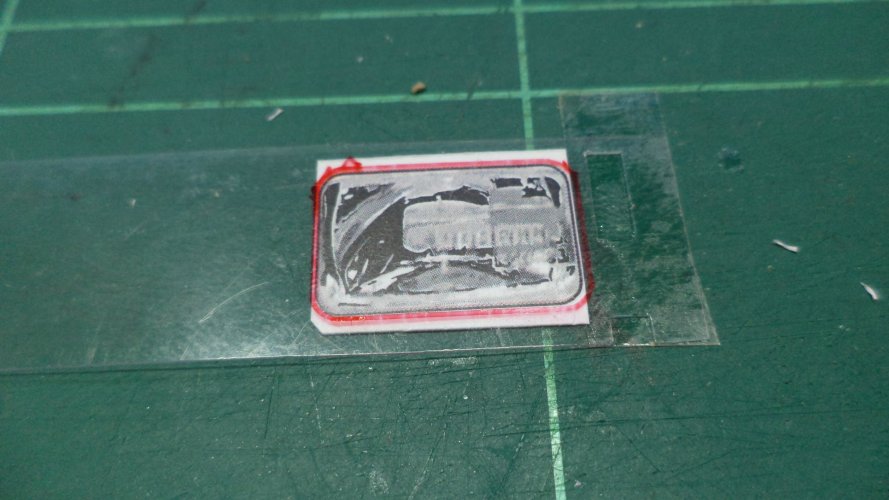
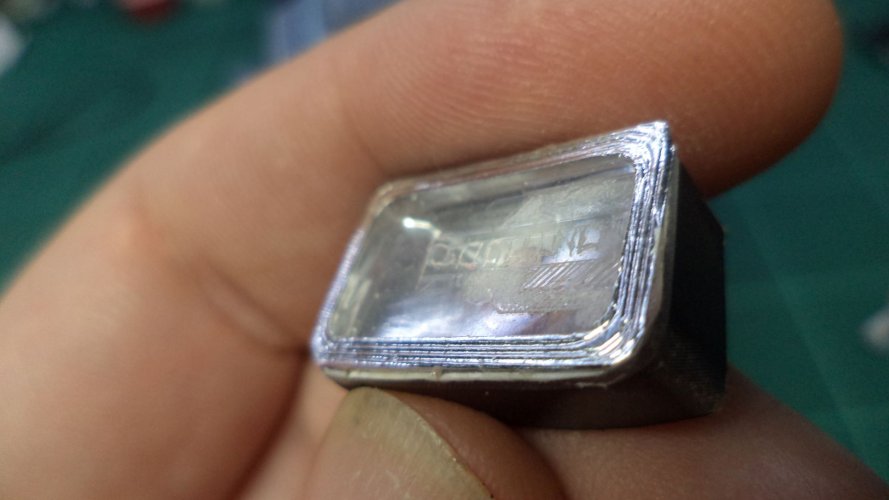
Putting the clear plastic over the card part, I scored the plastic with rough interpretation of what the lens looked like.
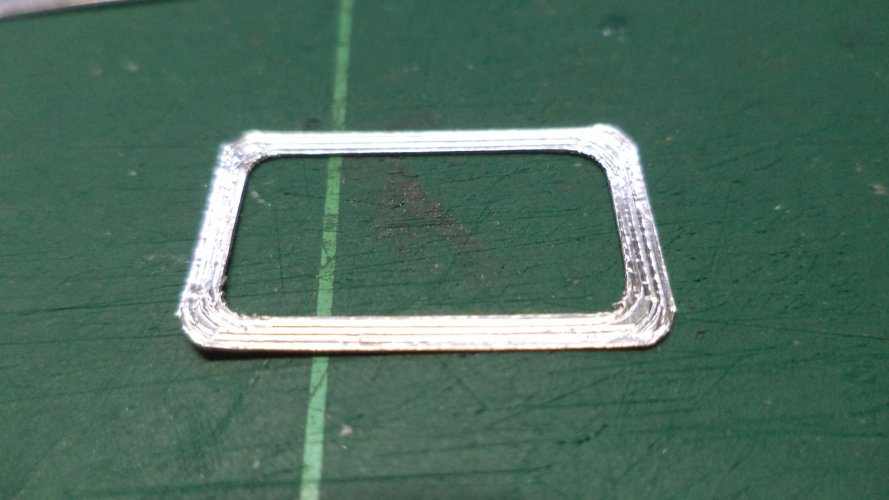
As the surround looked like a dogs dinner, I decided some artistic licence around the edge was needed - so I grabbed some silver adhesive electrical tape and made decreasing rings to form a frame.
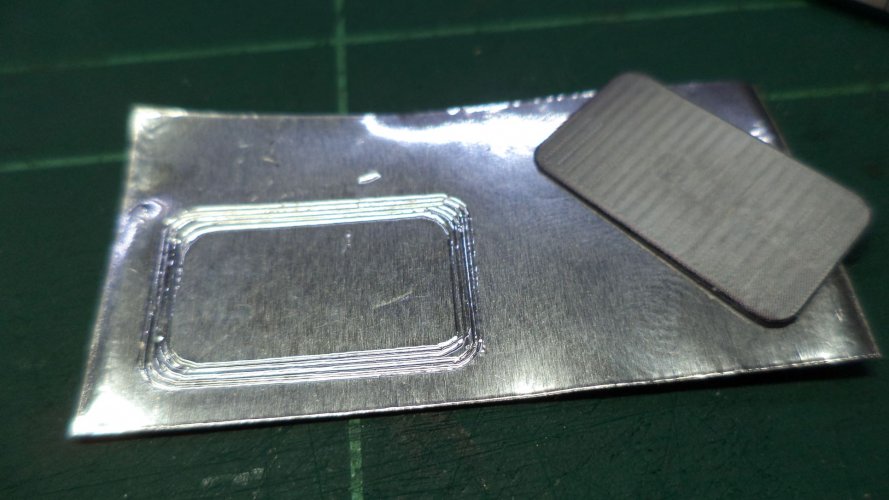
Frame done
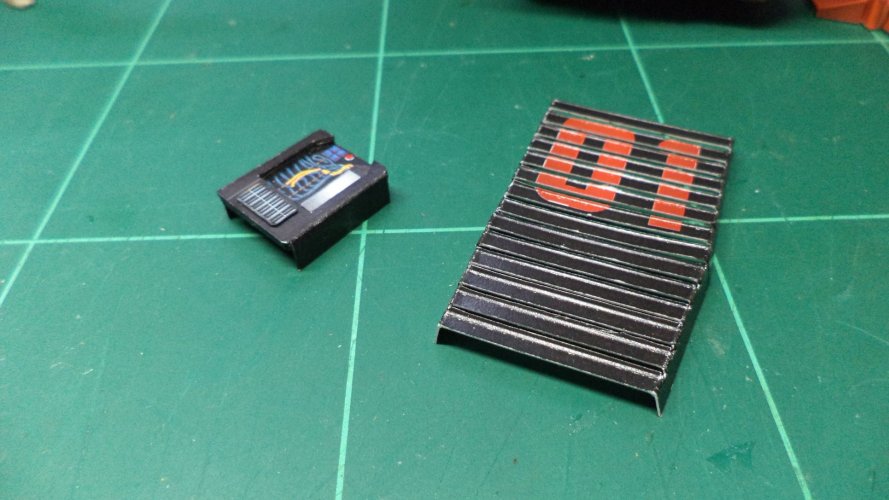
All parts together - looks fairly funky
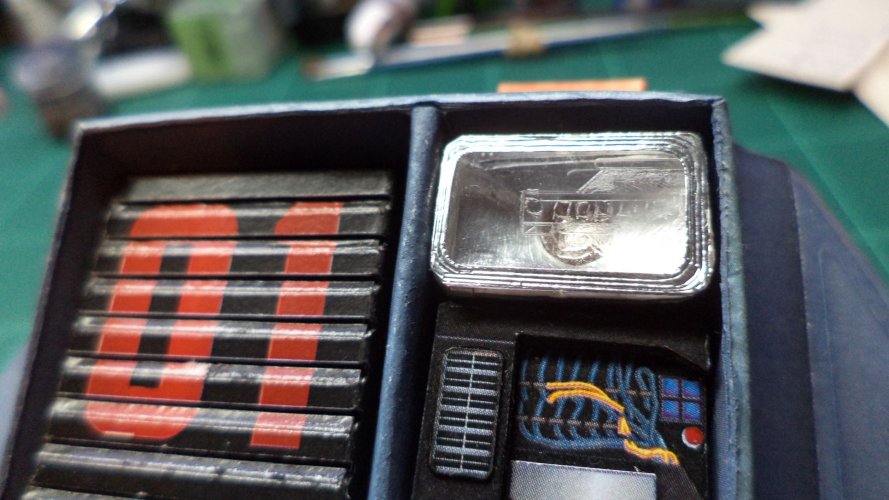
With the lamp finished it was time to mount it with the grill and gubbins unit to the main body.
Not brilliant, but looks the part.
A small arm was attached to the body and some buttons were added.
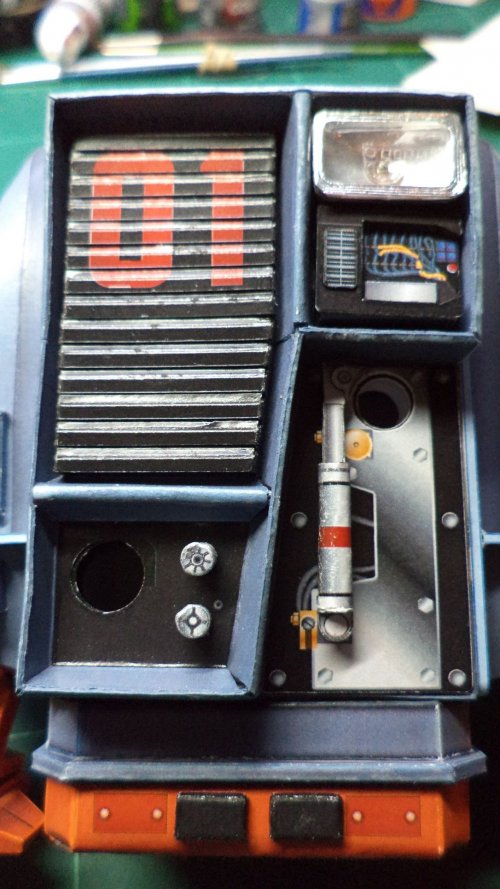
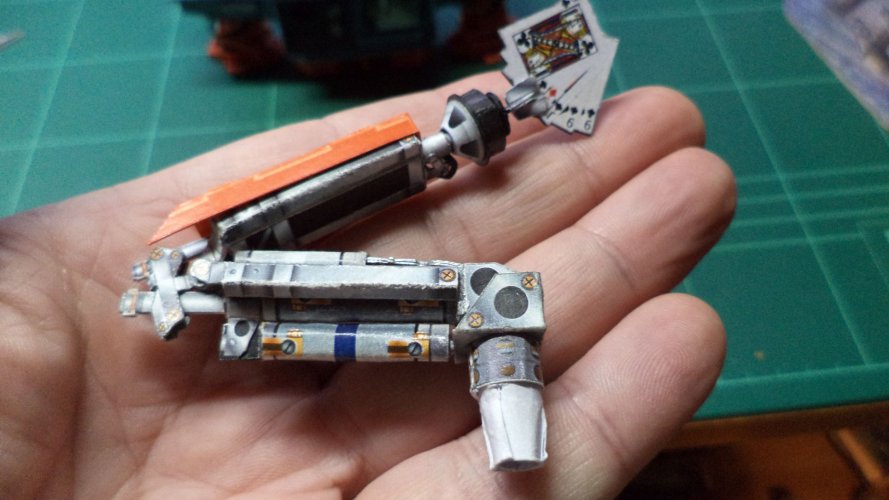
The manipulator arm was an absolute pig to make, hence no pics of the construction to speak of, so here, warts and all is - 'my' result.
...and thus there we have have it...one finished drone.
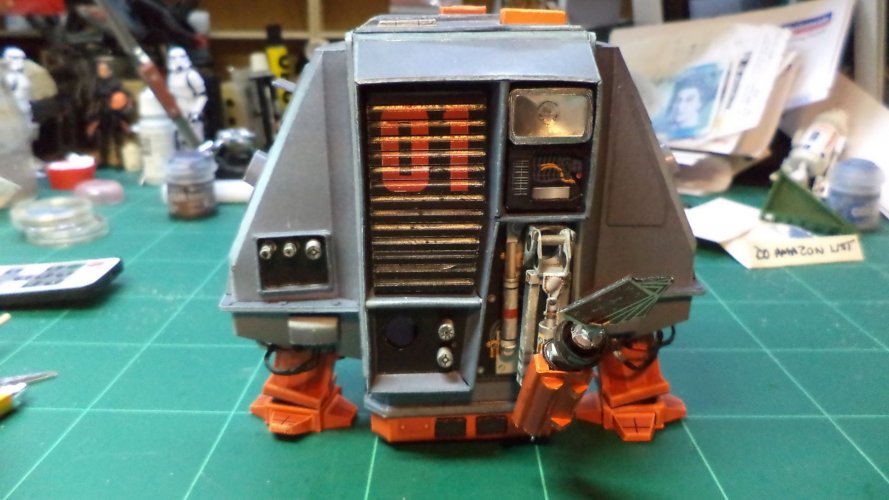
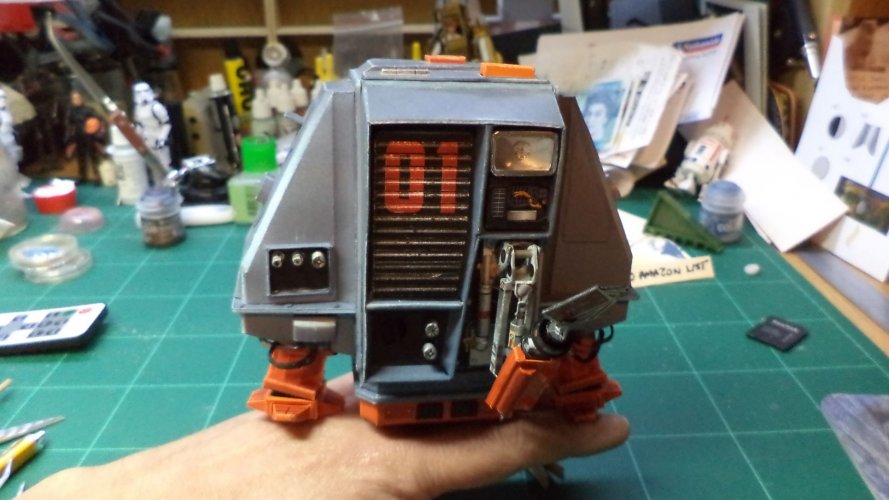
Another finished model. (that's two for me this year!) OMG!
I enjoyed the challenge of this build, unfortunately let down by the card stock, but I was determined to get him/her/it built.
This will end up being a gift for my brother, after the local model club meet in a few weeks time.
Hope you enjoyed the pics and waffle...time to finish the Nautilus now!
Time to tackle the car light which I think makes or breaks this build
I popped out to look at my car light lens for inspiration, but modern cars are not the same as seventies classics

All the scribing tools I had acquired over the years were yanked out ready for battle ahead

Working from the best screen grab I could get from the film was hard, getting a picture of actual Carrello light lens was even harder, so hard I couldn't find one!

Putting the clear plastic over the card part, I scored the plastic with rough interpretation of what the lens looked like.

As the surround looked like a dogs dinner, I decided some artistic licence around the edge was needed - so I grabbed some silver adhesive electrical tape and made decreasing rings to form a frame.

Frame done

All parts together - looks fairly funky

With the lamp finished it was time to mount it with the grill and gubbins unit to the main body.

Not brilliant, but looks the part.

A small arm was attached to the body and some buttons were added.

The manipulator arm was an absolute pig to make, hence no pics of the construction to speak of, so here, warts and all is - 'my' result.

...and thus there we have have it...one finished drone.


Another finished model. (that's two for me this year!) OMG!
I enjoyed the challenge of this build, unfortunately let down by the card stock, but I was determined to get him/her/it built.
This will end up being a gift for my brother, after the local model club meet in a few weeks time.
Hope you enjoyed the pics and waffle...time to finish the Nautilus now!
Cheers, I have been asked to make all three for a friend in 'Hollywood', so it was a great learning tool - as to the cards, they are not glued, easy fixYou did a great job on the this project!
The only thing that I can find fault with it, is that the cards are upside down.


